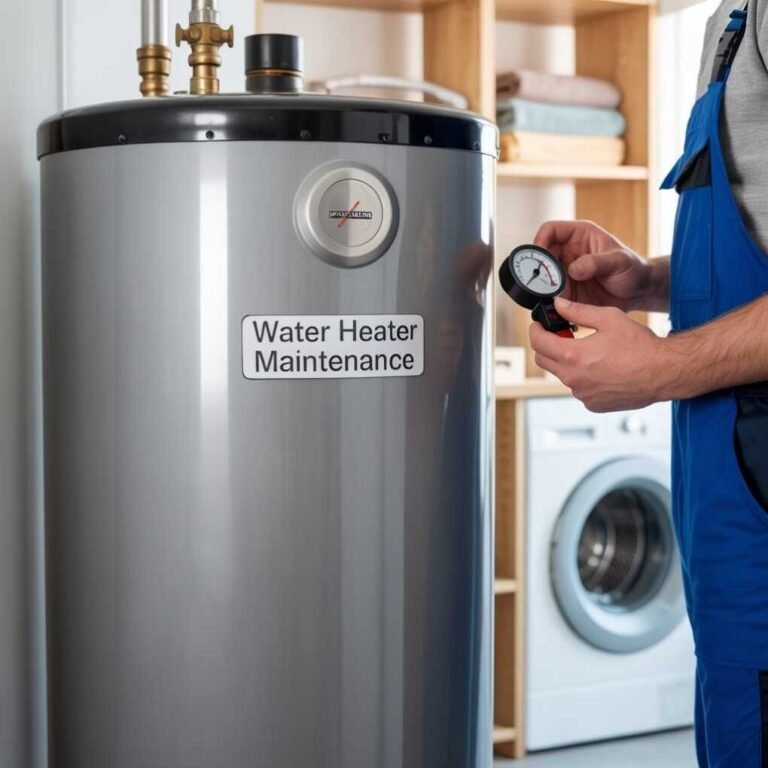
10 Quick Water Heater Maintenance and Care Guide Fixes That Work Fast
Meta Description: Water heater maintenance and care guide tips that save you money and prevent your family from taking cold showers. Find 10 go-to fixes every homeowner should know now.
10 Quick Water Heater Maintenance and Care Guide Fixes That Work Fast
No one pays attention to a water heater — until it breaks.
Cold showers, rusty water, weird rumblings from the basement. These are the red flags everyone overlooks until it’s too late and a painful repair bill follows.
The good news? The majority of water heater issues are entirely avoidable. And most of the solutions require less than 30 minutes and basic tools that you likely have on hand.
This guide to water heater maintenance and care takes you step-by-step through 10 practical, proven fixes that work fast. Regardless of whether your water heater is gas, electric, or tankless, these tips will help your unit run better, last longer, and cost you less to operate.
Let’s get into it.
Why You Should Really Care About Water Heater Maintenance
In general, water heaters are designed to last anywhere between 8 and 12 years. But neglecting regular maintenance can reduce that lifespan by almost 50 percent. An unmaintained unit is less efficient, consumes more energy, and wears out sooner.
Here’s what the failure to maintain costs you, really:
| Problem Ignored | Potential Consequence | Estimated Cost |
|---|---|---|
| Sediment buildup | Reduced efficiency, early failure | $800–$1,500 (replacement) |
| Faulty anode rod | Tank rust and corrosion | $200–$600 (early replacement) |
| High temperature setting | Scalding risk + higher energy bill | $20–$50 a month extra |
| Skipped pressure relief test | Pressure explosion risk | Thousands in damage |
| Ignored leaks | Water damage, mold | $1,000–$4,000 or more |
Regular small maintenance steps take care of all this. It’s like getting an oil change for your car. If you skip it long enough, the engine stalls.
Fix #1 — Flush the Tank of Sediment
This is the single most important thing you can do for your water heater.
Over the years, minerals in your water supply — primarily calcium and magnesium — collect at the bottom of the tank. This layer of sediment serves as an insulator between your heating element and water. Your heater is working extra hard just to do its normal job.
Signs you need to flush:
- Loud popping or rumbling noises from the tank
- Water takes longer to heat up
- Higher-than-normal energy bills
- Discolored or cloudy hot water
To flush your water heater:
- Power down (electric), or turn gas to “pilot”
- Attach a garden hose to the bottom drain valve
- Take the hose to a floor drain or outside
- Disconnect cold water supply
- To avoid vacuum lock, open a hot water tap somewhere in your home
- Turn the valve to drain and run until the water is clear
- Shut the valve, detach the hose, and return water supply to normal
- After the tank is full, restore power
Do this once a year. If you reside in an area with hard water, do it every six months.
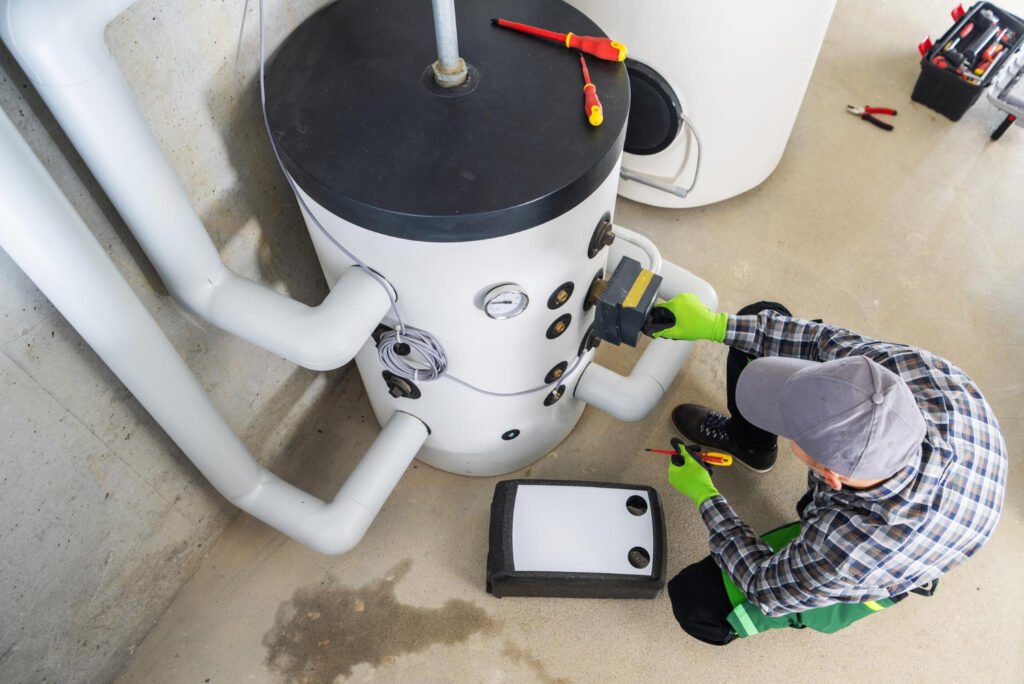
Fix #2 — Inspect and Change the Anode Rod
Most homeowners have never heard of an anode rod. That’s a problem.
The anode rod is a small metal rod — typically made from magnesium or aluminum — suspended in your water heater tank. Its sole purpose in life is to corrode so your tank doesn’t. There’s a reason it’s called a “sacrificial rod.”
Once this rod is completely corroded, your tank will be next.
How frequently to check it: Once every 2 to 3 years, or once a year in areas with hard water.
How to check and change it:
- Shut off the water and power to the heater
- Find the anode rod — generally near the top panel or at the hot water outlet
- Unscrew using a 1-1/16 inch socket wrench
- Take it out and have a look — if it’s less than half an inch thick or very corroded, replace it
- Apply Teflon tape around the threads of the new rod
- Screw the new rod in place and tighten well
- Restore power and water
A new anode rod costs $20 to $50. Replacing a full tank costs $800 to $1,500. The math is obvious.
Fix #3 — Test the Temperature and Pressure Relief Valve
The T&P valve is a safety mechanism. If your water heater gets too hot, or the pressure inside becomes dangerous, this valve opens to relieve steam and water before the tank explodes.
When it does fail, things can get dangerous in a hurry.
How to test it:
- Put a bucket under the discharge pipe attached to the valve
- Lift the test lever briefly — water or steam should escape
- Let the lever snap back — it should halt at once
- If it continues to drip or doesn’t release at all, replace it
A new T&P valve costs about $15 to $30 and takes less than an hour to install. Do it every 12 months without exception.
Safety Note: If you haven’t tested this valve in years, be cautious. Older valves sometimes won’t reseal properly after testing. Have a replacement on hand before you test.
Fix #4 — Lower the Temperature Setting
Many water heaters come from the factory set to 140°F. That’s hotter than necessary and potentially dangerous.
The U.S. Department of Energy recommends 120°F for most homes. That one adjustment can reduce your water heating bills by 6 to 10 percent.
How to adjust the temperature:
- Gas heaters: Adjust the dial on the gas valve to your desired setting
- Electric heaters: Turn breaker power off, remove access panel, turn thermostat dial with a flathead screwdriver
Temperature Guide:
| Household Type | Recommended Temp |
|---|---|
| Standard household | 120°F |
| Home with elderly or young children | 110–115°F |
| Households with immune-compromised members | 140°F (to kill bacteria) |
| Dishwasher without internal heater | 140°F |
Check the temperature once a year and after any significant repair.
Fix #5 — Insulate Your Tank and Pipes
Your water heater is losing heat all the time — even when nobody is using hot water. This is known as standby heat loss, and it causes your heater to turn on more frequently than necessary.
Insulating the tank and pipes cuts down on that waste.
Insulating the tank:
Purchase a water heater insulation blanket at any hardware store (about $20 to $30). Wrap it around the tank, but do not cover the top, thermostat, or pressure relief valve. Seal the seams with foil tape.
Note: Do not insulate the top of a gas water heater — it requires airflow.
Insulating the pipes:
Insulate the first 6 feet of both the cold and hot water pipes that connect to the unit with foam pipe insulation sleeves. This keeps the water in the pipes warmer between uses and reduces condensation.
When used together, tank and pipe insulation can reduce standby heat loss by 25 to 45 percent.
Fix #6 — Check for Leaks Early and Often
An ignored small leak becomes a big problem quickly. Water damage is expensive. Mold is a health risk. And a leaking tank typically indicates that the heater is near failing.
Common leak locations:
- Drain valve — Usually leaks from mineral buildup or a worn washer
- Pressure relief valve — Can leak if pressure is too high or valve is failing
- Inlet and outlet connections — Loose fittings or corroded pipes
- Tank floor — Generally indicates internal corrosion; typically needs complete replacement
Quick inspection routine:
Give your water heater a visual walk-around every 3 months. Look for:
- Puddles or water stains on the floor
- Rust or white mineral deposits on fittings
- Corrosion around the drain valve
- External moisture on the tank
Catching a dripping drain valve early means a $5 fix. Miss it, and you have a flooded utility room.
Fix #7 — Clean the Burner Area (Gas Heaters Only)
Gas water heaters require periodic cleaning of the burner area. Dust, debris, and spider webs can coat the burner or block the air inlet, causing inefficiency and even carbon monoxide hazards.
How to clean the burner area:
- Set the gas valve to “Pilot” or off
- Let the unit cool completely
- Remove the access panel at the bottom
- Use a vacuum with a brush attachment to carefully clean the burner and surrounding area
- Inspect the pilot light opening — use a thin wire or needle to clear any blockage
- Verify the color of the pilot flame — it should be blue. Yellow or orange indicates incomplete combustion
- Reassemble the panel and turn the gas back on
Do this once a year, and ideally before the cold season, when you will be using your hot water the most.
Fix #8 — Examine the Expansion Tank (If Applicable)
If you have a closed plumbing system — meaning you have a backflow preventer on your main water line — there’s likely an expansion tank connected to your water heater.
As water heats, it expands. In a closed system, that additional pressure has nowhere to go but back into your water heater. It eventually hammers your tank and reduces its lifespan.
How to inspect the expansion tank:
- Tap the tank — the top half should sound hollow (air), while the bottom half should sound solid (water)
- If everything is solid, the bladder inside has ruptured and the tank will need to be replaced
- Use a tire gauge on the valve at the top to check air pressure — it should match your home water pressure (usually 50–60 PSI)
- If the pressure is low, add air with a bike pump
Expansion tanks run $40 to $100 and are easy to swap out. Ignoring a failed one puts unnecessary stress on every aspect of your water heating system.
Fix #9 — Clear the Space Around the Heater
This one seems too basic to be important. It matters.
Gas appliances, including water heaters, require adequate airflow for safe and efficient operation. Clutter around the unit limits airflow, presents fire hazards, and can block access in an emergency.
Water heater proximity guidelines:
- Maintain a 12-inch clearance around all sides for electric heaters
- Maintain an 18-inch clearance for gas heaters (combustion air requirement)
- Never keep flammables nearby — no paint, gasoline, or cleaning solvents
- Keep the area dry — pooled water on the floor near a gas heater can signal a leak or create a moisture problem
- Check that the exhaust flue (on gas heaters) is free of obstruction and vented upward as it should be
Do a quick clearance check every time you inspect the tank. You could prevent a fire in just 2 minutes.
Fix #10 — Call in the Professionals When Needed
Not every type of fix falls into the DIY category. Part of a good water heater maintenance and care guide is knowing where to draw the line.
If you observe any of the following, call a licensed plumber or technician:
- The tank is leaking from the bottom
- You hear loud banging that doesn’t cease after flushing
- Hot water is brown or smells of rotten eggs (sulfur)
- Smell of gas near the unit — get out of your house and call your gas company immediately
- After several attempts, the pilot light refuses to stay lit
- Electric heater breaker trips repeatedly
Cost comparison — DIY vs. Professional:
| Task | DIY Cost | Professional Cost |
|---|---|---|
| Flushing the tank | $0–$10 | $80–$150 |
| Replacing anode rod | $20–$50 | $150–$250 |
| Replacing T&P valve | $15–$30 | $100–$200 |
| Full tank replacement | Not recommended | $800–$1,500 |
| Tankless unit service | Varies | $150–$300 |
Minimize cost by carrying out routine tasks yourself. Pay for professionals for anything involving gas lines, internal tank failures, or electrical work beyond the breaker.
Annual Water Heater Maintenance Checklist
Use this checklist every year to keep tabs on the health of your unit:
| Task | Frequency | DIY or Pro? |
|---|---|---|
| Flush the tank | Annually (every 6 months for hard water) | DIY |
| Inspect anode rod | Every 2–3 years | DIY |
| Test T&P valve | Annually | DIY |
| Check temperature setting | Annually | DIY |
| Inspect for leaks | Every 3 months | DIY |
| Insulate tank and pipes | One-time + inspect yearly | DIY |
| Clean burner area (gas) | Annually | DIY |
| Check expansion tank pressure | Annually | DIY |
| Clear surrounding area | Every 3 months | DIY |
| Full professional inspection | Every 3–5 years | Pro |
Print this out. Tape it to the water heater. Check things off as you go.
How Long Should a Water Heater Last?
With regular maintenance, here’s what you can reasonably expect:
| Type | Average Lifespan (Without Maintenance) | Average Lifespan (With Maintenance) |
|---|---|---|
| Traditional tank (gas) | 6–8 years | 10–15 years |
| Traditional tank (electric) | 8–10 years | 12–15 years |
| Tankless (gas) | 10–12 years | 20+ years |
| Tankless (electric) | 10–12 years | 18–20 years |
| Heat pump water heater | 8–10 years | 13–17 years |
A well-kept unit can provide 5 to 8 more years of reliable service versus one that is neglected. Routine maintenance is one of the best investments you can make in your home, at $1,000+ per replacement.
FAQs — Water Heater Maintenance and Care Guide
Q: How often do I need to flush my water heater? The general advice is just once a year. Flushing it every six months is important if your home has hard water — high mineral content. The difference in performance is immediate after the first flush.
Q: My water heater is making a popping noise — what does that mean? That pop or rumble you hear is the heating element knocking around sediment at the bottom of the tank. Flushing the tank is recommended in that case. It’s not a direct threat, but it means your heater is running harder than necessary.
Q: Can I perform my own water heater maintenance, or do I need a plumber? Most routine maintenance — flushing, checking the anode rod, testing the T&P valve, lowering the temperature — is safe for a confident DIYer. Gas lines, internal leaks, and any electrical components beyond the breaker panel should go to someone licensed.
Q: What should I set the temperature on my water heater to? Most homes find 120°F to be the sweet spot. Hot enough to kill bacteria, safe enough to not scald, and efficient enough to save on energy bills. The only time you should go higher is if you have a dishwasher without an internal heater or someone in the household has a compromised immune system.
Q: How can I tell if my anode rod is due for replacement? Pull it out and look. If it’s less than half an inch thick, caked with calcium, or mostly consumed, replace it. If it appears to be relatively intact with light surface corrosion only, you’re good for another year or two.
Q: My hot water smells like rotten eggs. What’s going on? That rotten egg odor typically indicates bacteria have developed in your tank, most likely because the temperature was set too low. Try raising it to 140°F for 24 hours to kill the bacteria, then bring it back to 120°F. If it still happens, replace your anode rod with a zinc alloy version, which resists this problem better.
Q: Is a tankless water heater more maintenance-friendly? In some ways, yes. There’s no tank to flush. But tankless units require descaling (especially in hard water regions), filter cleaning, and the occasional professional servicing of the heat exchanger. The maintenance is not absent — it is different.
Q: When is it better to simply replace the water heater? There is a point at which even with repairs, it makes more financial sense to replace the unit — if your system is over 10 years old and you need a major repair. A common frame of reference is the “50 percent rule” — if a repair will cost you more than 50 percent of what it would cost to buy a new unit, replace it.
The Bottom Line
A water heater doesn’t demand much. Flush it once a year. Check the rod. Test the safety valve. Keep the area clear. Those four things alone will add years to its life and dollars back on your energy bill.
This water heater maintenance and care guide provides you with all the information you need to get a step ahead of problems rather than trying to catch up. Begin with the simplest task on the list — if it isn’t already, lower the thermostat to 120°F. Takes 10 minutes. Saves money immediately.
Work your way through the rest. By the time you’re done, you’ll have a water heater that runs cleaner, costs less, and lasts longer.
That’s not a small thing. That’s years of hot showers, lower bills, and one less emergency you’ll never have to face.