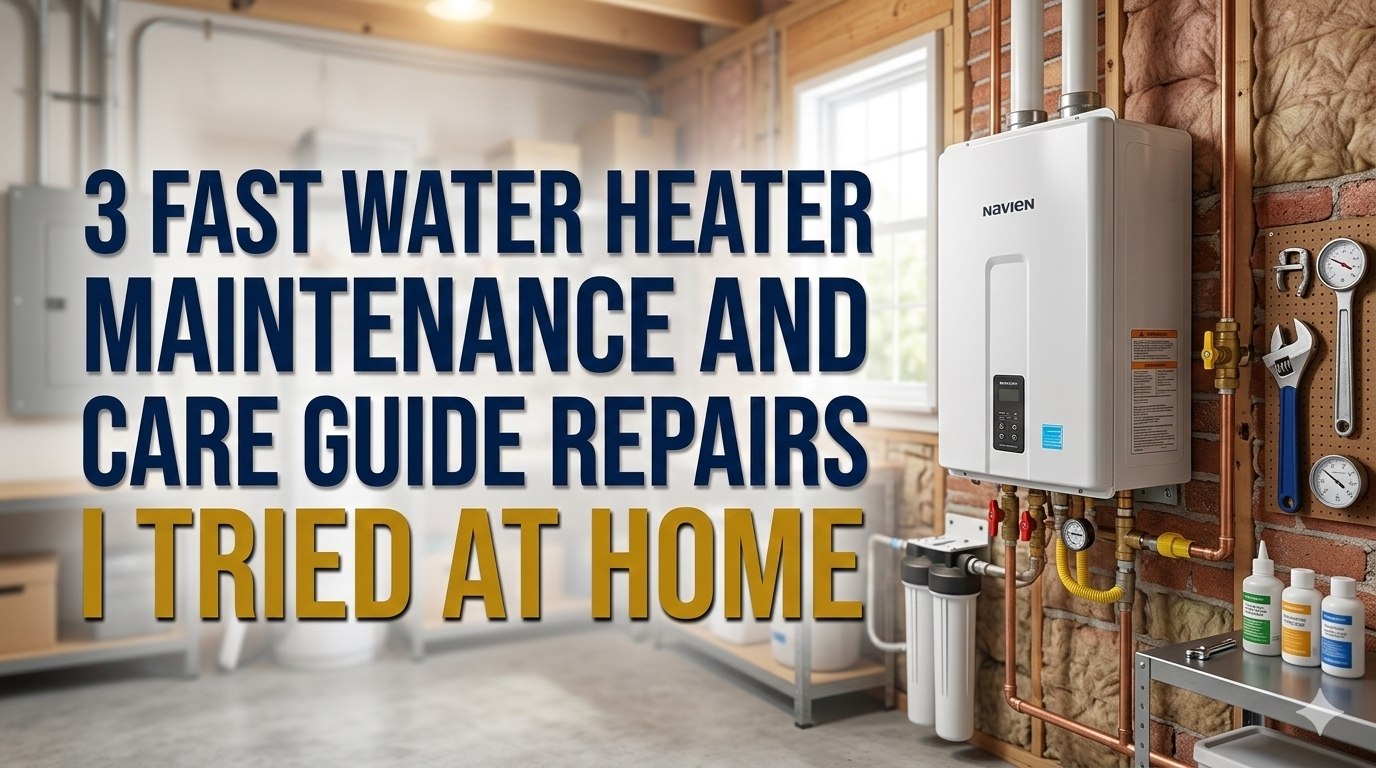
3 Fast Water Heater Maintenance and Care Guide Repairs I Tried at Home
Meta Description: Water heater maintenance and care guide repairs don’t have to be scary. Try 3 quick home DIY tricks I really used to save time, money, and cold showers.
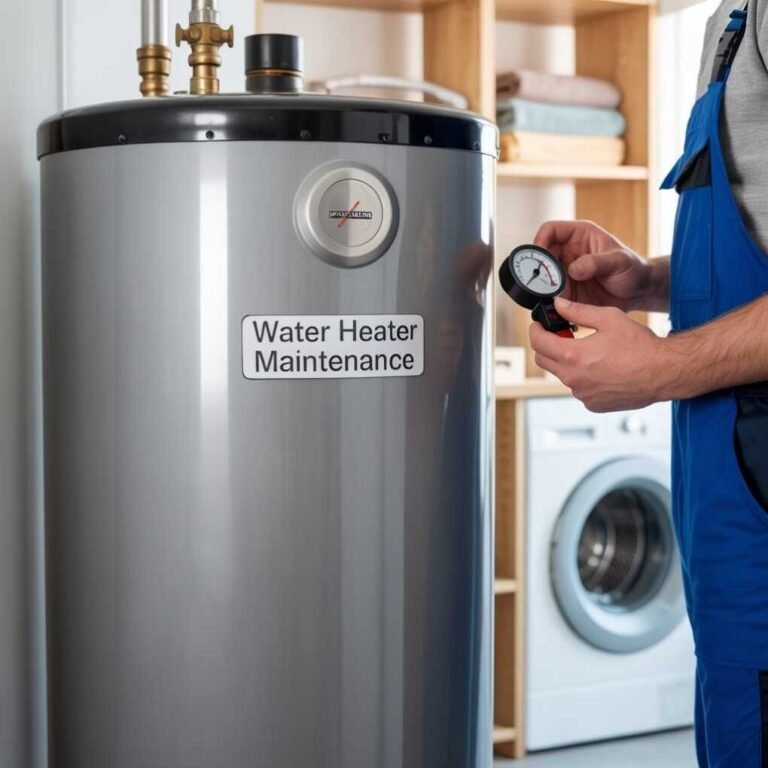
3 Fast Water Heater Maintenance and Care Guide Repairs I Tried at Home
At 6 AM, no one wants to have a cold shower.
It struck me on a Tuesday morning last winter. My water heater had been making funny sounds for weeks. I ignored it. Big mistake.
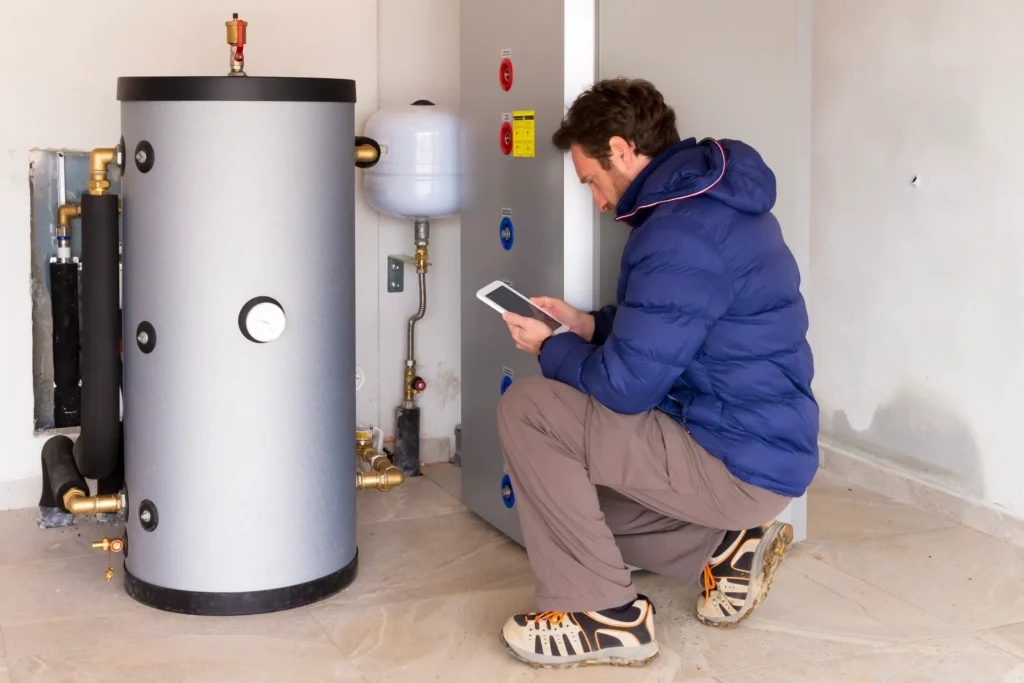
Instead of immediately calling a plumber to charge me hundreds of dollars, I did some research. I learned that many of the common issues with water heaters are fixable at home — if you have a few tools, a free afternoon, and some patience.
I attempted three specific repairs myself. All three worked.
This guide is here to clarify precisely what I did, how I did it, and what you should keep in mind. Gas or electric water heater, this water heater maintenance and care guide can help you approach problems more quickly and intelligently.
Let’s get into it.
Wait, Why Should You Even Care About Water Heater Maintenance?
Most homeowners never give their water heater a thought — until it stops working.
Here’s the thing: a water heater runs every day. It heats gallons of water for your showers, dishes, laundry, and more. All of that heavy lifting causes wear and buildup over time.
Skipping maintenance leads to:
- Higher energy bills
- Shorter lifespan for your unit
- Inconsistent hot water
- Expensive emergency repairs
- Complete unit failure
Most water heaters last between 8 to 12 years. With regular care, some units can last as long as 15 years. Without it? You might be replacing yours in five.
A couple of hours of maintenance each year can save you $300 to $1,000+ in repairs or premature replacement costs.
That’s money back in your pocket.
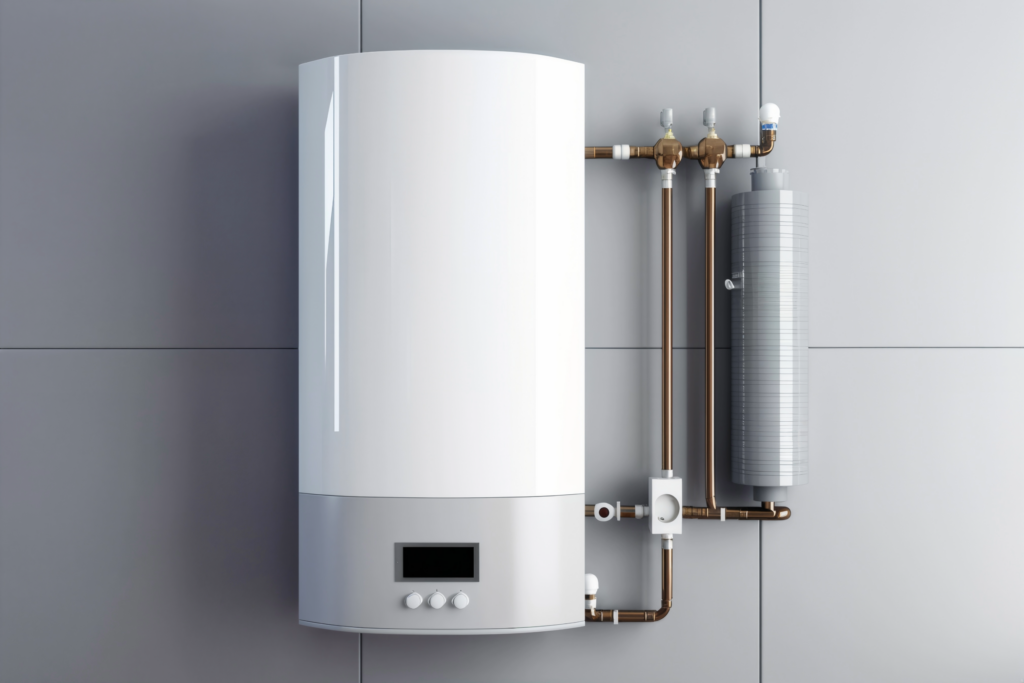
What Kind of Water Heater Do You Have?
Before making any repairs, you have to know what you’re dealing with.
| Type of Water Heater | Fuel Source | Typical Issues |
|---|---|---|
| Tank Water Heater | Gas or Electric | Sediment buildup, pilot light failure, anode rod corrosion |
| Tankless Water Heater | Gas or Electric | Mineral scaling, ignition failure, flow sensor issues |
| Heat Pump Water Heater | Electric | Filter clogs, refrigerant issues |
| Solar Water Heater | Solar + Backup | Collector panel issues, pump failure |
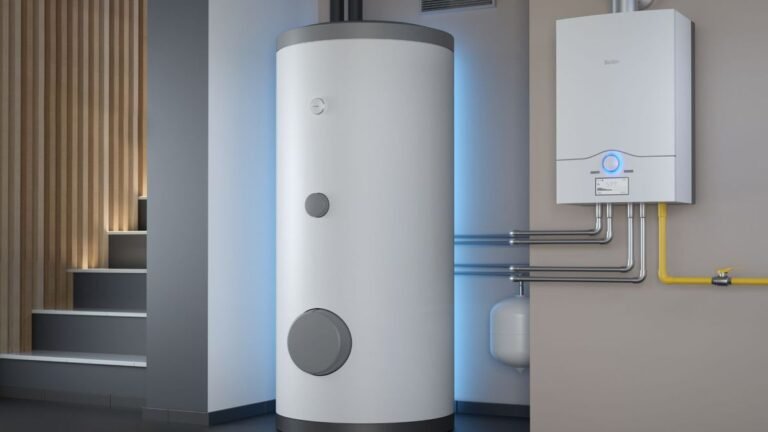
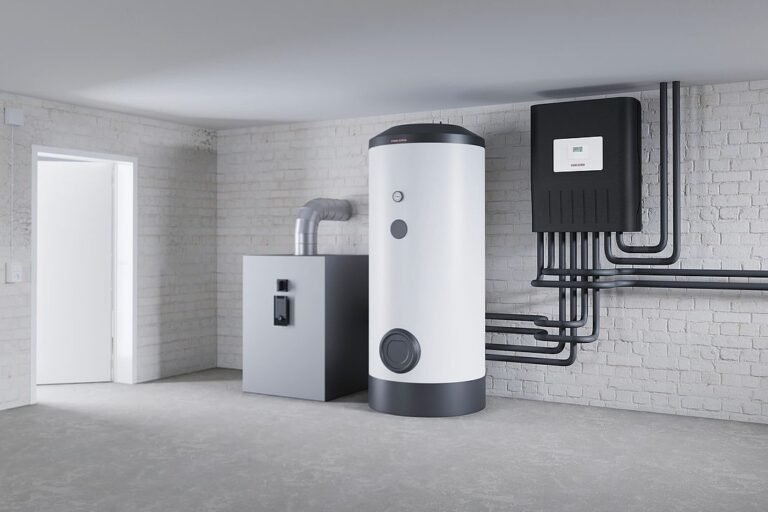
The most common type of water heater in homes is a standard tank — gas or electric. That’s what this guide is concerned with, because that’s what I have at home.
Tools You Will Need Before Getting Started
Don’t skip this part. Everything is better and safer with the right tools.
Recommended water heater repair toolkit:
- Garden hose
- Flat-head and Phillips screwdrivers
- Adjustable wrench or pipe wrench
- Anode rod socket (1 1/16 inch)
- Bucket or drain pan
- Multimeter (for electric heaters)
- Teflon tape (plumber’s tape)
- Work gloves
- Safety glasses
- Flashlight
Many of these are common home tools. The anode rod socket is the only specialty item — you can pick it up at any hardware store for under $10.
Safety First — Never Skip This Step Before Any Repair
This is non-negotiable.
For gas water heaters:
- Set the gas valve to “pilot” or “off”
- Do not use a flame near an open gas line
- If you smell gas: get out of the house right away and immediately call your gas company
For electric water heaters:
- Shut off the circuit breaker that supplies power to the unit
- Verify there are no live currents with a multimeter
- Never work on an electric heater with the power on
For both types:
- Turn off the cold water supply valve at the top of the tank
- Wait at least an hour before you start working on the unit
- Do not allow children and pets in the working space
Safety is not complex — it’s a must.
Fix #1 — Flushing Sediment Out of the Tank
This was the repair I started with. And honestly? It made the biggest difference.
Why Sediment Accumulates in the First Place
Water is made up of minerals — primarily calcium and magnesium. As water heats, those minerals break apart and settle at the bottom of the tank.
This builds up over time into a thick layer of sediment. That layer serves as insulation between the burner and the water. Your heater must work harder and longer to continue doing the same job.
The result:
- Cracking or rumbling noises from the tank
- Water takes longer to heat up
- Higher gas or electric bills
- Shorter heater lifespan
I had all four of these symptoms. My tank sounded as if someone were throwing rocks inside it.
How to Tell If This Is Your Problem
| Symptom | Likely Cause |
|---|---|
| Rumbling or popping sounds | Sediment boiling at the bottom |
| Slower hot water recovery | Sediment blocking heat transfer |
| Discolored or rusty water | Heavy sediment + rust mixing |
| Higher energy bills (no other cause) | Heater is working harder than normal |
Step by Step: How I Flushed My Water Heater
Step 1: Switch everything off I put the gas valve on “pilot” and turned the cold water supply off at the top of the tank.
Step 2: Hook up a garden hose I connected a garden hose to the drain valve on the bottom of the tank. I ran the other end outside into my yard — the water that comes out can be hot and dirty, so don’t drain it near anything you care about.
Step 3: Turn on a hot water tap inside I turned on the hot water tap in my bathroom. This relieves pressure and allows the tank to drain more quickly. Without this step, the tank will empty very slowly.
Step 4: Open the drain valve I twisted the drain valve counterclockwise to open it. Water began pouring out — and it was dark brown and murky. That was the sediment.
Step 5: Rinse with clean water After the tank was mostly empty, I briefly turned the cold water supply back on. This stirs up any settled sediment and flushes it out. I repeated this two or three more times until the water ran clear.
Step 6: Seal things up and refill I closed the drain valve, removed the hose, and turned the cold water supply back on. I waited until water ran steadily from the bathroom tap — that meant the tank was full.
Step 7: Relight and test I returned the gas to the normal position, relit the pilot light according to my manufacturer’s instructions, and waited about half an hour. Hot water was flowing perfectly.
How Often Should You Flush?
- Soft water areas: Once a year
- Hard water areas: Every 6 months
- Older units (8+ years): Every 4 to 6 months
Fix #2 — The Anode Rod Replacement
This one was the biggest surprise to me. I had never even heard of an anode rod prior to this research.
What Is an Anode Rod and Why Is It Important?
An anode rod is a long metal rod — often magnesium or aluminum — that rests inside your water heater tank.
Its function is simple but brilliant: it sacrifices itself to corrosion so the tank does not corrode.
It’s like having a bodyguard for your tank. It gives itself up, slowly, over the years. So long as your anode rod remains intact, your tank is protected. The tank begins to corrode after the rod is completely corroded.
A corroded tank = leaks, rust in your water, and complete replacement.
One of the best-value maintenance tasks you can perform is to replace a worn-out anode rod. The part costs about $20 to $50, and the work takes less than an hour.
A new tank runs $800 to $1,500+.
The math is obvious.
How to Tell When You Need to Replace Your Anode Rod
- The water smells like rotten eggs (sulfur smell)
- Water looks rusty or brownish
- Heater is 3 to 4 years old with no rod replacement
- Visible corrosion or white crust on connections
How to Locate and Change Your Anode Rod
Step 1: Find the rod The anode rod will typically be located at the top of your tank. Sometimes under a plastic cap. On some models, it’s underneath the hot water outlet connection. If you’re not certain, consult your manual.
Step 2: Drain a few gallons first You don’t need to fully drain the tank for this. Simply drain 5 to 10 gallons using the technique from Fix #1. This reduces pressure and mess.
Step 3: Loosen the rod Use your 1 1/16-inch anode rod socket and a breaker bar or ratchet. These can be quite snug — I had to use a cheater pipe for added leverage. Turn counterclockwise.
Step 4: Pull it out and examine My anode rod was all but consumed. It was thin, crumbly, and coated with white calcium deposits. That’s a clear indication it had been doing its job — and it was time for a new one.
Step 5: Install the new rod Apply Teflon tape to the threads (3 to 4 wraps). Hand-thread the new rod in first, then use your socket wrench to tighten it. Don’t overtighten — firm is all you need.
Step 6: Refill and check for leaks Turn the cold water supply back on. Look for any dripping around the rod connection. A little is normal as things settle — wipe it and check again in 10 minutes.
Anode Rod Replacement Schedule
| Water Type | Replacement Frequency |
|---|---|
| Softened water | Every 1 to 2 years |
| Hard water | Every 3 to 4 years |
| Normal municipal water | Every 3 to 5 years |
| Well water | Every 1 to 2 years |
Repair #3 — Fixing the Leaky Temperature and Pressure Relief Valve
This was the repair that scared me most. But it was easier than I thought.
What Is the T&P Relief Valve?
The Temperature and Pressure Relief valve — known as the T&P valve — is a safety device. It’s typically found on the side of the tank near the top, with a small pipe leading down toward the floor.
If the pressure or temperature reaches a dangerous level inside the tank, this valve will open and release water automatically. That keeps the tank from blowing up.
Yes, really. Without a working T&P valve, a water heater can be dangerous.
According to the U.S. Department of Energy, maintaining your water heater’s safety components — including the T&P valve — is critical for both efficiency and home safety.
How I Knew Mine Was Failing
The T&P valve on my water heater was dripping all the time. Not a flood — just a slow, steady drip from the discharge pipe.
This could mean one of two things:
- The valve is working because pressure in the tank is genuinely too high
- The valve is defective or worn out and needs to be replaced
Using a gauge (which you can find at hardware stores for approximately $10), I checked my water pressure. It registered 65 PSI — within the normal range of 50 to 80 PSI. So it was the valve itself that was the problem, not excess pressure.
How to Test and Replace the T&P Valve: Step-by-Step
Step 1: Check the valve first Position a bucket below the discharge pipe. Lift the test lever on the valve for 3 seconds, then release. The water should run freely and stop every time you let go of the lever. If it continues to drip afterward, the valve is bad.
Mine kept dripping. Time to replace it.
Step 2: Shut off the heater and cold water supply Just as before — gas to pilot, electric to breaker off, cold water supply valve closed.
Step 3: Partially drain the tank Remove 5 to 10 gallons so the water level drops below where the valve is located.
Step 4: Disconnect the discharge pipe Unscrew the pipe from the valve outlet. You might need a pipe wrench for this.
Step 5: Remove the old valve Use a pipe wrench to turn the valve counterclockwise. It might be stiff — steady constant pressure helps. Don’t jerk it.
Step 6: Install the new valve Replace with one rated for the same pressure and temperature as your original (check the label on your old valve). Wrap threads with Teflon tape, screw in the new valve clockwise, hand-tighten first, then wrench-tighten.
Step 7: Reconnect the discharge pipe Reconnect the discharge pipe. Ensure it’s facing downward and terminates near the floor — a safety requirement.
Step 8: Refill and test Turn the cold water supply back on. Fill the tank. Restore power or gas. Test the new valve with the lever — it should expel water cleanly and stop completely when you let go.
T&P Valve Quick Reference
| Issue | What It Means | Action |
|---|---|---|
| Valve leaks constantly | Faulty valve or excessive pressure | Test the pressure, replace valve if necessary |
| Valve fails to open when tested | Stuck or corroded valve | Replace immediately |
| Large amounts of water released | Dangerously high pressure | Call a plumber |
| No discharge pipe installed | Safety code violation | Install pipe before using heater |
My Results — Before and After
Here’s what I experienced after completing all three repairs:
| Issue | Before | After |
|---|---|---|
| Noise from tank | Loud rumbling, popping | Entirely silent |
| Hot water recovery time | 40+ minutes | Under 20 minutes |
| Monthly energy bill | $87 (gas) | $71 (gas) |
| Water smell | Faint sulfur odor | No odor |
| T&P valve dripping | Constant drip | Fully stopped |
Total cost of all three repairs: $58 Time taken: Approximately 4 hours over two weekends Plumber quote I received before DIY-ing: $420
When to Stop and Call a Professional
Not all problems can be managed at home. Here’s when to call a licensed plumber:
- Water collecting underneath the tank — might be a tank leak needing complete replacement
- Gas odor — get out of the house and call your gas company right away
- Electrical issues — sparks, tripped breakers, or burned wiring surrounding the heater
- No hot water after repairs — could be a bad heating element or gas valve
- Water heater over the age of 12 — better to replace than repair
There’s no shame in calling a pro. Certain jobs really do require skilled hands.
Annual Water Heater Maintenance Checklist
Schedule this in your calendar and do it every year:
- [ ] Flush out the tank sediment
- [ ] Check and replace anode rod if necessary
- [ ] Test the T&P relief valve
- [ ] Ensure the thermostat setting is correct (standard is 120°F)
- [ ] Inspect all pipes and connections for corrosion or leaks
- [ ] Validate the pilot light (gas heaters)
- [ ] Check the venting system for blockages (gas heaters)
- [ ] Note any weird noises while running
- [ ] Inspect the hot water pipe insulation
Common Questions About Water Heater Maintenance and Care
Q: When should I do water heater maintenance? At least once a year is what most experts recommend. If you have hard water or an older unit, it’s better to do it twice a year.
Q: I have no plumbing experience — can I flush my water heater myself? Yes — flushing is the simplest maintenance task. As long as you take the safety precautions and turn everything off first, most homeowners can do it in less than an hour.
Q: What temperature should my water heater be set to? The U.S. Department of Energy advises 120°F (49°C). This is hot enough for normal use and prevents scalding.
Q: How can I tell if my anode rod is bad? It’s worthwhile to check if your water smells like sulfur, looks rusty, or your heater is older than 3 years without an additional rod replacement. Pull it out and check — if it’s thin, crumbly, or heavily coated, get a new one.
Q: Is it normal if my T&P valve drips every now and then? You may get small drips on occasion throughout heating cycles because of thermal expansion. A constant drip is not normal and needs to be diagnosed.
Q: How many years will a water heater last if maintained? A tank water heater can have a lifespan of 12 to 15 years with proper maintenance. Without that, it can be as low as 8 years.
Q: Can sediment permanently damage my water heater? Excessive, prolonged sediment buildup may crack the tank lining or render the heating element irreparable. That’s why regular flushing matters.
Q: What’s the least expensive way to lengthen my water heater’s life? The single cheapest and highest-impact maintenance task is replacing the anode rod on a regular basis. It costs $20 to $50 and can extend your heater’s life by years.
Wrapping It All Up
Water heater maintenance isn’t glamorous. But it is genuinely important.
I’d gone from cold showers and bizarre sounds to a quiet, efficient, fully functioning water heater — all for under $60 and a few hours of weekend work. The key was knowing what repairs to focus on, and executing each step carefully.
This water heater maintenance and care guide covered the three most significant repairs any homeowner can do at home:
- Flushing sediment — clears buildup, cuts down noise, lowers energy bills
- Replacing the anode rod — protects the tank from corrosion, gives it a longer life
- Repairing the T&P valve — reinstates a vital safety device
You don’t need to be a plumber to do any of these. All you need is the right info, the right tools, and the confidence to dive in.
Your water heater labors every single day. Spend a little time with it, and it’ll keep working for years to come.