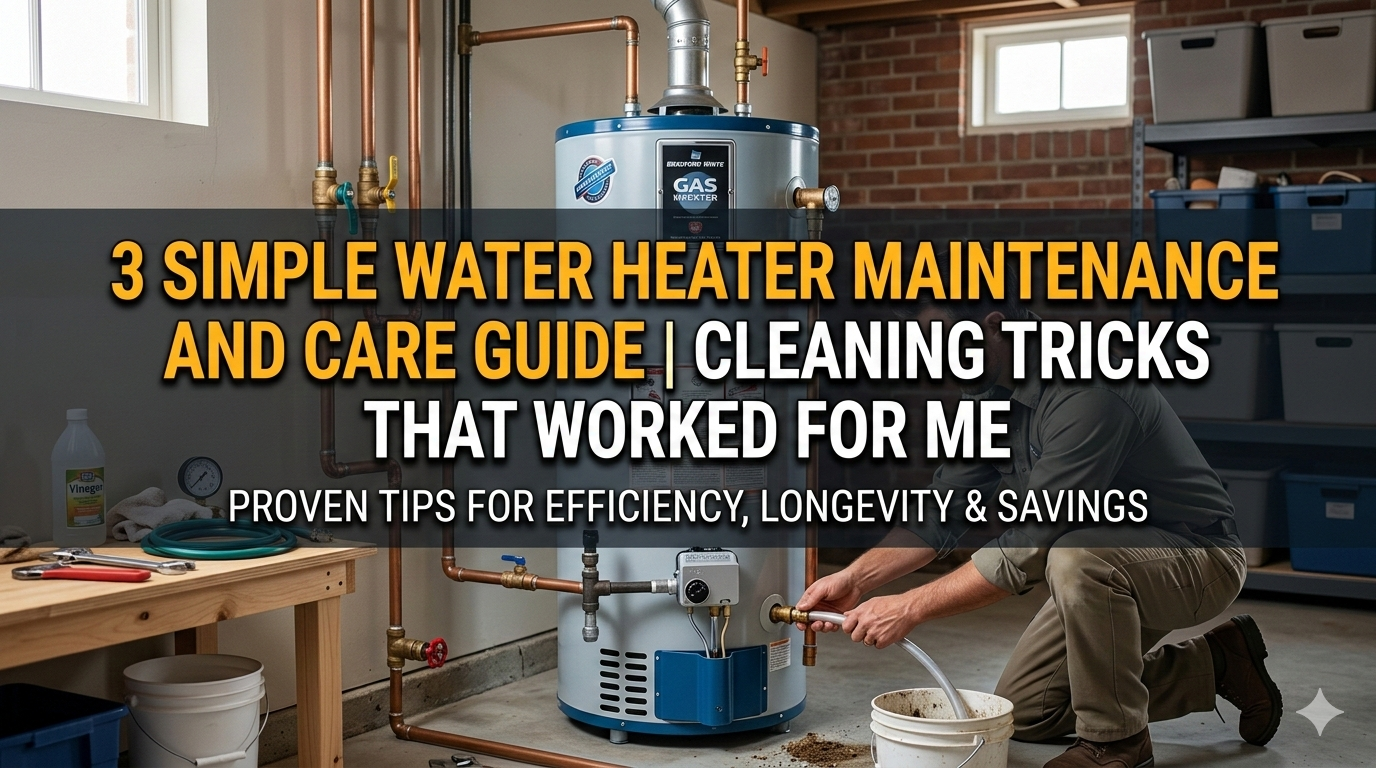
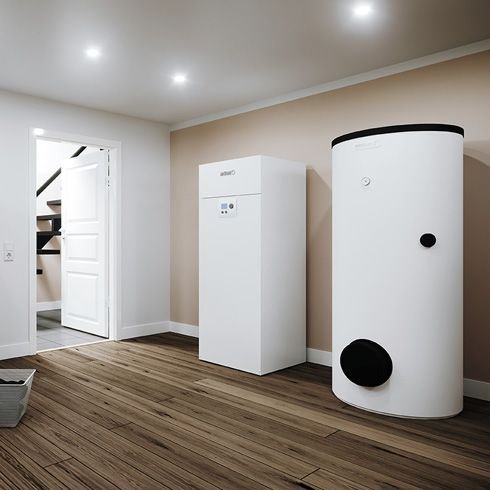
3 Simple Water Heater Maintenance and Care Guide Cleaning Tricks That Worked for Me
Meta Description: Water heater maintenance and care guide cleaning tricks can extend your unit’s life, cut energy bills, and prevent costly breakdowns — here are 3 simple methods that actually worked.
3 Water Heater Maintenance and Care Guide Cleaning Tricks That Worked for Me
It’s time to finally turn off leaks and costly breakdowns — check out these water heater maintenance tricks that helped us keep our units healthy (and why we didn’t try them sooner)!
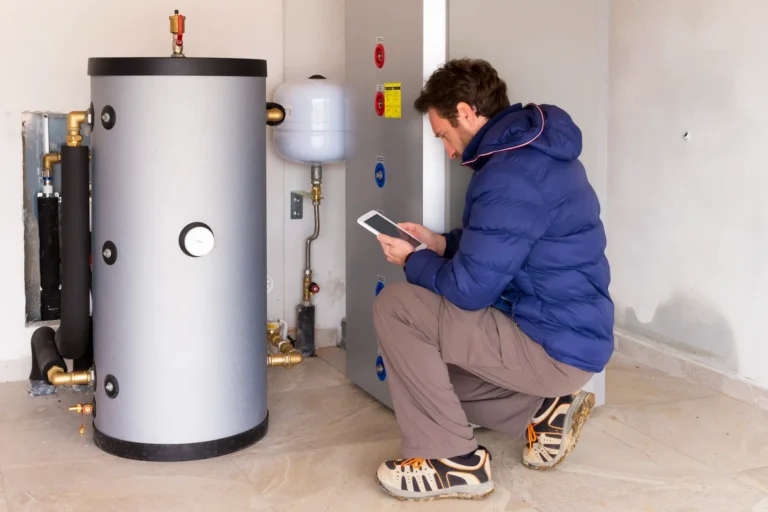
I remember the morning my water heater failed me. It was a frigid Tuesday, and I hopped in what I imagined would be a hot shower — only to be blasted with ice water.
The plumber came over, surveyed my unit and said something I won’t forget: “This thing hasn’t been touched in years, has it?”
He was right. That was when I learned water heaters require regular maintenance. I assumed they just… worked. That costly lesson impacted everything in my life.
Since then, I learned three super easy cleaning tricks for my water heater maintenance and care guide that kept my unit running for years. No fancy tools. No professional needed (most of the time). Just a bit of work a few times each year.
So in this guide, I’m sharing everything I learned — the hard way — so you don’t have to.
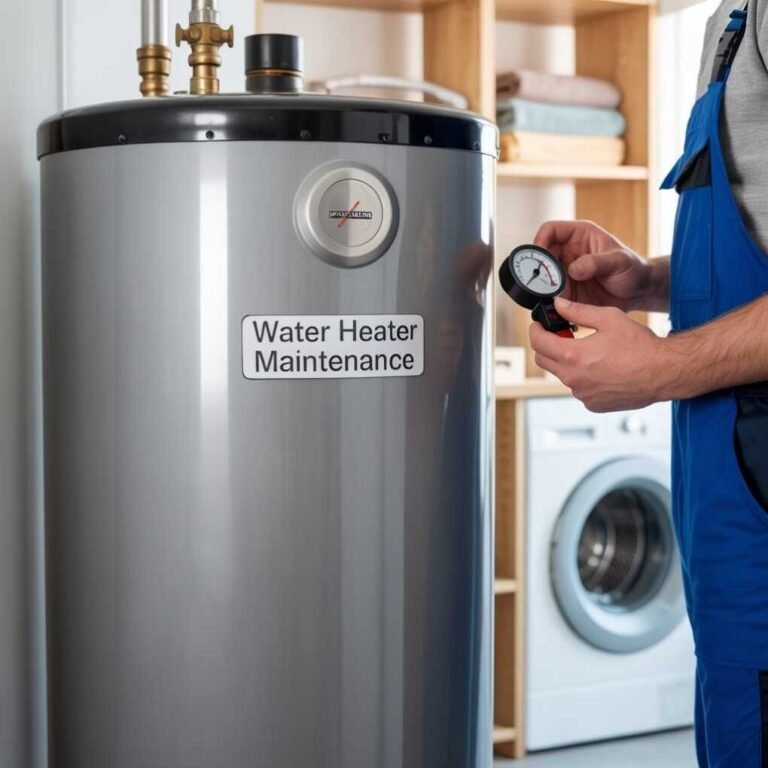
Why Water Heater Maintenance Is More Important Than You Think
The average homeowner completely forgets about their water heater until something goes awry. But here is the kicker: an ignored water heater doesn’t just fail — it slowly siphons money from your bank account each month.
Water heating represents approximately 18% of a home’s energy use, according to the U.S. Department of Energy. A neglectfully maintained unit has to work harder, takes more energy, and wears out faster.
Here’s a quick rundown of what neglect really costs:
| Problem | Cost |
|---|---|
| Sediment buildup; reduced efficiency | 10–15% higher energy bills |
| Anode rod failure; tank corrosion | $800–$1,500 tank replacement |
| Pressure valve failure | $200–$500 repair |
| Full system breakdown | $1,000–$3,000 to replace |
| Leaking or bursting tank | $2,000–$5,000+ (including flood damage) |
These numbers terrified me into action. And honestly? Maintenance itself amounts to less than two hours a year total.
Let’s get into the tricks.
Trick #1 — Bleeding Sediment Out of Your Tank
What Is Sediment and Why Does It Matter?
Here’s what most people don’t realize: your tap water isn’t pristine. Every time it flows into your heater, it brings dissolved minerals — primarily calcium and magnesium — with it.
Over time, those minerals settle to the bottom of your tank. They harden into a thick, gritty coating called sediment.
That layer of sediment does a few nasty things:
- It acts as a blanket between the heating element and water.
- Your heater must run longer and harder to heat the same water.
- It produces a popping, rumbling, or cracking sound (that noise you’ve been ignoring? That’s sediment).
- It gradually eats away at the interior of your tank from the bottom up.
I had over two inches of sediment sitting in my tank before I flushed it out the first time. The difference afterward was instantly noticeable — my water heated faster, and my energy bill shrank.
Step-by-Step Instructions on Flushing Your Water Heater
This does not require a plumber. Here’s exactly what I did:
What you’ll need:
- A garden hose
- Work gloves
- Flathead screwdriver
- A bucket (optional)
Step 1: Turn off the heater. For a gas heater, turn the thermostat to “pilot.” For an electric heater, turn off the breaker at your electrical panel.
Step 2: Let the water cool. Hot water causes burns. Wait a minimum of 1–2 hours after switching off the heater before moving to the next step.
Step 3: Attach the garden hose to the drain valve. The drain valve is typically at the bottom of the tank. It resembles an outdoor spigot. Attach one end of your garden hose to it and run the other end into a drain, outside, or into buckets.
Step 4: Shut off the cold water supply. There is a valve on the pipe going into the top of the heater. Turn it off.
Step 5: Turn on a hot water faucet somewhere in your home. This keeps a vacuum from developing in the tank, making draining less difficult.
Step 6: Open the drain valve. Water will begin to flow through the hose. At first, it may appear brown, rust-colored, or cloudy. That’s the sediment coming out. Let it drain completely.
Step 7: Flush with clean water. When the tank is empty, briefly turn the cold water supply back on. This stirs up any sediment left in the tank and flushes it out. Keep going until the water runs clear.
Step 8: Put it all back together and refill. Close the drain valve, remove the hose, turn on the cold water supply again to fill the tank, then turn on the heater.
How Often Should You Flush?
| Water Type in Your Area | Recommended Flush Frequency |
|---|---|
| Hard water (high mineral content) | Every 6 months |
| Moderate water hardness | Once a year |
| Soft water | Every 1–2 years |
Unsure what type of water you’ve got? Check with your local water utility — they should be able to tell you the hardness level at no cost.
Trick #2 — Replace the Anode Rod Before It’s Too Late
The Most Neglected Part of Your Water Heater
If sediment flushing is the most popular maintenance task, checking the anode rod is probably the most neglected.
I had never even heard of an anode rod until my plumber held up a piece of corroded metal he had fished out of my tank and said: “This was supposed to protect your tank. Now it’s basically nothing.”
The anode rod is a long metal rod — typically magnesium or aluminum — that’s screwed into the top of your tank. Its whole function is to sacrifice itself so your tank doesn’t rust.
It does this through a process known as electrolysis. The rod attracts corrosive elements in the water and corrodes instead, leaving your tank lining intact. It’s essentially a bodyguard for your water heater.
Once worn all the way down, those corrosive elements start eating away at the tank itself. And that’s when rust, leaks, and total tank failure occur.
Signs Your Anode Rod Needs Replacing
- Your hot water smells bad (a sulfur smell)
- Water has a mild rusty or metallic taste
- You have not changed the rod in over 3–5 years
- Your water heater is over 6 years old and has never been serviced
How to Check and Replace the Anode Rod
What you’ll need:
- 1-1/16 inch socket wrench (most rods use this specific size)
- Pipe wrench (backup)
- Plumber’s tape (Teflon tape)
- Replacement anode rod (available at any hardware store for $20–$50)
Step 1: Turn off and cool the heater. Same first steps as the flush — turn it off and let it cool.
Step 2: Drain about 10% of the tank. Remove roughly 10% of the water (a few gallons) to relieve pressure. You don’t have to completely drain it.
Step 3: Find the anode rod. Usually it is at the top of the heater under a plastic cap, or on some models, under the sheet metal cover on top. On some models it is located within the hot water outlet port.
Step 4: Unscrew it with the socket wrench. This can be tight. Apply steady pressure. If it doesn’t move, a pipe wrench provides better leverage. It will turn counter-clockwise.
Step 5: Inspect the rod. If it’s less than a half-inch thick, coated in white calcium, or the wire core is exposed — it must be replaced. However, if it still appears mostly intact, you can return it.
Step 6: Apply Teflon tape on the threads of the new rod. Two or three wraps is enough. This helps seal the connection.
Step 7: Screw in the new rod. Hand-tighten first, then finish with the socket wrench. Don’t over-tighten.
Step 8: Refill, switch on, and inspect for leaks.
Anode Rod Comparison Chart
| Rod Material | Best Suited For | Lifespan | Notes |
|---|---|---|---|
| Magnesium | Soft water areas | 3–5 years | Most effective, most common |
| Aluminum | Hard water areas | 3–5 years | More economical |
| Zinc/Aluminum | Sulfur smell problems | 3–5 years | Effective at removing rotten egg odor |
| Powered (electric) | Any type of water | 10+ years | Superior option, no replacement required |
Trick #3 — Test and Clean the Pressure Relief Valve
A Safety Device You’re Better Off Not Ignoring
This is the trick that really surprised me when I figured out just how important it was.
The temperature and pressure relief valve (T&P valve) is a small but critical safety device on your water heater. Its job is simple: if the pressure or temperature inside the tank rises to dangerous levels, the valve automatically opens and releases that pressure.
In extreme cases, a water heater without a functioning T&P valve can become quite dangerous. We’re talking burst tanks, flooding, or worse.
The scary part? Most homeowners have never even tested this valve. I hadn’t. And when I eventually did, it hardly budged. Mineral deposits had all but glued it in place.
It takes a good five minutes to test and clean it. It may be the most valuable five minutes you’ll spend on water heater maintenance.
According to the U.S. Department of Energy’s water heater safety guidelines, the T&P valve should be tested at least once a year to ensure it operates correctly and keeps your home safe.
How to Test Your T&P Valve
What you’ll need:
- Work gloves
- A bucket or towel
- Spare valve (just in case — $15–$30)
Step 1: Find the valve. It’s fixed to the side of the tank (or sometimes the top), with a small metal lever and a pipe pointed downward.
Step 2: Position a bucket beneath the discharge pipe. Pulling the lever releases hot water or steam. You want to catch that.
Step 3: Pull up the lever briefly. Flip it up for 2–3 seconds, then allow it to snap back down. You should hear water rushing or see it flow into the pipe. That means it’s working.
Step 4: Make sure it seals back up properly. Once you release the lever, water should stop flowing. If it continues to drip or leak, the valve will need replacing.
When to Replace the T&P Valve
| Situation | Action Needed |
|---|---|
| Valve lifts easily and reseals cleanly | No action needed |
| Valve is stiff or hard to lift | Test more carefully; replace if it does not open |
| Water keeps dripping after the lever is released | Replace the valve immediately |
| Valve has not been tested in over 3 years | Replace as a precaution |
| Visible rust or corrosion on the valve | Replace immediately |
Replacement is inexpensive and straightforward. If you’d prefer not to do it yourself, a plumber can handle it in under 30 minutes.
A Note on Cleaning the Valve
If your valve is a little sticky but still working, you can try to clean around it. Wipe away any mineral deposits on the outside with a damp cloth. Some homeowners wipe the valve body with a rag dampened with white vinegar to dissolve calcium buildup.
Avoid immersing the valve in water or spraying it directly. Gentle external cleaning is all that’s needed.
Bringing It All Together — A Yearly Routine That I Follow
Having learned those three tricks the hard way, I devised a simple routine that keeps my water heater in good shape all year long. Here’s the schedule I follow:
| Time of Year | Task |
|---|---|
| Spring (April) | Flush sediment from tank |
| Spring (April) | Test T&P valve |
| Fall (October) | Inspect and replace anode rod as needed |
| Fall (October) | Second flush if you have hard water |
| Anytime | Visual inspection for leaks, rust, or unusual sounds |
This totals perhaps 90 minutes for the whole year. But it has spared me from doing a full water heater replacement — a job that runs $1,000–$3,000 depending on your unit and location.
Extra Advice That Worked Wonders for Me
In addition to the three main tricks, here are a few bonus things that helped:
Lower your thermostat to 120°F. Most water heaters come factory-set at 140°F. Turning it down to 120°F saves energy, slows mineral buildup, and is still hot enough for all household needs.
Insulate your pipes. Adding foam pipe insulation to the first few feet of your water heater’s hot and cold pipes reduces heat loss and improves efficiency.
Check for leaks monthly. It takes less than 30 seconds to glance at the base of your tank and the pipe connections. Catching a small drip early can prevent a major water mess.
Keep the area around your heater clear. Gas heaters require adequate airflow to run safely. Avoid storing boxes, chemicals, or flammable materials next to your unit.
Water Heater Maintenance and Cleaning FAQs
Q: How often should I perform water heater maintenance? At the very least, flush out sediment on an annual basis, examine the anode rod every 2–3 years, and test the T&P valve once a year. If you live in an area with hard water, flush every six months.
Q: Can I perform water heater maintenance myself, or should I call a plumber? All three tricks in this guide are DIY-friendly for most homeowners. But if your unit is quite old, if you’re not confident working with gas appliances, or if you find serious corrosion or leaks, calling a licensed plumber is always the best bet.
Q: How can I tell if my water heater has sediment buildup? Common symptoms include a rumbling or popping noise coming from the tank, water taking longer to heat up, inconsistent hot water, and rising energy bills with no clear reason why.
Q: What will happen if I never change the anode rod? Eventually, the rod will get fully corroded. Once it is gone, the water begins actively eating away at the steel lining of your tank. That leads to rust, leaks, and eventual full tank failure. The majority of prematurely failing tanks do so because the anode rod was never replaced.
Q: Is a smelly hot water supply always the fault of the anode rod? The cause of a rotten egg or sulfur smell in hot water is almost always related to a reaction between the anode rod material and bacteria present in the water. Switching to a zinc-aluminum anode rod or flushing the tank with a hydrogen peroxide solution usually fixes the odor.
Q: How long should a water heater last when properly maintained? A standard tank water heater has a 12–15 year lifespan with proper care. The average life expectancy without maintenance is 8–10 years. Tankless water heaters can last 20+ years if maintained correctly.
Q: Should I drain my water heater if I’m going away on vacation? If you’re going away for two weeks or more, a wise choice is to set the thermostat to “vacation mode” or its lowest setting. Complete draining is typically only required in a home that will be vacant for several months or is susceptible to freezing temperatures.
The Bottom Line
Water heater maintenance should not be complex, costly, or time-consuming.
These three simple tricks — flushing out sediment, replacing the anode rod, and testing the pressure relief valve — are things every homeowner can do with basic tools and a few free hours per year.
I learned them the hard way. You don’t have to.
Try to do just one task this weekend. Flush the tank. Test that valve. Take a look at the anode rod. When you realize how easy it is, everything comes naturally.
Every day, your water heater works hard. A bit of TLC goes a long way toward ensuring that it continues to do that job — silently, efficiently, and without any ice-cold surprise showers.