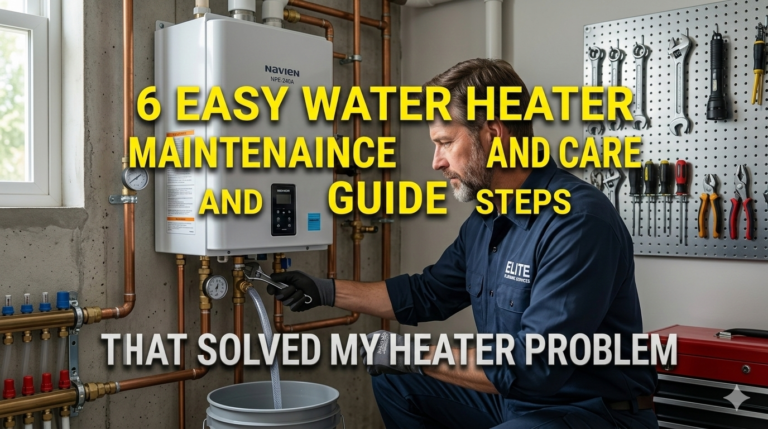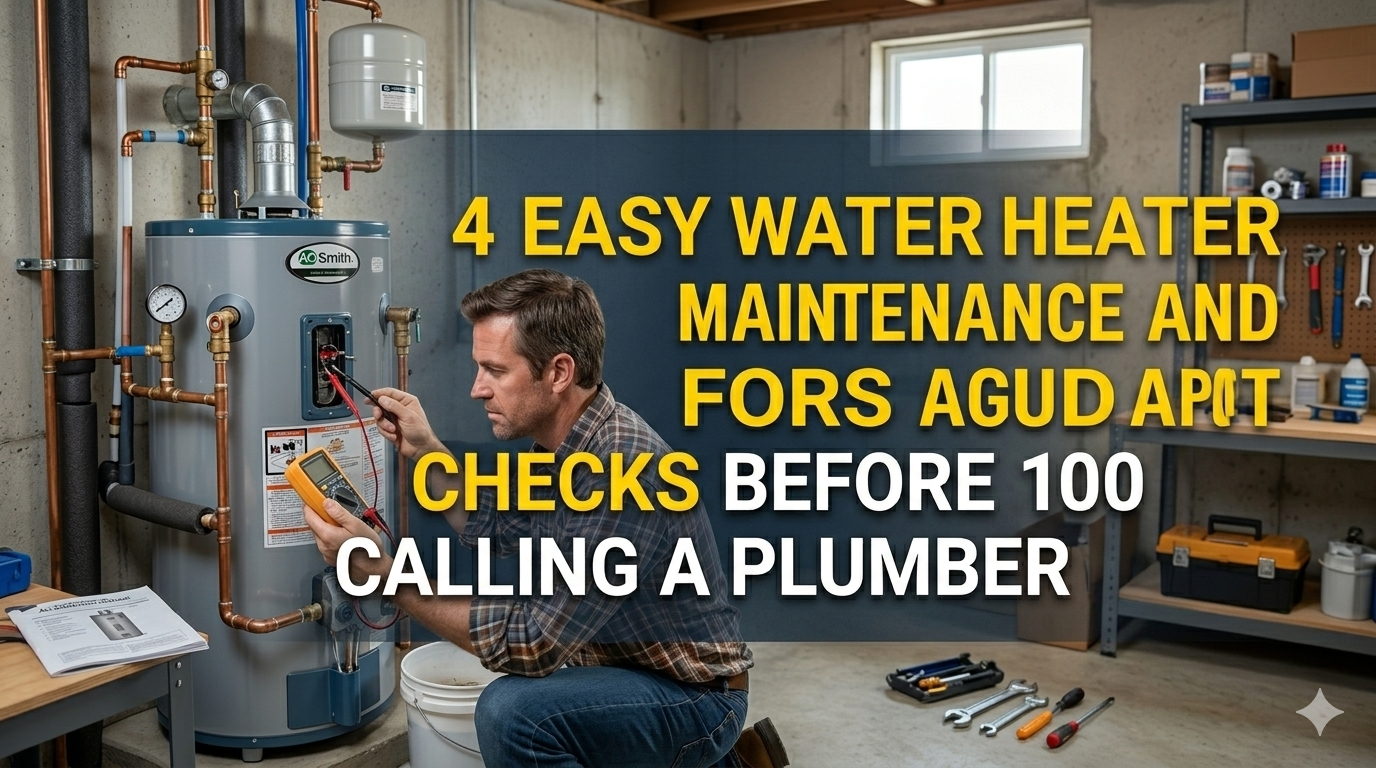
4 Easy Water Heater Maintenance and Care Guide Checks Before Calling a Plumber
Meta Description: Water heater maintenance doesn’t have to be complicated. Discover 4 simple tests you can conduct yourself prior to investing money in a plumber.
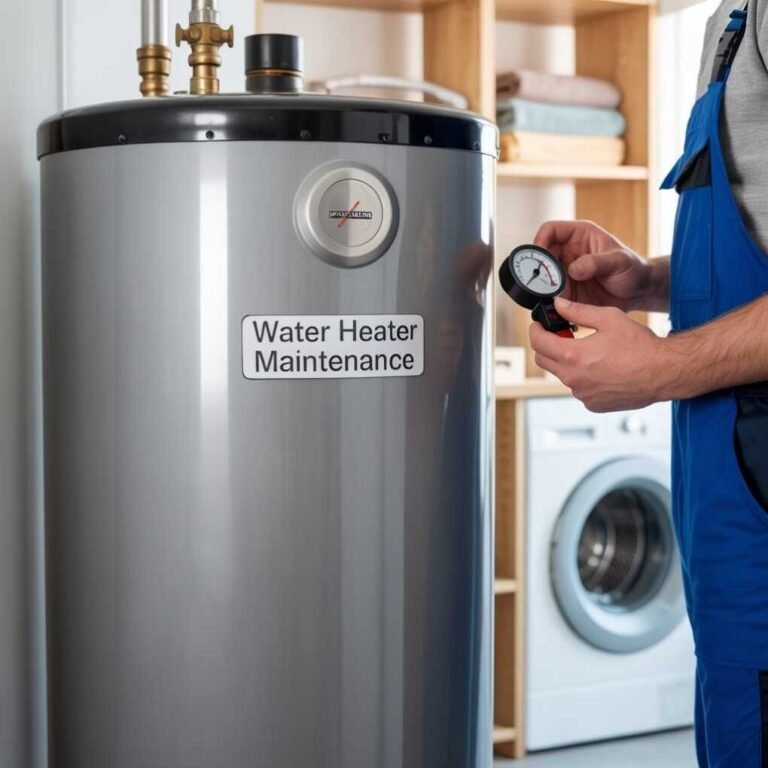
4 Checks For Easy Water Heater Maintenance And Care Before Calling A Plumber
Your water heater is working hard every day. Hot showers, clean dishes, fresh laundry — all of it depends on that one appliance quietly tucked in your basement or utility closet.
But here’s what most homeowners don’t know: even a little regular care can give your water heater extra years of life and save you hundreds in repairs.
Before you pick up the phone and call a plumber, there are four simple checks you can perform yourself. No special training needed. No fancy tools. A few minutes of your time and this guide.
Let’s walk through each one.
Why Is It Really Important to Maintain Your Water Heater
Most people never pay much attention to their water heater until something goes wrong. That’s perfectly understandable — it’s one of those appliances that simply does its thing, in the background, out of sight and out of mind.
But neglecting maintenance has tangible consequences.
Over time, sediment accumulates at the bottom of the tank. It makes the heater work harder to heat up the water, and that increases your energy bill. It also creates weird noises, decreases hot water production, and ultimately shortens the unit’s lifespan.
Water heaters typically last between 8 and 12 years. With good care, many units surpass that easily. Without it, you might be shopping for a replacement in 6 or 7 years.
The good news? All four checks in this guide are truly simple. Most take under 15 minutes. And doing them one to two times per year can make a huge difference.
What You Should Have Before Starting
Before getting into the checks, you’ll want to assemble a few simple items:
| Item | Purpose |
|---|---|
| Garden hose | For draining the sediment from the tank |
| Flathead screwdriver | Adjusting thermostat |
| Work gloves | Protecting your hands from heat |
| Bucket | To catch water when running a TPR valve test |
| Flashlight | Checking areas that are hard to see |
You probably have most of these at home already. No plumber’s toolkit is necessary for any of this.
Also, be sure you know the location of your water heater’s shutoff valve before getting started. It’s the valve on the cold water supply line entering the top of the unit. You’ll need it for a couple of these checks.
Check #1 — Work to Get Rid of the Sediment Buildup in Your Tank
This is the most critical thing you can do for your water heater. And it’s also one of the most abandoned.
Why Sediment Is More of a Problem
There are minerals in water — chiefly calcium and magnesium. As your heater heats the water and cools it again, those minerals settle out of the water and sink to the bottom of the tank.
Over the course of months and years, they build up in a thick layer of grit and debris. Here’s what that sediment does to your system:
Raises your energy bill. Your burner or heating element has to transmit heat through that layer of sediment before it even arrives in the water. It is like trying to boil water with a blanket on the pot.
Causes popping and rumbling sounds. Those funny sounds coming from your water heater? That is often steam venting through pockets of sediment. Not normal. Not healthy for the tank.
Leads to tank damage. Sediment can develop hot spots at the base of the tank, which can corrode the steel and lead to leaks over time.
Follow These Steps to Flush Your Water Heater
Flushing your tank sounds scary but it is actually pretty easy. Here’s how to do it:
Step 1: Turn off the power. For electric heaters, turn off the breaker. For gas heaters, set it to “pilot.”
Step 2: Hook a garden hose up to the drain valve at the base of the tank. Run the other end to a floor drain, outside, or into a bucket.
Step 3: Close the cold water supply valve at the top of the tank.
Step 4: Turn on a hot water faucet somewhere in your home. This stops a vacuum from forming and causes the tank to drain more quickly.
Step 5: Turn on the drain valve and let it go. The initial water may appear cloudy, brownish, or gritty. That’s the sediment flushing out.
Step 6: After the water runs clear and clean, close the drain valve, turn on the cold water supply again, and let the tank refill.
Step 7: Restore electricity or gas supply.
Do this once a year and your heater will reward you with more efficient operation and a longer lifespan.
Pro Tip: The buildup of sediment in water heaters is often so thick that it can clog the drain valve if the heater hasn’t been flushed in a number of years. If so, a call to a plumber is well worth it — but for most regularly flushed heaters, this is an entirely DIY-friendly task.
For more detailed guidance on keeping your unit in top shape, visit Water Heater Care — a dedicated resource for water heater maintenance tips and care guides.
Check #2 — Test the Temperature and Pressure Relief (TPR) Valve
This is the safety inspection that most homeowners overlook entirely. And from a safety perspective, it may be the most important item on this list.
What the TPR Valve Is Really For
As your water heater heats up the water, it is also building pressure. Normally that pressure is kept low enough to be safe. But when the thermostat breaks or the pressure surges, things can go bad in a hurry.
The temperature and pressure relief valve — generally known as the TPR valve — is your safety backup. If the pressure or temperature inside the tank becomes excessive, this valve opens automatically to release it.
A faulty TPR valve that doesn’t take action when the moment demands is a critical danger. It can cause a buildup of pressure that, in extreme situations, can rupture the tank.
This check only takes a couple of minutes.
How to Test Your TPR Valve
You can find the TPR valve on either the side or top of your tank. It has a small lever and a pipe that goes down toward the floor.
Step 1: Set a bucket beneath the end of your TPR valve’s discharge pipe.
Step 2: Briefly lift the test lever — for a second or two. You will hear a rush of water or steam escaping into the discharge pipe.
Step 3: Release the lever. The valve should click back closed and cease water flow.
If the valve does not release anything when you lift the lever, or if it continues dripping after you have released it, the valve should be replaced. The work involves draining some of the tank and dealing with pressurized elements, so it’s a job for a plumber.
But testing it yourself? Easily done, and well worth doing at least once per year.
| TPR Valve Test Result | What It Means |
|---|---|
| Water releases and stops cleanly | Valve is working properly |
| No water releases at all | Valve may be stuck or faulty — replace it |
| Water keeps dripping after test | Valve seal is worn — replace it |
| Hissing sound without lever being lifted | Pressure may be too high — call a plumber |
Check #3 — Inspect the Anode Rod and Replace as Necessary
This is the secret protector of your water heater. Most people have never even heard of it. Once you understand what it does, you will never again look past it.
The Anode Rod: Hands Down, Your Tank’s Best Defense
Your water heater has a steel tank. Steel and water do not mix very well over time — eventually, the water will corrode and rust the steel on its inside surface.
To stop that from happening, manufacturers put a metal rod known as an anode rod inside the tank. The material is commonly magnesium or aluminum. The rod draws the corrosive elements in the water, so they attack the rod rather than the tank walls.
It literally sacrifices itself in order to protect your tank. That’s why it is sometimes referred to as a “sacrificial anode rod.”
But here’s the catch: when the rod completely corrodes away, it can no longer perform its function. After that, the corrosive elements attack the tank itself. This causes rust, leaks, and a significantly reduced lifespan.
According to the U.S. Department of Energy, regular water heater maintenance — including anode rod inspection — is one of the most effective ways to extend the life of your unit and improve energy efficiency.
How Frequently Should You Check It?
Most manufacturers recommend inspecting the anode rod every 2–3 years. If you have hard water (containing a high amount of minerals), you might want to check it annually.
How to Inspect the Anode Rod
Step 1: Switch off the electricity and cold water supply to the heater.
Step 2: Locate the anode rod. It’s typically at the top of the tank, behind a hex head bolt. On some models, it can be found beneath the plastic cover close to the hot water outlet.
Step 3: Use a 1 1/16-inch socket wrench to unscrew the rod. This may take a bit of force — rods tend to seize up over the years.
Step 4: Remove the rod and examine it.
Here’s what you’re looking for:
- Good rod: Solid, mostly intact, and moderately pitted or worn on the surface. Keep using it.
- Worn rod: Much thinner than it should be, highly corroded, or coated with calcium deposits. Replace it soon.
- Depleted rod: Core wire is exposed; the rod is nearly gone. Replace immediately.
Anode rods sell for $20 to $50 and are readily available at hardware stores. Putting a new one in is straightforward once you have the old one out — simply thread it in and tighten it down.
This one check could add several years to your water heater’s life.
Check #4 — Go Over the Thermostat Setting and Check for Warning Signs
This last check is the fastest, but it covers the most ground. Consider it the annual physical for your water heater.
Getting the Temperature Right
The U.S. Department of Energy advises you set your water heater thermostat to 120°F (49°C). This temperature is:
- Hot enough to keep most harmful waterborne bacteria out
- Safe enough to prevent scalding
- Efficient enough to avoid wasting energy
Many water heaters arrive from the factory preset to 140°F. That’s hotter than needed for most households, and it costs more to maintain.
To check and adjust your thermostat:
Gas heaters: There is typically a dial on the front of the gas valve. Simply turn it to 120°F.
Electric heaters: The thermostat is located behind an access panel on the side of the tank. You’ll need a flathead screwdriver to adjust it.
Watch for These Warning Signs While You’re There
While you’re checking the thermostat, take a minute to look around the water heater for signs of anything out of the ordinary. Here’s a quick checklist:
Rust or corrosion on the exterior of the tank. Surface rust on pipes or fittings can be normal, but substantial corrosion on the tank body itself is a red flag.
Pooling water around the base. Any collection of liquid or dampness underneath the heater must be checked out. A small, slow leak can grow into a big issue quickly.
Unusual smells. A sulfur or rotten egg odor from hot water typically indicates bacteria in the tank — common in units that are set too low or turned off for some time. A gas smell near a gas heater is more serious — get out of the house and call your gas company immediately.
Discolored hot water. Rusty or brownish hot water usually indicates that the inside of the tank is corroding. This means the anode rod has been used up.
Pilot light issues (gas heaters). The pilot light flame should be blue. A yellow or orange flame indicates incomplete combustion, which can cause carbon monoxide to leak.
How Frequently Should You Perform These Checks?
Here is a simple maintenance schedule to follow:
| Maintenance Task | How Often |
|---|---|
| Flush sediment from tank | Once a year |
| Test TPR valve | Once a year |
| Inspect anode rod | Every 2–3 years |
| Check thermostat and visual inspection | Once a year |
It takes 30 seconds to set a calendar reminder. It could spare you thousands of dollars in repair or early replacement costs.
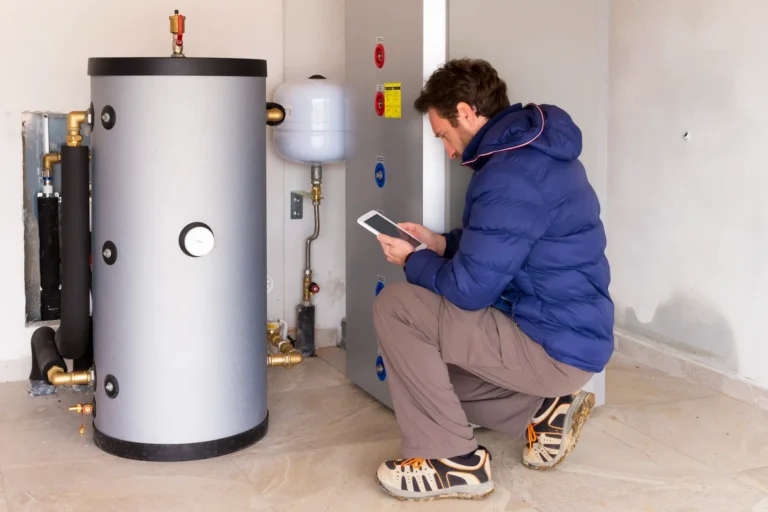
When You Should Actually Call a Plumber
This guide explains what is safe for you to handle on your own. But there are times a professional is the right call.
Call a plumber if:
- The TPR valve is defective and must be replaced
- You spot a significant leak from the tank body (not just fittings)
- Hot water is consistently rusty or discolored even after flushing
- The anode rod has been fully consumed and there are signs of internal corrosion on the tank
- You think you have a problem with your gas line or pilot assembly
- The tank is over a decade old and has begun showing numerous warning signs
If you question the general health of your unit, a licensed plumber can also conduct a full system inspection. Many plumbers will do this for a flat fee, which is usually reasonable.
Money Saved by Keeping Up with Maintenance
Let’s convert this into actual numbers.
| Scenario | Estimated Cost |
|---|---|
| Annual DIY maintenance (your time + supplies) | $20–$50/year |
| New anode rod (every 3–5 years) | $20–$50 |
| Plumber call for minor repair | $150–$400 |
| Water heater replacement (tank-style) | $800–$1,500 installed |
| Water damage from a burst or leaking tank | $1,000–$10,000+ |
The math is pretty clear. A small amount of time and attention each year is one of the best investments a homeowner can make.
FAQs About Water Heater Maintenance
Q: How can I tell if my water heater needs to be replaced rather than repaired?
A: If your unit is older than 10 to 12 years and you’re having multiple problems — rust, a series of repairs, inconsistent heat — it’s often more economical to replace rather than continue making repairs. A plumber will be able to give you an honest assessment.
Q: Can I flush my water heater if I’ve never flushed it before?
A: Yes, absolutely. These steps are designed for beginners. Just go at your own pace, follow each step carefully, and always cut off the power before you start. If you encounter a clogged drain valve or are uncertain at any point, stop and call a plumber instead of forcing anything.
Q: My water heater is making a popping or rumbling noise. What does that mean?
A: That’s nearly always sediment buildup. The noise occurs when water gets trapped between layers of sediment and turns to steam as the temperature rises. This is usually fixed by flushing the tank. If it persists after a flush, call a plumber to assess the problem.
Q: How long does it take to flush a water heater?
A: The entire process takes from 20 to 45 minutes, depending on the size of your tank and how much sediment has built up.
Q: Are these checks safe to do by myself, or do I need to be a professional?
A: All four checks in this guide are designed to be homeowner-friendly. The important thing is to always cut power before doing work on the unit and carefully go through each step. If anything feels uncertain, it’s perfectly fine to stop and reach out to a professional.
Q: What is the best temperature setting for my water heater?
A: The Department of Energy recommends 120°F as the sweet spot. It’s safe, efficient, and hot enough for most household uses.
Q: How often do I need to change the anode rod?
A: Look at it every 2 to 3 years. Replace it when the core wire shows through or the rod is badly depleted. If you have hard water, check it more often.
Wrapping It All Up
Water heater maintenance doesn’t have to be complicated or costly. Four simple checks — flushing sediment, testing the TPR valve, inspecting the anode rod, and reviewing the thermostat — can keep your unit running efficiently for years longer than if you ignored it.
The best part? Most of this takes under an hour a year and costs next to nothing.
It’s like doing an oil change on your car. You wouldn’t skip that and let the engine fail. Your water heater needs that same basic care.
Start with the easiest check today. Even just testing your TPR valve or setting your thermostat to 120°F is a step in the right direction.
And when something does arise that’s too tricky for a DIY fix, you’ll have a clear sense of when it’s time to bring in a plumber — and what to tell them.