4 Powerful Water Heater Maintenance and Care Guide Cleaning Lessons From My Old Heater
4 Powerful Water Heater Maintenance and Care Guide Cleaning Lessons From My Old Heater
Hot water is something most of us take for granted—until it suddenly disappears. I learned that lesson the hard way a few winters ago. My old water heater, which had been working quietly in a corner for years, suddenly started delivering lukewarm water and strange rumbling sounds.
At first, I assumed the heater was simply old and needed replacement. But after doing some research and experimenting with basic cleaning and maintenance, I realized something surprising: the heater wasn’t failing—it was just desperately overdue for proper care.
That experience taught me four powerful cleaning lessons that completely changed how I maintain water heaters today. In this guide, I’ll share those lessons, practical maintenance tips, cleaning steps, and helpful charts that can help you keep your water heater running smoothly for years.
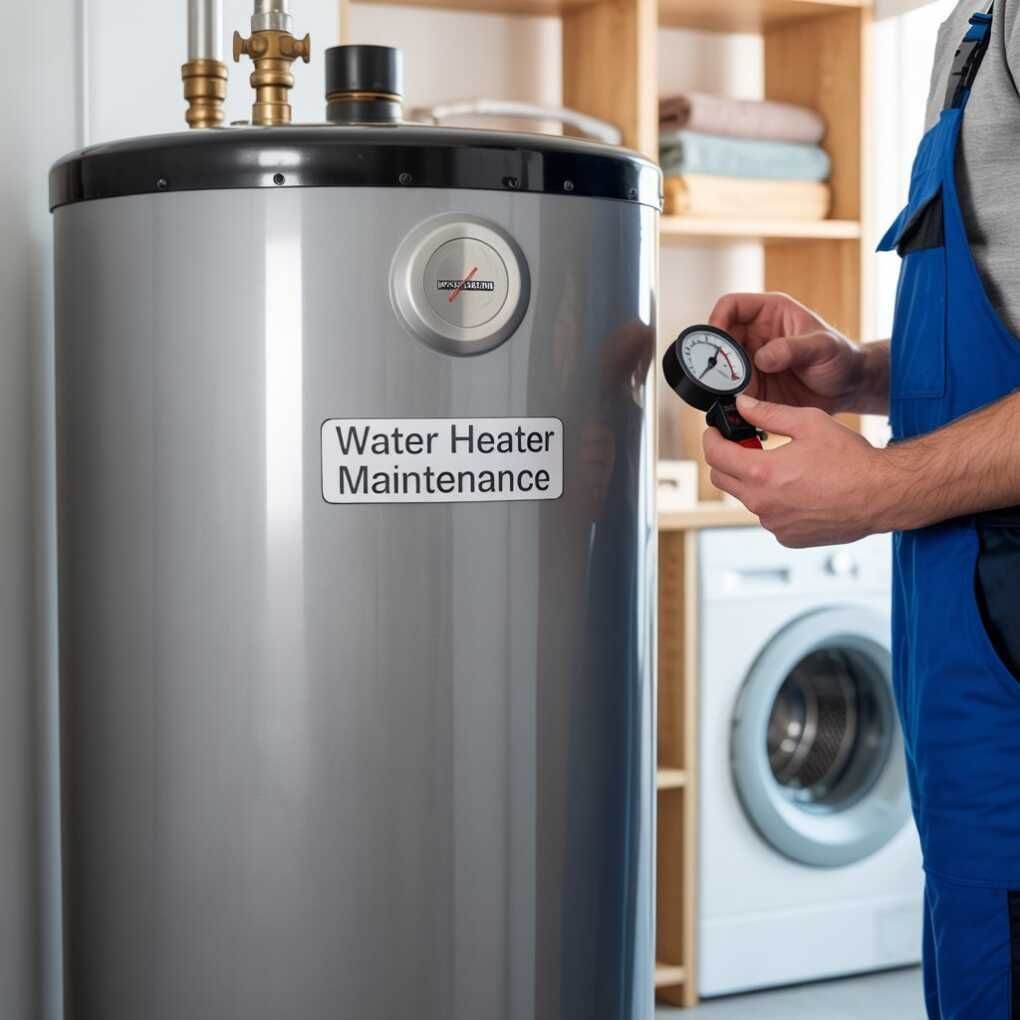
Why Water Heater Cleaning and Maintenance Matters
Water heaters operate quietly behind the scenes, but they perform one of the most energy-intensive tasks in a home: heating large volumes of water.
Over time, several things happen inside the tank:
- Sediment builds up from minerals in water
- Rust begins forming inside the tank
- Heating efficiency decreases
- Internal components become clogged
Ignoring these issues can cause:
- Reduced hot water supply
- Higher energy bills
- Strange noises from the tank
- Premature heater failure
Common Problems Caused by Poor Maintenance
| Problem | Cause | Result |
|---|---|---|
| Reduced hot water | Sediment buildup | Heater works harder |
| Strange rumbling sounds | Mineral deposits | Overheating |
| Rusty water | Tank corrosion | Possible tank leak |
| High energy bill | Insulation by sediment | Inefficient heating |
Regular cleaning prevents these problems and can extend a water heater’s life by 5–10 years.
Lesson 1: Sediment Buildup Is the Silent Heater Killer
The first thing I discovered when opening my old heater’s drain valve was shocking: thick cloudy water filled with white mineral flakes poured out.
Those flakes were sediment deposits caused by hard water.
What Is Sediment?
Sediment forms when minerals in water (mainly calcium and magnesium) settle at the bottom of the tank after heating.
Over time, this sediment layer becomes thicker and acts like insulation between the burner and the water.
Effects of Sediment Buildup
| Sediment Thickness | Impact on Heater |
|---|---|
| Thin layer | Slight efficiency loss |
| Medium layer | Rumbling noises |
| Thick layer | Reduced hot water |
| Severe buildup | Tank overheating |
Signs Your Heater Has Sediment
You might notice:
- Popping or rumbling noises
- Hot water running out quickly
- Higher electricity or gas bills
- Inconsistent water temperature
Cleaning Lesson I Learned
When I finally flushed the tank after years of neglect, the heater became quieter and more efficient immediately.
Now I flush my heater twice a year.
Basic Tank Flushing Process
- Turn off power or gas supply
- Turn off cold water inlet
- Attach hose to drain valve
- Drain water completely
- Flush with fresh water
- Close valve and refill tank
This simple process alone can restore heater performance.
Lesson 2: The Anode Rod Is the Tank’s Secret Protector
Before researching heater maintenance, I had never heard of an anode rod.
Yet it is one of the most important parts inside a water heater.
What Is an Anode Rod?
An anode rod is a metal rod placed inside the tank that attracts corrosion.
Instead of the tank rusting, the rod sacrifices itself.
This process is called sacrificial corrosion protection.
Types of Anode Rods
| Type | Material | Best For |
|---|---|---|
| Magnesium | Magnesium alloy | Soft water |
| Aluminum | Aluminum alloy | Hard water |
| Zinc | Aluminum + zinc | Odor problems |
Why My Heater Failed Early
When I removed the anode rod from my old heater, it was almost completely dissolved.
That meant the tank had been unprotected for years.
Replacement Timeline
| Water Type | Replacement Interval |
|---|---|
| Soft water | 3 years |
| Hard water | 2 years |
| Heavy mineral water | 1–2 years |
Replacing the anode rod can extend a heater’s life dramatically.
Lesson 3: Exterior Cleaning Improves Efficiency More Than You Think
Most people think water heater maintenance is only internal. But exterior maintenance matters too.
My old heater was covered with dust, dirt, and cobwebs.
This might seem harmless, but it affects ventilation and insulation.
Why Exterior Cleaning Matters
Dust and debris can:
- Block air vents
- Cause overheating
- Reduce insulation performance
- Create fire hazards near burners
Areas to Clean
| Heater Area | Cleaning Method |
|---|---|
| Air vents | Soft brush |
| Exterior tank | Damp cloth |
| Burner area | Vacuum |
| Thermostat panel | Dry cloth |
Simple Cleaning Routine
Once every few months:
- Wipe exterior surface
- Vacuum around base
- Check vents for dust
- Remove debris nearby
This small habit keeps the heater working efficiently and safely.
Lesson 4: Temperature Settings Affect Cleaning and Lifespan
Another surprising lesson came from checking my heater’s thermostat.
It was set far higher than necessary.
Ideal Temperature Setting
Experts recommend 120°F (49°C).
Higher temperatures cause:
- Faster sediment formation
- Increased corrosion
- Energy waste
- Scalding risk
Temperature Impact Chart
| Temperature | Energy Use | Sediment Risk | Safety |
|---|---|---|---|
| 100°F | Low | Low | Safe |
| 120°F | Optimal | Moderate | Safe |
| 140°F | High | High | Scald risk |
| 160°F | Very high | Severe | Dangerous |
Lowering the temperature reduces mineral deposits and extends heater life.
My Simple Water Heater Maintenance Schedule
After learning these lessons, I created a simple maintenance routine.
Annual Maintenance Calendar
| Task | Frequency |
|---|---|
| Tank flushing | Every 6 months |
| Anode rod inspection | Every 12 months |
| Exterior cleaning | Every 3 months |
| Temperature check | Every 6 months |
| Leak inspection | Monthly |
Following this schedule keeps heaters running smoothly.
Step-by-Step Water Heater Cleaning Guide
Here is the exact cleaning process I now follow.
Step 1: Turn Off the Heater
Gas heater → turn off gas valve
Electric heater → switch off breaker
Step 2: Turn Off Cold Water Supply
Close the inlet valve to prevent new water entering.
Step 3: Drain the Tank
Attach a garden hose and open the drain valve.
Let water flow until the tank empties.
Step 4: Flush Remaining Sediment
Open the cold water valve briefly to stir up remaining deposits.
Drain again until water runs clear.
Step 5: Refill the Tank
Close drain valve and reopen cold water supply.
Once the tank is full, restore power or gas.
Water Heater Lifespan Chart
Cleaning and maintenance significantly affect heater lifespan.
| Maintenance Level | Average Lifespan |
|---|---|
| Poor maintenance | 5–7 years |
| Basic maintenance | 8–10 years |
| Regular cleaning | 10–15 years |
| Excellent care | 15–20 years |
My old heater lasted 13 years after I started maintaining it properly.
Warning Signs Your Heater Needs Cleaning Immediately
Watch for these signs:
- Rumbling sounds
- Dirty or rusty water
- Reduced hot water pressure
- Hot water running out quickly
- Strange smell from water
If you notice these symptoms, your heater likely needs flushing or inspection.
Water Heater Efficiency Comparison
Cleaning affects energy efficiency more than many homeowners realize.
| Heater Condition | Efficiency | Energy Cost |
|---|---|---|
| Clean tank | 95% | Low |
| Moderate sediment | 85% | Medium |
| Heavy sediment | 70% | High |
Sediment buildup forces the heater to use more energy to heat the same amount of water.
Safety Tips During Water Heater Cleaning
Always prioritize safety when working with water heaters.
Important precautions include:
- Turn off power or gas
- Allow water to cool
- Use protective gloves
- Avoid touching hot pipes
- Ensure proper drainage
If you are unsure about any step, consult a professional technician.
The Biggest Mistake Homeowners Make
The biggest mistake is simple: ignoring the heater until something breaks.
Water heaters rarely fail suddenly without warning. Most problems start with:
- Sediment buildup
- Rust
- worn anode rods
- clogged valves
Regular maintenance prevents these issues.
Final Thoughts
My old water heater taught me four powerful lessons about cleaning and maintenance:
- Sediment buildup quietly destroys heater efficiency.
- The anode rod is the tank’s main defense against corrosion.
- Exterior cleaning improves safety and ventilation.
- Proper temperature settings reduce mineral deposits.
These simple habits transformed how my heater performed. Instead of replacing the unit, I was able to extend its life for several more years.
Water heater maintenance isn’t complicated, but it requires consistency. A few simple cleaning steps each year can save money, prevent breakdowns, and ensure reliable hot water when you need it most.
Frequently Asked Questions (FAQs)
1. How often should a water heater be cleaned?
A water heater should be flushed at least once every 6–12 months. Homes with hard water may require more frequent cleaning.
2. What causes sediment buildup in water heaters?
Sediment forms when minerals such as calcium and magnesium separate from heated water and settle at the bottom of the tank.
3. Can sediment damage a water heater?
Yes. Thick sediment layers can cause overheating, reduce efficiency, and eventually damage the tank or heating element.
4. Is it safe to flush a water heater myself?
Yes, most homeowners can safely flush a heater by following proper steps such as turning off power, draining the tank, and refilling it correctly.
5. How long should a water heater last?
A typical water heater lasts 8–12 years, but regular cleaning and maintenance can extend its lifespan to 15 years or more.
6. What temperature should a water heater be set to?
The recommended temperature is 120°F (49°C) because it balances safety, efficiency, and reduced mineral buildup.