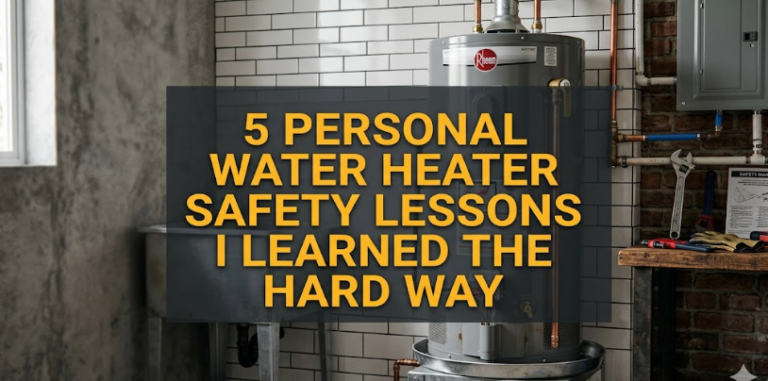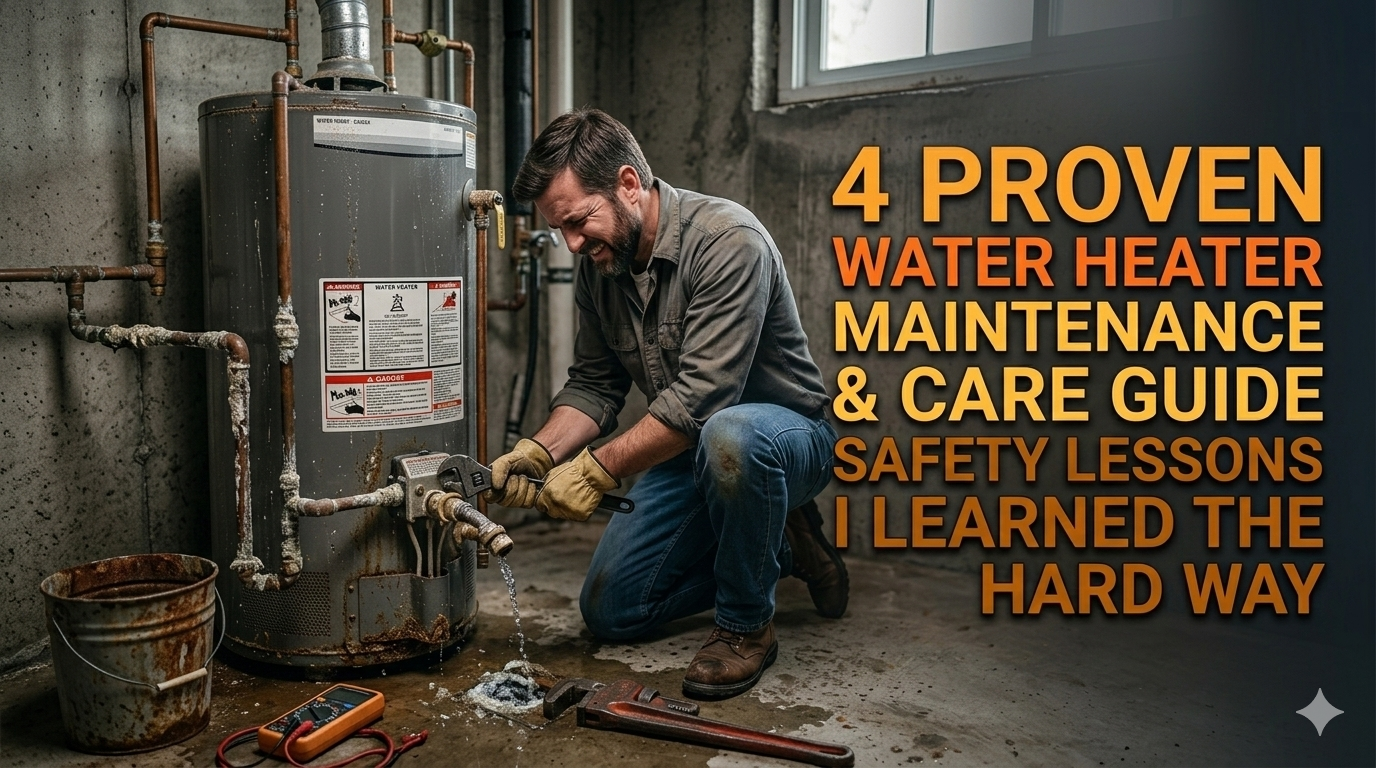
4 Proven Water Heater Maintenance and Care Guide Safety Lessons I Learned the Hard Way
Water Heater Maintenance and Care Guide: Safety Lessons that Can Save You from Huge Disasters
Find out 4 tested tips I learned the hard way about keeping your unit safe.
4 Essential Water Heater Maintenance and Care Safety Lessons I Learned the Hard Way
To this day, I remember the morning I walked into my basement to find two inches of water on the floor.
My water heater had been quietly leaking for days. The destruction of the flooring, the drywall and my bank account was savage. The worst part? It was completely avoidable.
That led me to discover everything I could about proper water heater upkeep. What I found surprised me. Most homeowners view their water heaters the same way — they don’t pay attention to them until something goes wrong.
This water heater maintenance and care guide is based on real mistakes, real repairs, and real lessons. Here I am going to take you through four hard-learned safety lessons so you don’t have to.
Why Most Homeowners Overlook Their Water Heater (Until It’s No Longer Working)
If you have a water heater, it runs every day. Hot showers, fresh dishes, laundry — it does all of that without a peep.
That reliability is precisely the problem.
Most people ignore it because it never demands attention. Then one day, it fails — floods — or, worse, becomes a safety hazard.
Here’s a quick insight into just how frequent water heater issues are:
| Problem | How Common | Average Repair Cost |
|---|---|---|
| Sediment buildup | Very common (most homes) | $100 – $200 |
| Pressure valve failure | Common after 5+ years | $150 – $300 |
| Anode rod corrosion | Extremely common | $20 – $60 (DIY) |
| Water heater leak | Common after 8–10 years | $500 – $1,500+ |
| Total unit failure | Every 10–15 years | $800 – $2,000+ |
Most of these issues can be prevented with simple maintenance. Let that sink in.

Lesson 1 — The Secret Sediment Problem No One Told Me About
What’s Happening Inside Your Tank All Day Every Day
Water contains minerals. The big ones are calcium and magnesium. When water is heated inside your tank, these minerals drop out of the solution and settle at the bottom.
Over the course of months and years, these pile up into a thick, crusty layer known as sediment.
I had never realized it was this bad in my tank. Nobody told me. And by the time I learned, my water heater had to work double-time just to push hot water through that thick layer of buildup.
The Red Flags I Should Have Seen Sooner
In hindsight, the warning signs were all there. I just didn’t understand what they meant.
- Bubbling or rumbling noises from the tank
- Delayed arrival of hot water at the faucet
- Water that appeared slightly discolored or had an unusual smell
- Increased power bills with no other explanation
That popping sound? That is water trapped under sediment, boiling and attempting to escape. It is your water heater telling you that something is wrong.
The Correct Way to Flush Your Water Heater
Flushing your tank clears out that sediment buildup. I now do this once a year — it takes less than an hour.
What you need:
- A garden hose
- A flathead screwdriver
- Work gloves
Steps to follow:
- Set the thermostat to “vacation” or the lowest setting
- Turn off the cold water supply valve located at the top of the heater
- Hook up a garden hose to the drain valve on the bottom
- Run the other end of the hose outside or to a floor drain
- Open a hot water faucet somewhere in your home for airflow
- Open the drain valve and let all the water run out
- Briefly turn the cold water supply back on to flush out remaining sediment
- Close the drain valve, refill the tank, and reset your settings
Pro tip: If the water runs clear immediately, you’re in good shape. If it runs brown or has visible particles, your tank needed this badly.
Do this once a year. Set a reminder on your phone right now.
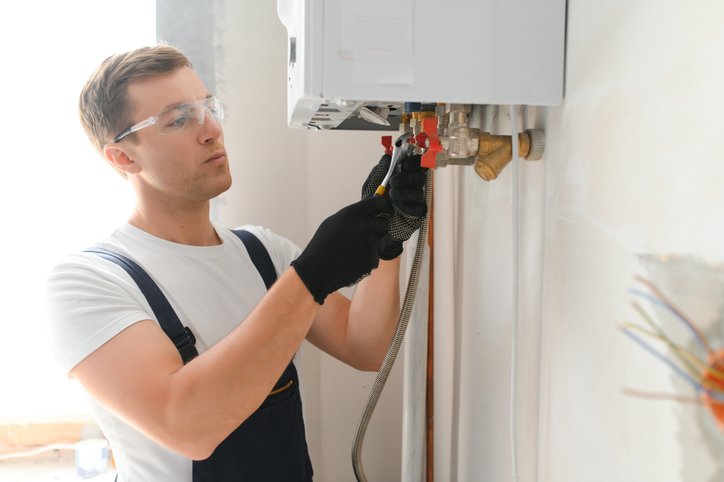
Lesson 2 — The Pressure Relief Valve Nearly Cost Me My House
What This Little Valve Actually Does
The temperature and pressure relief valve — or T&P valve — is one of your water heater’s most important safety mechanisms.
Its job is straightforward but vital. If the pressure or temperature inside your tank reaches a dangerously high level, this valve opens and releases that pressure before the tank can rupture — or even explode.
Yes, explode. This isn’t a dramatic overstatement. A failed pressure valve combined with a stuck thermostat can create enough pressure in a water heater to send it through the roof.
I learned this after a home inspection revealed my T&P valve had frozen in the closed position. It hadn’t been tested in over eight years.
How to Safely Test Your T&P Valve
Testing this valve is fast and simple. You should do it once a year.
Before you start:
- Clear the area around the discharge pipe
- Prepare a towel — there will be some water
- Wear closed-toe shoes
Testing steps:
- Find the T&P valve — it’s located on the side or top of the tank and has a small lever
- Place a bucket or towel under the discharge pipe
- Quickly lift and release the lever
- You should get a small burst of hot water or steam
- When you let go, the valve should fully close
If the valve does not release water, stays open, drips constantly, or feels stuck — replace it immediately. This is not optional.
T&P valves are inexpensive, typically $15 to $40. A water heater explosion costs everything.
When to Replace the Valve
| Valve Condition | Action Needed |
|---|---|
| Opens and seals properly | Test again next year |
| Stuck, will not open | Immediate replacement |
| Drips or leaks after testing | Immediate replacement |
| Valve over 3 years old | Replace as a precaution |
| No discharge pipe installed | Install one immediately |
The discharge pipe must point downward toward a proper drain. It must never be capped or blocked.
Lesson 3 — I Neglected the Anode Rod, and My Tank Paid the Price
The Unsung Hero of Your Water Heater
Here is something almost no one knows about: the anode rod.
It is a metal rod — usually magnesium or aluminum — that hangs inside your water heater tank. Its entire purpose is to corrode so your tank doesn’t have to.
It sacrifices itself to protect the steel walls of your tank from rusting. That’s why it’s also called a sacrificial anode rod.
Once that rod is fully depleted, the corrosion has nowhere to go but into your tank itself. Once the inside of the tank starts to rust, it’s game over. A rusted tank cannot be repaired — you replace the whole unit.
I learned this the hard and expensive way.
How Often Should You Check It?
Most experts recommend inspecting your anode rod every two to three years and replacing it when it is considerably worn down.
Here’s a simple rule of thumb:
- Good: Full, solid metal rod with little to no corrosion
- Getting there: Heavily calcified or less than half an inch thick
- Replace now: Rod has corroded down to the wire core or is completely gone
To check the rod, shut off the water heater, locate the hex head on top of the unit and unscrew it with a 1-1/16 inch socket. If you’re not comfortable doing this yourself, a plumber can perform the check during a service visit.
Does Your Water Type Matter?
Absolutely. Your home’s water type affects how quickly anode rods wear down.
| Water Type | Effect on Anode Rod | Recommended Check Interval |
|---|---|---|
| Soft water | Very aggressive — rod depletes quickly | Every 1–2 years |
| Hard water | Causes calcium buildup on the rod | Every 2–3 years |
| Well water | Can accelerate corrosion | Every 1–2 years |
| Chlorinated municipal water | Moderate impact | Every 2–3 years |
If your home has a water softener, this is especially important. Softened water is notoriously hard on anode rods and tank linings.
A Simple Upgrade Worth Considering
If you tend to forget about checking your anode rod, consider a powered anode rod. These use a small electrical current to protect the tank rather than a sacrificial metal rod. They last longer and require far less maintenance.
The upfront cost is higher — typically $50 to $200 — but for many homeowners, the peace of mind is well worth it.
Lesson 4 — My Water Heater Temperature Was Wrong for Years
The Two Risks Nobody Talks About Together
Water heater temperature is a balancing act between two very real threats.
Set it too low, and you risk Legionella bacteria. These bacteria thrive in warm, standing water and can cause a serious lung infection known as Legionnaires’ disease.
Set it too high and you risk scalding. Water at 140°F can cause burns in just five seconds. For young children and older adults, the risks are even greater.
For years, I had my water heater cranked up because I believed hotter was better. I never considered the scalding risk at all.
What Should You Really Set the Temperature To?
The U.S. Department of Energy and most plumbing experts recommend finding a middle ground.
| Temperature Setting | Risk Level |
|---|---|
| Below 120°F | High risk of bacterial growth |
| 120°F | Balanced safety and efficiency |
| 140°F at tank + mixing valve | Best of both worlds |
| Above 140°F | High risk of scalding |
The smartest setup is to keep the tank itself at 140°F to kill bacteria, but install a mixing valve (also called a tempering valve) at the water heater outlet. This blends cold water into the hot supply so that what reaches your faucets is a safe 120°F.
This setup is especially important in homes with:
- Children younger than five
- Elderly family members
- Those with reduced sensation in their hands or feet
How to Check and Adjust Your Temperature Setting
Gas water heater: The thermostat dial is typically on the front of the gas valve. Turn it to your desired setting. Many dials use vague labels like “hot,” “A,” “B,” and “vacation” rather than exact temperatures.
Electric water heater: You will need to access the thermostat behind the access panels. Always cut power at the circuit breaker first. Adjust the thermostat dial with a flathead screwdriver, then replace the panels and restore power.
If you are unsure of your current temperature, test the water at the nearest hot faucet with a cooking thermometer. Run the hot water for two minutes before testing.
Building a Year-Round Maintenance Schedule
Once I started treating maintenance as a scheduled task, everything became easier. Here is what I follow now:
| Task | Frequency | Time Required |
|---|---|---|
| Flush sediment from tank | Once a year | 45–60 minutes |
| Test T&P valve | Once a year | 5–10 minutes |
| Check anode rod | Every 2–3 years | 20–30 minutes |
| Check temperature setting | Every 6 months | 5 minutes |
| Inspect for leaks or corrosion | Every 3 months | 5 minutes |
| Check the area around the heater | Monthly | 2 minutes |
Print this out. Put it on your fridge. Set reminders in your phone.
This water heater maintenance and care schedule only works if you actually follow it consistently.
Signs Your Water Heater May Be Approaching the End of Its Life
No amount of maintenance lasts forever. Here are the warning signs that your unit may be due for replacement:
- Age: Tank water heaters typically last 8–12 years. With regular maintenance, tankless units can last 20 years or more.
- Rusty water: Orange or brown hot water often signals that the inside of the tank is corroding.
- Rumbling or banging: Heavy sediment buildup that flushing can no longer fully correct.
- Leaking around the base: Slow seeping at the bottom usually points to internal corrosion.
- Inconsistent hot water: May indicate a failing heating element or thermostat.
- Soaring energy bills: An aging unit loses efficiency quickly.
If your water heater is a decade old or more and showing multiple symptoms, replacement is usually the smarter choice over repair.
Common Questions About Water Heater Maintenance and Care
Q: How frequently should I flush my water heater? Once a year is recommended for most homes. If you have very hard water or a high-usage household, consider flushing every six months.
Q: Can I maintain my water heater myself, or do I need a plumber? Most basic tasks — flushing the tank, testing the T&P valve, and checking the temperature — are completely DIY-friendly. Replacing the anode rod is also manageable for most homeowners with basic tools. However, gas line issues or electrical problems should always be handled by a licensed professional.
Q: What happens if I never flush my water heater? Over time, sediment accumulates and acts as insulation between the heating element and the water. This causes the unit to run longer and hotter, which drives up energy costs, shortens the lifespan of the unit, and increases the risk of overheating.
Q: How do I know if my T&P valve is bad? If it doesn’t release water during a test, drips constantly after testing, or shows visible corrosion and rust, it should be replaced immediately.
Q: Is tankless water heater maintenance easier? Tankless water heaters still require maintenance — mainly descaling the heat exchanger and cleaning the inlet filter — but there’s no sediment flush needed since there’s no storage tank. They tend to have a longer lifespan but cost more upfront.
Q: What water heater temperature is best for preventing bacteria? The CDC recommends keeping the tank at 140°F to prevent Legionella bacteria from growing, combined with a mixing valve to deliver tap water at a safe 120°F.
Q: How long does an anode rod last? Usually three to five years, depending on water quality, usage, and rod material. Homes with soft water may need to replace the rod every one to two years.
Wrapping It All Up
Routine water heater maintenance isn’t glamorous. It isn’t exciting. But it is one of the most important things you can do for your home’s safety and comfort.
The four lessons in this guide came at a real cost to me — flooded basement, a seized safety valve, a nearly depleted anode rod, and years of unknowingly running dangerously hot water through my home.
You don’t need to make those same mistakes.
Flush your tank. Test your T&P valve. Check the anode rod. Set the right temperature.
Do these four things and you will be rewarded with years of reliable, safe, and efficient service from your water heater.
Start today. Your future self will thank you for it.