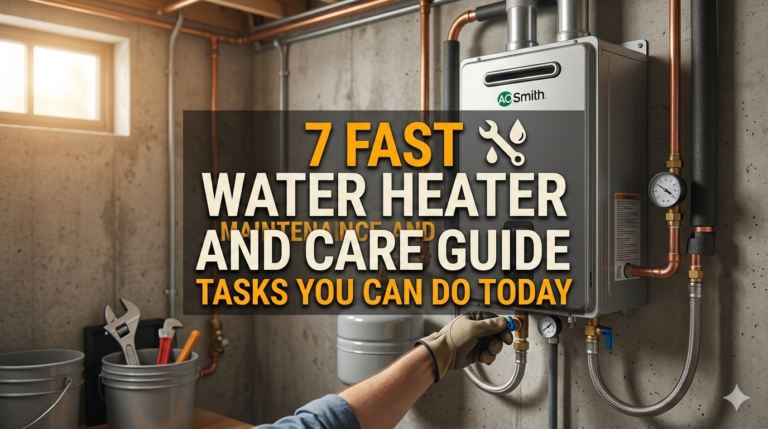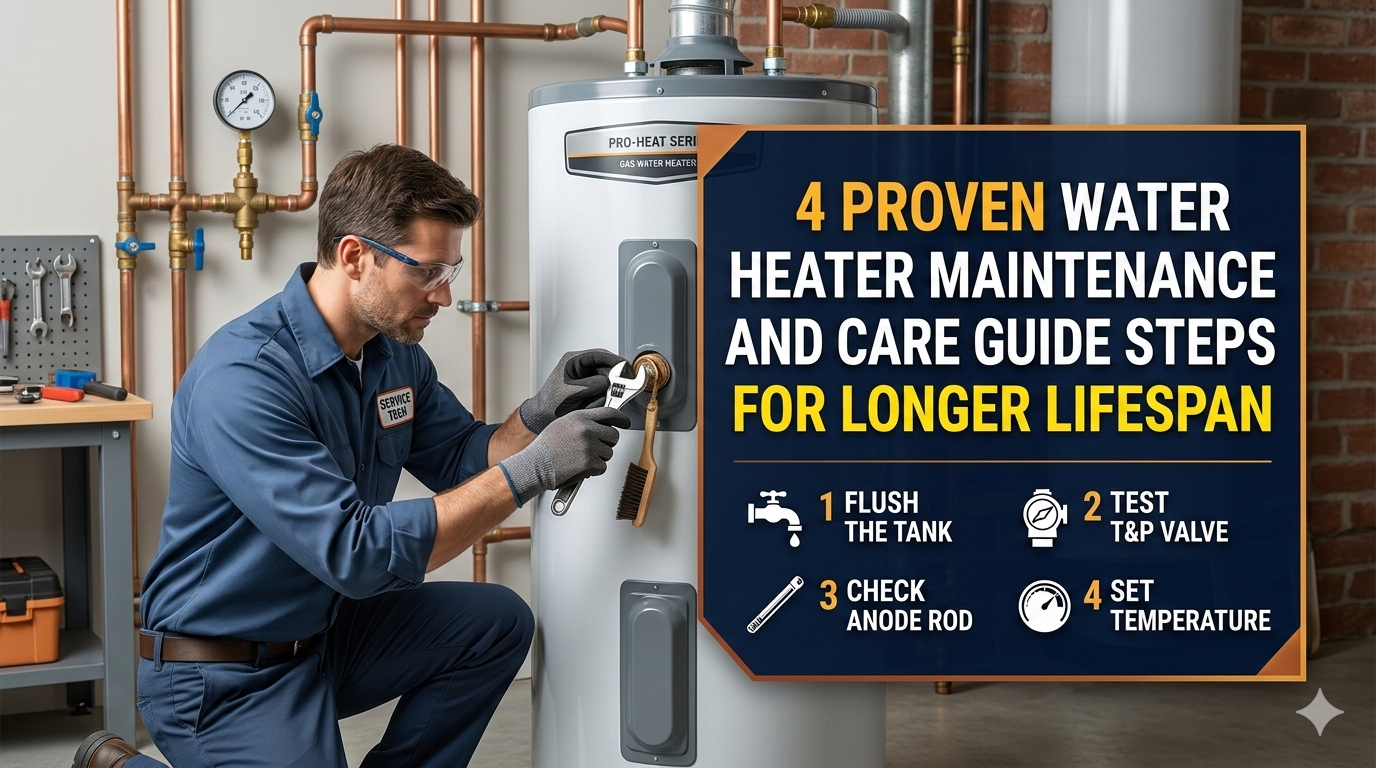
4 Proven Water Heater Maintenance and Care Guide Steps for Longer Lifespan
Meta Description: Water heater maintenance and care guide steps that help you avoid costly repairs, extend your unit lifespan, and keep hot water flowing dependably in your home day after day.
4 Effective Steps for Your Water Heater Maintenance and Care Guide to Increase the Longevity
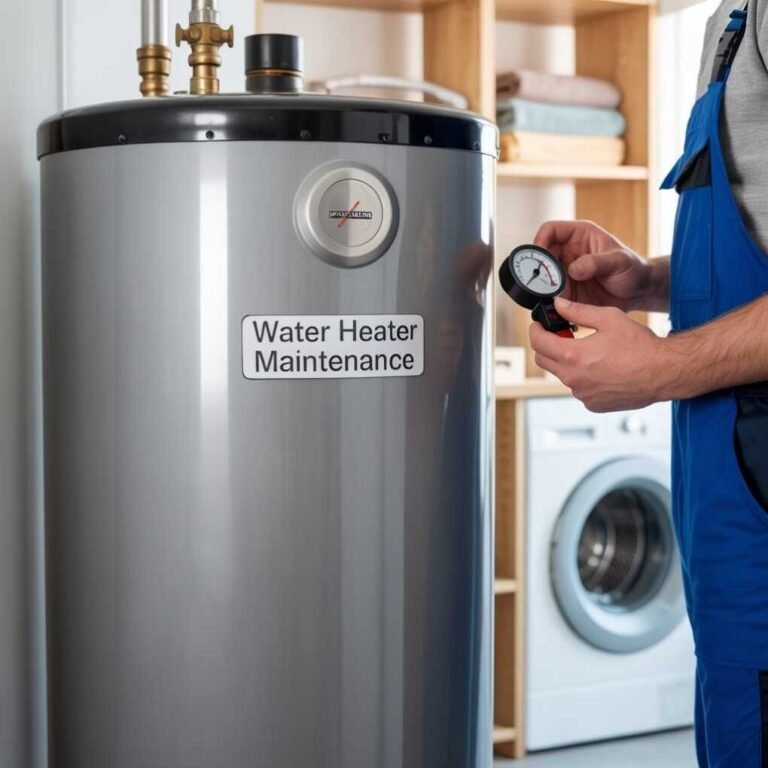
Your water heater is an unsung hero that works around the clock. It warms up water for your showers, dishes, laundry and more — often without a second thought on your part. But like a car, it requires regular care to operate effectively.
Most homeowners will not give their water heater a second thought — until it breaks. At that point, repairs can be costly — or, worse, a complete replacement is required. Replacing a water heater typically costs $800 to $1,500. That’s a huge bill that good maintenance can prevent.
The good news? Taking good care of your water heater isn’t difficult. Follow a few simple steps once or twice annually, and you can extend your system’s life and save on energy costs as well.
This guide details the 4 common water heater maintenance and care steps every homeowner should take. No matter if you have a traditional tank model or a tankless unit, these steps apply to you.
Let’s get into it.
Why Water Heater Maintenance is So Important
Before we jump into the steps, it helps to know why this is so important.
A neglected water heater gets sediment build-up, pressure build-up, and has to work harder than it should. This leads to:
- Higher energy bills
- Inconsistent water temperatures
- Weird sounds (like rumbling or popping)
- Shorter lifespan
- Leaks and water damage
The U.S. Department of Energy estimates that water heating makes up roughly 18% of a home’s energy use. A neglected unit can drive that figure even higher.
On average, tank water heaters last 8 to 12 years. With care, some live 15 years or longer. That’s a big difference — and it is entirely up to you.
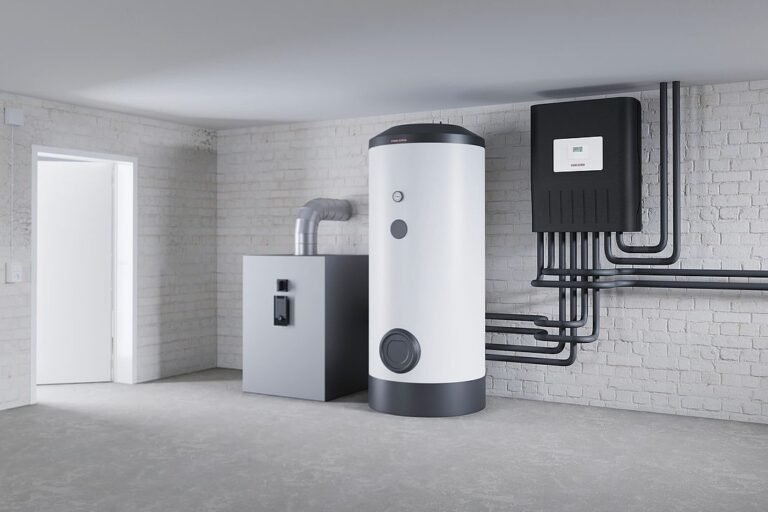
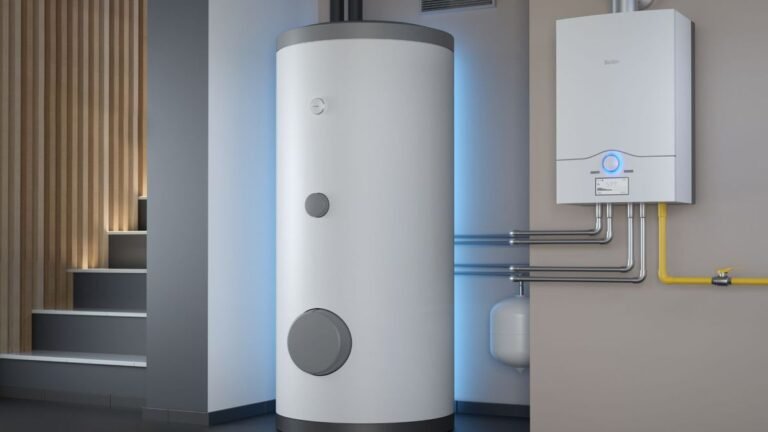
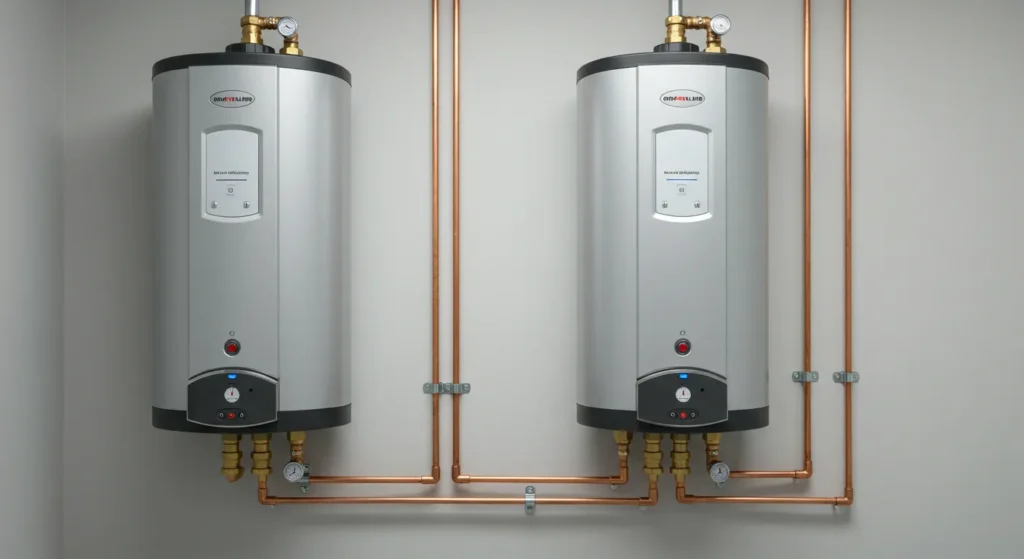
What Kind of Water Heater Do You Have?
Before doing anything, know your unit. The two most common varieties are:
| Type | How It Works | Lifespan |
|---|---|---|
| Tank Water Heater | Stores and heats a large amount of water in a tank (40–80 gallons) | 8–12 years |
| Tankless Water Heater | Heats water on demand as it flows through the unit | 15–20 years |
| Heat Pump Water Heater | Uses electricity and heat from the air to warm water | 10–15 years |
| Solar Water Heater | Uses solar panels to heat water | 15–20 years |
The instructions in this guide are geared primarily toward tank and tankless water heaters, the most common types found in American homes. Some steps are the same for both; others differ depending on type.
Step 1 — Run Clean Water to Flush Out Tank Sediment
This is the single most important annually performed maintenance task for any tank water heater.
Over time, minerals in your water — calcium and magnesium in particular — settle at the bottom of the tank. This sedimentary layer creates major issues.
What Sediment Does to Your Water Heater
Sediment acts like a blanket between the burner and the water. This causes the heater to work more and longer to heat the same amount of water. This:
- Wastes energy
- Overheats the tank bottom
- Causes popping or rumbling sounds
- Leads to premature tank failure
Sediment in hard water areas will accumulate considerably quicker. If you hear strange sounds coming from your heater, that’s usually sediment getting stirred up by the heat.
How to Flush a Water Heater (Step-by-Step Instructions)
Here’s how to do it safely:
What you’ll need:
- Garden hose
- Flathead screwdriver
- Work gloves
- Bucket (optional)
Steps:
- Turn off the power or gas. For electric heaters, turn off the circuit breaker. For gas heaters, set it to pilot.
- Shut off the cold water supply valve located at the top of the tank.
- Allow the water to cool for at least an hour, or overnight if you can. Hot water can cause burns.
- Attach a garden hose to the drain valve at the tank’s bottom. Take the other end to a floor drain or outside.
- Turn on a hot water faucet somewhere in your home. This admits air and aids faster draining of the water.
- Open the drain valve and allow the water to escape. Look for sediment — it appears like sand or grit.
- Flush with cold water. Toggle the cold supply back on for a minute or so to agitate and flush any residual sediment, then turn it off again.
- Close the drain valve and remove the hose; refill the tank.
- When the tank is full, restore electricity or gas.
How Often Should You Do This?
| Water Type | Flush Frequency |
|---|---|
| Soft water area | Once a year |
| Hard water area | Every 6 months |
| Very old unit (10+ years) | Every 3–4 months |
If you’ve never flushed your heater before, don’t be alarmed if the water runs dark or murky initially. That’s a good thing — and evidence that this step should have happened long ago.
Step 2 — Inspect and Replace the Anode Rod
The anode rod is one of the most neglected components of a water heater — and one of the most critical.
What Is an Anode Rod?
Think of it like a sacrificial soldier. An anode rod is a long metal rod (typically magnesium or aluminum) that hangs inside your tank. Its job is to lure the most corrosive elements in the water so that they attack the rod instead of the steel tank walls.
With no operable anode rod, your tank will just corrode from the inside out. Once that happens, the tank will fail — and there’s no remedy for a leaking tank.
How to Check the Anode Rod
You’ll need a 1 1/16-inch socket wrench for this job.
Steps:
- Shut off all power/gas and water supply.
- Find the anode rod — typically on top of the heater or beneath a top panel.
- Turn it loose with the socket wrench. It might be really tight — that’s normal.
- Extract and inspect the rod.
What to Look For
| Rod Condition | What It Means |
|---|---|
| Mostly solid with some coating | Still has life — put it back |
| Less than ½ inch thick | Replace immediately |
| Coated in white calcium deposits | Still OK, but monitor closely |
| Completely gone or turned to mush | Tank may already be damaged |
When to Replace It
Anode rods most commonly last, on average, between 3 to 5 years but also vary depending on water quality. If you use a water softener, your rod may wear down more quickly because softened water is more corrosive to metal.
Replacement rods run $20 to $50 each — a small price to pay compared with replacing an entire water heater.
Pro tip: You should wrap the threads with plumber’s tape (Teflon tape) when adding a new rod, so they won’t seize in the future.
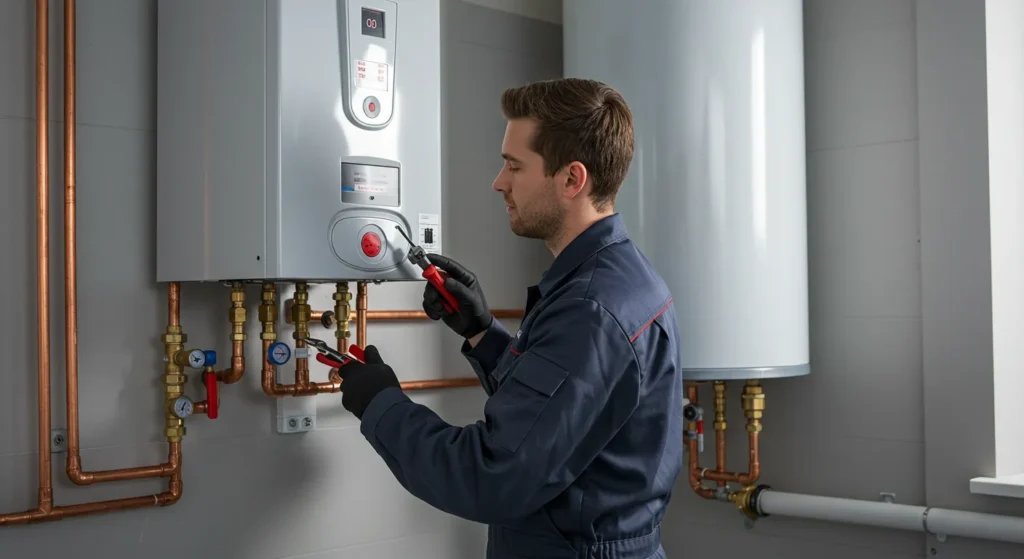
Step 3 — Check the Temperature and Pressure Relief Valve
This step is about safety — not just performance.
What Is the T&P Relief Valve?
The Temperature and Pressure Relief (T&P) valve is a fail-safe. This valve opens automatically if temperature or pressure inside the tank reaches dangerous levels in order to vent the excess.
If the unit fails and pressure build-up is not controlled, a water heater can be a significant hazard. A functional T&P valve is essential.
How to Test It
The test is quick and takes around 2 minutes.
Steps:
- Find the T&P valve — it’s on the side of the tank with a small lever and a discharge pipe running down.
- Put a bucket underneath the discharge pipe.
- Lift the lever up slightly — you should hear a hiss and see some water or steam come out.
- Release the lever — it should spring back and stop the flow.
If water continues to drip after you let go of the lever, the valve may be worn out and needs replacing. If nothing is released when you lift the lever, it has probably stuck or failed — also needs replacing.
Warning Signs to Watch For
- Water dripping from T&P valve without being tested
- Valve that won’t lift
- Rumbling or too much pressure build-up in the tank
- Scalding or erratic hot water
Recommended Temperature Settings
| Setting | Temperature | Notes |
|---|---|---|
| Too low (below 120°F) | Below 49°C | Risk of Legionella bacteria growth |
| Ideal | 120°F (49°C) | Energy efficient and safe |
| Too high (above 140°F) | Above 60°C | Scalding risk, increases wear |
According to the U.S. Consumer Product Safety Commission, keeping your water heater set at 120°F provides the optimum mix of safety and efficiency.
How Often to Test the T&P Valve
Test it once a year. If your valve is older than 3–5 years and has been untested, it may not function when needed. If so, have a plumber replace it.
Step 4 — Add Insulation to the Tank and Pipes for Improved Efficiency
This won’t stop breakdowns, but it will save you money and make your water heater work less hard.
Why Insulation Helps
An uninsulated water heater will lose heat continuously through the walls of the tank. That’s known as standby heat loss. The heater must reheat the water over and over again, just to maintain it at the set temperature — even if no one is using hot water.
Insulating the tank and hot water pipes reduces this waste. The Department of Energy says an insulated older water heater tank minimizes standby heat loss by 25–45% and cuts water heating costs by as much as 9%.
How to Insulate Your Water Heater Tank
You will need a water heater insulation blanket, which can be purchased at a hardware store for $20 to $30.
Steps:
- Before you start, shut the heater off.
- Measure the tank’s height and circumference to ensure the blanket fits.
- Wrap the blanket around the tank — but don’t cover the top on gas heaters (fire hazard) and always keep the T&P valve accessible at all times.
- Use tape or the kit straps to ensure tight securement.
- Cut holes for controls and valves where needed.
Note: Many modern water heaters contain built-in insulation and do not need a blanket as an additional layer. Check your owner’s manual or run your hand around the outside of the tank — if it’s warm to the touch, insulation will help.
Insulating the Hot Water Pipes
Pipe insulation isn’t expensive (around $1–$2 per linear foot) and is easy to install. Pre-slit foam pipe sleeves simply snap right over the pipe.
Focus on the first 3–6 feet of pipe that comes out of the water heater — that’s where most heat loss happens.
Benefits of pipe insulation:
- Hot water comes more quickly to the faucet
- Less wasted water while waiting for it to heat up
- Reduced energy use
- Less likely to result in frozen pipes in cold climates
Additional Ways to Keep Your Water Heater Going Strong
The 4 steps outlined above form the very basis of any good water heater care and maintenance guide. But here are a few additional habits that make a big difference:
Lower the Thermostat When Away
Going on vacation? Set your water heater to “vacation mode” or the lowest setting. No need to keep heating water you don’t use.
Watch for Leaks Regularly
Once a month, do a quick visual inspection around the base of your heater. Even a small drip can indicate a loose fitting or early tank failure.
Avoid Cluttering the Zone Surrounding the Heater
Particularly for gas heaters — do not store flammable materials near the unit. Maintain at least 18 inches of clearance around the heater.
Know the Age of Your Heater
Look for the serial number on the label. The date of manufacture is usually in the first few characters. If your heater is getting close to 10–12 years old, start budgeting for replacement — even if it’s still working well.
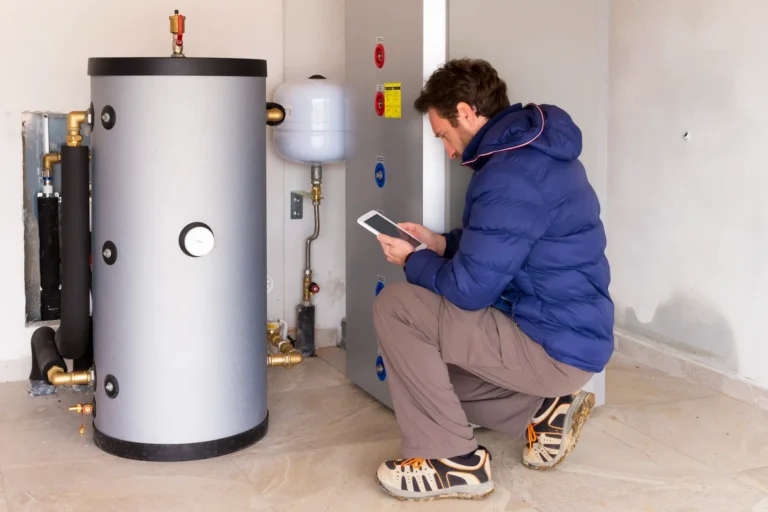
Annual Water Heater Maintenance Checklist
Use this checklist once a year to ensure you’re on the right track:
| Task | Frequency | Done? |
|---|---|---|
| Flush sediment from tank | Every 6–12 months | ☐ |
| Inspect anode rod | Every 1–3 years | ☐ |
| Test T&P relief valve | Once a year | ☐ |
| Check for leaks or corrosion | Every month | ☐ |
| Inspect pipe insulation | Once a year | ☐ |
| Check thermostat setting | Once a year | ☐ |
| Clear area around heater | Ongoing | ☐ |
| Review age of unit | Once a year | ☐ |
When to Call for Water Heater Repair Services
Sometimes maintenance isn’t enough. If you notice any of the following, call a licensed plumber:
- Rusty or brownish water from hot taps
- Rotten egg odor (could be a sign of bacteria or a failing anode rod)
- No hot water at all even though the heater is on
- Visible cracks or corrosion on the surface of the tank
- Water puddling at the bottom of the unit
- A persistent loud banging or knocking sound after flushing
Don’t delay these calls. Minor problems become costly disasters pretty quickly.
Frequently Asked Questions
How often should I have water heater maintenance done?
Most maintenance — such as flushing the tank and testing the T&P valve — can be performed once per year. If you live in a hard water area, flushing every 6 months is preferable. A monthly quick visual inspection will suffice for checking for leaks.
Water heater maintenance: do I do it myself or hire a plumber?
The majority of the steps in this water heater maintenance and care guide are DIY-friendly. Flushing the tank, testing the T&P valve, and insulating pipes are all tasks most homeowners can safely do. But replacing anything like the T&P valve as well as gas parts or electrical components ought to be performed by a licensed professional.
What if I never flush my water heater?
Over time, sediment accumulates at the bottom of the tank. This results in decreased efficiency, damage to the tank lining, strange noises, and greatly reduces the life of the unit. In extreme cases, the entire tank can fail.
How do I know if my anode rod is bad?
Pull it out and inspect it. If it is less than half an inch thick, heavily coated with calcium, or has sections completely worn away, it needs to be replaced. While most rods last 3–5 years, they need to be checked every 1–3 years depending on water quality.
At what temperature should I set my water heater?
Set the temperature to 120°F (49°C). It’s hot enough to kill most bacteria, yet safe enough to avoid scalding, and uses little energy. Anything over 140°F is wasting energy and wearing out the tank.
Is the maintenance required for a tankless model any different?
Tankless heaters don’t have a tank to flush, but they still require periodic maintenance. Descaling of the heat exchanger (in particular, in hard water areas), cleaning of the inlet filter screen, and checking of the venting system are key maintenance tasks. Most manufacturers recommend servicing a tankless unit annually.
Properly maintaining a water heater — how long will it last?
On average, a tank water heater lasts 8–12 years. With regular maintenance — annual flushing of the tank, anode rod replacement, and testing of the T&P valve — many units make it 15 years or more. With the right care, tankless heaters can last 20+ years.
Wrapping It All Up
Your water heater works harder than most of your household appliances. But it’s also one of the easiest to care for — if you know how.
The 4 steps discussed here that will help maintain and care for your water heater are:
- Flush the tank to remove sediment
- Inspect and replace the anode rod
- Test the T&P relief valve
- Insulate the tank and pipes
Do this once or twice yearly, and you’ll have reliable hot water, lower energy bills, and a water heater that lasts much longer than average.
There are no special skills or costly tools required. Just a bit of time and attention — and your water heater will do the rest.
Start today. Select one item from the checklist above and complete it this weekend. Your future self — not to mention your wallet — will thank you.