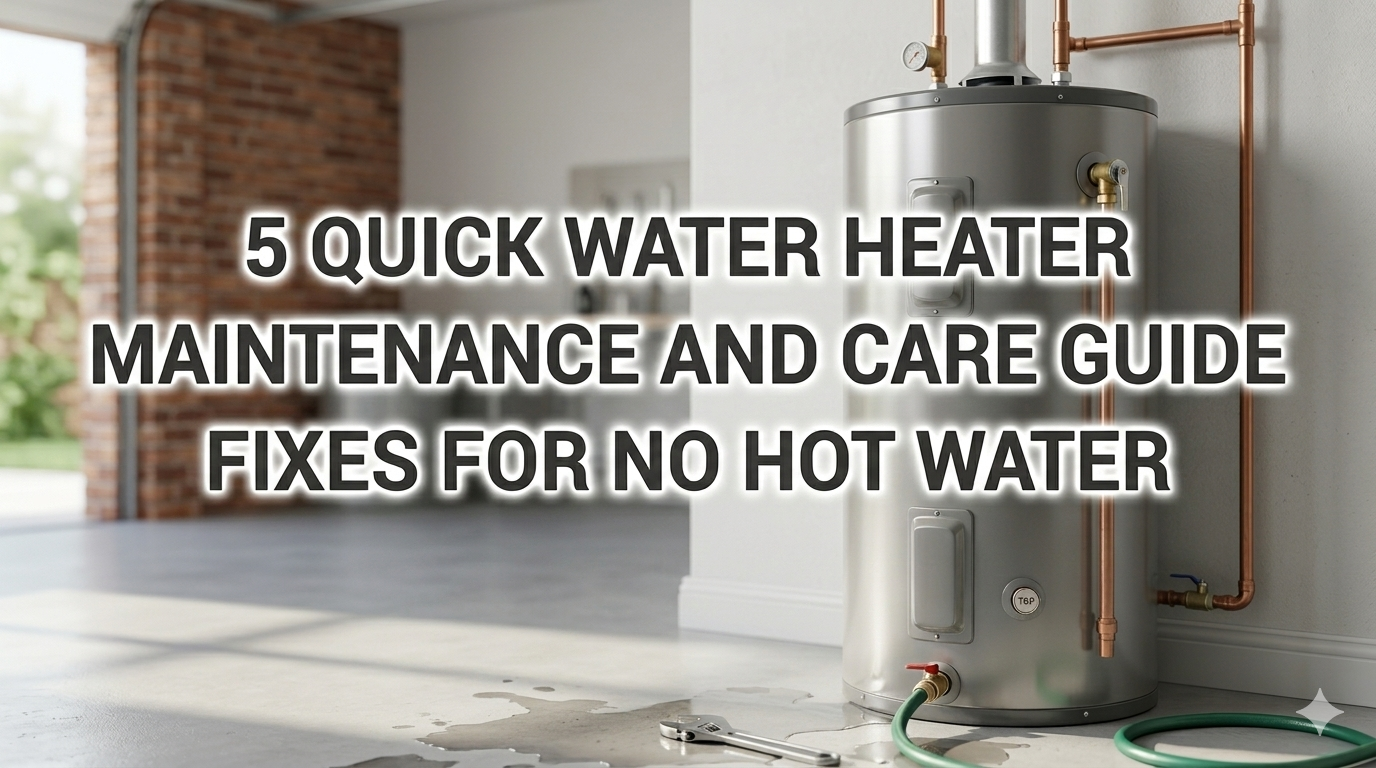
5 Quick Water Heater Maintenance and Care Guide Fixes for No Hot Water
Meta Description: Water heater maintenance and care guide fixes can save you from cold showers. Learn 5 quick DIY fixes to restore hot water fast and prevent future breakdowns.
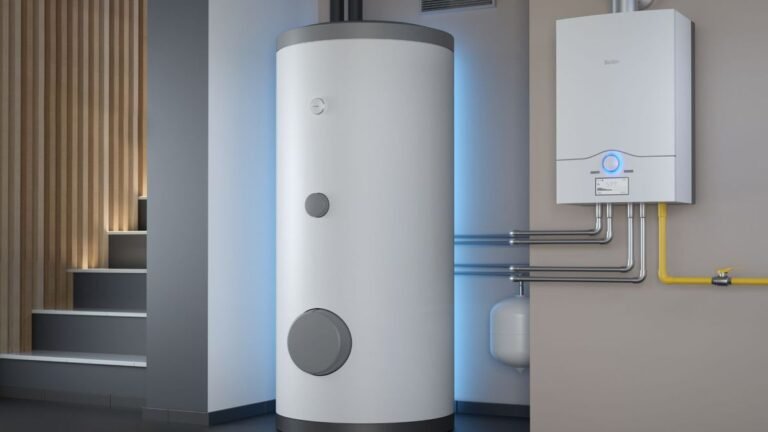
The Ultimate Water Heater Maintenance Care Guide — Fixes To Save You From Cold Showers
There is nothing worse than jumping in the shower hoping for warm water — only to be blasted with ice cold.
It ruins your morning. It stresses you out. And it makes you question whether you need to pay hundreds of dollars immediately to a plumber.
The good news is that most “no hot water” issues can be resolved at home. You don’t require fancy tools or a plumbing license. You just have to know where to look and what to do.
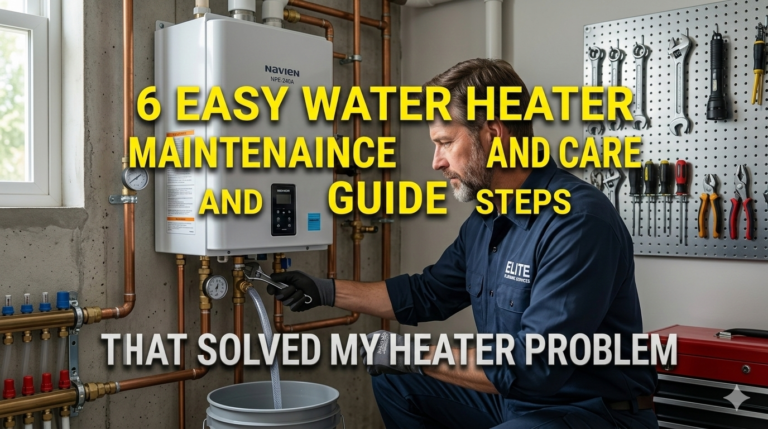
This water heater maintenance and care guide provides 5 quick fixes that help most homes. From gas to electric and even tankless, there’s something for everyone here.
Let’s get you hot water again.
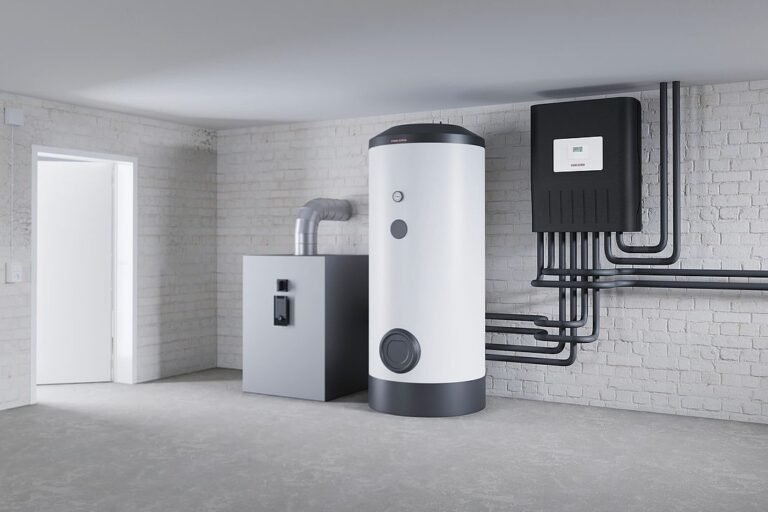
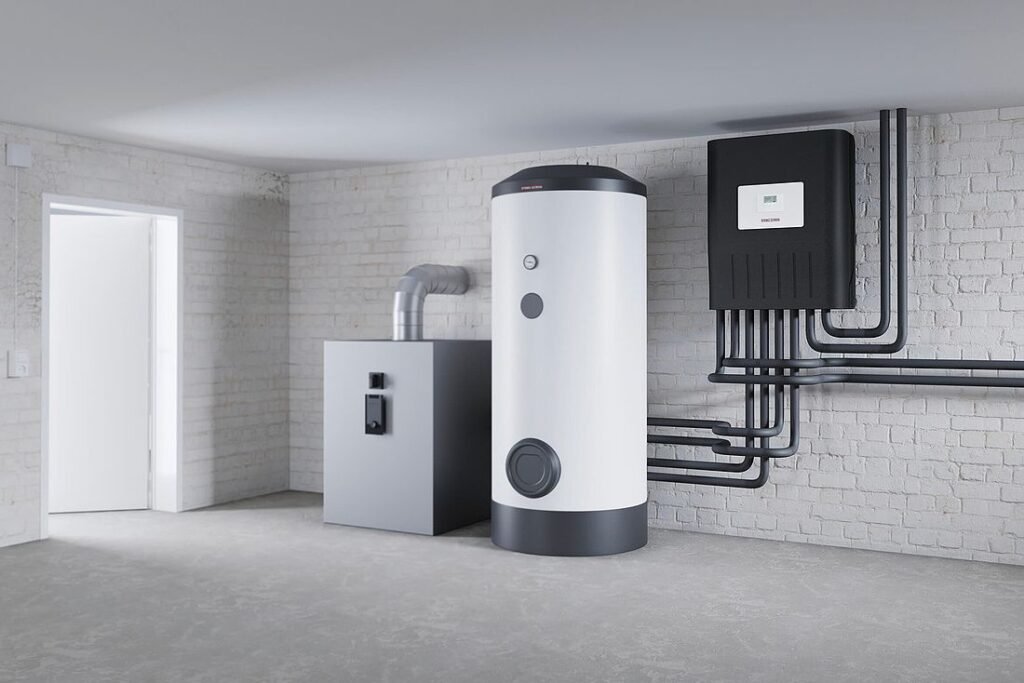
Why Your Water Heater Stops Making Hot Water
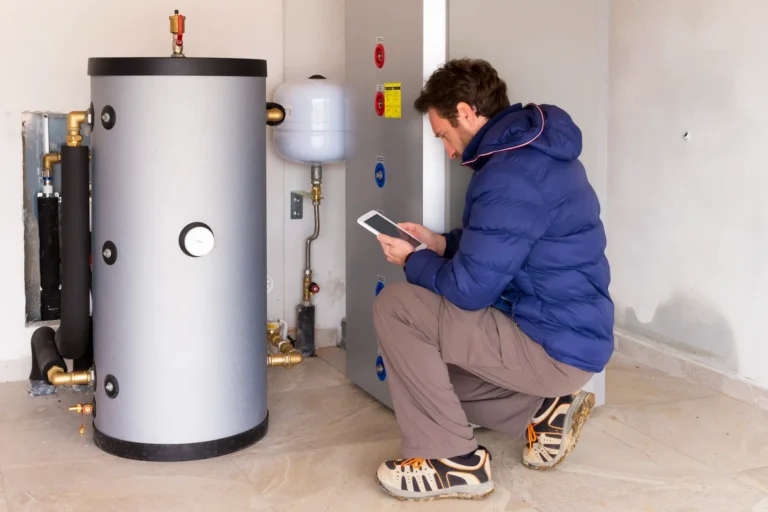
Before diving into solutions, it’s useful to understand why this happens in the first place.
Water heaters are fairly simple machines, but they do have a few parts that will wear out eventually. If one element breaks, the entire apparatus can cease to function.
These are the main reasons hot water goes missing:
| Cause | Heating Type Most Affected | How Common |
|---|---|---|
| Tripped circuit breaker | Electric | Very Common |
| Pilot light went out | Gas | Very Common |
| Broken heating element | Electric | Common |
| Faulty thermostat | Gas and Electric | Common |
| Sediment buildup in tank | Gas and Electric | Very Common |
| Malfunctioning thermocouple | Gas | Common |
| Tank too small for demand | Both | Moderate |
Most of these are DIY-friendly. A few may need a pro. This guide outlines the ones you can tackle yourself — safely and quickly.
Safety First Before You Start
Safety first, speed second.
Before laying a finger on your water heater, do this:
- For electric heaters: Switch off the power at your breaker box. Never work on an electric heater with power applied.
- For gas heaters: Set the gas valve to “Pilot.” If you smell gas, never use open flames near a gas heater.
- If you strongly smell gas: Get outside the house immediately and call your gas company. Do not flip any switches.
- Give the water time to cool before draining the tank. Hot water can inflict severe burns.
Once you’ve taken these steps, you’re set to go.
Fix #1 — Reset the Circuit Breaker or Relight the Pilot Light
This is the first thing to verify. It’s the simplest solution and often fixes the problem more than you’d think.
For Electric Water Heaters: Check the Breaker
Your electric water heater is powered from a dedicated circuit in your house’s breaker box. If that circuit trips, the heater loses all power — and stops heating water altogether.
Here’s what to do:
- Locate your breaker box (often in a hallway, garage, or even a basement).
- Find a breaker that says “Water Heater” or “HWH.”
- If the switch is in-between or facing away from the others, it’s tripped.
- First, push it all the way to OFF.
- Then push it all the way back to ON.
- Wait 30–60 minutes and then test your hot water.
If the breaker trips again immediately, stop. That means there’s an electrical issue that calls for a licensed electrician.
For Gas Water Heaters: Relight the Pilot Light
The pilot light is a small, focused flame situated within the body of your gas heater. It fires up the burner that heats your water. Wind, a gas hiccup, or a dirty thermocouple can extinguish it.
Here’s how to relight it:
- Set the gas valve to the “Pilot” position.
- If there is an igniter, press and hold the red button (otherwise use a long lighter).
- After the flame shows up, hold the button for 30–60 seconds. This warms up the thermocouple.
- Release the button slowly. If the flame remains lit, you’re golden.
- Flip the valve to “On” and set your desired temperature.
- Wait an hour before testing your hot water.
If the pilot won’t stay lit, the thermocouple may be defective. That’s covered in Fix #3.
Fix #2 — Check and Adjust Your Thermostat Settings
Other times, it’s not a mechanical problem at all. It’s just a thermostat that is set too low — or has stopped functioning properly.
How Hot Should Your Water Heater Be?
The U.S. Department of Energy recommends setting your water heater to 120°F (49°C). It’s hot enough for everyday use, but moderate enough to avoid scalding.
If someone accidentally turned it down — or if the dial had been nudged — your water could feel lukewarm or cold even though the heater is working fine.
For electric heaters:
Most electric heaters have a pair of thermostats — one toward the top and another at the bottom of the tank. Both have to be properly configured.
- First shut off the power at the breaker.
- Take off the access panels (usually attached with two screws).
- Pull back the insulation carefully.
- With a flathead screwdriver, turn the thermostat dial to 120°F.
- Do this for both thermostats.
- Replace the insulation and panels.
- Switch the power back on and wait an hour.
For gas heaters:
The thermostat dial is typically located on the front of the unit, next to the gas valve. It offers options like “Hot,” “A,” “B,” and “Very Hot.” Set it to the “Hot” setting, or 120°F if there’s a numbered dial.
Signs Your Thermostat Is Broken
If you set the thermostat correctly but still get cold or lukewarm water, you could be dealing with a broken thermostat. Signs include:
- Water temperature varies (one minute it’s boiling hot, the next it turns cold)
- The heater runs continuously but there is never hot water
- You hear clicking sounds without any heating
A broken thermostat needs to be replaced. This is a moderate DIY task — doable, but it will involve buying the appropriate replacement part and a little patience.
Fix #3 — Inspect and Replace the Thermocouple (Gas Heaters Only)
If your gas pilot light won’t stay lit, the thermocouple is almost certainly to blame.
What Is a Thermocouple?
The thermocouple is a thin metal rod — roughly the size of a pencil — that sits in the pilot flame. It acts as a safety sensor. When the flame is lit, it sends a tiny electrical signal to the gas valve, telling it to remain open.
When the thermocouple is bad or dirty, it gives the wrong signal. The gas valve shuts, the pilot extinguishes, and your water goes cold.
How to Check the Thermocouple
- Reignite the pilot light following the instructions in Fix #1.
- Watch closely after releasing the igniter button.
- If the flame extinguishes within 30 seconds of letting go of the button, it indicates a faulty thermocouple.
How to Clean the Thermocouple
Sometimes it’s simply dirty, not broken. Try cleaning it first:
- Turn off the gas completely.
- Find the thermocouple — it’s a thin copper tube next to the pilot burner.
- Lightly scrub the tip with fine steel wool or light sandpaper.
- Reattach it and attempt to relight the pilot.
How to Replace the Thermocouple
If cleaning doesn’t work, it needs to be replaced. Thermocouples run $10–$20 at any hardware store and take about half an hour to swap out.
- Completely close the gas valve.
- Turn counterclockwise to unscrew the thermocouple from the gas valve.
- Detach it from the bracket next to the burner.
- Bring the old one to the hardware store to find an exact match.
- Install the new one by reversing the steps above.
- Relight the pilot and test.
That is one of the cheapest fixes in this entire water heater maintenance and care guide. For more detailed repair walkthroughs and expert tips, visit Water Heater Care — a dedicated resource for keeping your water heater running at its best.
Fix #4 — Flush Sediment Out of the Tank
This is one repair most homeowners ignore — until it’s too late.
Over time, minerals from your tap water (mainly calcium and magnesium) settle at the bottom of your water heater tank. This layer of sediment acts like a blanket, trapping heat and making it harder for your heater to warm the water above it.
The result? Less hot water, longer wait times, and higher energy bills.
Signs Sediment Buildup Is the Problem
- You hear popping, rumbling, or banging sounds coming from the tank
- Hot water runs out more quickly than before
- Water appears slightly cloudy or brownish
- Your energy bills have mysteriously gone up
How Often Should You Flush Your Tank?
| Water Type | Flush Frequency |
|---|---|
| Soft water | Once a year |
| Moderately hard water | Every 6 months |
| Very hard water | Every 3–4 months |
Step-by-Step Tank Flushing Guide
This takes about 45–60 minutes.
What you’ll need:
- A garden hose
- A flat-head screwdriver
- Gloves and eye protection
Steps:
- Turn off electric power or set gas to “Pilot.”
- Shut the cold water supply valve at the top of the heater.
- Attach a garden hose to the drain valve at the bottom of the tank.
- Run the other end of the hose to a floor drain, outside, or into a bucket.
- Turn on a hot water faucet somewhere in your house (this prevents vacuum lock).
- Open the drain valve slowly. Water will run out — it might be brown or gray at first.
- Allow it to drain until the water runs totally clear.
- Close the drain valve and unhook the hose.
- Re-open the cold water supply.
- Once the tank is full (water flows steadily from the open faucet), turn power back on or gas to “On.”
- Wait an hour and then test your hot water.
Regular flushing is one of the best things you can do for your heater. According to the U.S. Department of Energy, proper water heater maintenance can significantly reduce energy costs and extend equipment life. It adds years to its life and lowers energy costs.
Fix #5 — Test and Replace the Heating Element (Electric Heaters Only)
If you’ve flipped the breaker, adjusted the thermostat, and flushed the tank — and still have no hot water — a burned-out heating element is probably to blame.
Electric water heaters use one or two heating elements (metal rods inside the tank) that directly heat water. When one burns out, you get lukewarm water. When both fail, you get nothing but cold.
How to Test the Heating Element
You will need a multimeter, which can run $15–$25 at a hardware store.
- Shut off the power at the breaker.
- Take off the access panel and insulation.
- Disconnect the two wires that are connected to the element.
- Set the multimeter to the resistance (Ω) setting.
- Place one probe on each terminal of the element.
- A reading between 10 and 16 ohms means the element is functioning.
- A reading of 0 or infinite means it’s burnt out and needs replacement.
How to Replace a Heating Element
Replacement elements run $15–$30 and are available at most hardware stores.
- Keep the power off.
- Partially drain the tank (at least below the element level — follow the flushing steps above, but stop once drained enough).
- Use a heating element wrench (available at hardware stores) to turn the old element counterclockwise.
- Pull it out carefully.
- Wrap the threads of the new element with plumber’s tape.
- Screw it in clockwise until snug — don’t overtighten.
- Reconnect the wires (it doesn’t matter which wire goes to which terminal).
- Refill the tank before restoring power. Running a heating element dry will burn it out instantly.
- Restore power and wait an hour.
When to Call a Professional
These five fixes address most no-hot-water scenarios. But sometimes, you need a pro.
Call a plumber or technician if:
- You have a strong smell of gas (call and get out of the house right away)
- The pressure relief valve is leaking
- The tank is visibly leaking or corroded
- You reset it but the breaker keeps tripping
- Your heater is over 12–15 years old and has frequently broken down
- You have no hot water despite trying all five fixes
Typical installation costs for a water heater range from $500–$1,500, depending on the type and size. If your unit is old and frequently breaks down, it’s often more cost-effective to replace it than to keep doing repairs.
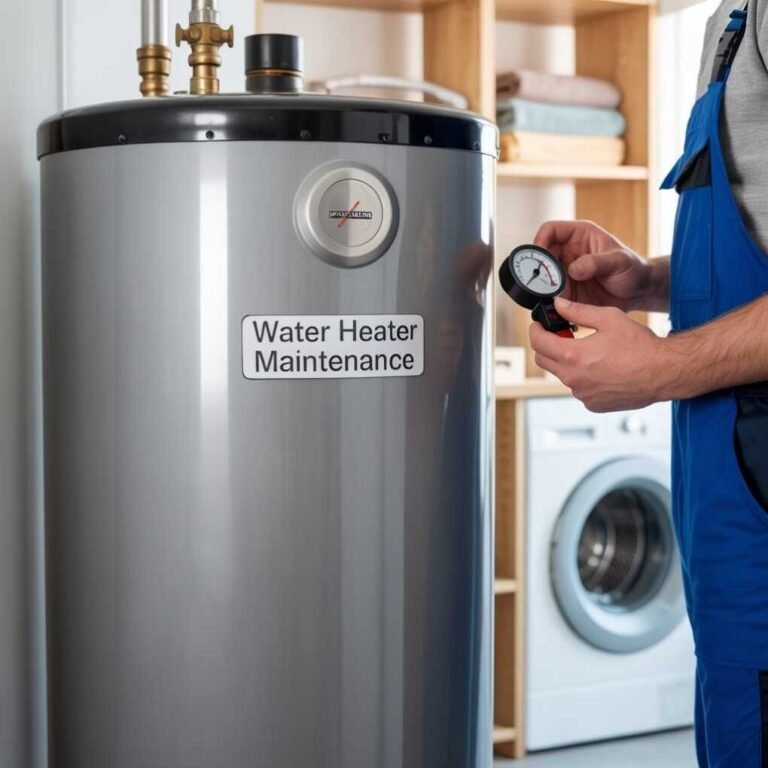
Water Heater Maintenance Schedule to Prevent Future Problems
Fixing the problem is great. Even better is preventing it from recurring.
Here’s a simplified annual maintenance checklist:
| Task | Frequency | Difficulty |
|---|---|---|
| Flush the tank | Every 6–12 months | Easy |
| Test the pressure relief valve | Once a year | Easy |
| Inspect the anode rod | Every 2–3 years | Moderate |
| Check thermostat settings | Every 6 months | Easy |
| Inspect for leaks or corrosion | Every 6 months | Easy |
| Check the pilot light (gas) | Every 3 months | Easy |
| Test heating elements (electric) | Every 2 years | Moderate |
The Anode Rod — The Secret Weapon of Your Heater
The anode rod is a long piece of metal inside the tank that draws corrosive minerals toward itself, protecting your tank walls from rust. When it wears out completely, the tank itself begins to corrode.
Replacing an anode rod every 2–3 years could double the lifespan of your water heater.
The rod costs $20–$50 and replacing it takes about an hour. It is one of the most widely ignored elements of any water heater maintenance and care guide — but one of the most crucial.
FAQs About Water Heater Problems and Fixes
How long will it take for my hot water to return after a fix?
Give it at least 30–60 minutes once you’ve restored power or reignited the pilot. Bigger tanks (50+ gallons) can take as long as 90 minutes to heat through.
Can I make these fixes even if I’m not handy?
Yes. Most of these fixes take only basic tools and a careful read. Fix #1 and Fix #2 are particularly beginner-friendly. If any step feels unsafe or confusing, abort and call a professional.
Why is my water heater popping or rumbling?
That’s almost always sediment accumulation at the bottom of the tank. This is usually cured completely by flushing the tank (Fix #4).
How long does a water heater usually last?
Most tank-style water heaters survive 8–12 years. Tankless units can last over 20 years when cared for. Regular upkeep through a water heater maintenance and care guide like this one can extend that life.
Is lukewarm water a sign of a thermostat problem or a heating element problem?
Both can cause lukewarm water. First, check the thermostat setting (Fix #2). If that’s correct, test the heating elements (Fix #5). If one is out, you’ll get some hot water but not enough.
How can I tell whether my water heater is gas or electric?
Check the base of the unit. If you see a burner and a pilot light area, it’s gas. If there are two access panels on the side of the tank, it’s electric. You can also check whether it’s connected to a gas line or an electrical circuit.
What makes a water heater stop working suddenly?
The most common sudden causes are a tripped breaker (electric), an extinguished pilot light (gas), or a totally burned-out heating element. Work through this guide starting with Fix #1 and see where you find the solution.
Final Thoughts — Don’t Let Cold Water Win
No hot water is frustrating. But in most cases, it’s also fixable — at home, without waiting days for a plumber or handing over a fortune.
Use this water heater maintenance and care guide for five tried-and-proven fixes that address the most common causes of cold water. From resetting a breaker to flushing out sediment to replacing a thermocouple, each fix is practical, inexpensive, and doable for most homeowners.
Here’s a quick recap:
- Fix #1: Reset the breaker or relight the pilot light
- Fix #2: Check and adjust the thermostat
- Fix #3: Clean or replace the thermocouple (gas heaters)
- Fix #4: Flush sediment out of the tank
- Fix #5: Test and replace the heating element (electric heaters)
Work through them in order. Start simple. The vast majority find their fix within the first two or three steps.
And when the hot water’s back, follow the maintenance schedule above. A little upkeep every year keeps your heater going strong — and prevents cold showers from creeping up on you again.