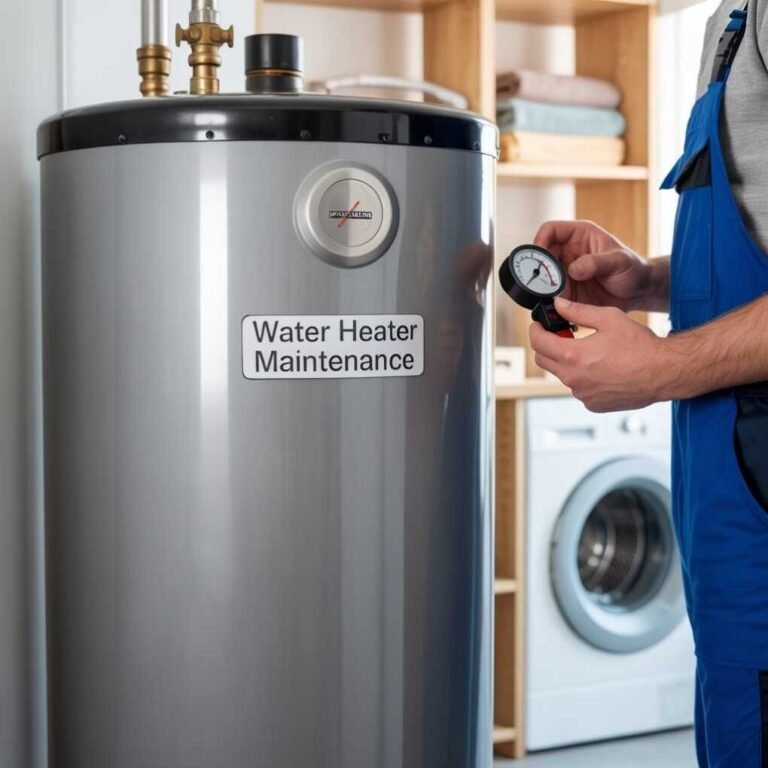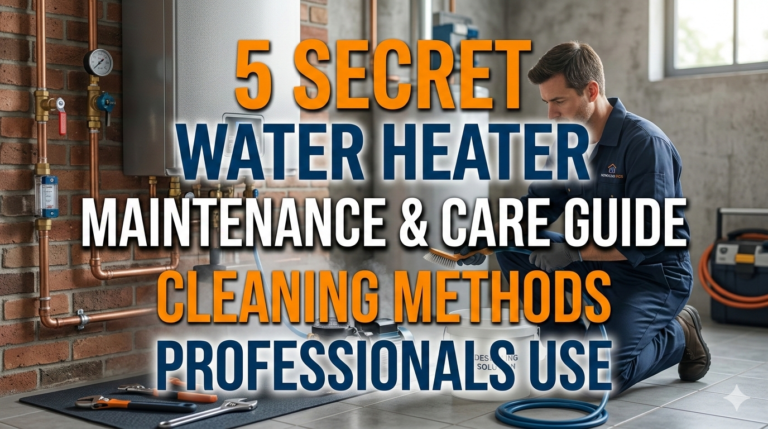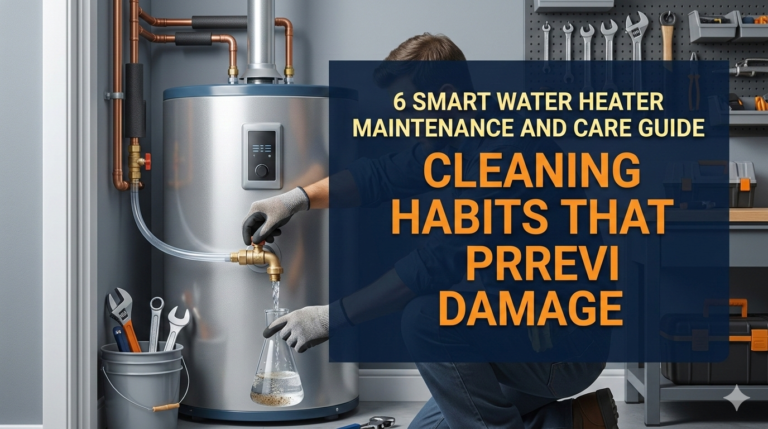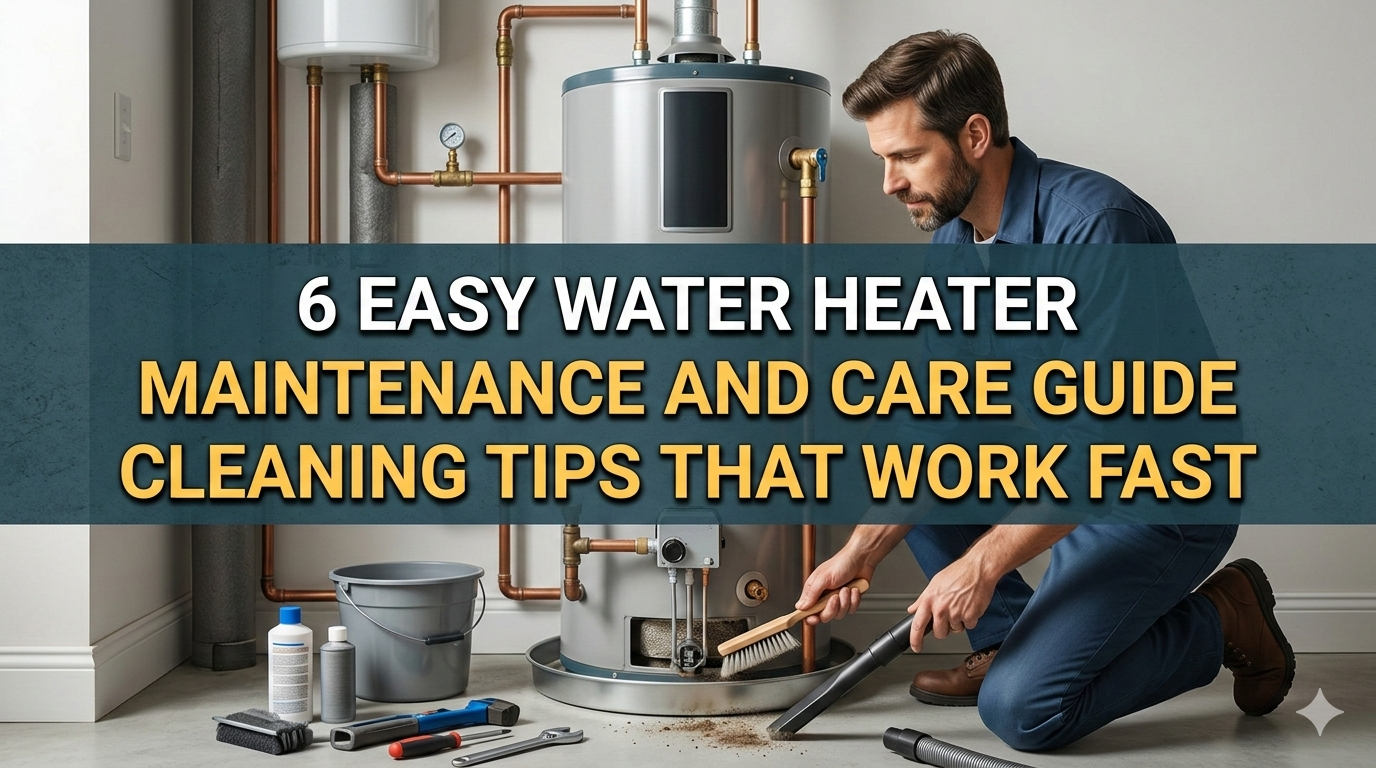
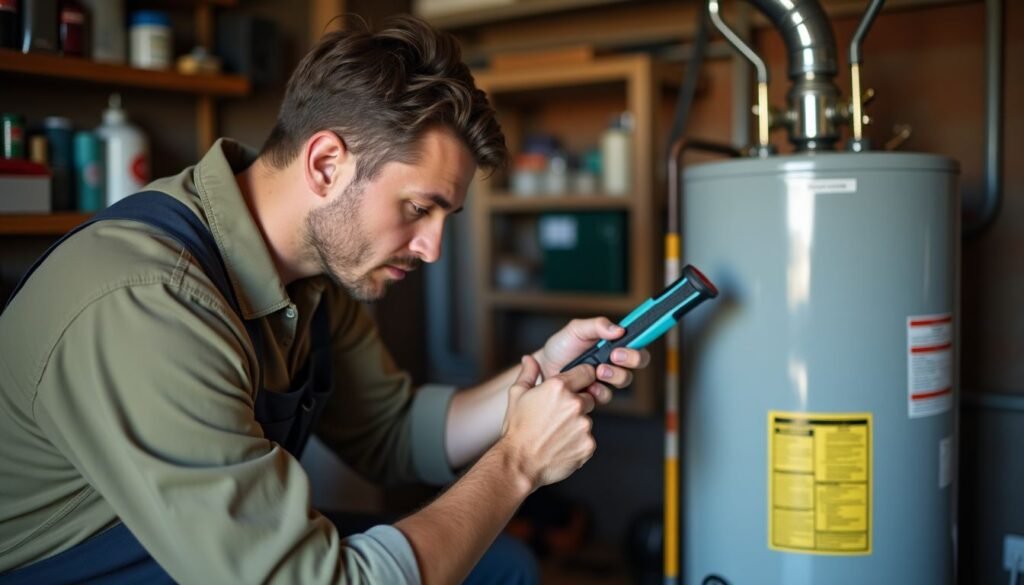
6 Easy Water Heater Maintenance and Care Guide Cleaning Tips That Work Fast
Meta Description: Water heater maintenance is not rocket science. Here are 6 fast cleaning tips to help you prolong the life of your unit and save money.
6 Easy Water Heater Maintenance and Care Guide Cleaning Tips That Work Fast
Is your hot water heater making weird sounds? Taking lukewarm showers rather than hot ones? You could be overlooking one of the most vital machines in your home.
Most people don’t think much about their water heater — until it fails. And repairs can run into hundreds of dollars by then. Or worse, you face a complete replacement.
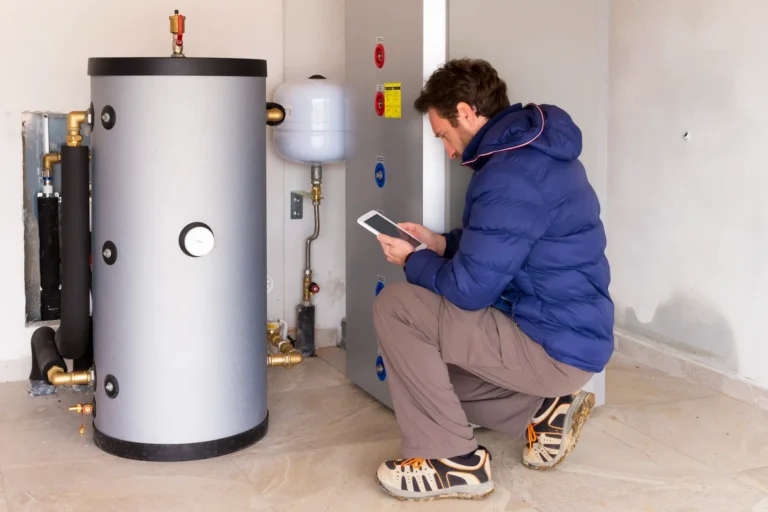
The good news? A little maintenance every now and then will get you far. You don’t need a plumber. You don’t need special tools. It’s not a lot — only a few simple steps done every couple of years to keep your water heater running strong for 15 years or more.
This guide discusses 6 simple water heater care and maintenance tips that work. All of them are easy, quick, and beginner-friendly.
Let’s get into it.
Why You Even Need to Maintain Your Water Heater
Your water heater is on every day. It warms water for your shower, dishes, laundry, and cooking. That’s a lot of work.
Over time, minerals from the tap water collect in the tank. Sediment collects at the bottom. Parts wear out. Pressure builds up. Neglecting regular care for all of this leads to one thing — a malfunctioning water heater at the most inconvenient time.
Here’s what you can pay for neglecting maintenance:
| Problem Induced by Neglect | Estimated Repair Cost |
|---|---|
| Sediment accumulation (efficiency loss) | $100–$200 in additional energy bills/year |
| Anode rod failure | $200–$300 to replace rod |
| Pressure valve failure | $150–$350 to repair |
| Complete tank replacement | $800–$1,500+ |
| Water damage from leak | $1,000–$5,000+ |
Regular water heater maintenance saves you from all those expenses.
How Long Does a Water Heater Last?
A properly maintained water heater has a lifespan of 10 to 15 years. Some last even longer. But a neglected unit? It may break down in as little as 6 to 8 years.
That’s thousands of dollars you’re losing just because of maintenance neglect.
The guide’s tips take less than an hour as a whole. Do this once or twice a year and your water heater will only be grateful — by operating reliably for years to come.
Tip #1 — Flush the Tank: The Best Way to Remove Sediment Buildup
What Is Sediment and Why Is It a Problem?
Minerals such as calcium and magnesium are found in tap water. When water is heated, these minerals separate and settle at the bottom of the tank. Over the years, they build up into a thick layer of sediment.
That layer works like insulation — but not in a good way. It makes your heater work harder to heat the water. That results in larger energy bills and greater strain on the unit.
You might notice:
- Water takes longer to heat up
- Popping or rumbling sounds coming from the tank
- Hot water runs out faster than usual
All of the above is indicative of sediment buildup.
How to Flush a Water Heater (Step by Step)
Flushing your tank once a year removes that sediment, restoring efficiency. Here’s how to do it safely:
What you will need: A garden hose, work gloves, and a bucket (optional).
Steps:
- Deactivate the water heater (cut the power to it by turning off the circuit breaker for electric ones, or placing the gas valve in “pilot” mode for gas-powered ones).
- Attach a garden hose to the drain valve near the bottom of the tank.
- Take the other end of the hose to a drain or outside.
- Shut off the cold-water supply valve at the top of the tank.
- Turn on a hot water tap somewhere in your home to relieve pressure.
- Release the drain valve to allow all water to exit.
- Briefly turn the cold-water supply back on to flush out any remaining sediment.
- Close the drain valve, reconnect the hose, refill the tank, and turn on power or gas.
The drained water may appear brown or cloudy. That’s normal — that’s the sediment coming out of the tank.
Pro Tip: For best results, do this once a year. If you have hard water, do it every 6 months.
Tip #2 — Inspect and Change the Anode Rod
The Anode Rod Is the Secret Weapon of Your Tank
Most homeowners have never heard of an anode rod. But it’s one of the most critical parts of your water heater.
The anode rod is a long metal rod — typically made of magnesium or aluminum — that lives inside the tank. Its function is to lure corrosive substances in the water so they erode the rod rather than the tank lining.
Think of it like a sacrificial protection agent. It absorbs the damage so your tank can keep going.
For a deeper look at how anode rods and other components work together, visit Water Heater Care — a helpful resource for homeowners who want to stay on top of their water heater health.
When Do You Need to Replace It?
Depending on your water quality, anode rods typically last 3 to 5 years. Once it’s completely corroded, there’s nothing to protect the tank anymore. Rust and corrosion begin to eat the metal sides directly.
Red flags that your anode rod needs replacing:
- Your water smells like rotten eggs (sulfur smell)
- You notice rust-colored water
- Your water heater is over 3 years old and the rod has never been changed
How to Inspect and Change the Anode Rod
- Shut off power or gas and the water supply.
- Find the anode rod — it’s typically at the top of the tank, under a plastic cap, or attached to the hot-water outlet.
- Unscrew it with a 1-1/16 inch socket wrench.
- Pull it out and inspect it. If it’s thinner than ½ inch or severely corroded, replace it.
- Put plumber’s tape around the threads of the new rod.
- Screw it in, turn the water and the power back on.
Replacement rods can be purchased from virtually any hardware store for $20–$50. That small investment can extend the life of your water heater by years.
Tip #3 — Check the Pressure Relief Valve
What Is the T&P Valve?
The Temperature and Pressure Relief valve — the T&P valve — is a safety device. It is intended to relieve pressure should the tank become too hot or build pressure too high.
If it didn’t function correctly, pressure could rise to dangerous levels. That’s a serious safety risk.
How to Test It in 60 Seconds
Testing the T&P valve takes only a couple of minutes:
- Put a bucket under the discharge pipe connected to the valve.
- Lift the tiny lever on the valve momentarily (a second or two is all it takes).
- Hot water should come out, and then stop when you release.
- If no water comes out, or if it continues to drip after you let go of the lever, the valve should be replaced.
A defective T&P valve costs $15–$30 to replace. Don’t skip this check — it’s about safety, not just efficiency.
Test frequency: Once a year is sufficient.
Tip #4 — Set the Thermostat to an Optimal Temperature
Why Temperature Settings Matter
Most water heaters are pre-set to 140°F (60°C) at the factory. But 120°F (49°C) is all most households need.
Here’s why that difference matters:
| Temperature Setting | Energy Use | Safety Risk | Comfort Level |
|---|---|---|---|
| 120°F (49°C) | Lower — saves 6–10% on bills | Low risk of scalding | Comfortable for most homes |
| 140°F (60°C) | Higher — costs more | Higher scalding risk | May be too hot |
| Below 120°F | Lowest energy use | Risk of bacterial growth | May feel lukewarm |
If the temperature is set too low, dangerous bacteria (such as Legionella) may grow in the tank. Setting it too high wastes energy and raises scalding concerns.
Most homes have a sweet spot around 120°F.
How to Adjust the Thermostat
For electric water heaters:
- Turn off the circuit breaker.
- Take off the access panel (typically two panels — upper and lower).
- With a flathead screwdriver, turn the dial to 120°F.
- Reinstall the panels and restore power.
For gas water heaters:
- The dial will typically be located on the front of the gas valve.
- Set it to 120°F or the “warm” setting.
This tweak can also save you $30–$60 a year in energy costs — and it takes under 5 minutes.
Tip #5 — Insulate the Tank and Pipes
Insulation Is More Important Than You Think
A water heater keeps water hot even when you’re not using it. That continual reheating — known as “standby heat loss” — wastes energy 24/7.
Insulating the tank and the hot water pipes prevents that heat loss. Your heater doesn’t have to work as hard. Bills go down. The unit lasts longer.
Insulating the Tank
You can pick up a water heater insulation blanket from any hardware store for around $20–$30. It coats the external portion of the tank and retains heat.
Important notes:
- Insulation blankets should only be used on older units. Most newer water heaters (2015 and beyond) already have decent built-in insulation.
- Don’t block the thermostat, the T&P valve, or any controls.
- For gas heaters, leave the top open and do not cover the flue.
Insulating the Pipes
Pipe insulation sleeves are inexpensive — costing about $1–$2 per foot — and easy to install. Simply cut them to length and snap them around the hot water pipes closest to the heater.
This keeps the water hotter as it moves through your home. You also get hot water faster at the faucet, which means less wasted water while you wait.
According to the U.S. Department of Energy, insulating your hot water pipes can raise water temperature by 2°F–4°F, allowing you to lower your water heater setting and save energy.
Estimated annual savings from insulation: $10–$45 depending on your setup.
Tip #6 — Clean and Clear Around the Water Heater
An Underappreciated Aspect of Water Heater Maintenance
Most maintenance guides center on the interior of the tank. But what’s going on outside matters as well.
Clutter near your water heater can create genuine problems:
- Fire risk — particularly for gas units. Having anything flammable close to the burner is bad news.
- Inhibited airflow — gas water heaters require fresh air to combust fuel properly. Blocked vents can cause carbon monoxide problems.
- Missed leaks — if boxes and junk are piled around the unit, you won’t notice a slow leak until it becomes a flood.
How to Keep the Area Maintained
Every few months, here’s what to do:
- Clear at least a 2-foot radius around the water heater. No chemicals, no boxes, no laundry.
- Wipe the outside of the tank with a damp cloth. Look out for rust spots, moisture, or corrosion.
- Check connections and pipes for leaks or mineral deposits.
- Inspect the flue pipe on gas units (the silver pipe that goes up and out). Check for rust, holes, or pieces that are unattached.
- Look for puddles or watermarks on the floor around the base. Even a tiny leak can tell you where things are headed early on.
This takes about 10 minutes. But it might help you catch a minor issue before it turns into an expensive repair.
At a Glance: Water Heater Maintenance Schedule
Follow this simple schedule all year round:
| Task | How Often | Time Needed |
|---|---|---|
| Flush the tank | Once a year (every 6 months for hard water) | 30–45 minutes |
| Check anode rod | Every 2–3 years | 20–30 minutes |
| Test T&P valve | Once a year | 2–5 minutes |
| Adjust thermostat | Once (or as needed) | 5 minutes |
| Insulate tank/pipes | One-time setup | 30–60 minutes |
| Clean surrounding area | Every 3–6 months | 10–15 minutes |
Print this out and post it next to your water heater. A check-in every so often helps you stay on track.
Signs Your Water Heater Needs Something More Than Maintenance
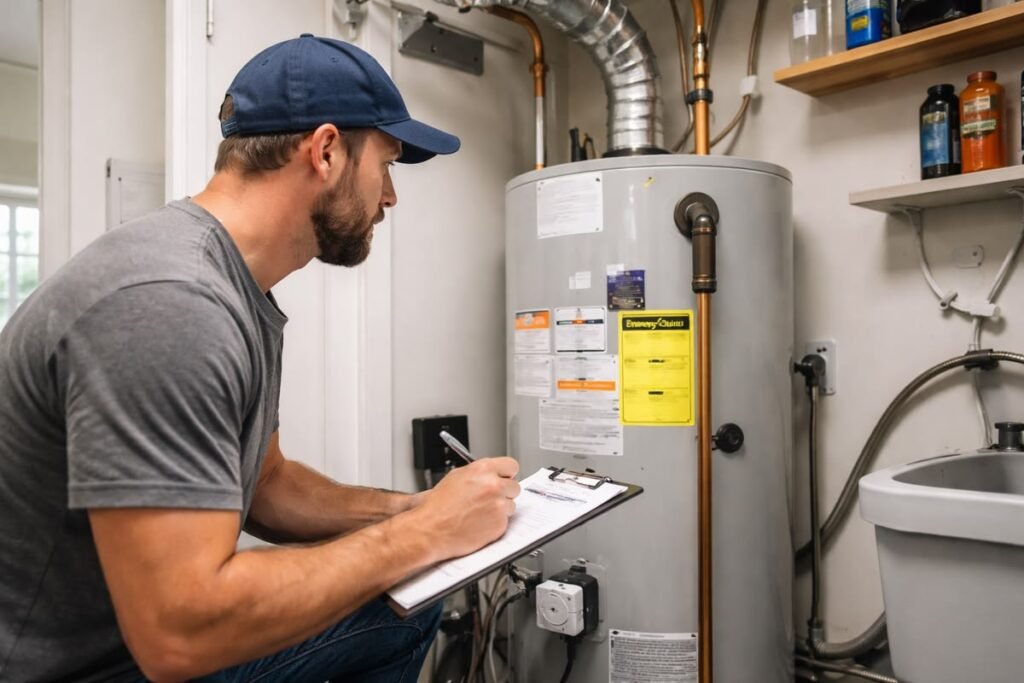
Sometimes maintenance isn’t enough. Knowing when to call a plumber — or purchase a new unit — can save you from an even bigger disaster.
Call a professional if you notice:
- Water pooling at the bottom of the tank
- Severe rust or corrosion on the tank body
- Loud banging or popping noises that persist after flushing
- Water that remains discolored even with maintenance
- The unit is over 12–15 years old
A plumber can inspect the unit and tell you honestly whether a repair or full replacement makes more sense.
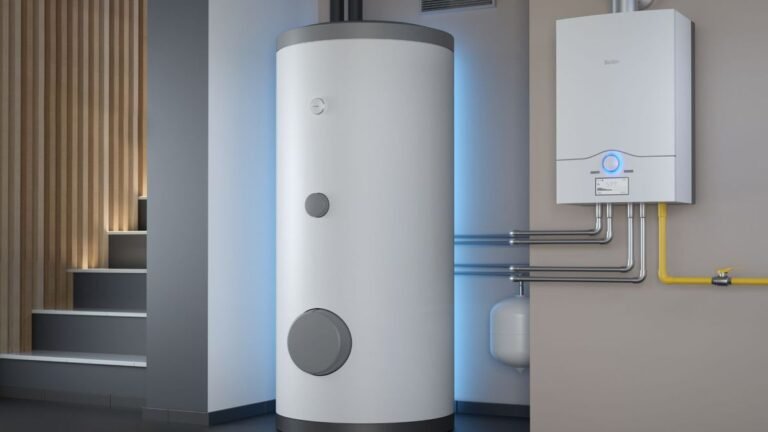
Tank vs. Tankless: Is Maintenance Different?
Increasingly, homes are adopting tankless (on-demand) water heaters. Since they operate differently, maintenance is a little different too.
| Maintenance Task | Tank Water Heater | Tankless Water Heater |
|---|---|---|
| Flush sediment | Yes — annually | Yes — descale annually |
| Anode rod | Yes — every 2–3 years | Not applicable |
| T&P valve test | Yes — annually | Yes — annually |
| Filter cleaning | Not needed | Yes — clean inlet filter |
| Overall difficulty | Moderate | Slightly more technical |
Regular maintenance is important for both kinds. Tankless units typically must be descaled with a vinegar solution to remove mineral buildup from the heat exchanger.
FAQs About Water Heater Maintenance
How frequently should I flush my water heater?
As a general rule, flush it once a year. Flush every 6 months if your home has hard water — water with high mineral content. You can test your water’s hardness yourself with an inexpensive kit from the hardware store.
Should I perform water heater maintenance myself, or is a plumber necessary?
The vast majority of the tips in this guide can be done by anyone. Tasks most homeowners can do include flushing the tank, testing the T&P valve, adjusting the thermostat, and cleaning around the unit. Replacing the anode rod is also a pretty simple job using basic tools. That said, if something appears damaged or you’re not sure what to do, always call a professional.
What if I never service my water heater?
Sediment accumulates, efficiency decreases, parts fail more quickly, and the tank may corrode from within. Most neglected water heaters fail years ahead of their service lives — typically needing a complete replacement costing $800 to $1,500 or more.
Can I flush my water heater without assistance?
Yes, as long as you follow the instructions carefully. First, remember to power down or turn off the gas. Take care — the water is hot. Use gloves, and never hurry the process.
How hot should my water heater be?
The U.S. Department of Energy suggests 120°F (49°C) for most homes. This strikes a balance between energy efficiency and safety. Families with small children or older adults may want to leave it at 120°F, which reduces the risk of scalding.
What is the lifespan of a water heater with proper maintenance?
A tank water heater will usually last 12 to 15 years with regular maintenance. Some last even longer. Tankless water heaters can last 20 years or longer with proper maintenance.
My water smells like sulfur. What’s wrong?
If your water smells like rotten eggs, it’s likely that your anode rod has failed. As it breaks down, it can react with sulfur bacteria in the water. Flush the tank and replace the anode rod. If the smell persists, have a plumber check it out.
Wrapping It All Up
Maintenance for your water heater doesn’t have to be a dreaded chore. Six easy steps — flushing the tank, checking the anode rod, testing the safety valve, adjusting the temperature, insulating the unit, and keeping the space around it clean — are all you need to protect one of your home’s most important appliances.
All of these water heater maintenance tasks are quick, cheap, and beginner-friendly. You don’t need to be handy. All you have to do is show up and be consistent.
Set a reminder. A quick check every 6 to 12 months should be all you need. Keep a simple log of what you’ve done.
That little bit of effort pays off in lower energy bills, fewer repairs, and a water heater that lasts long beyond its expected lifespan. That’s peace of mind each time you turn on the hot water.
Your water heater is one of the hardest-working appliances in your home. Now it’s your turn to pay that back.