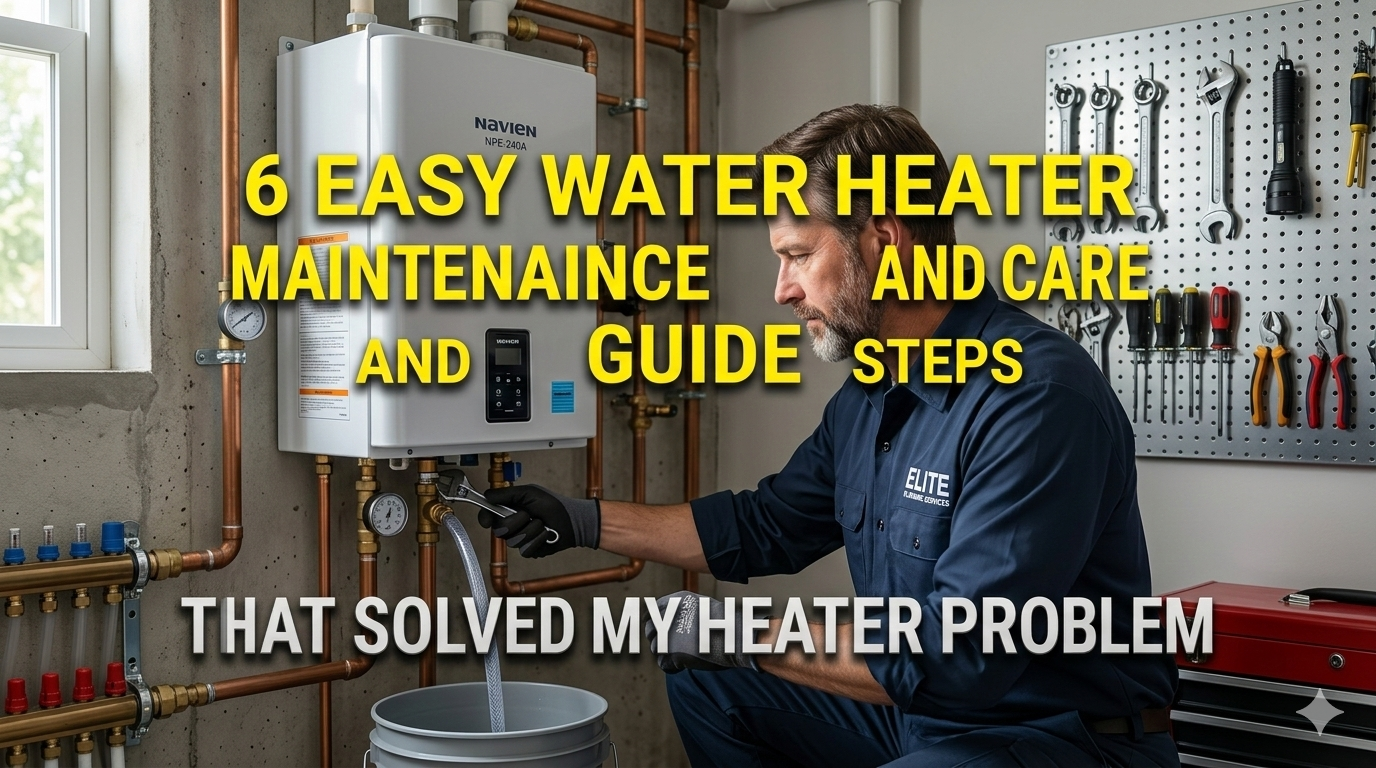
6 Easy Water Heater Maintenance and Care Guide Steps That Solved My Heater Problem
Introduction
You know, there’s nothing quite like stepping into a hot shower on a chilly morning, only to be greeted by a trickle of lukewarm water that turns ice-cold halfway through. That’s exactly what happened to me last winter. My water heater, which had been chugging along faithfully for years, suddenly decided to throw a tantrum. No hot water for dishes, laundry felt like a chore with tepid rinses, and forget about a relaxing bath. I was frustrated, thinking I’d have to shell out hundreds for a plumber or even a new unit. But after some digging around online and chatting with a handy neighbor, I stumbled upon these six straightforward maintenance steps. They didn’t require fancy tools or expert knowledge—just a bit of time and elbow grease. And guess what? They fixed my problem right up. My heater’s been running smoothly ever since, saving me money and headaches.
In this guide, I’m sharing those steps with you, based on my own experience. I’ll walk you through each one, explaining why it matters, how to do it safely, and what I learned along the way. Whether you have an electric, gas, or tankless water heater, these tips can help extend its life and keep things efficient. Let’s dive in—pun intended.
Understanding Your Water Heater Basics
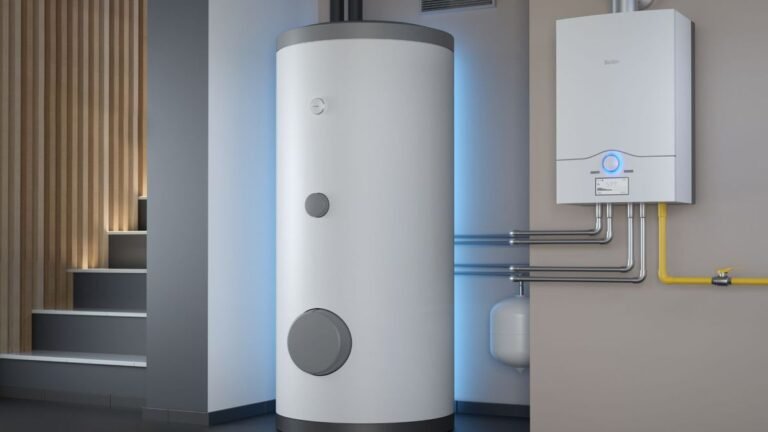
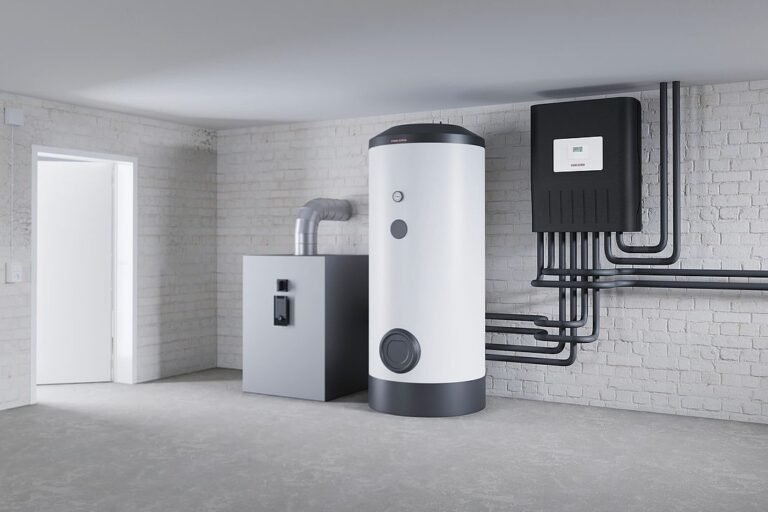
Before we get to the steps, it helps to know a little about how these machines work. I remember when I first moved into my house, I didn’t give the water heater a second thought. It’s usually tucked away in the basement or garage, out of sight and out of mind. But basically, a traditional tank-style water heater stores water in a big insulated tank and heats it using either electricity or gas. Tankless ones heat water on demand, which is great for energy savings but still needs care.
Mine’s an electric tank model, about 50 gallons, and it’s probably similar to what a lot of folks have. Over time, sediment builds up from minerals in the water, corrosion sets in, and parts wear out. That’s what caused my issue—sediment was insulating the heating elements, making them work harder and less effectively. If I’d ignored it longer, it could’ve led to a burst tank or worse. Regular maintenance isn’t just about fixing problems; it’s about preventing them. Experts say doing this stuff annually can add years to your heater’s lifespan and cut energy bills by up to 10-20%. Not bad for a weekend project.
Step 1: Turn Off the Power and Water Supply
The first thing I did—and this is crucial—was to shut everything down safely. You don’t want to be messing with a live system. For my electric heater, that meant flipping the breaker in the electrical panel. If yours is gas, you’d turn the gas valve to the “off” position. Then, close the cold water inlet valve on top of the tank. This stops new water from entering while you work.
Why is this important? Safety first. Hot water can scald you, and electricity or gas adds risk. I once heard a story from a friend who skipped this and got a nasty shock—literally. Plus, draining or flushing without cutting the supply could damage the unit or flood your space.
How to do it: Locate your breaker box or gas line. For electric, look for the label saying “water heater.” Flip it off and test by trying to run hot water; it should cool down after a bit. For the water valve, it’s usually a lever or knob—turn it perpendicular to the pipe to close. Give the tank time to cool if it’s been heating; I waited a couple hours to be safe.
Tools you’ll need: None really, just access to your utilities. But wear gloves and old clothes, as things can get messy later.
Common mistakes: Forgetting to turn it back on afterward! I did that once and wondered why no hot water the next day. Also, if you have a tankless model, the process is similar but check your manual for specifics.
This step sets the stage for the rest. It took me about 10 minutes, but it gave me peace of mind.
Expanding on Safety Precautions
I can’t stress enough how important safety is. When I was researching, I read about accidents where people got burned or caused leaks because they rushed. Always have a fire extinguisher nearby if dealing with gas. And if you’re not comfortable, call a pro. But for me, doing it myself was empowering. It made me feel like I was taking control of my home maintenance.
Types of Water Heaters and Adjustments
Depending on your type, this step varies. Solar water heaters, for instance, might need you to isolate panels. But most homes have standard ones. Mine’s from a big brand like Rheem, and their manuals are online if you lose yours.
Step 2: Drain the Tank to Remove Sediment
Ah, this was the game-changer for me. Sediment buildup was my heater’s nemesis. Minerals like calcium and magnesium settle at the bottom, acting like a blanket over the heating elements. This makes the heater work overtime, spiking bills and reducing efficiency. Draining flushes that gunk out.
How I did it: Attach a garden hose to the drain valve at the bottom of the tank. Run the other end to a drain or outside. Open the valve and let water flow until it runs clear—might take 20-30 minutes. If it’s really dirty, like mine was (brownish water at first), you might need to repeat.
Why it solved my problem: After draining, my water heated up faster and stayed hot longer. No more cold showers mid-way.
Tips: If the valve is stuck, use pliers gently. Add white vinegar if scale is bad—let it sit overnight before draining. For gas heaters, relight the pilot after.
Tools: Hose, bucket if indoors, maybe a wrench.
I spent about an hour on this, but it was worth it. Sediment can shorten life by years, so do this every 6-12 months.
Deeper Dive into Sediment Issues
Where does sediment come from? Hard water areas like mine in the Midwest are prone. If your water’s hard, consider a softener. I installed one later, and it’s helped prevent recurrence. Studies show sediment can reduce efficiency by 50% over time. Yikes!
Variations for Different Heaters
Tankless don’t have tanks to drain, but they need descaling with vinegar pumps. Electric vs. gas: Electric might have upper/lower elements; check both.
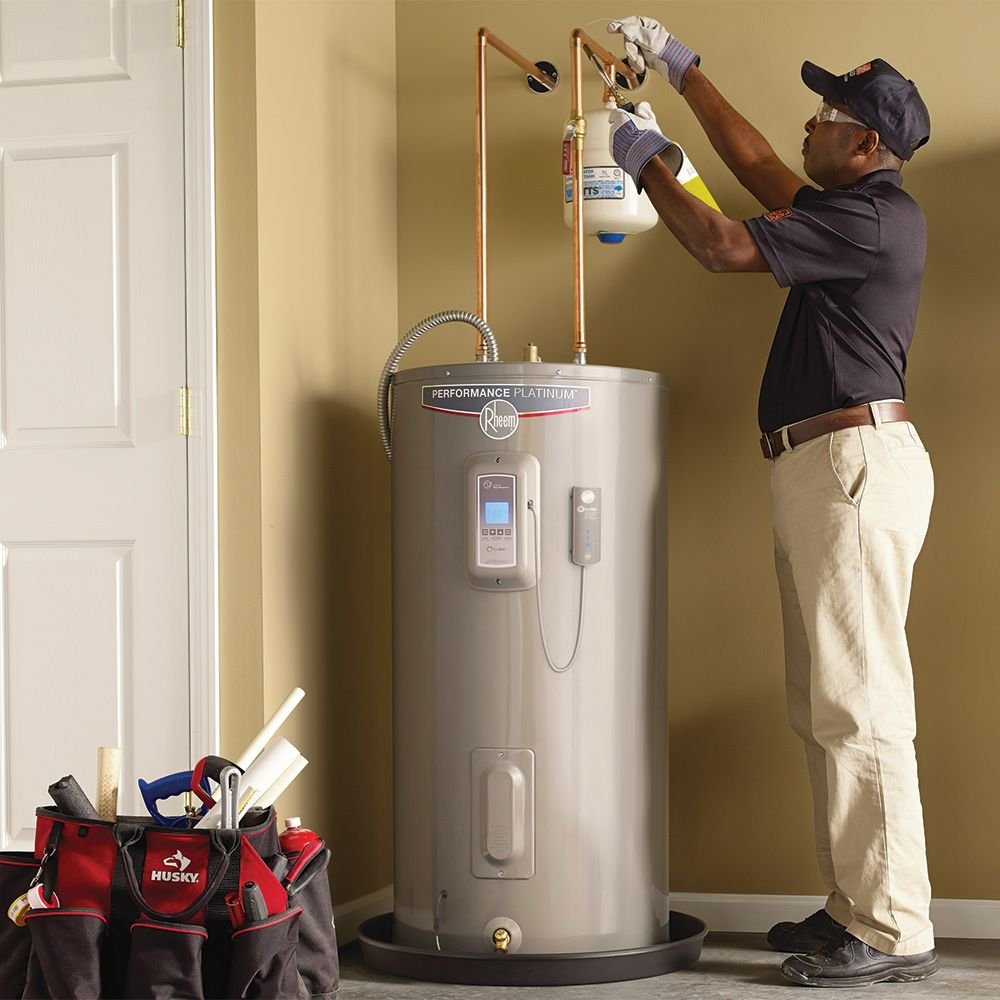
Step 3: Test and Replace the Anode Rod if Needed
The anode rod is like a sacrificial lamb—it corrodes instead of your tank. Made of magnesium or aluminum, it prevents rust. But it wears out, and when it does, the tank corrodes.
In my case, the rod was almost gone, explaining some rust flecks in the water.
How to check: Locate the rod on top (hex head). Unscrew with a socket wrench, pull it out. If it’s less than 6 inches or pitted, replace. Mine was toast, so I bought a new one for $20.
Installation: Screw the new one in, tighten, but not too much.
Why important: Extends tank life by 5-10 years. Without it, leaks happen.
Tools: Wrench, new rod.
This took 30 minutes. Pro tip: Do this every 3-5 years.
Anode Rod Science
It’s electrochemical— the rod attracts corrosives. Different types for different waters; magnesium for soft, aluminum for hard.
Common Errors: Over-tightening, stripping threads. Use Teflon tape.
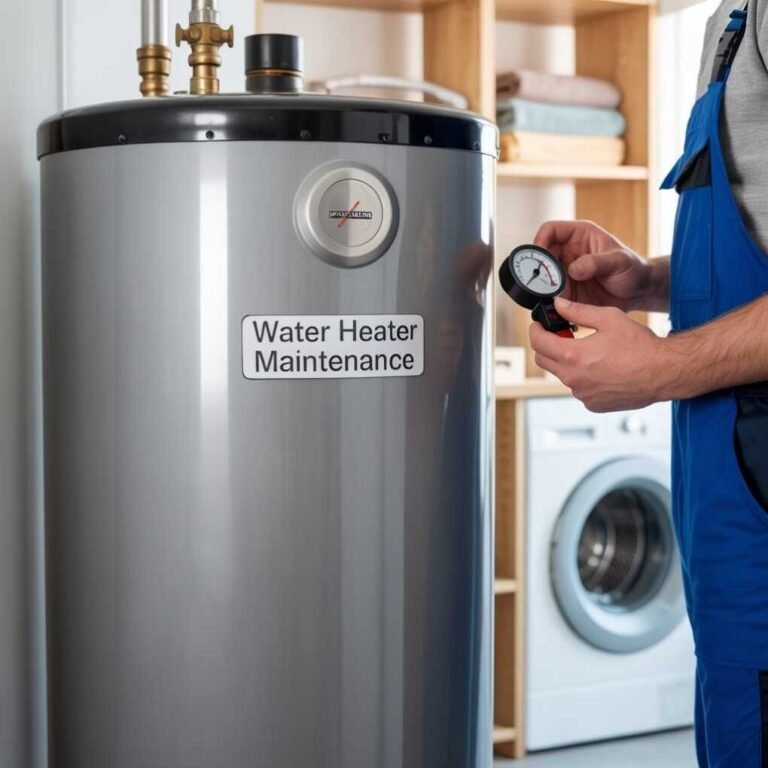
Step 4: Inspect the Pressure Relief Valve
This valve releases excess pressure to prevent explosions. Mine was fine, but testing is key.
How: Lift the lever; water should flow out the pipe. If not, or if it leaks after, replace.
Safety: Wear goggles; hot water sprays.
Why: Faulty valves cause bursts. Annual test recommended.
Tools: None.
Quick, 5 minutes.
Valve Mechanics
It’s a spring-loaded safety. If stuck, mineral buildup—flush with vinegar.
Replacements: Cheap, $10-15.
Step 5: Adjust the Temperature and Insulate
I had my thermostat too high—140°F, wasting energy. Lowered to 120°F.
Also, insulated the tank with a blanket and pipes with foam.
How: Access panel, turn dial. Wrap blanket, tape seams. Pipe foam slips on.
Benefits: Saves 5-10% on bills, prevents burns.
Tools: Screwdriver, insulation kit ($20).
30 minutes.
Energy Savings Explained
At 120°F, less heat loss. Insulation pays for itself quickly.
For Kids/Pets: Lower temp safer.
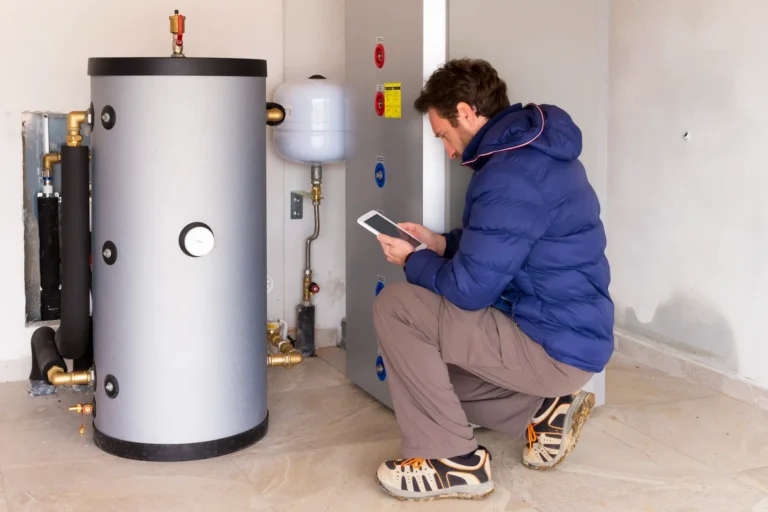
Step 6: Check for Leaks and Corrosion
Final once-over: Look for drips, rust around fittings. Tighten if needed, or call pro for big issues.
My heater had a small drip; tightened valve, fixed.
Why: Leaks waste water, cause damage.
Tools: Wrench, flashlight.
15 minutes.
Preventive Measures
Use dielectric nipples to prevent corrosion. Annual visual checks.
Putting It All Together
After these steps, my heater was like new. Hot water aplenty, lower bills. Total time: a few hours over a weekend. Cost: under $50.
Maintenance Schedule
Yearly: Drain, check rod, valve.
Monthly: Visual inspection.
Troubleshooting Common Problems
No hot water: Check breaker, thermostat.
Noisy: Sediment—drain.
Smelly water: Bacteria—flush with bleach.
Advanced Tips
For efficiency, consider upgrading to heat pump heater.
Eco-Friendly Angles
Maintenance reduces energy use, lowers carbon footprint.
Personal Reflections
Doing this boosted my confidence. No more relying on pros for everything.
Conclusion
These six steps turned my headache into a victory. Give them a try—you might save big. Remember, if unsure, consult a professional. Stay warm!