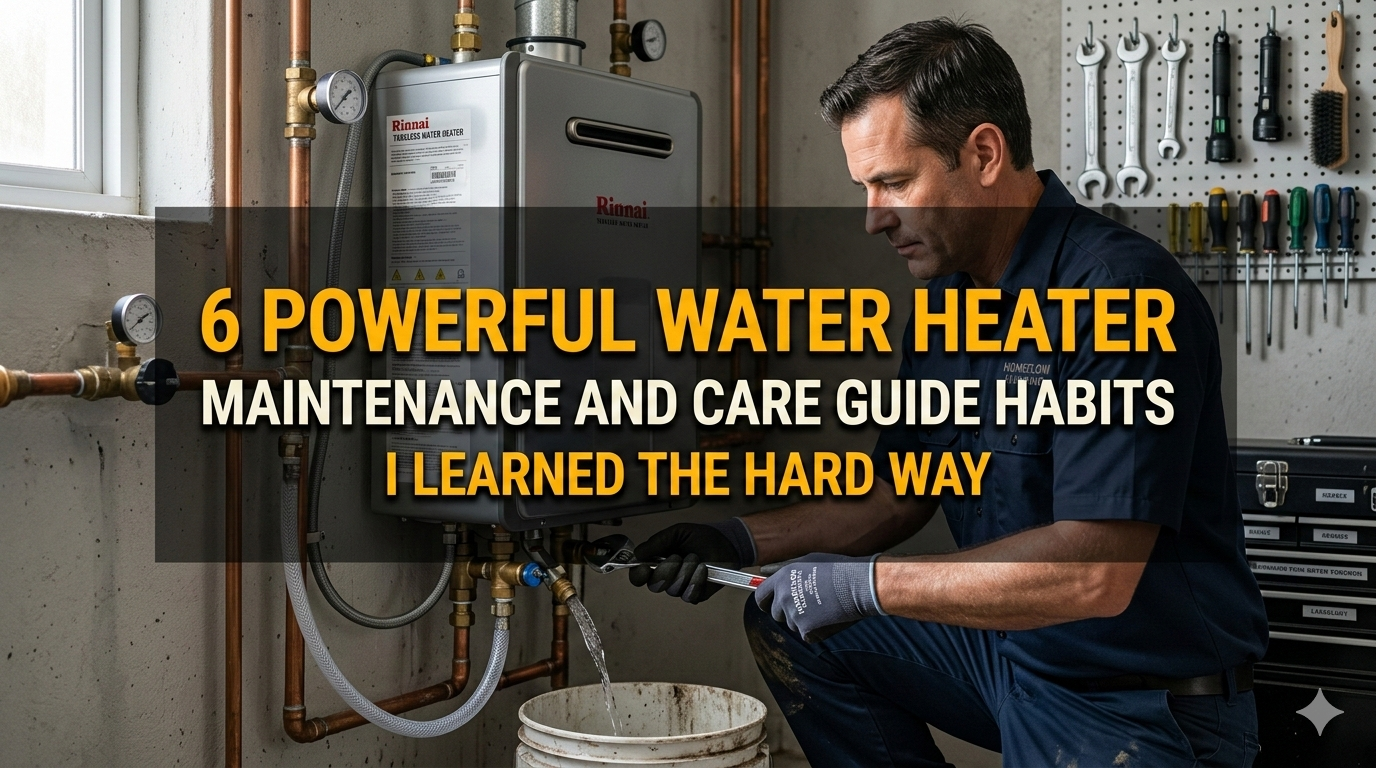
6 Powerful Water Heater Maintenance and Care Guide Habits I Learned the Hard Way
Introduction
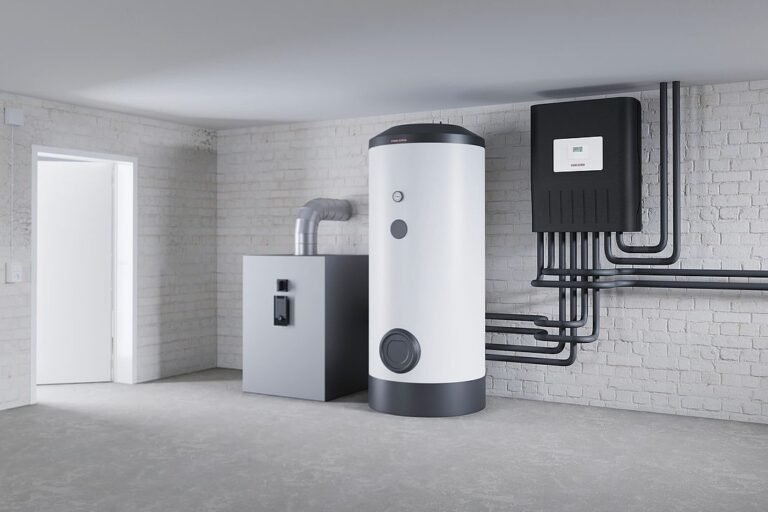
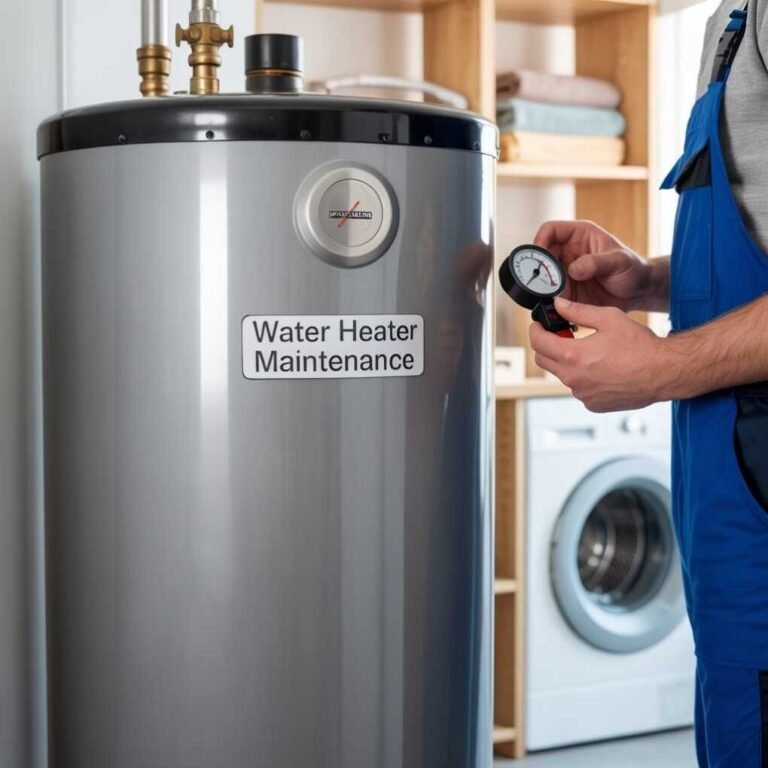
Let me take you back to that fateful winter morning a few years ago. I woke up to the sound of my wife yelling from the bathroom, “There’s no hot water!” Groggy and half-asleep, I stumbled downstairs to check the water heater in the basement. What I found was a disaster: water pooling around the base, a faint hissing sound, and the unmistakable smell of rust. Turns out, my neglect had led to a burst tank, costing me thousands in repairs and leaving us without hot water for days. That was my wake-up call. Over the years, through trial and error—mostly error—I’ve picked up some crucial habits for maintaining a water heater. These aren’t just tips from a manual; they’re lessons I learned the hard way, often with cold showers and hefty bills as my teachers. In this guide, I’ll share six powerful habits that can save you from the same headaches. Trust me, incorporating these into your routine will extend the life of your water heater, improve its efficiency, and keep those utility bills in check.
Before we dive in, a quick note on why this matters. Water heaters are one of those appliances we take for granted until they fail. Whether you have a traditional tank-style heater, a tankless model, or even a solar one, regular care is key. According to what I’ve read and experienced, a well-maintained unit can last 10-15 years, while a neglected one might conk out in half that time. Plus, with energy costs rising, efficient operation can save you hundreds annually. I’ll break down each habit with real-life stories from my mishaps, step-by-step advice, and why it works. Let’s get started.
Habit 1: Flushing the Tank Regularly to Remove Sediment
The first habit I wish I’d adopted sooner is flushing the tank at least once a year. Sediment buildup is like plaque in your arteries—it sneaks up on you and causes all sorts of problems. Minerals from hard water settle at the bottom of the tank, reducing efficiency and leading to overheating or even tank failure.
I learned this one during my first homeownership year. We moved into an older house with a gas water heater that seemed fine at first. But after a few months, the hot water started running out quicker than usual, and there was this weird rumbling noise every time it heated up. I ignored it, thinking it was normal. Big mistake. One day, the pilot light went out, and when I tried to relight it, I noticed the burner was clogged with gunk. A plumber later explained that sediment was insulating the bottom of the tank, making the heater work harder and causing the noises. The fix? A full flush and clean, which cost me $200. If I’d flushed it myself earlier, I could’ve avoided that.
So, how do you do it? First, turn off the power or gas to the heater. For electric models, flip the breaker; for gas, set the thermostat to pilot. Attach a garden hose to the drain valve at the bottom of the tank. Run the hose to a drain or outside. Open a hot water faucet upstairs to allow air in. Then, open the drain valve and let the water flow until it runs clear— this might take 20-30 minutes. Be careful; the water is hot at first. Once done, close the valve, refill the tank by turning on the cold water inlet, and restore power.
Why does this work? Sediment reduces heat transfer, so the burner or elements have to run longer, wasting energy. In hard water areas like mine, it’s even more critical. I’ve since made this a fall ritual, right before winter when demand spikes. Pro tip: If your water is very hard, consider a water softener. It won’t eliminate the need for flushing but will reduce buildup. Also, check your manufacturer’s guidelines—some tankless models need descaling with vinegar instead.
Expanding on this, let’s talk about the types of sediment. It’s mostly calcium and magnesium, but can include rust if your tank is corroding. In my case, after that incident, I started noticing improved water pressure and fewer strange sounds. Energy-wise, I’ve seen my gas bill drop by about 10% in the colder months. If you’re in a rental, chat with your landlord about this; many don’t bother, and it affects tenants directly.
One more story: A friend of mine skipped this for years and ended up with a cracked tank. The sediment had caused localized overheating. Lesson learned—don’t wait for symptoms. Make it proactive.
Habit 2: Inspecting and Replacing the Anode Rod
Next up is checking the anode rod, that unsung hero inside your tank. It’s a sacrificial rod made of magnesium, aluminum, or zinc that attracts corrosion, protecting the tank lining. But it wears out over time, and when it does, your tank starts rusting from the inside.
I learned this the hard way after my second water heater fiasco. About five years into owning my home, I noticed rusty water coming from the hot taps. At first, I thought it was the pipes, so I called a plumber who charged me to inspect them—nothing wrong there. Then he checked the heater and pulled out what was left of the anode rod: a skinny, pitted stick that should’ve been replaced years ago. The tank was starting to corrode, and while we caught it early, it shortened the unit’s life. Total cost: $150 for the rod replacement, plus the stress of wondering if the tank would hold.
Now, I inspect mine every two to three years. To do it, turn off the power and water supply. Locate the anode rod—it’s usually on top of the tank, hex-headed. Use a socket wrench to unscrew it (it might be tight; use breaker bar if needed). Pull it out and check: if it’s less than 6 inches long or heavily pitted, replace it. New rods cost $20-50 and screw right in. Coat the threads with pipe dope for a good seal.
This habit is powerful because it prevents premature tank failure. In areas with aggressive water (high acidity), aluminum rods work better than magnesium. I’ve switched to one and noticed less rust in the water. For tankless heaters, they might not have anode rods, but check for similar sacrificial components.
Diving deeper, the science here is electrochemical: the anode corrodes instead of the steel tank. Without it, pinhole leaks develop, leading to floods. In my neighborhood, several folks have had basement floods from this. One tip: If your heater is in a tight space, consider a flexible anode rod for easier installation. Also, if you smell rotten eggs (hydrogen sulfide), it could be the anode reacting with bacteria—flushing with hydrogen peroxide helps.
Since adopting this, my current heater is going strong at eight years. It’s a small effort for big peace of mind.
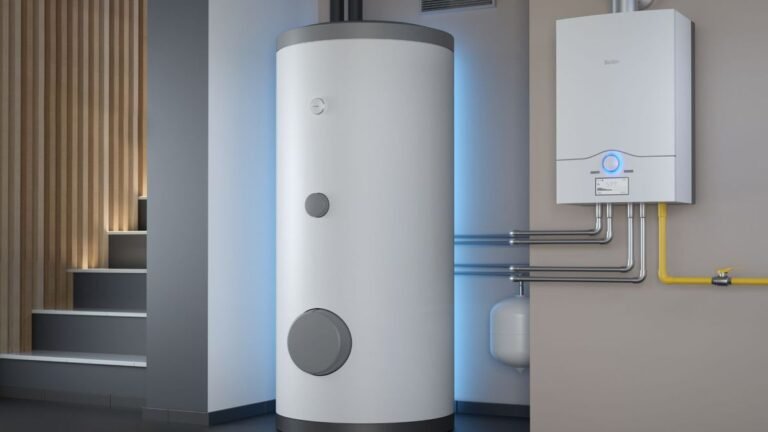
Habit 3: Insulating the Tank and Pipes Properly
Insulation might sound basic, but it’s a game-changer for efficiency. Heat loss from the tank and pipes means your heater works overtime, burning more energy.
My hard lesson came during a brutal cold snap. I’d wrapped the tank with an old blanket thinking that’d do, but it was ineffective. Our energy bill skyrocketed, and the hot water felt lukewarm by the time it reached the faucets. After researching, I realized proper insulation could’ve saved us 20-30% on heating costs. I ended up buying a proper blanket kit, but not before wasting money on higher thermostat settings, which risked scalding and accelerated wear.
Here’s how: For the tank, get a fiberglass insulation blanket rated for your model (R-value of 6-10). Cut holes for controls and pipes, then wrap and tape it securely. For pipes, use foam sleeves on the first 6 feet of hot and cold lines. Avoid compressing the insulation.
Why powerful? Standby heat loss accounts for up to 25% of energy use. In my unheated garage setup, insulation dropped my bill noticeably. For electric heaters, it’s even more impactful since electricity is pricier.
Bonus: Insulate the pressure relief valve pipe too. And if your tank is warm to the touch, it’s losing heat—insulate ASAP. In summer, it prevents unnecessary heating. One caveat: Don’t insulate gas heaters’ combustion areas to avoid fire hazards.
I’ve since helped neighbors with this, and they’ve reported similar savings. It’s a one-time job with ongoing benefits.
Habit 4: Setting and Monitoring the Right Temperature
Temperature settings affect safety, efficiency, and longevity. Too high, and you risk scalds and energy waste; too low, bacteria like Legionella can grow.
I learned this after a family visit gone wrong. I’d cranked the thermostat to 140°F for more hot water, but my niece got a minor burn in the shower. Plus, the higher temp caused mineral buildup faster, leading to efficiency drops. A plumber adjusted it to 120°F, and suddenly, our water lasted longer without the risks.
Simple steps: Locate the thermostat (under a panel for electric, dial for gas). Set to 120°F. Use a thermometer at a faucet to verify. Monitor seasonally—lower in summer if possible.
This habit is key because every 10°F above 120 increases energy use by 3-5%. It also prevents tank stress from expansion. In my experience, 120°F is hot enough for dishes and showers without waste.
For tankless, settings are digital—aim for the same. If you have kids or elderly, consider anti-scald devices. One time, I forgot to check after a power outage, and it reset high—lesson: always verify.
Adopting this has made our home safer and cheaper to run.
Habit 5: Regularly Inspecting for Leaks, Corrosion, and Wear
Visual inspections catch issues early, preventing major failures.
My story: Ignoring a small drip from the pressure relief valve led to a flooded basement. It started as a slow leak, but I thought it was condensation. Weeks later, it worsened, and the valve failed, dumping gallons. Cleanup and replacement: $300 plus ruined boxes.
Now, I inspect monthly. Check for puddles, rust streaks, or dampness around the base. Inspect connections, valves, and the tank exterior. Listen for unusual noises. Test the pressure relief valve by lifting the lever briefly—water should flow, then stop.
Why effective? Early detection saves thousands. Corrosion often starts at welds or fittings. In humid areas, it’s worse—use a dehumidifier if needed.
For gas models, check the vent for blockages. Electric? Inspect elements if accessible. If you spot issues, shut off and call a pro.
This habit turned me from reactive to proactive, avoiding disasters.
Habit 6: Knowing When to Call a Professional and Not DIY Everything
Finally, recognize your limits. Some tasks are pro-only.
I tried fixing a faulty thermostat myself once—shorted the wiring, causing a blackout. Electrician bill: $250. Learned: Electrical and gas work needs experts.
Call pros for: Strange odors (gas leak?), no hot water despite basics, or major repairs. Annual tune-ups are worth it.
This habit saves money long-term by preventing botched jobs.
In my journey, pros have taught me tricks, making me better at maintenance.
Conclusion
These six habits—flushing, anode checks, insulation, temp settings, inspections, and pro help—transformed my approach. From costly mistakes to smooth operation, they’ve saved me time and money. Start small, maybe with a flush, and build from there. Your wallet and sanity will thank you. If you’ve got stories, I’d love to hear—maintenance is a shared struggle. Stay warm out there.