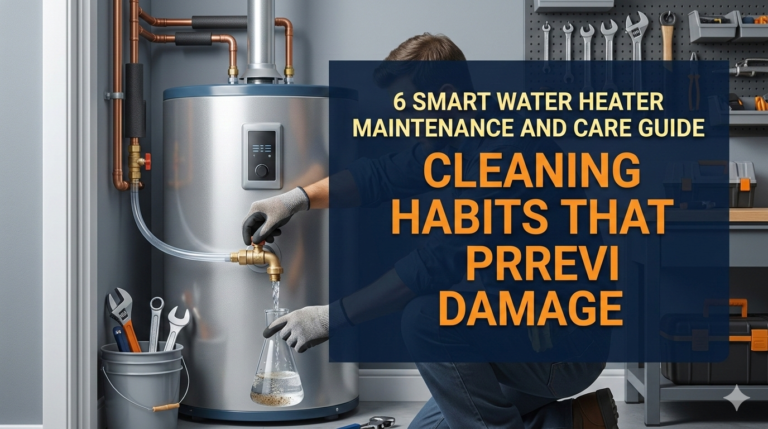
7 Easy Water Heater Maintenance and Care Guide Cleaning Tasks You Should Never Skip
Introduction
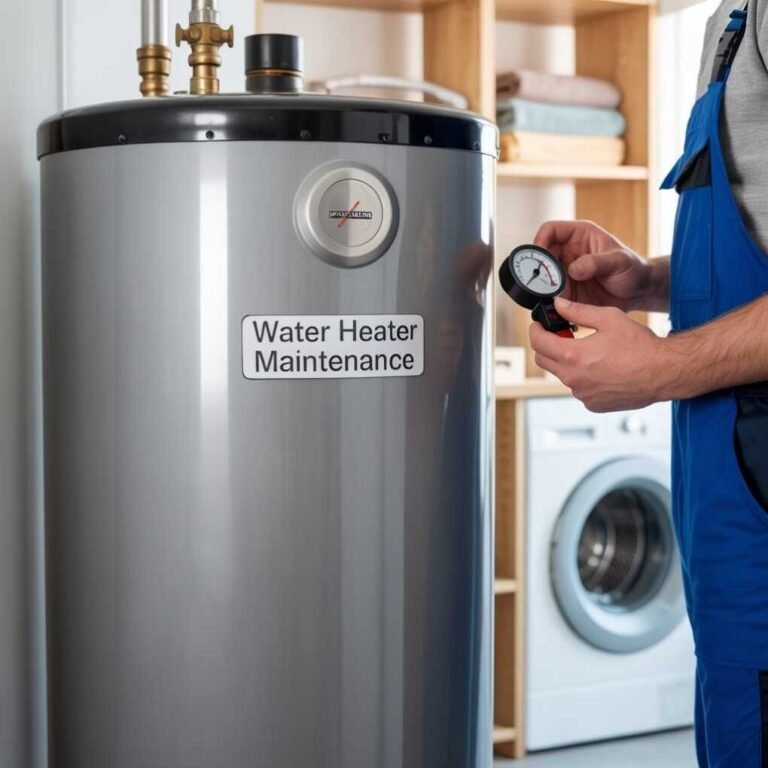
Water heaters are one of those household appliances that we tend to take for granted until something goes wrong. You know the drill: you’re in the middle of a relaxing shower, and suddenly the water turns ice cold. Or worse, you come home to a flooded basement because the tank decided to give up the ghost. I’ve been there myself, and let me tell you, it’s not fun dealing with emergency repairs or the hassle of replacing the whole unit. That’s why regular maintenance is so crucial. It’s not just about avoiding disasters; it’s about keeping your water heater running efficiently, saving on energy bills, and extending its lifespan. In this guide, we’re diving into seven easy cleaning and maintenance tasks that you really shouldn’t skip. These aren’t complicated procedures that require a professional every time—most can be done with basic tools and a bit of elbow grease. But they focus on the cleaning aspects that keep sediment, rust, and buildup at bay, ensuring your hot water stays hot and your system stays healthy.
First off, let’s talk about why cleaning is such a big deal for water heaters. Over time, minerals from your water supply—like calcium and magnesium—settle at the bottom of the tank or coat the heating elements. This sediment acts like an insulator, forcing the heater to work harder to produce the same amount of hot water. That means higher utility bills and more wear and tear on the components. For gas models, dust and debris can clog burners, reducing efficiency and even posing safety risks like carbon monoxide buildup. Electric ones might suffer from scale on the elements, leading to overheating or failure. Tankless water heaters aren’t immune either; they can get scaled up in the heat exchanger, which is basically their heart. Skipping these cleaning tasks can shorten your water heater’s life from the typical 10-15 years down to half that, and nobody wants to shell out for a new one prematurely.
Now, before we get into the specifics, a quick note on safety. Always turn off the power or gas supply before starting any work. For electric heaters, flip the breaker; for gas, turn the valve to “off.” Wear gloves and eye protection, especially when dealing with hot water or chemicals. If you’re unsure about anything, especially with gas lines, call a pro—better safe than sorry. Also, these tasks are geared toward standard tank-style water heaters, but I’ll note adaptations for tankless or specific types where needed. Alright, let’s roll up our sleeves and get into the first task.
Task 1: Setting the Right Temperature
You might not think of adjusting the temperature as a “cleaning” task, but hear me out. Keeping your water heater at the optimal setting prevents excessive mineral buildup and scaling, which are essentially forms of internal dirt that you have to clean out later. The recommended temperature is 120 degrees Fahrenheit. Any higher, and you’re inviting faster sediment accumulation because hot water holds more dissolved minerals that precipitate out as scale. Plus, it’s a scalding risk, especially for kids or elderly folks in the house.
To do this, locate the thermostat. On most tank heaters, it’s behind an access panel on the side. For electric models, there might be two—one for the upper and lower elements. Use a screwdriver to remove the panel, then adjust the dial with a flathead screwdriver. Turn it down to 120 if it’s higher (many come factory-set at 140). For gas heaters, the thermostat is usually at the bottom, near the gas control valve. Twist the dial accordingly. After adjusting, wait a few hours and test the water at a faucet farthest from the heater using a thermometer. It should read around 120. If it’s off, tweak it again.
Why never skip this? I’ve seen heaters set too high leading to massive scale buildup, which then requires aggressive cleaning or even replacement of parts. It also saves energy—every 10 degrees lower can cut your bill by 3-5%. For tankless heaters, it’s often a digital panel; just program it in. Clean the area around the thermostat while you’re at it—dust can affect readings. Wipe it down with a dry cloth to keep things accurate. This simple step keeps your system cleaner internally and externally, preventing the need for more intensive cleanings down the line.
Expanding on this, consider the science behind it. Water at higher temperatures accelerates the deposition of calcium carbonate, the main culprit in hard water areas. If you live in a region with hard water, this task becomes even more critical. You can test your water hardness with a cheap kit from the hardware store. If it’s over 7 grains per gallon, think about adding a water softener, which ties into later tasks. Personally, after lowering my heater’s temp, I noticed less lime scale in my faucets too—a bonus clean effect throughout the house.
Common mistakes? Forgetting to insulate the access panel after adjusting, which can lead to heat loss. Or not checking seasonally—temperatures can drift. Make this a biannual habit, say spring and fall, when you’re doing other home chores. It’s quick, maybe 10 minutes, but the payoff in reduced cleaning frequency is huge.
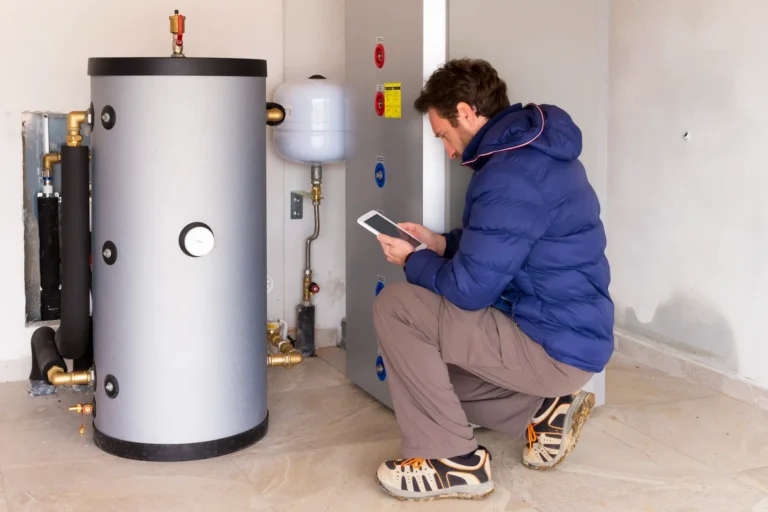
Task 2: Conducting Regular Inspections
Inspection might sound basic, but it’s the foundation of spotting cleaning needs early. Think of it as a visual clean-up scan. Every month or so, take a flashlight and look over your water heater. Check for leaks around the base, valves, and connections—water pooling means trouble, often from corrosion or loose fittings. Rust spots on the tank? That’s a sign of internal decay that could lead to bursts. For gas models, sniff for gas odors and look at the burner area for soot, which indicates incomplete combustion and needs cleaning.
To clean during inspection: If you see dust or debris around the base, vacuum it up. Use a shop vac or brush attachment to clear vents and air intakes—clogged ones reduce efficiency and can cause overheating. For the exterior, wipe down the tank with a damp cloth and mild soap to remove dirt that might trap moisture and promote rust. Dry it thoroughly. Inspect the pressure relief valve (we’ll cover testing it later) for mineral crust—gently scrape it off if safe, but don’t force it.
Never skip this because early detection prevents major clean-ups. A small leak ignored can turn into a flood, requiring you to clean up water damage elsewhere. In my experience, catching rust early allowed me to apply a rust converter paint, extending the heater’s life by years. For tankless units, inspect the inlet and outlet pipes for scale buildup—white crusty deposits mean it’s time for descaling.
Go deeper: Check the floor around the heater for dampness, which could indicate slow leaks. Look at the anode rod access (more on that later) for signs of wear. If your heater is in a garage or basement, pests like spiders can web up vents—clean those out to maintain airflow. This task takes 5-10 minutes but saves hours of future work.
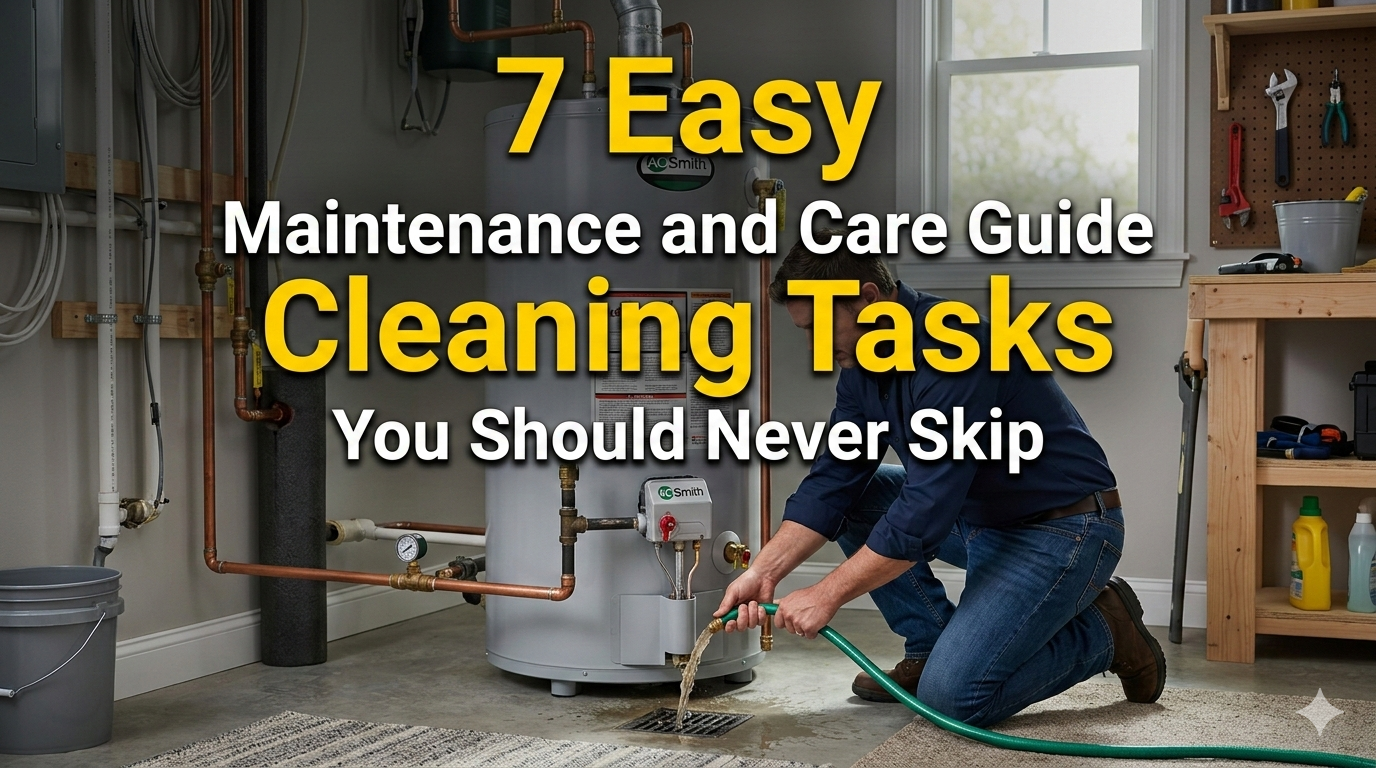
Task 3: Flushing and Descaling
This is the big one for cleaning—flushing removes sediment that’s like sand at the bottom of your tank, grinding away at the interior and heating elements. Do this annually, or more if you have hard water. Sediment reduces efficiency by up to 50%, making your heater work overtime.
Steps: Turn off power/gas and cold water inlet. Attach a garden hose to the drain valve at the bottom, running it to a drain or outside. Open a hot water faucet nearby to allow air in. Open the drain valve and let water flow until clear—might take 20-30 minutes. For stubborn sediment, close the drain, refill partially, then drain again. Once done, close the valve, remove hose, open cold inlet, and restore power.
For descaling, especially in hard water areas or tankless heaters, use a vinegar solution. For tanks, after draining, pour white vinegar through the anode rod hole or use a pump to circulate it for an hour, then flush. Tankless models have specific ports for this—follow the manual.
Why essential? Sediment is abrasive and insulative, leading to hot spots that crack tanks. I’ve flushed mine and seen buckets of gunk come out—shocking how much builds up. Skipping leads to noisy operation (rumbling) and eventual failure.
Tips: Wear old clothes; the water’s dirty. If the valve is stuck, lubricate or replace it. For electric heaters, remove elements if heavily scaled and soak in vinegar.
Task 4: Insulating and Protecting
Insulation isn’t direct cleaning, but it protects against condensation that leads to rust, which requires cleaning. Wrap your tank with an insulation blanket (R-11 or higher), cutting holes for controls and valves. Insulate the first 6 feet of hot and cold pipes with foam sleeves.
This reduces heat loss, meaning less energy use and less strain, indirectly keeping internals cleaner by maintaining even temperatures that slow scale formation.
Installation: Measure the tank, cut the blanket to fit, tape seams. For pipes, slit the foam and snap on.
Never skip because uninsulated tanks in cold areas sweat, promoting exterior rust that you have to clean or paint over. It also saves 7-16% on energy.

Task 5: Checking the Anode Rod
The anode rod sacrifices itself to corrosion instead of your tank. It’s a cleaning preventive by attracting minerals. Check every 3 years; replace if more than 6 inches of core wire is exposed or it’s thinned to 1/2 inch.
To check: Turn off power, drain a few gallons, unscrew the rod (top of tank), pull it out. Clean off scale with a wire brush, inspect, reinstall or replace.
Essential because a depleted rod lets the tank rust, leading to leaks and major clean-ups. Replacement is cheap—$20-50.
Task 6: Maintaining Water Quality
Poor water quality leads to buildup that demands cleaning. Install a sediment filter on the cold inlet to catch particles before they enter. Change it every 6 months—unscrew, rinse or replace cartridge.
For hard water, a softener reduces minerals. Clean the filter housing during changes.
This prevents the need for frequent flushes. Skipping means more scale, more cleaning.
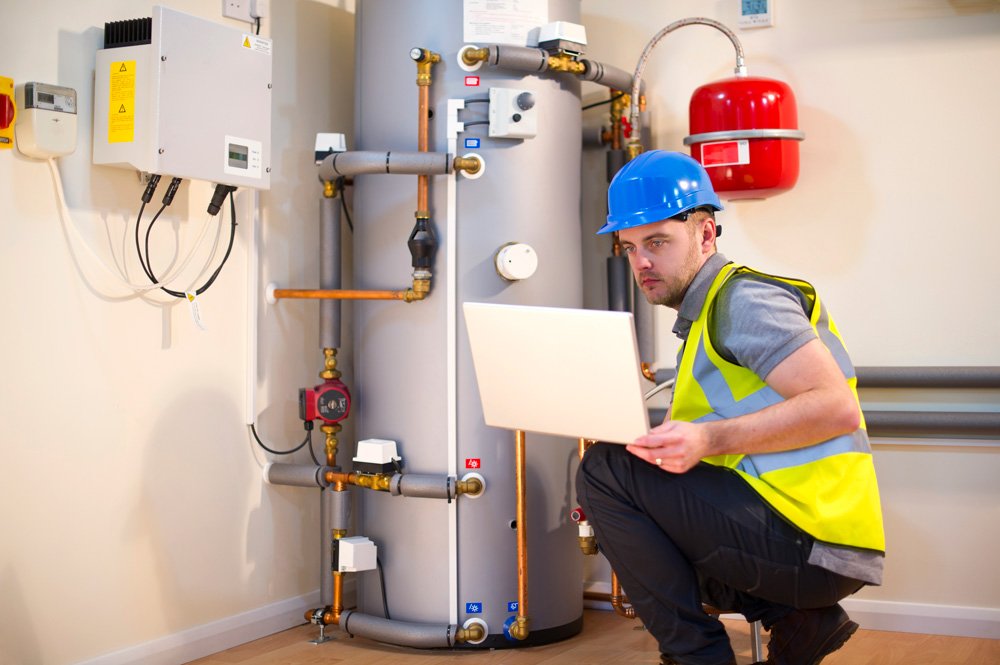
Task 7: Calling in the Professionals
While DIY is great, pros handle deep cleans like full system flushes or burner cleanings. Schedule yearly— they vacuum internals, clean burners, check for hidden issues.
Why? They have tools for thorough cleaning you can’t do, like camera inspections.
Conclusion
Wrapping up, these seven tasks— from temp settings to pro check-ups— form a solid defense against breakdowns. By incorporating them into your routine, you’ll enjoy reliable hot water, lower bills, and peace of mind. Start small, maybe with an inspection today, and build from there. Your water heater will thank you with years of service.