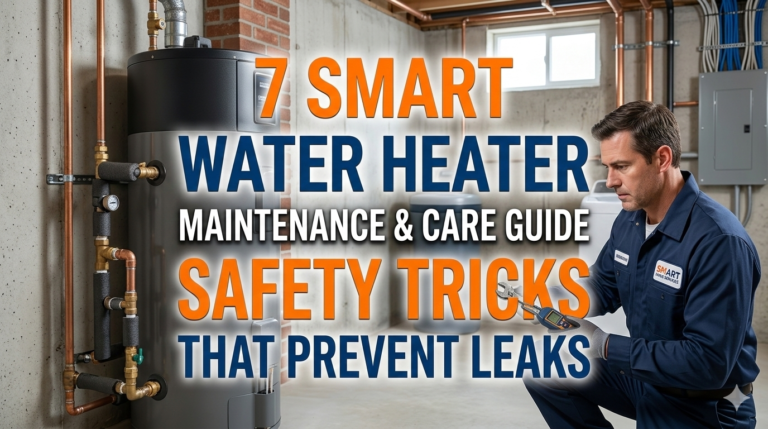
7 Essential Water Heater Maintenance and Care Guide Safety Tips for Every Home
The Ultimate 7 Step Water Heater Maintenance and Care Guide Safety Tips Guide For Every Home
Meta Description: 7 water heater maintenance and care safety tips to help avoid breakdowns, save on energy bills, and maximize the lifespan of your unit — every homeowner needs these!
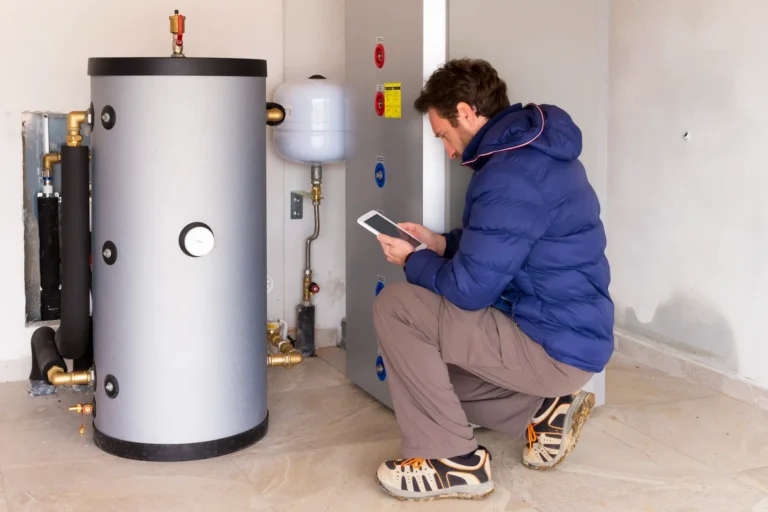
Hot water is one of those comforts most people take for granted — until it no longer works. They can range from a cold shower on a winter’s morning to a flooded basement from the rupture of one tank, and such problems with water heaters can be costly and dangerous.
The good news? The majority of problems with water heaters are avoidable.
A simple, consistent maintenance and care guide for a water heater can prevent you from spending hundreds on repairs. It can also safeguard your family against safety hazards such as carbon monoxide leaks, scalding water and even explosions.
This guide outlines 7 key safety measures that all homeowners should take — regardless of whether your unit is brand new or more than a decade old.
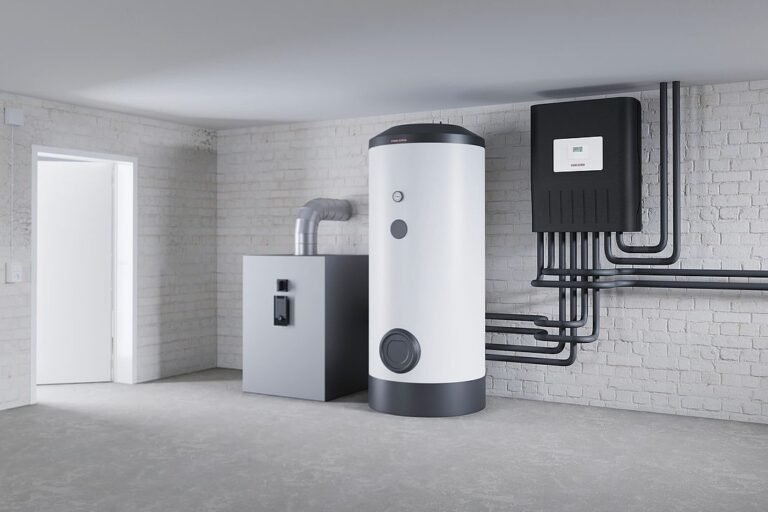
The Importance of Regular Water Heater Maintenance
Most homeowners don’t think about their water heater until something goes wrong. It resides in a corner of the basement or utility closet, quietly going about its work — until it doesn’t.
Here’s the truth: Your average water heater has a life span of 8 to 12 years. But with less-than-ideal care, that lifespan can plummet. Sediment builds up. Parts corrode. Pressure builds to dangerous levels.
Routine maintenance not only ensures that your unit lasts longer. It also:
- Lowers your monthly energy bill
- Minimizes the potential for leaks and water damage
- Keeps your water temperature consistent
- Prevents dangerous pressure buildup
- Prevents small issues from becoming big ones
It’s like changing the oil in your car, if you will. If you skip it long enough, the engine breaks down. This same logic applies to your water heater.
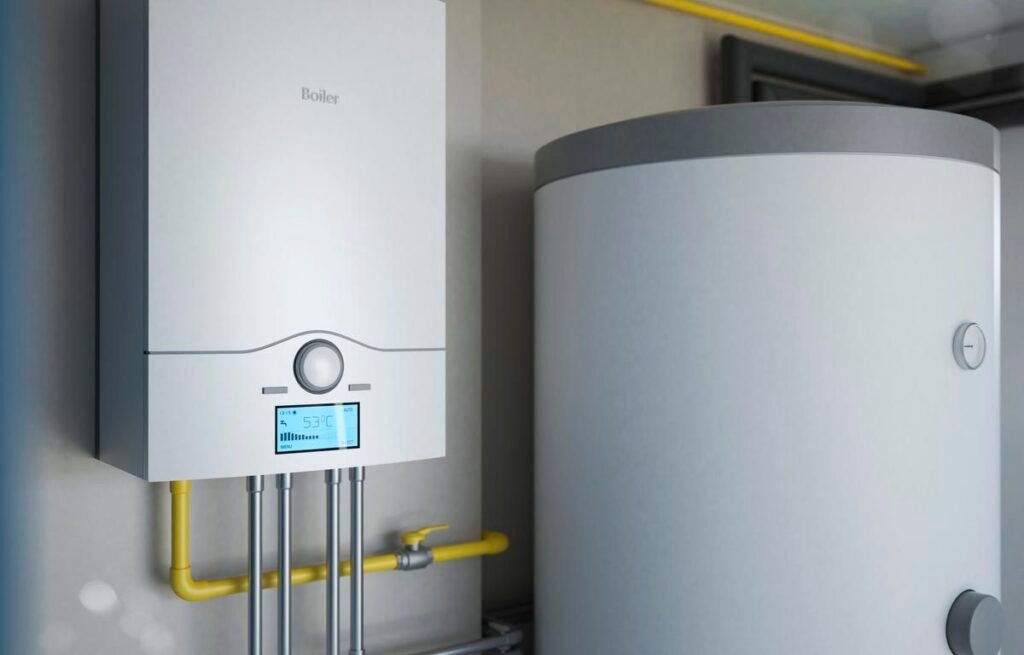
Learn About Your Water Heater Before You Begin
Before getting into the tips, it’s helpful to know what kind of water heater you have. Specific units need slightly adjusted approaches.
| Type | How It Works | Common Fuel Source |
|---|---|---|
| Tank Water Heater | Stores and heats a large tank of water | Gas, Electric, Propane |
| Tankless Water Heater | Heats on-demand — no storage | Gas, Electric |
| Heat Pump Water Heater | Pulls heat from surrounding air | Electric |
| Solar Water Heater | Uses solar panels and/or electric backup to heat | Solar/Electric |
The majority of these tips pertain directly to traditional tank water heaters since the most common type of water heater in the U.S. is a traditional tank model. That said, tankless and other models have a lot of safety parameters in common.
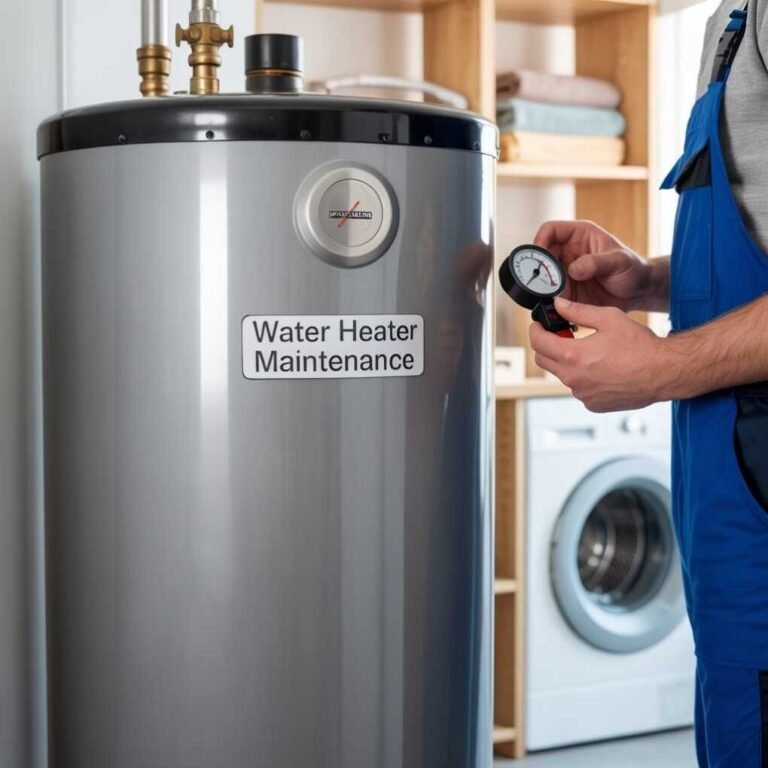
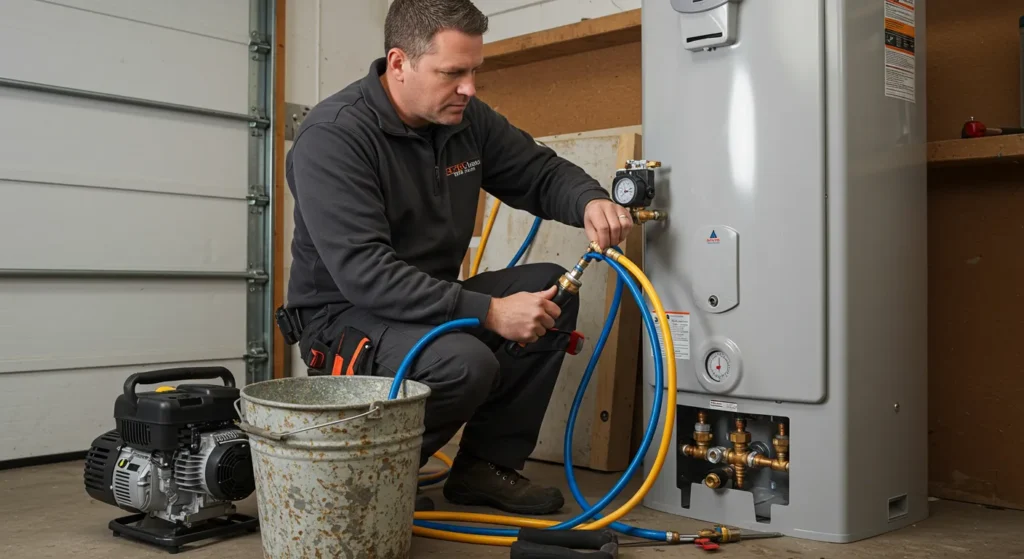
Safety Tip #1 — Flush The Tank Once A Year To Remove Sediment
This is the single most important maintenance thing you can do.
As time goes on, minerals from your water supply — primarily calcium and magnesium — accumulate at the bottom of your tank. That layer of sediment acts as insulation, making your heater work harder to heat up the water above it.
The result? Higher energy bills, slower heating, and a unit that wears out a lot faster.
Step-by-Step Procedure to Flush Your Water Heater
- Disconnect the electric or turn gas to “pilot”
- Turn off the cold water supply valve
- Attach a garden hose to the drain valve located at the bottom of the tank
- Direct the other end of the hose outdoors or into a floor drain
- Open a hot water tap somewhere in your home to avoid creating a vacuum
- Open the drain valve and flush water through until it runs clear
- Shut the drain valve, fill the tank and restore your power or gas
It takes around 30–45 minutes in total. Do this annually — or semiannually if you live in an area with hard water.
Pro Tip: If you’ve never flushed your heater and it is several years old, the sediment may be densely compacted. In that case, it could be worth calling a plumber for the initial flush.
Safety Tip #2 — Test the Pressure Relief Valve Twice A Year
One of the most important safety features on your water heater is the Temperature and Pressure Relief (TPR) valve. Its job is to relieve pressure if the tank overheats or internal pressure rises too high.
If this valve malfunctions, pressure can increase inside the tank to dangerous levels. In rare but extremely dangerous cases, this can cause the tank to rupture or explode.
How to Test the TPR Valve
- Find the valve — usually on the side or top of the tank, with a small lever
- Place a bucket below the discharge pipe connected to the valve
- Pull the lever down for a brief moment (1–2 seconds) and release
- Water will come out, and when you release it, it should stop completely
If water continues to drip after you release the lever, the valve is faulty. If no water comes out at all, the valve may be corroded or stuck.
If a TPR valve is failing, replace it immediately. This is not optional. A faulty relief valve is a major safety risk. Replacement valves generally range from $15 to $35; a plumber can install one in short order.
Test that valve every six months and replace it every 5 years just to be safe.
Safety Tip #3 — Set the Temperature Right (Not Too Hot, Not Too Cold)
Most water heaters are factory preset at 140°F (60°C). But the U.S. Department of Energy advises lowering it to 120°F (49°C) for most homes.
Here’s why temperature setting is so important:
| Temperature | Risk | Recommendation |
|---|---|---|
| Below 120°F | Bacteria growth (Legionella) | Too low — avoid |
| 120°F | Comfortable, safe for most homes | ✅ Recommended |
| 130°F | Scalds skin in 10 seconds | Use with caution |
| 140°F | Scalds skin in 5 seconds | Too high for most homes |
| Above 140°F | Risk of serious burns and higher energy use | Avoid |
Who Could Benefit From a Higher Setting
Some situations call for 140°F — for instance, if your home has someone with a suppressed immune system or if your dishwasher lacks an internal heater. In those circumstances, you may also want to install a mixing valve at the tap that blends hot and cold water before it reaches the faucet. This keeps the tank bacteria-free while reducing burn risk at the point of use.
For electric heaters, you will need to open the access panel and turn a screw with a flathead screwdriver on the thermostat dial. On a gas heater, the dial is usually found near the bottom of the unit.
Safety Tip #4 — Inspect and Replace the Anode Rod
The anode rod is a long metal rod — typically magnesium or aluminum — that hangs inside your water heater tank. It exists to rust so that the tank does not.
It’s sometimes referred to as a “sacrificial rod,” because it slowly dissolves over time, drawing the minerals and corrosive elements in your water that would otherwise erode your tank walls.
When the anode rod is depleted, your tank begins to corrode from the inside out. Rust leads to leaks. Leaks lead to water damage. This is a costly and entirely preventable issue.
How Often You Should Check the Anode Rod
- Check it every 2–3 years
- Replace it when it is compressed down to less than ½ inch thick or heavily coated with calcium
How to Inspect It
- Turn off the water heater and cold water supply
- Find the anode rod — it’s typically accessed through the top of the tank, beneath a plastic cap
- Unscrew it with a 1⅛-inch socket wrench
- Remove it and inspect it carefully
If it appears thin, heavily crusted, or is mostly gone, replace it. New anode rods generally run $20–$50 and can extend the life of your tank by years.
Some newer water heater models have the anode rod built into the hot water outlet port. If you’re unsure where to look, refer to your owner’s manual.
Safety Tip #5 — Regularly Inspect for Leaks, Corrosion and Red Flags
You don’t have to be a plumber to recognize early warning signs. A visual inspection every month or two will catch problems before they escalate into emergencies.
What to Look For
Around the tank:
- Damp spots or water pooled on the floor
- Brown or rust-colored stains on the surface of the tank
- Corrosion at fittings or the drain valve
On the pipes:
- White mineral deposits around connections
- Greenish discoloration (sign of copper pipe corrosion)
- Loose or deteriorating pipe insulation
Operational warning signs:
- Water takes a long time to heat up
- Hot water runs out much more quickly than before
- Loud popping, rumbling or banging sounds coming from the tank
- Your water smells like rotten eggs (could indicate bacteria or a bad anode rod)
What Those Noises Actually Mean
| Sound | Likely Cause |
|---|---|
| Popping or rumbling | Sediment buildup at the bottom of the tank |
| High-pitched whining | Scaling or buildup on electric elements |
| Ticking | Normal expansion and contraction |
| Banging (water hammer) | Pressure fluctuations in pipes |
If you notice any of these warning signs, don’t brush them off. Address them early — or hire a pro — before a simple fix turns into an expensive repair.
Safety Tip #6 — Insulate the Tank and Pipes to Reduce Energy Waste and Prevent Damage
This is a simple, inexpensive and often-overlooked tip.
Insulating your water heater and the pipes connected to it reduces standby heat loss — the energy wasted keeping a tank of water hot that then slowly goes cold again.
Insulating the Tank
Older water heaters (particularly those manufactured before 2010) tend to have very little built-in insulation. Adding an insulating blanket around the tank can cut standby heat loss by 25–45%, according to the U.S. Department of Energy.
- Purchase a water heater insulation blanket kit at any hardware store (approx. $20–$30)
- Keep the TPR valve, burner access and thermostat clear at all times
- For gas heaters, do not cover the top or the flue — this is a fire and carbon monoxide hazard
Note: Some newer tank heaters already have excellent insulation. Check the R-value in your owner’s manual. If it’s R-24 or above, you may not need an additional insulation blanket.
Insulating the Pipes
Insulate the first 3–6 feet of hot and cold water pipes connected to your heater using foam pipe insulation. It’s inexpensive (less than $10) and makes a noticeable difference — particularly in cold climates or unheated basements.
It also allows hot water to arrive at your faucets more quickly, saving the water that would otherwise run down the drain while you wait for it to warm up.
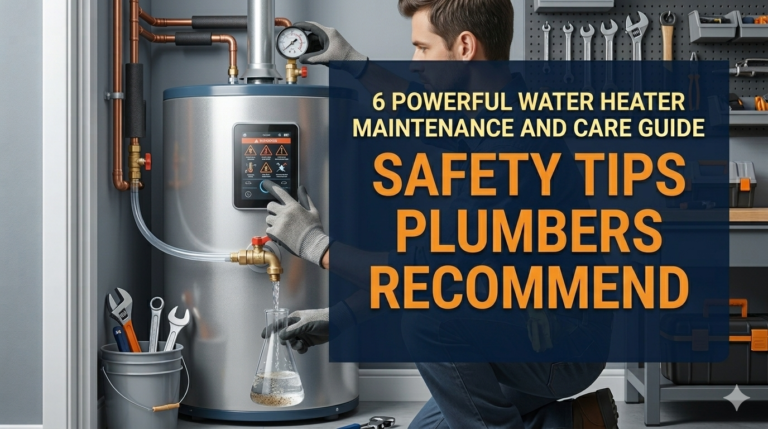
Safety Tip #7 — Get A Professional Inspection Every 1–2 Years
DIY maintenance helps a lot. But there are things that a licensed plumber or water heater technician can inspect that the average homeowner simply cannot.
A professional inspection typically includes:
- Gas line and burner assembly check (for gas heaters)
- Testing combustion efficiency
- Checking the venting system for blockages or carbon monoxide hazards
- Assessing the electrical wiring (for electric water heaters)
- Checking for internal tank corrosion
- Evaluating whether the unit is nearing or has exceeded its service life
When to Call a Pro Right Away
Certain situations should not wait for a planned inspection:
- You smell gas near the heater
- The pilot light keeps going out
- Water is flowing out of the tank
- The TPR valve is continually discharging water
- Your water heater is more than a decade old and acting up
Never ignore a gas smell. Evacuate the area, do not flip any switches and call your gas company immediately.
Summary of Water Heater Maintenance Schedule
Here’s a simple chart to help you stay on top of your maintenance. For more detailed guidance on every task below, visit Water Heater Care — a dedicated resource for homeowners who want to get the most out of their unit.
| Task | How Often |
|---|---|
| Flush the tank | Once a year (twice if you have hard water) |
| Test the TPR valve | Every 6 months |
| Check water temperature | Once a year |
| Inspect anode rod | Every 2–3 years |
| Replace anode rod | When worn (usually every 3–5 years) |
| Visual inspection for leaks | Every 1–2 months |
| Inspect pipe/tank insulation | Once a year |
| Professional inspection | Every 1–2 years |
| Replace TPR valve | Every 5 years |
| Full unit replacement | Every 8–12 years |
Print this out and tape it somewhere near your water heater. The key is to note when you last completed each task.
How Long Does a Water Heater Last? Signs It’s Time to Replace
Water heaters have a serviceable lifespan, and no unit lasts forever.
Here are clear signs that it’s time to consider a replacement rather than another repair:
- Age: If your unit is more than 10 years old and performing poorly, repair costs may exceed the cost of replacement
- Frequent repairs: If you’ve called a plumber more than twice in the last two years, replacement is likely the smarter choice
- Rusty water: If your hot water appears orange or brown, the interior of your tank is likely corroding
- Obvious tank corrosion: External rust around the water inlet area is a red flag
- Soaring energy costs: An inefficient unit works harder and runs up higher bills
- Insufficient hot water: If nothing has changed in your household but hot water disappears rapidly, the unit’s efficiency has declined
If you do need a new one, consider energy-efficient models such as heat pump water heaters or tankless units. They cost more upfront, but pay for themselves over time through lower utility bills.
Frequently Asked Questions About Water Heater Maintenance and Safety
Q: How often should I do water heater maintenance? Most tasks — including flushing the tank and examining the anode rod — should be performed annually. The TPR valve should be tested every six months. A professional inspection is recommended every 1–2 years.
Q: Do I need to hire a professional for water heater maintenance? Most basic tasks — flushing the tank, testing the TPR valve, checking insulation — are DIY-friendly. But anything involving gas lines, electrical components or internal repairs should be done by a licensed professional.
Q: What will happen if I never flush my water heater? Sediment accumulates at the bottom of the tank, decreasing efficiency and causing the unit to work harder. Eventually, this reduces the lifespan of the heater, increases your energy costs and can cause strange sounds, irregular water temperature and ultimately tank failure.
Q: Are tankless water heaters low-maintenance? Tankless heaters don’t build up sediment in a tank, but they still require regular maintenance — such as descaling the heat exchanger (especially in areas with hard water), cleaning the inlet filter and inspecting the venting system. Annual professional servicing is still recommended.
Q: Why does my hot water have a rotten egg smell? That odor typically comes from hydrogen sulfide gas, produced when bacteria acts on a corroding anode rod. Try flushing the tank with a diluted hydrogen peroxide solution. If that doesn’t work, swapping out the anode rod (or converting to a zinc-alloy rod) will frequently remedy the situation.
Q: How can I tell if my water heater is about to fail? Warning signs include rusty or discolored hot water, loud banging or rumbling noises, water pooling around the unit’s base, inconsistent water temperature and a rising energy bill without any change in usage.
Q: What temperature should I set my water heater? Most households should keep it at 120°F (49°C), according to the U.S. Department of Energy. That’s hot enough to inhibit bacterial growth, but low enough to minimize the risk of scalding and save energy.
Wrapping It All Up
Your water heater is on the job every day — and like any hardworking appliance, it requires routine care to keep it safe and efficient.
You can follow this water heater maintenance and care guide without needing special skills or a large budget. Most of the tips in this guide will cost little or no money and take less than an hour a year.
Here’s a reminder of those 7 important safety tips:
- Flush the tank annually to remove sediment
- Test the TPR valve every six months
- Set the temperature to a safe 120°F
- Check and replace the anode rod when necessary
- Monitor for leaks and warning signs regularly
- Insulate the tank and pipes for better efficiency
- Schedule a professional inspection every 1–2 years
Do this regularly, and your water heater will reward you with years of safe and efficient operation. Don’t wait for something to break — begin your maintenance routine now.