7 Secret Water Heater Maintenance and Care Guide Fixes Technicians Use
Meta Description: Water heater maintenance and care guide secrets revealed! Discover 7 pro technician fixes that extend your unit’s life, cut energy bills, and prevent costly breakdowns.
7 Technician Approved Secrets To Water Heater Maintenance And Care
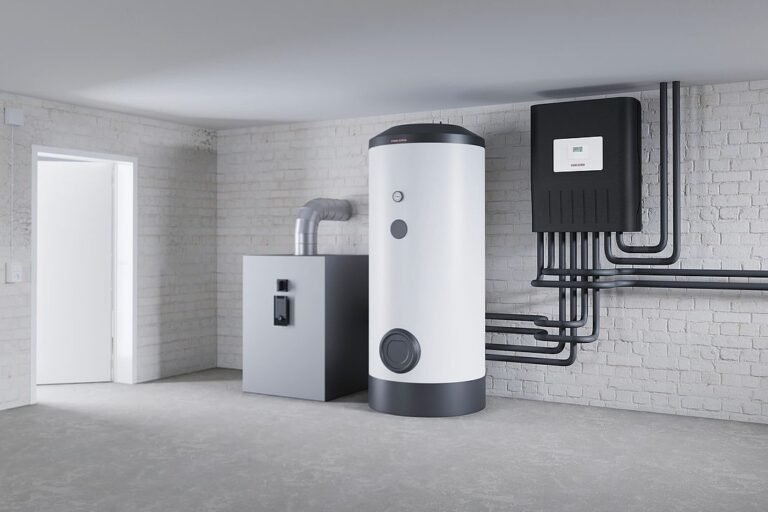
Your water heater does a lot of work every day. It heats water for your morning shower, for your dishes, for your laundry — and it never has a day off. But most homeowners rarely think about it until disaster strikes.
That’s a costly mistake.
A well cared for water heater can last up to 8–10 years. But one that’s properly maintained? It can last 15 years or more. The distinction hinges on a handful of insider tricks that professional techs use — tricks most folks never hear about.
This blueprint explains all 7 of those secret fixes in simple, easy-to-follow language. Whether you own a tank-style heater or a tankless unit, these tips will help save money, avoid headaches, and keep hot water flowing year-round.
Let’s dive in.
Why Most People Ignore Their Water Heater (And Why It’s Such a Big Problem)
Out of sight, out of mind. And that’s how most people treat their water heater.
It’s perched in a basement, a closet, or a garage — and no one pays it any mind until there’s an icy shower or a pool of water on the floor. At that point, the damage is already done.
The truth is, replacing a water heater is one of the costliest home appliance replacement projects. A new tank-style unit generally costs $500 to $1,500 installed. Tankless models? Usually $1,000 to $3,000 or higher.
A little periodic upkeep is a pittance in comparison.
Professional technicians encounter the same issues repeatedly — issues that could have been avoided with basic, regimented care. This is exactly what this guide tackles.
Fix #1 — Flush the Tank Once a Year to Remove Sediment Buildup
This is the first step technicians suggest. It’s also the one thing that most homeowners never do.
Over time, minerals from your water supply — primarily calcium and magnesium — collect at the bottom of your tank. That layer of sediment is like a blanket between the burner and the water. It means your heater has to run longer and harder to bring the same amount of water up to temperature.
The result? Higher energy bills. More wear and tear. A shorter lifespan.
How Technicians Flush a Tank
Here is the general process pros use:
- Turn the power (or gas) off to the heater
- Attach a garden hose to the drain valve on the bottom
- Run the hose outside or to a floor drain
- Open the drain and let water flow until it runs clear
- Shut the valve, refill the tank, and power it up
It takes about 30–45 minutes. Most DIY homeowners can manage this with a few simple tools.
Pro tip: If you’ve never flushed your heater and it’s 3+ years old, do it slowly. Too rapid a flush through a sediment-choked tank can dislodge chunks that clog the valve.
How Sediment Affects Your Heater
| Sediment Level | Effect on Heater | Energy Waste |
|---|---|---|
| Light (0–1 year) | Minimal impact | 0–5% |
| Moderate (1–3 years) | Noticeable efficiency loss | 5–15% |
| Heavy (3+ years) | Loud rumbling, reduced hot water | 15–30%+ |
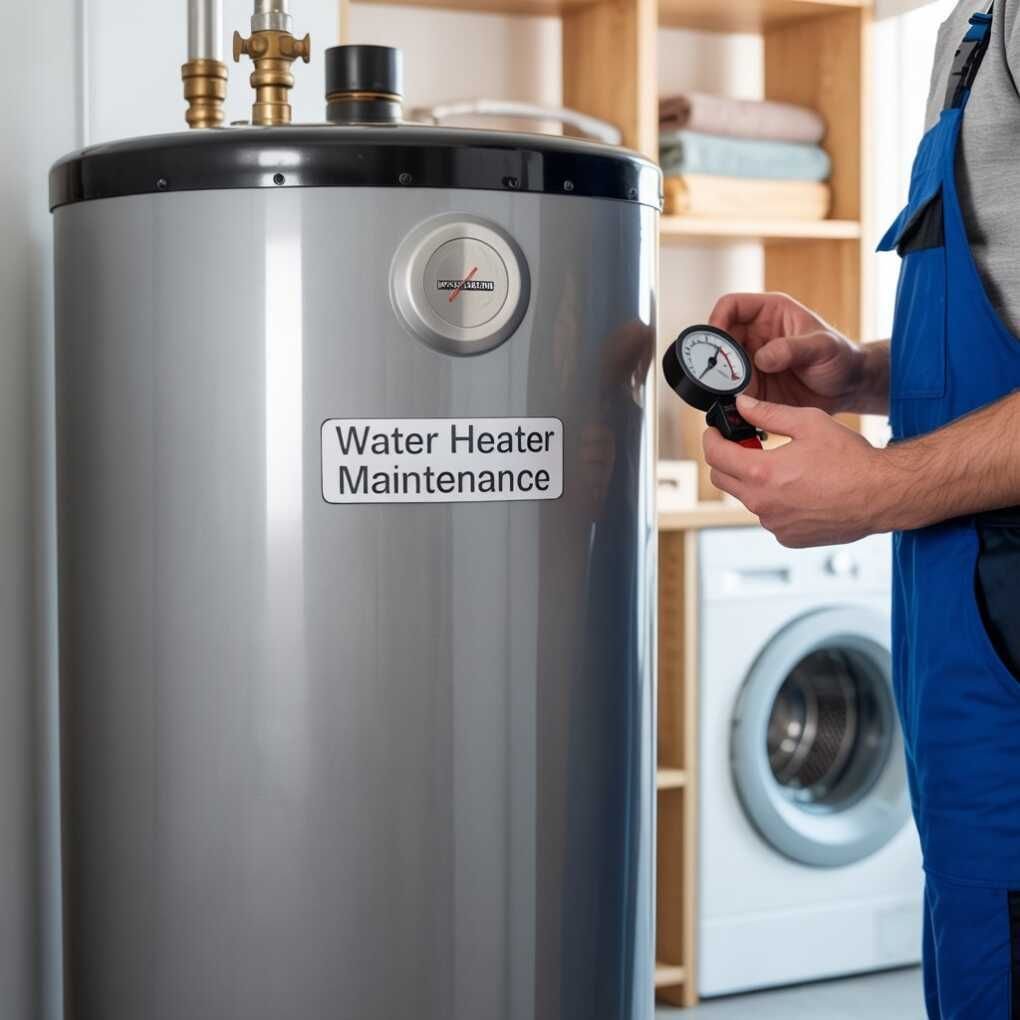
Fix #2 — Test the Pressure Relief Valve Annually
The pressure relief valve — or T&P valve, as it’s commonly called — is one of the most critical safety features in your water heater. Its role is to vent pressure if the tank gets too hot or over-pressurized.
If that valve fails, pressure can build up inside the tank. In rare instances, that results in explosions.
This valve is always tested by technicians on a service call. But the thing is — most homeowners have never laid a finger on it.
How to Test It Yourself
It’s easy to test the T&P valve:
- Place a bucket under the discharge pipe attached to the valve
- Open the small lever on the valve for 1–2 seconds
- Hot water should come out, then stop when you let go of the lever
If water doesn’t come out — or if it continues to drip after you release the lever — it’s time for a new valve. A malfunctioning T&P valve is a major safety risk.
Replacement valves run around $15–$30 and can be swapped out in less than an hour.
How often to test: Annually, preferably in the spring or fall when you’re already doing seasonal home maintenance.
Fix #3 — Have the Anode Rod Checked and Replaced Every 3–5 Years
It’s a component most homeowners have never heard of. But technicians call it the most important part inside your water heater tank.
Here’s why it matters so much.
Steel tanks rust. Left unprotected, a steel water heater tank would rust from the inside out in just a few years. An anode rod is there to keep that from happening.
It’s a long metal rod — typically magnesium or aluminum — that extends along the middle of your tank. It “sacrifices” itself by corroding in place of the tank. As it corrodes, it protects the steel walls that surround it.
When the rod is completely corroded, the tank itself begins to rust. That causes rusty water, leaks, and eventually, tank failure.
Signs Your Anode Rod Needs Replacing
- Your hot water has a rotten egg (sulfur) smell
- You see rust-colored water from hot taps
- Your water heater is 3 or more years old and has never had any maintenance done on it
How Long Does an Anode Rod Last Depending on Water Type?
| Water Type | Anode Rod Lifespan |
|---|---|
| Soft water | 2–3 years |
| Moderately hard water | 3–5 years |
| Hard water | 4–6 years |
| Water with high chlorine | 2–3 years |
Soft water literally corrodes anode rods more quickly than hard water — which surprises most people.
Pro tip: If you use a water softener, check your anode rod every year or two. Softened water is very aggressive on sacrificial metals.
Fix #4 — Set the Thermostat to the Correct Temperature
Go right now to your water heater. Look at the thermostat dial. What does it say?
Many units are shipped from the factory with a setting of 140°F. That’s hotter than necessary for most households — and in fact, it’s money wasted.
The U.S. Department of Energy advises that you set your water heater to 120°F. Here’s what that one little adjustment does for you:
- Lowers your water heating costs by 6–10%
- Slows mineral accumulation on the inside of the tank
- Lowers the chance of scalding, particularly for children and older adults
- Reduces wear on the tank and heating elements
When You Might Need Higher Temperatures
There are circumstances where 140°F is appropriate:
- If you have someone in your household who is immunocompromised (higher temps kill more bacteria)
- If your dishwasher lacks its own internal heater
- If hot water travels through pipes for a long distance before it gets to taps
But for most families, 120°F is the sweet spot.
How to adjust: Find the thermostat access panel on electric heaters (usually behind a small cover). With gas heaters, the dial is usually found on the gas valve. Rotate it gently and test the water temperature at a tap 1–2 hours later using a kitchen thermometer.
Fix #5 — Insulate the Tank and Pipes to Prevent Heat Escape
Here’s a fix that pays for itself in months — and virtually nobody does it.
Your water heater heats and stores water in a tank. But heat leaks out through the tank walls and the pipes attached to it. Your heater then has to constantly reheat that water, even when no one is using hot water.
This is referred to as “standby heat loss.” It can make up 15–30% of your water heating costs.
Technicians fix this with insulation. It’s cheap. It’s easy. And it makes a tangible difference.
How to Insulate Your Water Heater Tank
For older tanks without internal insulation:
- Purchase a water heater insulation blanket ($20–$40 at hardware stores)
- Wrap it around the tank, leaving the thermostat, valves, and top clear
- Hold it in place with foil tape
Important: Do not cover the top of a gas water heater. You need airflow for combustion. The top can be covered on electric heaters.
Insulating the Pipes
The first 3–6 feet of hot water pipe that comes out of the heater radiates the most heat. Foam pipe insulation sleeves cost around $1–$2 per foot and slip right onto the pipes.
| Area Insulated | Estimated Annual Savings |
|---|---|
| Tank only | $15–$45 |
| Pipes only | $10–$30 |
| Tank + pipes | $25–$75+ |
Results vary depending on your local energy rates and usage, but the investment is almost always worthwhile.
Fix #6 — Check for Leaks and Corrosion at the Connections
A small leak from a pipe fitting doesn’t sound like much. But technicians understand that little leaks always get bigger over time — never smaller.
Water damage is expensive. Mold is expensive. Unattended corrosion resulting in tank failure is very costly.
Once every few months, get into the habit of visually inspecting your water heater. It might save you a disaster down the road.
For a deeper look at what proper upkeep looks like year-round, visit Water Heater Care — a dedicated resource with practical guides for every type of water heater.
What to Watch Out for in an Inspection
Check these areas every 3–4 months:
- Around the base of the tank — Any puddles or dampness? That may indicate the tank itself is leaking, which generally means it’s replacement time.
- At pipe connections — Check for white or green mineral deposits around fittings. These are often signs of a slow leak.
- At the discharge pipe of the pressure relief valve — Any dripping? That could mean the valve is defective or pressure in the tank is too high.
- On the tank’s exterior — Rust streaks or bubbling paint are signs of corrosion underneath.
The Technician’s Trick for Finding Slow Leaks
Dry paper towels are often used by professionals. They’ll press a dry paper towel around fittings and connections, then inspect it a few minutes later. Even a small, almost imperceptible drip will appear on the paper.
It’s a simple trick, but it catches leaks the eye doesn’t see at all.
When to call a pro: If you spot rust on the tank itself, or water pooling at the base, don’t attempt a patch. A rusted tank has to be replaced. Patches are ineffective at best and dangerous at worst.
Fix #7 — Schedule a Professional Tune-Up Every 1–2 Years
All six of the fixes above are things you can do yourself. But even the most hands-on homeowner has something to gain from letting a professional technician inspect things every year or two.
Here’s what a professional tune-up usually covers that goes beyond DIY:
- Testing gas line connections and burner operation (for gas heaters)
- Testing electrical elements and connections (for electric heaters)
- Measuring water pressure coming into the home — high pressure can wreck heaters and appliances
- Checking the flue and venting system (for gas heaters) for blockages or carbon monoxide hazards
- Judging the general condition and providing a realistic estimate of how many years the unit has left
A professional tune-up runs $75–$150. That’s a fraction of the price of a new water heater — and professionals can often detect problems 1–2 years before they become failures.
How to Find a Qualified Technician
- Look online for licensed plumbers or HVAC technicians near you
- Read reviews on Google or Angi
- Ask about their specialization in water heater service
- Get at least two quotes for any repair work
A Year-Round Water Heater Maintenance Schedule
Consistency is the secret to maximizing your water heater’s lifespan. Here is a simple schedule that technicians recommend:
| Time of Year | Task |
|---|---|
| January | Inspect for leaks and corrosion |
| Spring | Test T&P valve; check insulation |
| Summer | Flush the tank; check anode rod |
| Fall | Adjust thermostat for seasonal use |
| Every 3–5 years | Replace the anode rod |
| Every 1–2 years | Schedule professional tune-up |
The entire routine requires only a few hours each year — but it can extend your water heater’s life by years.
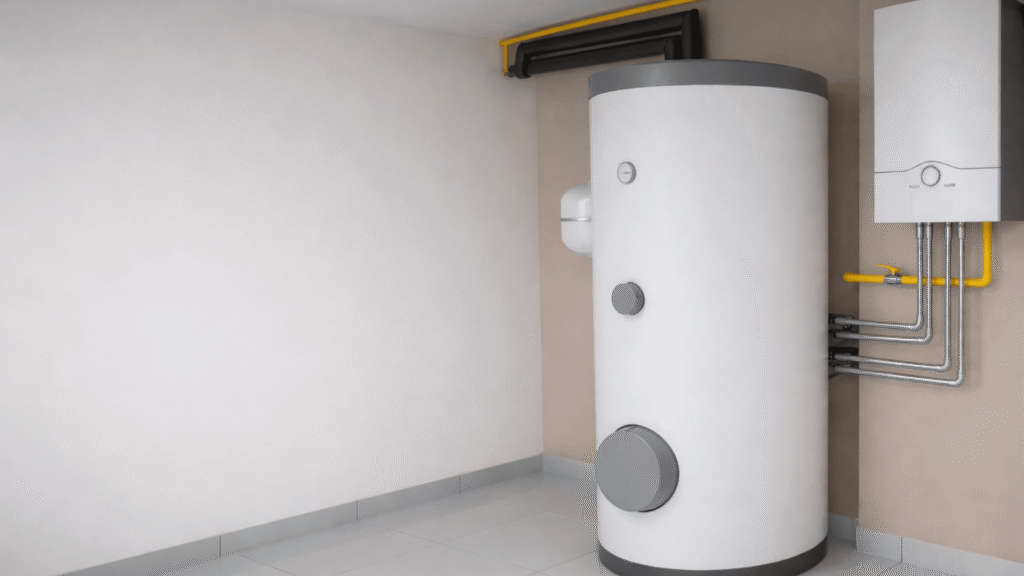
Tank vs. Tankless — Is Maintenance Different?
The majority of the fixes in this guide are for conventional tank-style water heaters. But what about tankless models?
Tankless (on-demand) heaters also have their own maintenance needs. Here’s a quick comparison:
| Maintenance Task | Tank Heater | Tankless Heater |
|---|---|---|
| Flushing/descaling | Annual tank flush | Annual descaling (vinegar flush) |
| Anode rod | Check every 3–5 years | Not applicable |
| T&P valve test | Yes, annually | Yes, annually |
| Filter cleaning | Not typically needed | Clean inlet filter annually |
| Professional tune-up | Every 1–2 years | Every 1–2 years |
| Insulation | Tank + pipes | Pipes only |
Tankless heaters are more efficient, but the coils must be descaled — regularly if you live in a hard water area. Over time, mineral scale develops inside the heat exchanger, dropping efficiency.
Red Flags Your Water Heater Is in Trouble
Even with proper maintenance, water heaters do eventually age. Here are the warning signs that it’s time to call a technician — or start shopping for a replacement:
- Water takes much longer to heat up than it used to
- Loud rumbling, popping, or banging from the tank (sediment buildup)
- Hot water runs out faster than usual
- Rust-colored or cloudy hot water
- Visible corrosion or leaking from the tank itself
- Unit is 10+ years old with no history of regular service
If you have two or more of these symptoms simultaneously, a replacement may make more economic sense than repairs.
Frequently Asked Questions
Q: How often should I flush out my water heater? The general recommendation is once a year. Twice a year is even better if you have extremely hard water or an older unit. Flushing eliminates sediment that degrades efficiency and shortens the life of the heater.
Q: Do I need to do all of these maintenance tasks myself? Most of them, yes. Flushing the tank, testing the T&P valve, adjusting the thermostat, and adding insulation are all doable on your own. Replacing the anode rod is a bit more involved but still manageable for most homeowners. Gas-related inspections are best performed by a licensed technician.
Q: What temperature should I set my water heater to? Most households find that 120°F is the golden middle ground. It conserves energy, lowers the risk of scalding, and slows mineral buildup. If you have particular health concerns or an older dishwasher that lacks a built-in heater, 130–140°F may be appropriate.
Q: How can I tell if my anode rod needs replacing? Signs consist mainly of a sulfur (rotten egg) odor from hot water taps, rusty-colored water, or simply knowing that your heater hasn’t been serviced in 3+ years. If uncertain, have a technician inspect it.
Q: Is a tankless water heater less maintenance? Not necessarily easier — just different. Tankless heaters require annual descaling instead of flushing, plus regular filter cleaning. Descaling is particularly vital in hard water areas to prevent scale accumulation inside the heat exchanger.
Q: My water heater is 12 years old. Should I repair or replace it? At 12 years, a water heater is nearing or beyond the average lifespan of 10–15 years. Minor repairs may be worthwhile, but if the tank itself is corroded or leaking, replacement is nearly always the better financial decision. A new unit will be more energy-efficient and dependable.
Q: What happens if I never maintain my water heater? Sediment builds up, reducing efficiency. The anode rod completely corrodes, leaving the tank unprotected. The inside of the tank rusts away. It eventually begins to leak or fails — often with little in the way of warning. You end up with water damage and the expense of an emergency replacement.
Keep Your Water Heater Working for Years to Come
Your water heater is one of those appliances you only think about when it breaks. But the 7 fixes in this guide — flushing the tank, testing the T&P valve, replacing the anode rod, setting the right temperature, adding insulation, checking for leaks, and scheduling a professional tune-up — can rewrite that narrative.
These aren’t complicated. They don’t involve fancy tools or professional training. They only need a little attention once or maybe twice a year.
The payback is real: lower energy bills, fewer repair calls, cleaner water, and a water heater that lasts much longer than average.
Start with one fix this week. The tank flush is a wonderful place to start — it delivers almost instant results and costs next to nothing. Do it once, and after that, the rest of the routine will feel easy.
It does pay to take a little care. Your water heater — and your wallet — will thank you.