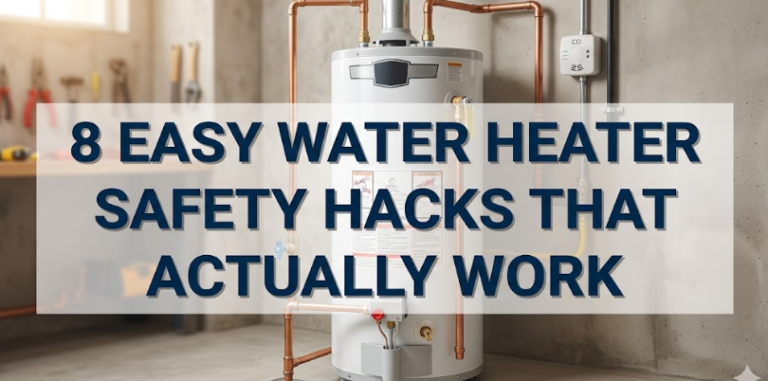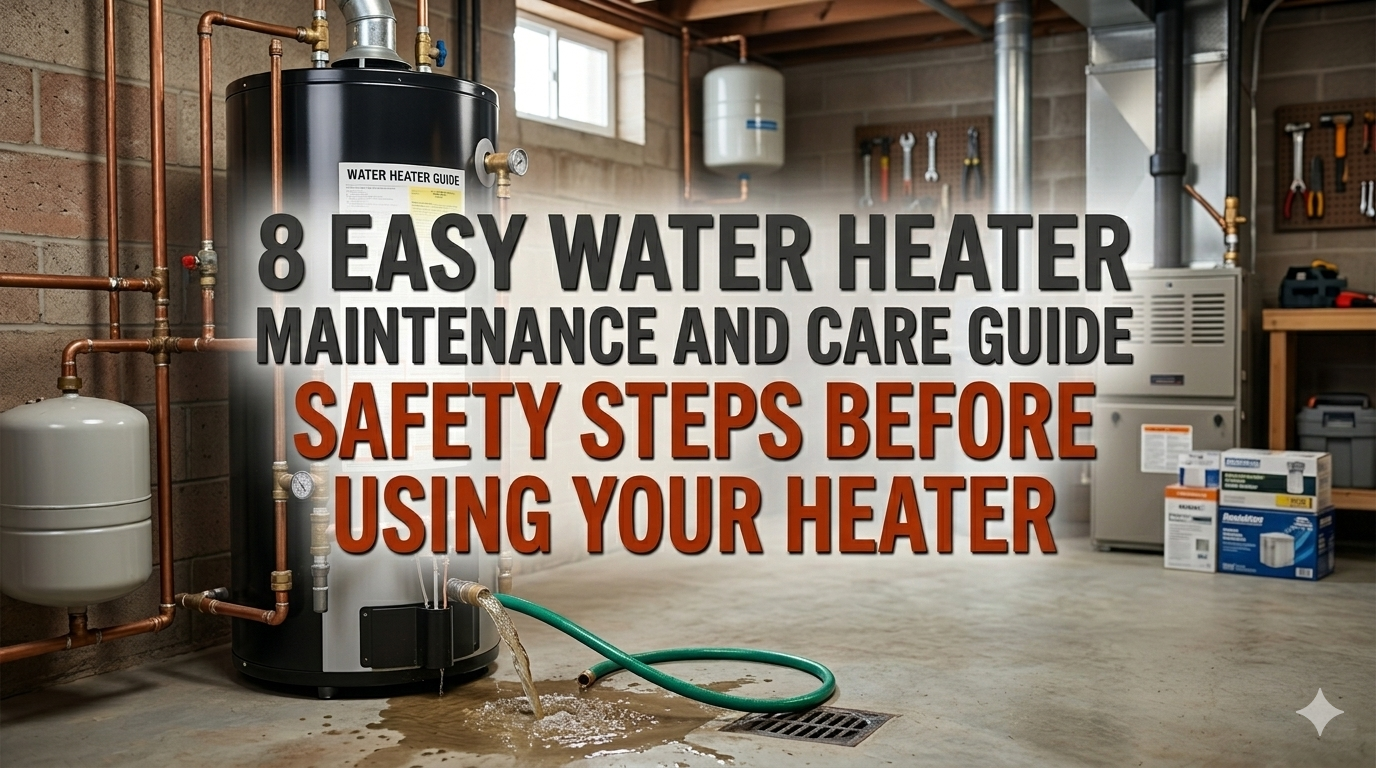
8 Easy Water Heater Maintenance and Care Guide Safety Steps Before Using Your Heater
8 Simple Water Heater Maintenance & Care Guide Safety Precautions BEFORE Using Your Heater
Meta Description: Regular water heater maintenance promotes safety in your home and extends the life of your unit. These 8 simple safety steps from Dickson can save you money on a breakdown before you switch your heater back on.
Your water heater runs every single day hard. It heats the water for your morning shower, your dishes and your laundry. But most people never consider it — until something goes wrong.
If water heater maintenance is ignored long enough, the equipment can leak, rust, overheat or (in extreme cases) explode. That is not something you want to have to deal with. The good news? A bit of routine attention will get you far.
This guide walks you through 8 easy water heater maintenance and care guide safety steps to perform before using your heater — either brand new, newly installed, or just coming off of long sitting idle.
These steps are simple. You don’t have to be a plumber. All you need are a few simple tools, some time and this guide.
Why You Should Actually Care About Water Heater Maintenance
Most water heaters have a lifespan of 8–12 years. But that lifespan relies almost entirely on how well they are cared for.
Neglecting maintenance doesn’t merely shorten the heater’s lifespan. It can also:
- Increase your energy bills
- Lead to dangerous gas or pressure buildups
- Result in leaks that ruin your floors and walls
- Void your manufacturer’s warranty
Regular checks ensure your heater always runs efficiently. And they help keep your family safe.
It’s like changing the oil in a car. You don’t wait for the engine to stall. You do it regularly to make sure a catastrophe never occurs.
Find Out What Kind of Water Heater You Have
Before you do any maintenance, know what type of heater you are working with. Each type has slightly different care requirements.
| Type | How It Works | Common Fuel |
|---|---|---|
| Tank Water Heater | Stores and heats water in a big tank | Gas or Electric |
| Tankless Water Heater | Heats water on demand, no storage | Gas or Electric |
| Heat Pump Water Heater | Pulls heat from the air to warm water | Electric |
| Solar Water Heater | Uses solar panels to heat water | Solar + Backup |
Most homes utilize a tank-style water heater, so most of this guide is directly applicable for that style. Those steps are similar for tankless heaters, with a few differences (noted where relevant).
Safety First — Before You Do Anything
This is the most crucial section in this whole guide. Please read it carefully.
Never skip the safety steps.
Prior to checking or maintaining your water heater:
- Shut off the power — Turn off the breaker for electric heaters. For gas heaters, set the gas valve to “pilot.”
- Give the water time to cool — Hot water from within the tank can cause burns. Do not proceed until at least 1–2 hours have passed.
- Shut off cold water supply — There’s a valve above your heater on the pipe. To lock it, twist it right.
- Clear the area — Before turning on a heater, remove boxes, clutter or flammable objects from around it.
- Never use open flames around a gas heater — Even a small spark near a gas line can be deadly.
With all five of those things completed, you can go on to the core steps.
Step 1 — Inspect Your Water Heater Surroundings
The first step is the easiest. Just look around the heater.
You’re checking for:
- Puddles of water or wetness on the floor
- Rust stains on the floor or walls at base level
- Rusting on joint pipes or fittings
- Storage of flammable materials too near the unit
If you find any puddles or moisture — that’s a red flag. A small leak that is ignored quickly turns into a big, expensive problem.
What Distance Should Be Kept?
Most manufacturers recommend at least 18 inches of clear space around your water heater at any time. This allows for:
- Proper ventilation (especially for gas heaters)
- Easy access for maintenance
- Reduced fire risk
If your heater is in a tight closet or crowded utility room, remove as much of the clutter as you can.
Step 2 — Check Every Pipe & Fitting
Once you have the area looking good, inspect pipes coming into and out of the heater.
Look for:
- Dull or greenish buildup on copper pipes (indicates corrosion)
- White or chalky residue around fittings (sign of mineral buildup)
- Loose fittings that move when you lightly push them
- Drips or wetness at the pipe connections
Even a small leak from a connection can waste gallons of water over time. And a corroded pipe can rupture without warning.
When to Call a Plumber
If there are any significantly active leaks, severe corrosion or cracks in a pipe, do not proceed — call a licensed plumber instead. If you aren’t trained to do so, don’t attempt major pipe repair on your own.
Step 3 — Test the Temperature and Pressure Relief (TPR) Valve
This step is among the most important — and also the least noticed.
The Temperature and Pressure Relief (TPR) valve is a safety mechanism in a water heater. It automatically releases water if the pressure or temperature in the tank becomes too high. A water heater could rupture without it functioning properly.
How to Test It:
- Position a bucket beneath the discharge pipe that connects to the valve.
- Flip the small lever on the valve up and release it.
- A burst of hot water or steam should erupt from the discharge pipe.
If nothing comes out — or if the valve continues to drip after testing — it must be replaced.
Although TPR valves may look fine, they should be tested annually and replaced every 3–5 years.
⚠️ Never plug or cap a TPR valve. This is extremely dangerous.
Step 4 — Flush the Tank to Get Rid of Sediment
Over time, minerals from your water supply collect at the bottom of your tank. This sediment layer creates a number of issues:
- Causes the heater to work harder (increases energy bills)
- Decreases the hot water supply
- Causes loud popping or rumbling noises
- Accelerates corrosion within the tank
Flushing the tank clears that buildup. It’s among the best things you can do for your heater. For more detailed guidance on this and other upkeep tasks, Water Heater Care is a great resource to bookmark.
How to Flush Your Water Heater:
- Switch off the heater and allow it to cool for at least 2 hours.
- Attach a garden hose to the drain valve at the bottom of the tank.
- Direct the other end of the hose to a floor drain or outside.
- Open the drain valve and let it flow out.
- When the water runs clear (no sediment), close the valve and refill the tank.
- Restore the power or gas only once the tank is full.
How often? Flush your tank once a year. For hard water (high mineral content), do this every 6 months.
Step 5 — Check the Anode Rod
What Is an Anode Rod?
The anode rod is a long metal rod located inside your tank. It is typically composed of magnesium or aluminum. Its role is to attract corrosive substances in the water — so those substances attack the rod rather than the tank walls.
It’s a sacrificial protector. It gets consumed so your tank doesn’t.
Why Would You Need to Replace Your Anode Rod?
- It looks slimy, chalky or is under ½ inch in diameter
- The rod is eaten down to near nothing
- You begin to smell rotten eggs from your hot water (sign of bacterial growth the rod no longer suppresses)
How to Check It:
- Locate the anode rod — you’ll find it at or near the top of the tank, under a hex-head plug.
- Use a 1-1/16 inch socket wrench to unscrew it.
- Take it out and inspect it visually.
- If it’s badly depleted, replace it.
How often? Check it every 2–3 years. Replace when needed.
An anode rod costs about $20–$50 — much less expensive than replacing your entire tank.
Step 6 — Inspect and Correct the Heating Setting
The thermostat in your water heater regulates the temperature of the water. Most factory settings are about 140°F (60°C), but the U.S. Department of Energy recommends 120°F (49°C) for most homes.
Here’s why the temperature setting matters:
| Water Heater Setting | Risk | Energy Use |
|---|---|---|
| Below 120°F | Bacterial growth (Legionella) | Low |
| 120°F | Safe for most homes | Moderate |
| 130–140°F | Scalding risk (especially kids/elderly) | Higher |
| Above 140°F | High scald danger | Much higher |
How to Adjust the Temperature:
- For gas heaters: The dial is typically located on the front of the gas valve. Turn it to the 120°F mark.
- For electric heaters: Turn off the power. Remove the access panel(s) on the side of the tank. The thermostat will be behind insulation. Adjust it with a flathead screwdriver.
120°F is the sweet spot — it’s hot enough to kill bacteria, cool enough to save energy and avoid burns.
Step 7 — Check the Flue and Ventilation (Gas Heaters Only)
If you have a gas water heater, proper venting is essential. The combustion process produces exhaust gases — including carbon monoxide — and these gases need to leave your home safely via the flue pipe.
A blocked or damaged flue is one of the most dangerous issues a gas appliance can have.
What to Look For:
- Holes, cracks or rust on the flue pipe
- Separated sections — the pipe should be a snug fit
- Debris, bird nests or blockages in the vent opening
- Soot or burn marks around the base of the heater (indicating backdrafting)
The Draft Test:
Hold a lit incense stick or thin strip of tissue near the draft hood at the top of the heater (with it running). The smoke or tissue should be pulled up into the hood. If it blows outward, your flue might be clogged or your draft reversed.
If you suspect a ventilation problem, call a professional right away. Carbon monoxide is odorless, colorless and lethal.
Step 8 — Inspect the Expansion Tank (If Present)
Some homes have thermal expansion tanks attached to the water heater system. This small tank buffers the additional pressure generated when water is heated and expands.
Not every home has one, but if yours does, it must also be checked.
Signs that your expansion tank may be having a problem:
- When you tap on it, it feels completely solid (it should feel partially hollow)
- The tank appears waterlogged or is dripping
- You experience frequent pressure changes in your plumbing
A failed expansion tank can add stress to your TPR valve and your entire plumbing line.
If you’re not sure whether your system has an expansion tank or whether it needs one, check with a plumber.
At a Glance: Maintenance Schedule
| Task | Frequency |
|---|---|
| Inspect area and pipes | Every 3 months |
| Test TPR valve | Once a year |
| Flush the tank | Once a year (every 6 months if hard water) |
| Check anode rod | Every 2–3 years |
| Adjust temperature setting | As needed |
| Inspect flue and ventilation (gas models only) | Once a year |
| Check expansion tank | Once a year |
| Replace TPR valve | Every 3–5 years |
| Replace anode rod | When depleted |
Print this table and stick it somewhere next to your water heater as a reminder.
Signs It Is Time to Call a Professional
Some issues are too much for DIY to handle. If you notice any of the following, call a licensed plumber or HVAC technician:
- Brown or rusty water from your hot taps
- Unusual sounds — loud banging, popping or hissing noises
- Water that does not become hot enough
- Cracks visible in the tank itself
- Gas odor near a gas water heater (leave the house immediately and call your gas company)
- Water pooling or large leaks near the unit
Don’t ignore these signs. It’s nearly always cheaper to make early repairs than to replace badly worn components.
Energy-Conservation Tips That Go Hand in Hand With Maintenance
Maintaining your water heater doesn’t just keep it safe — it saves you money as well.
A few energy-saving habits that complement your maintenance routine:
- Wrap older tanks with an insulation blanket to help prevent heat loss
- Insulate the hot water pipes so water stays hotter as it travels through your home
- Put a timer on electric heaters so they operate only during peak-use hours
- Take shorter showers to reduce strain on the heater
- Repair dripping faucets — a leaky hot water faucet wastes both water and energy
According to the U.S. Department of Energy, water heating makes up about 18% of your home’s energy use. Small steps really do add up.
FAQs About Water Heater Maintenance
Q: How often is it necessary to perform a complete maintenance check on my water heater? An annual inspection covers the complete system. Other tasks, such as inspecting the area around the heater, can be carried out every few months.
Q: Can I perform water heater maintenance myself, or do I need to hire a professional? Most of the steps in this guide — flushing, testing the TPR valve and checking the anode rod — are safe for a homeowner to perform. However, work related to gas lines, electrical wiring and significant leaks should always be performed by a licensed professional.
Q: What will happen if I never flush my water heater? Sediment builds up at the bottom of the tank. Over time, this reduces efficiency, increases energy costs, creates loud noises and can significantly reduce the lifespan of your unit.
Q: How can I tell if my water heater is near the end of its life? Look out for rusty water, variable temperatures, strange sounds, visible leaks or a unit older than 10 years. All of these signs suggest it may not be far off.
Q: Is 120°F really safe enough for hot water? Yes. At 120°F, water is hot enough to eliminate most harmful bacteria, comfortable enough for bathing and cooking, and safe enough to minimize the risk of accidental scalds.
Q: How long can you expect a water heater to last with proper maintenance? Tank water heaters have an average lifespan of 10–15 years with proper maintenance. A tankless model may last 20 years or longer.
Q: What usually causes a water heater to fail? The two most common reasons for premature tank failure are sediment buildup and a depleted anode rod. Both are preventable with proper maintenance.
Q: Do tankless water heaters require maintenance as well? Yes. Tankless heaters generally must be descaled (flushed with a vinegar solution) at least once a year to rid the heat exchanger of mineral deposits. They also require frequent cleaning of their inlet filter screens.
Wrapping It All Up
Your water heater is one of the hardest-working appliances in your house. It deserves some attention.
By following these 8 simple water heater maintenance and care guide safety precautions, you are securing your family’s well-being, prolonging the life of your equipment and reducing your energy bills. None of these steps require a lot of skill or special tools.
Begin with the safety basics: always turn off power and allow the tank to cool before you start. Then work through each step — inspect the area, check the pipes, test the TPR valve, flush the tank, check the anode rod, set the right temperature, examine the flue and assess whether there’s an expansion tank.
Do this once a year and you’ll be in great shape.
Some care today saves a big, expensive headache tomorrow. Your future self will be grateful.
And whenever you’re working with gas lines, electrical components or anything you’re not 100% sure about — call in the experts.