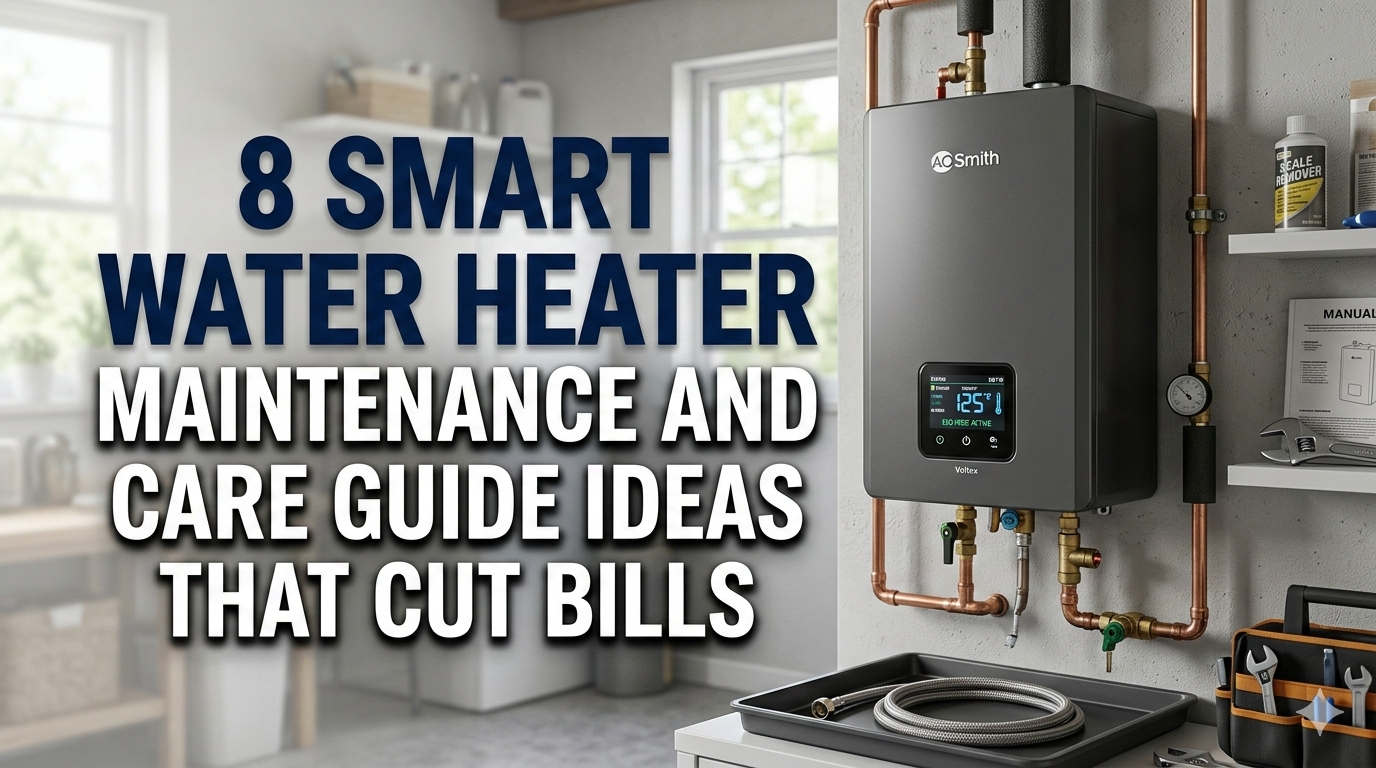
8 Smart Water Heater Maintenance and Care Guide Ideas That Cut Bills
Meta Description: Smart water heater maintenance and care guide tips can slash your energy bills fast. Discover 8 powerful ideas to extend your heater’s life and save money.
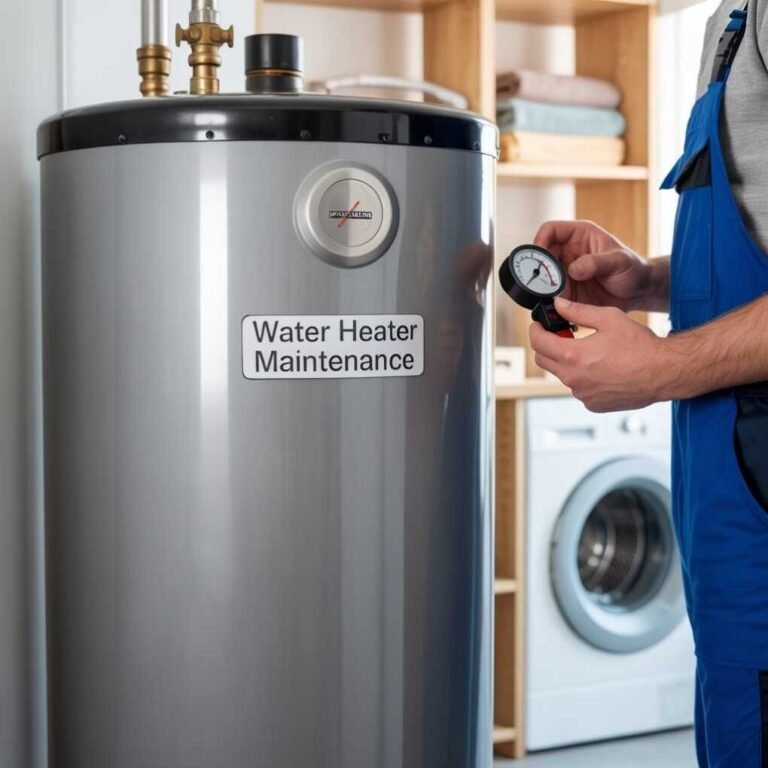
8 Smart Ideas For Water Heater Maintenance And Care Guide That Help Cut Bills
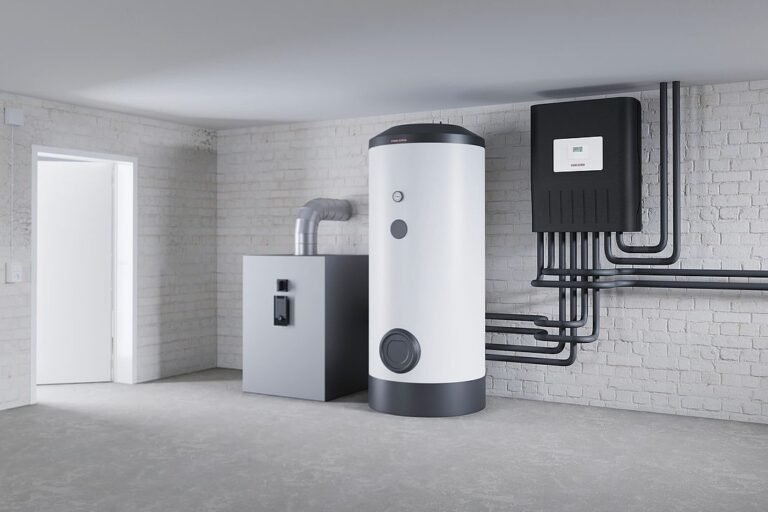
Water heaters do a lot of heavy lifting every single day. They heat up water for your showers, your dishes, laundry and more — without you even realizing it. But here’s the thing: for most people, the water heater is an afterthought until it breaks down or results in shocking energy bills.
That is a costly mistake.
An unattended water heater can cost you hundreds of dollars in energy each year. If it fails early, you may end up shelling out $500 to $1,500 or even more for a new one. The good news? All of which can be avoided with a few basic habits.
Whether your heater is a new model or 10 years old, these tips can make it work better, last longer and cost you less each month.
Let us get into it.
The Bottom Line on Water Heater Maintenance
Before diving into the tips, a little back story will give you an idea of why this is so critically important.
Water heaters are among the biggest energy consumers in any household. Water heating makes up about 18 percent of a home’s total energy use, according to the U.S. Department of Energy. That’s behind only heating and cooling.
When sediment accumulates, component failures occur or settings are incorrect, your heater runs harder than it has to. That extra work appears directly on your energy bill.
Regular maintenance can:
- Reduce monthly energy costs by 10–30%
- Extend your heater’s life by 3–5 years
- Stop leaks, blown tanks, and costly repairs
- Improve hot water quality and delivery speed
Now let us see the 8 effective ways to do so.
1. Flush the Tank at Least Once a Year
This is the one maintenance task you need to do most — and nearly all homeowners ignore.
Minerals from your water supply settle on the bottom of the tank over time. That layer of sediment works like insulation between the heating element and the water. Your heater has to run longer and work harder simply to heat an equal volume of water.
The result? Bills will be higher and heater life will be shorter.
How to Flush a Water Heater
Flushing the tank takes approximately 20–30 minutes and no special tools are needed.
Here’s a straightforward step-by-step:
- Shut off the heater (gas to the “pilot” setting, electric at the breaker)
- Attach a garden hose to the drain valve at the bottom
- Run the hose to a drain or outdoors
- Shut off the cold-water supply
- Turn on a hot water faucet indoors to relieve pressure
- Open the drain valve and let the water drain out
- Temporarily reinstate the cold supply to flush out any debris
- Shut the drain valve, refill the tank, then restart the heater
Pro tip: If your water is very hard (high-mineral), flush every 6 months instead of once a year.
Sediment Impact on Efficiency
| Sediment Level | Estimated Energy Waste | Bill Impact (Monthly) |
|---|---|---|
| Low (0–1/4 inch) | 2–5% | +$2–$5 |
| Medium (1/4–1/2 inch) | 10–15% | +$10–$15 |
| High (1/2 inch or more) | 25–30% | +$25–$35 |
2. Have the Pressure Relief Valve Tested Annually
The pressure relief valve — or T&P valve — is a small but important safety device. It releases pressure if the tank overheats or becomes too pressurized inside.
If this valve were to fail, pressure can reach dangerous levels. In rare instances, it may cause the tank to explode.
Aside from safety concerns, a faulty T&P valve can waste both energy and water by leaking without your knowing.
How to Test It Quickly
Testing takes two minutes or less:
- Make sure you’ve got a bucket underneath the discharge pipe of the valve
- Engage the test lever for 3–5 seconds
- Hot water will come out and then stop cleanly when you let go of the lever
If water continues to drip after you let go of the lever, or no water comes out at all, the valve needs replacing. A replacement T&P valve costs $10–$30 and is an easy swap for a plumber.
Test this every 12 months, without exception. It protects your home and ensures your system is operating safely.
3. Set the Thermostat to an Optimal Temperature
Just this one tip can already reduce how much you spend on heating your water — and it requires zero effort after implementing the change.
Most water heaters arrive from the factory with their thermostats set to 140°F. That’s hotter than most families need. The U.S. Department of Energy suggests turning it down to 120°F for the best combination of comfort, safety, and savings.
What the Numbers Look Like
| Temperature Setting | Energy Use | Monthly Cost (Avg.) | Scalding Risk |
|---|---|---|---|
| 140°F | High | $42–$48 | High |
| 130°F | Moderate | $36–$40 | Moderate |
| 120°F | Lower | $30–$34 | Low |
| 110°F | Lowest | $24–$28 | Very Low |
Going from 140°F to 120°F saves 6–10% on water heating costs. Over the course of a full year, that adds up quickly.
One Exception to Know
If anyone in your household is elderly, has a compromised immune system, or you have a dishwasher without an internal booster heater, it may be wiser to stay closer to 130°F. But for most families, 120°F is the magic number.
It’s simple to locate the thermostat on electric heaters — it tends to sit behind a small access panel. On gas heaters, it’s a dial on the front of the gas valve. Turn it, and you are done.
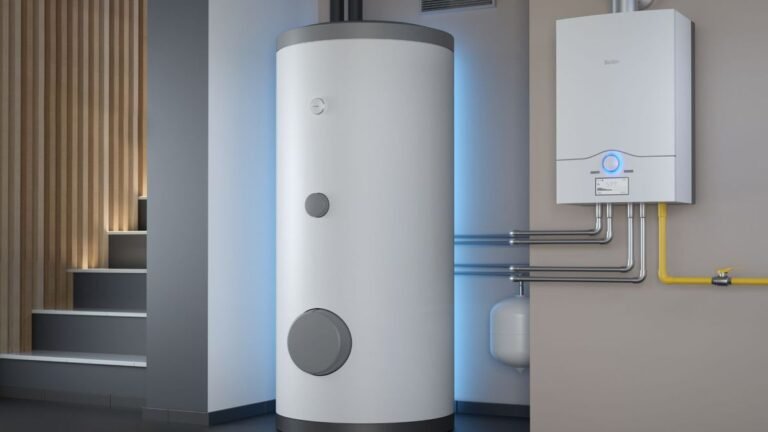
4. Insulate the Tank with an Insulation Blanket
This is advice that pays for itself just a few months after following it.
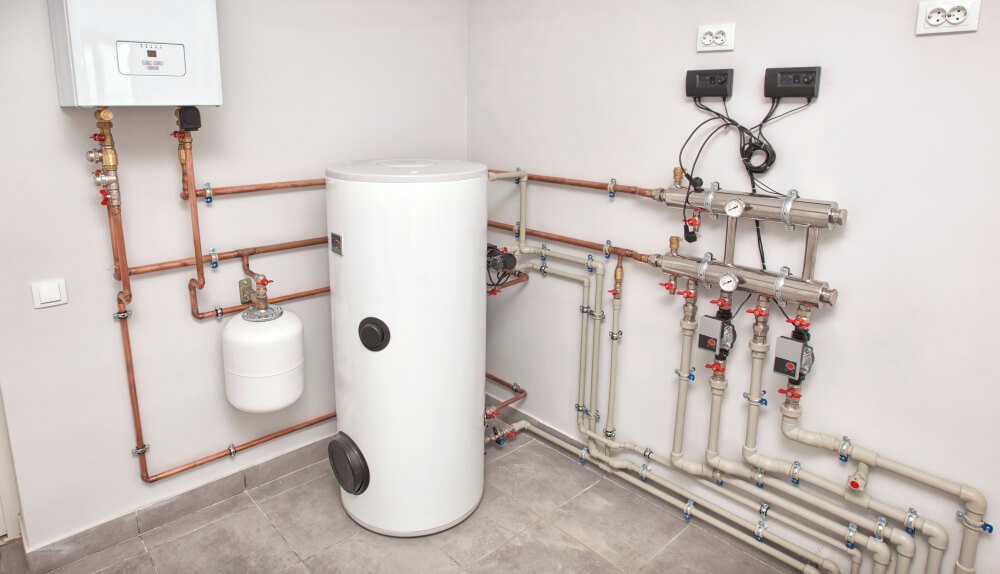
If your water heater is older than 7–10 years and sits in an unheated space like a garage, basement, or utility closet, it might be losing heat through the tank walls. This is known as standby heat loss — and it means your heater is perpetually using energy just to keep water hot, rather than actually use it.
An insulation blanket (also called a water heater jacket) covers the exterior of your tank and reduces that heat loss significantly.
Is Your Heater a Suitable Candidate?
Touch the outside of your tank. If it’s warm or hot, heat is leaking out. That means an insulation blanket will help.
Newer heaters (manufactured after around 2015) often have built-in insulation that makes blankets unnecessary. Consult your manual or look for an energy factor rating. If the tank already feels cool to the touch, it is well insulated.
What an Insulation Blanket Can Do for You
- Cost: $20–$40 at most hardware stores
- Installation time: About 1 hour
- Estimated savings: 7–16% on water heating costs per year
- Payback period: As little as 1–2 months
Just be sure to follow the manufacturer’s directions. You shouldn’t cover the thermostat, the pressure relief valve, or — on gas heaters — the top, bottom, burner, or flue.
5. Insulate the Hot Water Pipes
Speaking of insulation, don’t neglect the pipes.
Hot water flows from your heater through pipes to all the faucets, showers, and appliances in your home. If those pipes pass through cold spaces — unheated basements, crawl spaces, or exterior walls — the water cools off along the way.
That means you have to run the tap longer before hot water arrives. You are wasting water, energy, and time.
The Fix Is Simple and Cheap
Foam pipe insulation sleeves can be found at any hardware store. They run about $0.50 to $1.00 per foot and snap directly onto the pipes with no special skills required.
Focus on insulating:
- The first 3–6 feet of pipe exiting the water heater
- Pipes that run through unheated spaces
- Pipes that run along exterior walls
This small step can raise the water temperature in the pipes by 2–4°F, so you might be able to lower your tank thermostat a bit and save even more.
Pipe Insulation Benefits at a Glance
| Benefit | Impact |
|---|---|
| Quicker hot water delivery | Save 10–15 gallons of water per day |
| Reduce heat loss in pipes | Save 3–4% energy per year |
| Lower thermostat setting possible | Additional 1–2% savings |
| Prevent frozen pipes in winter | Avoid costly burst pipe repairs |
6. Inspect the Anode Rod Every 3–5 Years
This tip is slightly less well-known — but it could be the best thing you can do to protect your investment.
A metal rod known as an anode rod is located inside your water heater tank. The material is typically magnesium or aluminum. Its sole purpose is to attract corrosion so that the tank walls do not rust.
The rod gets gradually eaten away as it does its job. When it is gone, rust eats at the tank itself. Once a tank starts rusting internally, it’s just a question of time until it leaks — and there is no repairing a rusted-out tank.
How Often to Check and Replace It
- Check every 3 years if you have a water softener (softened water consumes anode rods more rapidly)
- Check every 4–5 years for standard water conditions
- Replace it when less than half an inch of the core wire is left
A new anode rod costs $20–$50 and can extend your water heater’s life by 5+ years. It is one of the best home maintenance returns on investment.
To inspect it, find the hex head on top of the heater (often beneath a plastic cap). Use a 1 1/16-inch socket wrench to unscrew it and pull it out. If it appears heavily corroded, pitted, or thin, replace it.
This one step could double the life of your heater.
7. Repair Leaks and Drips Around the Heater Right Away
A slow drip may not sound that serious. But even a small leak around your water heater can lead to big problems quickly.
Leaks waste water. They can rot the floor or walls around the heater. They can point to a component that’s on the verge of failure, potentially creating much larger issues. And they can quietly raise your water bill month after month.
Common Places Leaks Show Up
Around the T&P valve: If water is dripping from the discharge pipe, the valve may be stuck in an open position or your home’s water pressure is too high.
At the drain valve: These can loosen or crack over time. A washer or a new valve is often all that’s needed.
At pipe connections: Fittings at the top of the heater are susceptible to corrosion or loosening. In many cases, tightening or replacing the fittings fixes it.
From the tank itself: Bottom-of-tank leaks typically indicate internal corrosion. Replacement is usually the only realistic option at this point.
What to Do
Check the area around your heater every few months. Look for puddles, rust stains, white mineral deposits, or damp drywall.
If you detect leaks early, repairs are inexpensive — often just a $5–$15 part. Neglecting them can cost thousands of dollars.
For more detailed guidance on water heater care, troubleshooting, and maintenance tips, visit Water Heater Care — a dedicated resource to help you get the most out of your water heating system.

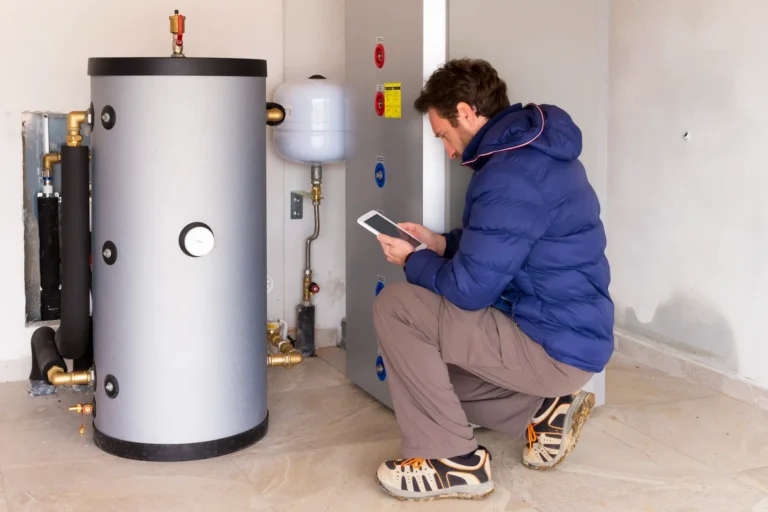
8. Schedule a Professional Inspection Every 2–3 Years
Most water heater maintenance tasks are things you can do yourself. But it’s still worth having a licensed plumber take a look every couple of years.
A pro can identify problems you may overlook — tiny cracks, early-stage corrosion, abnormal pressure readings, or a thermostat that is just slightly off. They can also inspect the gas connections and burner on gas heaters, which is not a DIY task most homeowners should tackle.
What a Pro Will Check
- Thermostat accuracy
- Burner or heating element condition
- Gas line and valve integrity (for gas heaters)
- Anode rod status
- Overall tank condition
- Ventilation and flue (for gas heaters)
- Pressure and temperature settings
Cost: A professional water heater inspection generally costs $50–$150, depending on your region. That’s a small price compared to an emergency call at midnight when the tank gives out.
Think of it like a physical for your water heater. Every time you catch problems early, it saves money.
Quick Reference: Full Maintenance Schedule
| Task | Frequency | DIY or Pro | Estimated Cost |
|---|---|---|---|
| Flush the tank | Every 12 months | DIY | $0 |
| Test T&P valve | Every 12 months | DIY | $0–$30 (if replaced) |
| Check thermostat setting | Once, then as needed | DIY | $0 |
| Add insulation blanket | One-time | DIY | $20–$40 |
| Insulate hot water pipes | One-time | DIY | $10–$30 |
| Inspect anode rod | Every 3–5 years | DIY or Pro | $20–$50 (if replaced) |
| Check for leaks | Every few months | DIY | $0–$15 |
| Professional inspection | Every 2–3 years | Pro | $50–$150 |
How Much Can You Really Save?
Let us put it all together. If you implement all 8 of these tips consistently, here is a realistic picture of what the savings look like:
| Maintenance Action | Estimated Annual Savings |
|---|---|
| Flushing sediment | $25–$40 |
| Lowering thermostat | $20–$35 |
| Adding insulation blanket | $15–$25 |
| Insulating pipes | $10–$20 |
| Fixing leaks and drips | $10–$30 |
| Anode rod replacement | Saves $500+ in avoided replacement |
| Professional inspection | Prevents $200–$1,000+ in emergency repair costs |
| Total savings per year | $80–$150+ |
Over a decade, regular maintenance could save you between $800 and $1,500 or more — not to mention avoiding a full replacement that otherwise may have happened years sooner.
FAQs: Smart Water Heater Maintenance and Care Guide
How often should I be flushing my water heater? Most homes only need this done once a year. If you have hard water with a lot of mineral content, flushing every 6 months will help prevent sediment from accumulating faster.
At what temperature should I set my water heater? A recommended setting for most homes is 120°F. It strikes a balance between energy savings, safety, and comfort. Going past 130°F raises your energy bill and your risk of scalding.
How long does a water heater typically last? Tank water heaters will typically last 8–12 years. With regular maintenance — particularly replacing the anode rod and flushing annually — you can often stretch that to 15 years or longer.
Is water heater maintenance DIY or does it require a plumber? Many of the routine tasks (flushing, checking the T&P valve, lowering the thermostat, adding insulation) are simple DIY jobs that require no special skills. Replacing the anode rod is a little more complex but still manageable. A licensed professional should handle gas line checks and full inspections.
How do you know if your water heater needs servicing? Look out for reddish or brown hot water, unusual popping or rumbling noises, water that does not heat evenly, spikes in your energy bill, and moisture around the bottom of the unit.
Are tankless water heaters more maintenance-friendly? Tankless heaters still require regular maintenance — particularly descaling to prevent mineral buildup — but are built to last longer (up to 20 years) and do not contain anode rods that need attention. The downside is that repairs can be pricier when something does go wrong.
Does a water heater insulation blanket actually make a difference? Yes, particularly with older units or heaters placed in cold areas. The blanket can reduce water heating energy costs by 7–16%, and it pays for itself in just a few months.
When should I replace my water heater instead of servicing it? If your heater is more than 10 years old, has a leaking tank (from the bottom), needs frequent repairs, or is much less efficient than current models, replacement tends to be the wiser financial choice. The U.S. Department of Energy’s water heater guide is a great resource to help you compare options and make the right call.
Wrapping It All Up
Your water heater is one of the hardest-working appliances in your home — and one that most often goes unnoticed.
This smart water heater maintenance and care guide does not require spending tons of time or money. Many of these tasks take under an hour and cost nearly nothing. But the payoff is tangible: lower monthly bills, fewer surprise repairs, improved hot water delivery, and a heater that lasts several years longer than it otherwise would.
Start with the low-hanging fruit — set the thermostat lower, flush out the tank, test the T&P valve. Then work through the list at your leisure.
Small steps, done consistently, add up to big savings. Your water heater — and your wallet — will thank you.