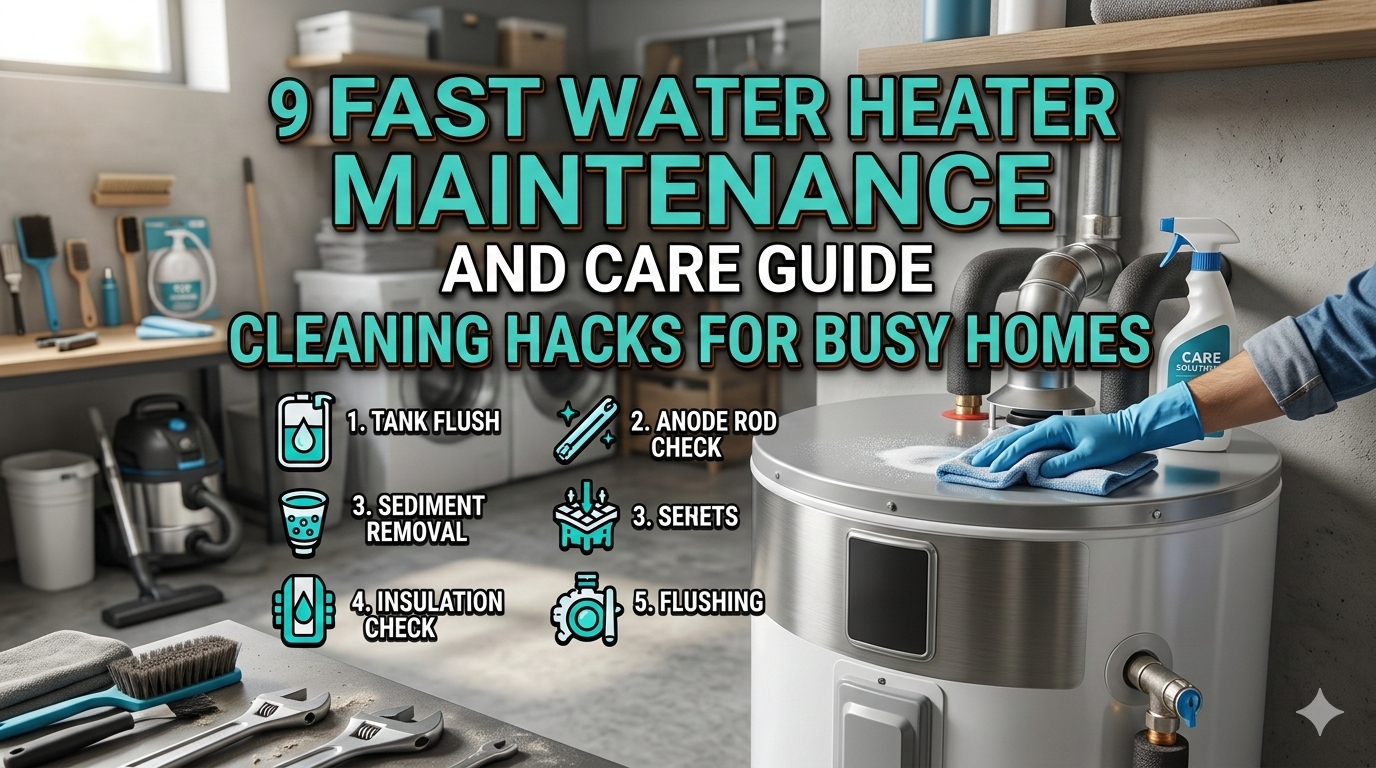
9 Fast Water Heater Maintenance and Care Guide Cleaning Hacks for Busy Homes
Meta Description: Water heater maintenance is, at the same time, not that complex. 9 quick clean hacks that keep your water heater working efficiently — even for the most hectic of homes.
9 Fast Water Heater Maintenance and Care Guide Cleaning Hacks for Busy Homes
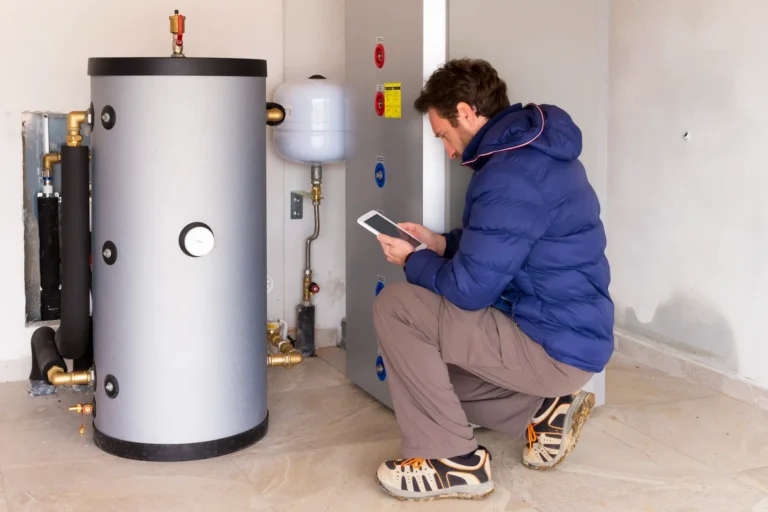
You flip on the shower, and wait… and wait. The water barely gets warm. Sound familiar?
Most homeowners don’t think twice about their water heater — until things start to go wrong. But here’s the bottom line: a little bit of regular maintenance can go a long way. You don’t have to be a plumber. You don’t need the entire weekend. You just have to know the tips and tricks, and dedicate half an hour a month.
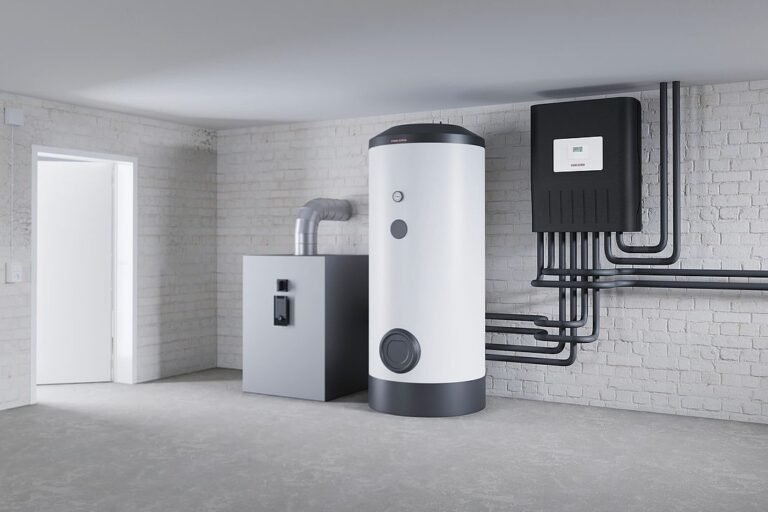
This guide covers 9 quick, simple water heater maintenance tips that really work — even if you have a busy schedule. Whether you have a traditional tank-style heater or a more modern tankless model, these tips will help you save money, stay safe, and keep that hot water flowing.
Let’s get into it.
Why You Should Actually Care About Water Heater Maintenance
Before we dive into the hacks, let’s define why this matters at all.
Water heaters have a lifespan of 8 to 12 years. But with no basic care, it can fail long before that. Sediment accumulates at the bottom of the tank. Valves corrode. Heating elements burn out.
The result? Higher energy bills, cold showers, costly repairs — or a complete replacement that can cost $1,000 or more.
A little maintenance every month can pay off in hundreds of dollars saved over the life of your unit.
| Maintenance Task | Frequency | Time Required |
|---|---|---|
| Check pressure relief valve | Every 6 months | 5 minutes |
| Flush sediment | Once a year | 20–30 minutes |
| Inspect anode rod | Every 2–3 years | 15 minutes |
| Test thermostat setting | Once a year | 2 minutes |
| Check for leaks | Monthly | 5 minutes |
| Insulate pipes | Once (as needed) | 30 minutes |
Without further ado, let’s get into the hacks.
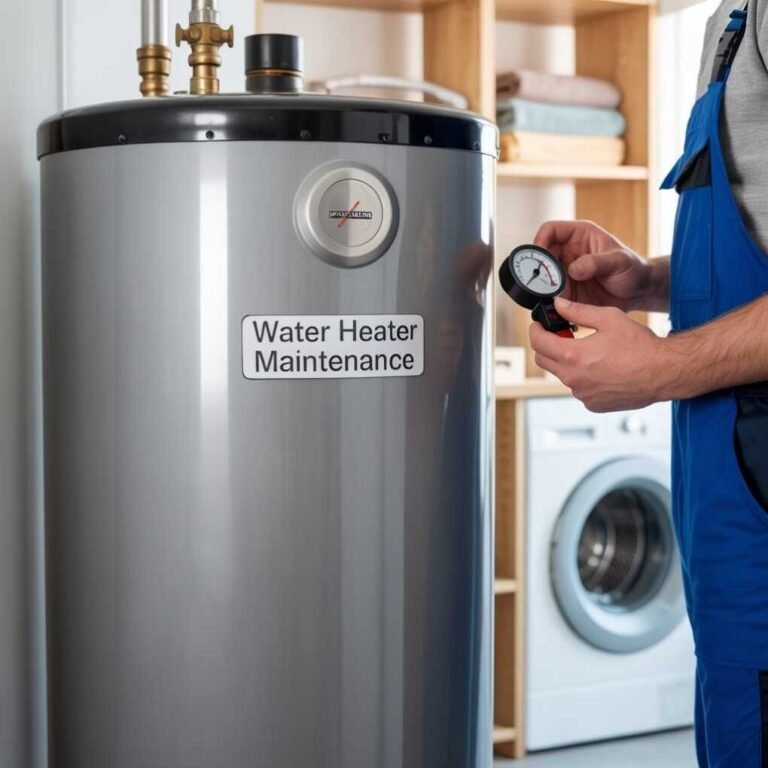
Hack #1 — Perform a Visual Check Monthly
What to Look For
This is the simplest one on the list. Once a month, walk around your water heater for five minutes to look for any unusual signs.
Check for:
- Wet patches or moisture on the floor
- Tank or pipes showing rust stains
- Corrosion around fittings and connections
- Discoloration surrounding the burner area
These are small signs, but they can alert you to big problems before they occur. A small leak you ignore today is a flooded basement next month.
How to Do It Fast
Set a monthly phone reminder. Walk to your water heater. Check the base and look at the top and both sides. Take 30 seconds to listen for unusual sounds, such as popping, banging, or hissing.
That’s it. Five minutes. Done.
Pro Tip: Take a photo of your water heater every month. That makes it easy to see changes over time your eyes might not catch.
Hack #2 — Get Rid of Sediment Without the Mess
Why Is Sediment Your Water Heater’s Biggest Enemy?
Over time, minerals from your water — primarily calcium and magnesium — settle to the bottom of the tank and harden. That layer of sediment makes your heater work extra hard to heat the water above it.
The result? More energy used. Less hot water available. Reduced lifespan of your heater.
Flushing the tank removes this buildup.
The Fast Flush Method
You do not need to completely drain the tank every time. Here’s a quicker version:
- Set the thermostat to “vacation” or lowest setting.
- Attach a garden hose to the drain valve at the bottom of the tank.
- Route the other end of the hose to a floor drain or outdoors.
- Open the drain valve and release 1–2 gallons of water.
- Close the valve, detach the hose, and go back to normal with the thermostat.
This mini-flush only takes about 10 minutes and cleans out the loose sediment at the bottommost part. For deeper cleaning, do a full drain-and-flush once a year.
Important: The flowing water will discharge very hot. Use gloves and keep children out of the area.
Hack #3 — Check if the Pressure Relief Valve Is Still Working (1 Minute)
What Is the T&P Valve?
The T&P valve, also known as a pressure relief valve, is an important safety device. It relieves pressure if the tank overheats or the pressure inside gets too high. Without it functioning properly, your water heater may turn into a serious risk.
Most homeowners have never tested this valve. Ever.
How to Test It Fast
- Put a small bucket under the discharge pipe connected to the T&P valve.
- Raise the lever on the valve for approximately 3 seconds.
- Hot water should come pouring out into the bucket.
- Release the lever. The flow should stop completely.
If water continues dripping after you release the lever, you must replace that valve. If no water came out at all, then the valve might be stuck or damaged — also a replacement scenario.
It literally takes 60 seconds to take this test. Do it every six months.
Hack #4 — Inspect and Change the Anode Rod
Meet the Unsung Hero of Your Water Heater
The anode rod is a metal rod — typically magnesium or aluminum — that hangs inside your tank. Its entire purpose is to corrode so your tank does not have to. It draws rust and minerals to it, which protects the steel walls of your tank.
When the anode rod is all corroded away, there’s nothing left to protect the tank. That’s when rust begins to eat away at the steel.
How to Examine It Without a Plumber
- Switch off the power and cold water supply to the heater.
- Locate the anode rod — it is often found on top of the heater or beneath a plastic cover.
- Unscrew it with a 1 1/16-inch socket wrench.
- Pull it out and look at it.
What you’re looking at:
| Anode Rod Condition | What It Means |
|---|---|
| Thick and intact | Still in good shape |
| Thinned but solid | Getting worn, monitor closely |
| Less than ½ inch thick | Replace immediately |
| Covered in calcium deposits | Replace and consider a softener |
| Completely dissolved | Tank may already be damaged |
Change the anode rod every 2–3 years, or more frequently if it appears severely corroded. They cost $20–$50 for a new one, and take 15 minutes to switch out.
Hack #5 — Control the Temperature (And Stop Paying for It)
The Thermostat Sweet Spot
Most water heaters are factory-set to 140°F. But the U.S. Department of Energy recommends 120°F for most households.
Here’s why that matters:
- Reducing energy use up to 10% by having it set to 120°F
- You reduce the chance of accidentally scalding
- Your tank builds up minerals at a slower rate
- Your anode rod lasts longer
How to Change the Temperature Quickly
Most electric heaters have a dial behind an access panel along the side of the unit. With gas heaters, there is often a dial on the gas valve itself.
Turn it to 120°F. Done.
Exception: If someone in your home has a compromised immune system or respiratory illness, then keeping it at 140°F helps to deter bacteria such as Legionella from proliferating in the tank.
Hack #6 — Insulate Your Pipes and Tank for Immediate Efficiency
Why Insulation Is a Game-Changer
Heat leaks out of your pipes and the walls of your water heater tank. This is known as “standby heat loss.” This means your heater must continually reheat water, even when no one is using it.
Insulating your pipes and tank drastically reduces that heat loss.
The Fast Insulation Method
For pipes:
- Purchase foam pipe insulation sleeves from any hardware store (about $1–$2 per foot).
- Measure the first 6 feet of hot and cold water pipes from point of attachment on the heater.
- Put the foam sleeve over each pipe and tape it in place.
- Total time: 20–30 minutes.
For the tank:
- Buy a water heater insulation blanket (around $20–$30).
- Following the instructions, wrap it around the tank.
- Do not cover the thermostat, burner, or pressure relief valve.
According to Energy.gov, this one-time job can decrease standby heat loss by 25–45% and save up to $45 per year on your energy bill.
Hack #7 — Clean the Burner Area on Gas Heaters
Don’t Skip This One
If you have a gas water heater, the burner area should be serviced at least annually. Dust, lint, and debris can accumulate around the base and block airflow. This causes the burner to operate less efficiently, and may ultimately pose a fire hazard.
Quick Burner Cleaning Steps
- Turn the gas valve to the “pilot” position.
- Using a vacuum cleaner with a crevice tool, gently clean around the base of the heater.
- Remove the burner access panel (typically a small door at the bottom).
- Vacuum any visible debris in the burner area.
- Examine the pilot light area, as best you can, for soot or discoloration.
- Replace the panel and return the gas to its desired level.
If you notice a yellow or orange flame instead of blue, that indicates incomplete combustion. Call a technician.
Never spray water or cleaning sprays around the burner area.
Hack #8 — Drain and Deep-Clean Thoroughly Once a Year
Every Year, Your Heater Needs a Reset
Once per year, deep clean your water heater. It’s about more than the mini-flush from Hack #2. A complete drain clears out all the sediment that’s accumulated at the bottom of the tank over 12 months.
Step-by-Step Annual Deep Clean
- Disconnect power — for electric heaters, flip the breaker. For gas, set the dial to “pilot.”
- Turn off the cold water supply by turning the valve located above the heater.
- Allow the water to cool for a few hours (or perform this after the heater has not been used overnight).
- Attach a garden hose to the drain valve and direct it to a safe area for drainage.
- Open a hot water tap somewhere in the house to allow air into the system.
- Open the drain valve and allow the tank to completely empty.
- Flush with cold water — briefly turn the cold supply back on to stir up and flush out remaining sediment.
- Close the drain valve, remove your hose, and fill the tank back up.
- Restore power or gas after the tank is completely full.
It takes 30–45 minutes for the whole thing. Do it every 12 months.
Hack #9 — Clear Out the Area Around Your Water Heater
The Overlooked Safety Hack
This one seems almost too simple — but it’s far from irrelevant.
A number of homeowners place boxes, cleaning supplies, and other items directly next to their water heater. This creates a problem for a few reasons:
- Keeping combustible things close to a gas heater is a fire hazard
- Blocked airflow reduces efficiency
- It makes maintenance harder to do — so you avoid it
- You need to be able to access shut-off valves quickly in an emergency
The Two-Foot Rule
Leave at least two feet of clearance on all sides of your water heater. This ensures good airflow, safety, and accessibility when you need it.
Clear that area for 10 minutes right now. Move boxes to shelves. Relocate chemicals to a cabinet. You’ll thank yourself later.
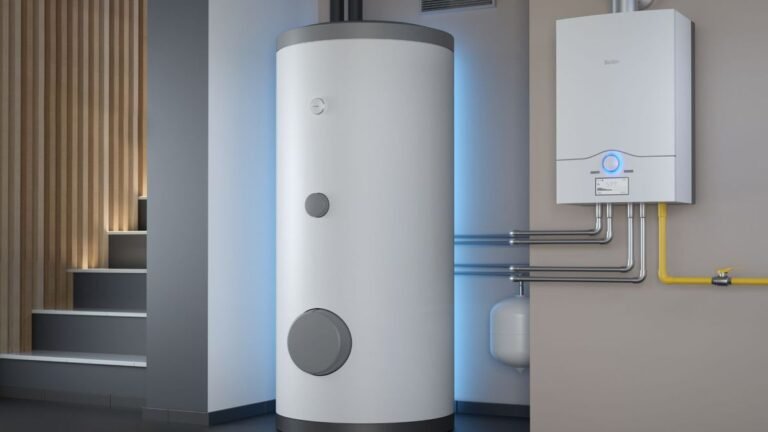
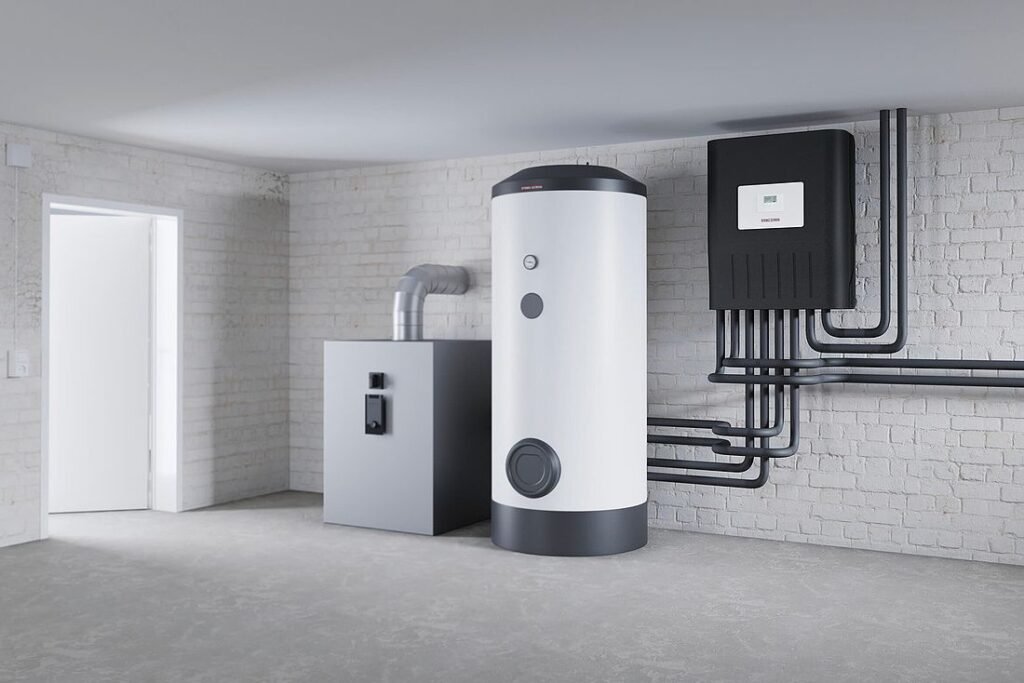
Tank vs. Tankless Water Heaters — Quick Comparison on Maintenance
| Maintenance Task | Tank Heater | Tankless Heater |
|---|---|---|
| Sediment flushing | Yes — annually | Yes — descaling needed |
| Anode rod inspection | Yes — every 2–3 years | Not applicable |
| Filter cleaning | Not applicable | Yes — every 6–12 months |
| Pressure relief valve test | Yes — every 6 months | Yes — every 6 months |
| Burner cleaning (gas) | Yes — annually | Yes — annually |
| Pipe insulation | Recommended | Recommended |
| Professional servicing | Every 1–2 years | Every 1–2 years |
Tankless heaters need to be descaled — where you run a vinegar solution through the system to break down mineral deposits. If you have hard water, this should be done once a year.
Water Heater Problems That Require Professional Attention
Sometimes basic maintenance isn’t enough. Here are the warning signs it’s time to call a plumber:
- Rusty or discolored hot water — may indicate that the tank is rusting from within
- Rotten egg smell — may be a sign of bacteria growth, or a failing anode rod
- Water pooling beneath the tank — may indicate a crack or serious leak
- Zero hot water — heating element or gas burner failure
- Rumbling or banging sounds — serious sediment buildup
- Water heater over 10 years old — could be nearing the end of its life
Don’t ignore these signs. A little repair now is much less expensive than a complete replacement later.
Annual Maintenance Checklist at a Glance
Here’s a simple checklist you can print and put on your water heater:
Monthly:
- ✅ Check for leaks and small rust on the body
- ✅ Listen for unusual sounds
- ✅ Remove clutter around the heater
Every 6 Months:
- ✅ Check the T&P pressure relief valve
- ✅ Check thermostat setting
Once a Year:
- ✅ Mini-flush or full drain to remove sediment
- ✅ Wipe down burner compartment (gas units)
- ✅ Inspect pipe insulation
- ✅ Inspect all connections for corrosion
Every 2–3 Years:
- ✅ Check and replace anode rod if necessary
- ✅ Schedule professional inspection
FAQs About Water Heater Maintenance
Q: How frequently do I need to flush my water heater? A: At minimum, once a year. With hard water, or high-mineral content water, you might want to do a mini-flush every six months to prevent heavy sediment accumulation.
Q: Do I need a plumber to maintain my water heater, or can I do it myself? A: Much of this process — flushing, visual inspections, insulation, temperature adjusting — is something the average DIYer can handle. Replacing the anode rod or T&P valve can likewise be accomplished at home with simple tools. But for leaks, gas odors, or serious electrical problems, always call a licensed plumber or technician.
Q: What if I never service my water heater? A: Left untreated, sediment can accumulate and hinder efficiency. The anode rod wears out, and the tank starts to corrode. Ultimately, you’ll be dealing with higher energy bills, uneven hot water, and expensive repairs — or a complete replacement years sooner than you need.
Q: My water heater is making a popping sound. What does that mean? A: Popping or rumbling sounds almost always mean sediment has formed at the bottom of the tank. That noise is produced when the water attempts to heat through that sediment layer. This is usually solved with a good flush.
Q: Is 120°F really safe for every household? A: Yes, for the vast majority of families with healthy adults. But if you have small children, older adults, or anyone with a weakened immune system at home, consult your doctor. To prevent bacterial growth, some sources recommend 140°F.
Q: How can I tell if my anode rod needs replacing? A: If that rod measures less than half an inch thick, is coated in white calcium deposits, or is virtually nonexistent, it’s time for a new one. A general rule of thumb is to perform a check every two years and replace it before it completely dissolves.
Q: Do I need to maintain a tankless water heater as well? A: Yes. Although tankless heaters don’t have a tank to flush, they still require annual descaling (especially in hard-water areas), as well as filter cleaning and burner and connection inspection.
Q: How much does water heater maintenance typically cost? A: Home maintenance is inexpensive — typically the cost of a few supplies, such as a new anode rod ($20–$50) or pipe insulation ($10–$30). Most tune-ups by a professional will cost $100–$200, and they should happen every one to two years.
Wrapping It All Up
Water heater maintenance sounds scary — but it’s not. With nine simple hacks, you can keep your water heater running efficiently, lower your energy costs, and avoid costly emergency repairs.
Here’s the quick recap:
- Do a monthly visual check
- Flush sediment regularly
- Test the pressure relief valve
- Check the anode rod and replace it
- Set the right thermostat temperature
- Insulate your pipes and tank
- Clean the burner area on gas heaters
- Deep-clean once a year
- Ensure that the area surrounding your heater is kept clear
All of them take under half an hour. Most take five. And collectively they can extend the life of your water heater by years.
A properly functioning water heater translates into hot showers on demand, lower monthly bills, and one less worry for you as a homeowner. Try one task this week — the visual check costs you nothing and takes five minutes.
Your future self (and your wallet) will thank you for it.