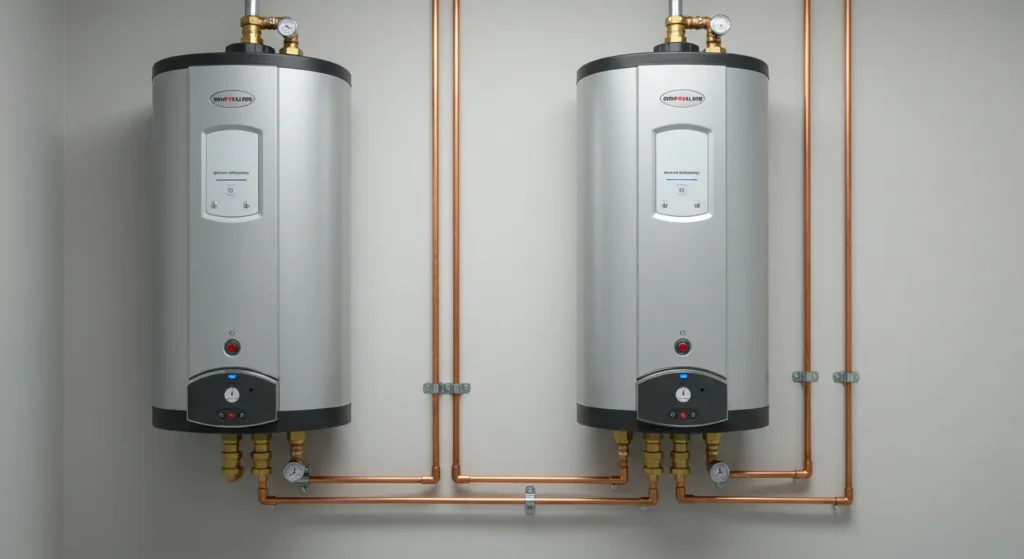
9 Powerful Water Heater Maintenance and Care Guide Fixes That Took Me 10 Minutes
Meta Description: Water heater maintenance and care guide that saves you money and extends the life of your unit — 9 quick and powerful tips anyone can do in under 10 minutes.
9 Quick Water Heater Maintenance And Care Guide Fixes That Took 10 Minutes
On a frigid January morning, my water heater almost died.
I noticed the water wasn’t hot — it was lukewarm. The unit had a strange rumbling sound. And when I felt around the bottom of the tank — rust-colored water drizzled out.
I panicked. I believed I required a complete replacement. But then, after doing a little research and rolling up my sleeves, I knocked out the biggest issues in under 10 minutes each.
No plumber. No expensive service call. Just some simple steps that really produced results.
This water heater maintenance and care guide will uncover 9 simple fixes — all beginner-friendly, all fast, and all very effective. Gas, electric or tankless — these tips will help you save money and prolong the life of your unit by years.
Let’s get into it.
Why Most People Ignore Water Heater Maintenance (And Pay the Price)
Many homeowners don’t consider their water heater until something breaks.
That’s a costly mistake.
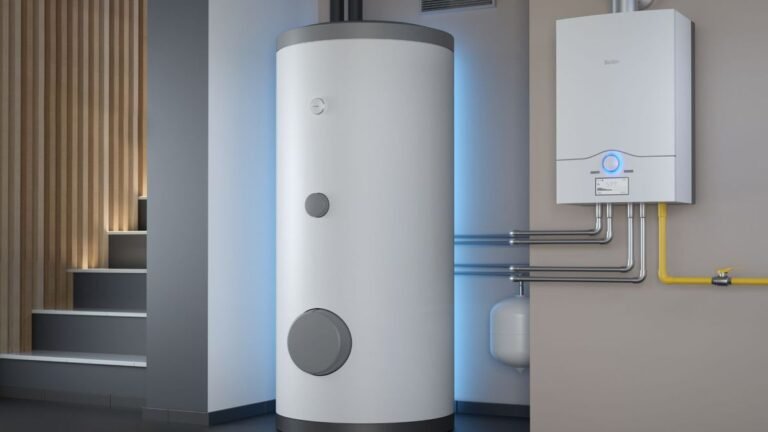
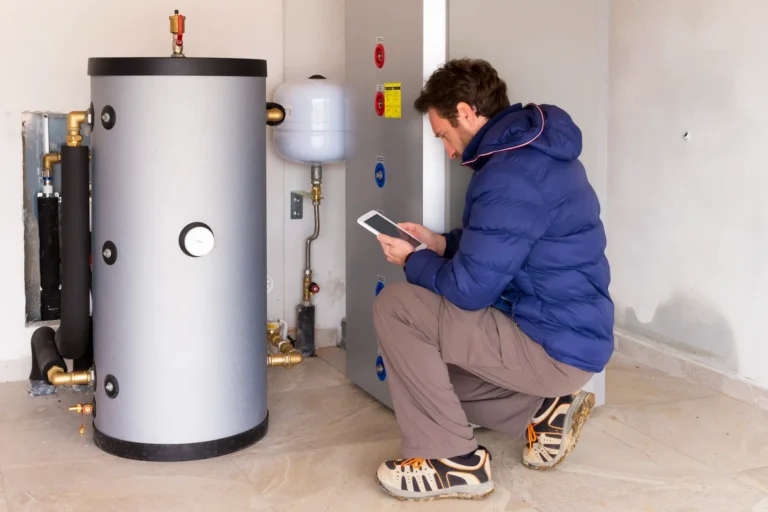
Water heaters are among the hardest-working appliances in your home. They are available 24/7. And like any machine, they require regular maintenance to run well.
Neglecting maintenance leads to:
- Higher energy bills
- Shortened lifespan
- Unexpected breakdowns
- Flooding and water damage
- Poor water quality
The good news? Fixing all of this is not hellishly expensive — it just takes time and the right steps.
Before You Start: What You’ll Need
Before you get into the fixes, pick up these basic tools and supplies:
| Item | Use |
|---|---|
| Garden hose | To flush sediment out of tank |
| Flathead screwdriver | To adjust thermostat, access anode |
| Wrench or socket set | Remove anode rod |
| Teflon tape | Seal threaded connections |
| Replacement anode rod | Protect tank from corrosion |
| Bucket | Catch water during flush |
| Multimeter (for electric units) | Test heating elements |
| Work gloves | Safety protection |
Best of all, many of these items are less than $30 total. Compared to a $1,000+ water heater replacement, that’s an easy investment to make.
Fix #1 — Flush the Sediment From Your Tank
This is the best thing you can do for your water heater.
After a while, the minerals in hard water — mostly calcium and magnesium — settle at the bottom of your tank. This sediment layer functions as an insulating blanket. Your heater works extra hard to heat the water, which consumes more energy and makes that loud rumbling noise.
How to Flush Your Water Heater
- For gas, put it in Pilot mode or Off; for electric, flip the circuit breaker switch off.
- Attach a garden hose to the drain valve located at the bottom of the tank.
- Extend the other end of the hose outside or to a floor drain.
- This can create a vacuum, so open a hot water faucet somewhere in your house.
- Open the drain valve and release the water.
- When it runs clear, close the valve and fill the tank again.
- Restore power or gas.
Do this once a year. In areas with very hard water, every six months.
Duration: 8–10 minutes active + time to drain
How Much Did Sediment Actually Cost You?
Sediment buildup can decrease the efficiency of water heaters — according to studies — by up to 25%. Which means you might be paying an extra $150–$200 per year in energy, for a dirty tank.
| Sediment Level | Efficiency Loss | Estimated Increase in Annual Cost |
|---|---|---|
| Light (1–2 years no flush) | 5–10% | $30–$70 |
| Moderate (3–4 years no flush) | 10–18% | $70–$130 |
| Heavy (5+ years no flush) | 18–25%+ | $130–$200+ |
An annual 10-minute flush keeps you in “light” territory each time.
Fix #2 — Inspect the Anode Rod and Replace as Needed
The anode rod is the unsung hero of your water heater.
It’s a long metal pole — typically magnesium or aluminum — that dangles inside your tank. Its whole job is to attract corrosive minerals in the water so those elements attack the rod rather than your tank walls.
When the rod is completely corroded, your tank takes the hit.
How to Check Your Anode Rod
- Shut off the heater’s power and water supply.
- Find the anode rod port — usually at the top of the unit beneath a plastic cap or close to the hot water outlet.
- Remove it with a 1 1/16-inch socket wrench.
- Pull the rod out carefully.
What you’re looking for:
- Good rod: Thick yet even, slight mineral coating, solid metal
- Replace it: Less than ½ inch thick, heavily coated in calcium, or falling apart
A new anode rod will run you $20–$50 and takes less than 10 minutes to replace.
Check it every 2–3 years. Change it out every 4–6 years based on water quality.
Fix #3 — Check the Temperature and Pressure Relief Valve
This isn’t just a question of efficiency — it’s also about safety.
The T&P (temperature and pressure) relief valve is the most important safety device. If your tank ever gets too hot or builds too much pressure, this valve opens up and lets it out — so you don’t have an explosion.
But these valves can corrode or become stuck with time.
How to Test It
- Put a bucket under the discharge pipe from the valve.
- Test the valve by lifting its test lever for 3 seconds.
- Hot water should rush out. Release the lever — it should snap shut cleanly.
What’s a problem:
- Nothing comes out (valve might be stuck or broken)
- Water keeps dripping after you let go of the lever (faulty valve)
If either of those happen, replace the valve right away. A replacement T&P valve typically costs $15–$30 and takes about 10 minutes to install with basic tools.
Never skip this test. A broken T&P valve is a serious danger.
T&P Valve Testing: Quick Reference
| Test Result | What It Means | What To Do |
|---|---|---|
| Water flows freely, stops cleanly | Valve is working properly | Test again in 6 months |
| No water flows | Valve may be seized | Replace immediately |
| Water keeps dripping after release | Valve is worn out | Replace immediately |
| Valve handle broke off | Old or corroded valve | Replace immediately |
Fix #4 — Setting Your Thermostat to Its Sweet Spot
Most water heaters are factory set too high.
The default factory setting tends to be 140°F. But the U.S. Department of Energy suggests 120°F for most homes. That 20-degree difference can reduce your water heating expenses by as much as 6–10% a year.
It also lowers the risk of scalding — particularly useful for anyone with children or elderly people at home.
How to Adjust It
- Gas heaters: Set the dial on the gas valve to your preferred temperature. Look for the “Hot,” “A,” “B,” or “C” markers — “A” or the 120°F mark is best.
- Electric heaters: Shut off the circuit breaker, detach the access panel, pull aside insulation, and adjust the thermostat with a flathead screwdriver behind it.
Take 5 minutes to review and recalibrate it. Every month, your wallet will thank you.
Fix #5 — Insulate Your Tank and Pipes
Here’s a repair that most homeowners totally ignore.
Hot water stored in an uninsulated tank loses heat — even when you’re not using it. Your heater must constantly reheat the same water over and over. This is known as standby heat loss.
Insulating your tank and pipes reduces this waste significantly.
What to Buy
- Pipe insulation foam sleeves — For hot-water pipes exiting the heater ($5–$15)
- Water heater insulation blanket — For the tank itself ($20–$40)
Important: Use a blanket only on older tanks (pre-2015). Newer units often come with insulation built in, and adding more can actually damage them.
Check your owner’s manual first.
Insulating your pipes well can prevent 25–45% of heat loss, saving $15–$50 a year in energy — every single year, with zero ongoing effort.
Duration: 8–10 minutes for pipe insulation
Fix #6 — Check for Leaks at Fittings and Valves
Little leaks become big issues in a hurry.
A slow leak at a pipe fitting could waste hundreds of gallons a year. It can also lead to corrosion, mold, and structural damage in your house.
The good news? Most small leaks are not difficult to repair.
Do a Visual Inspection
Walk around your water heater and inspect every connection:
- Cold water inlet pipe
- Hot water outlet pipe
- Pressure relief valve discharge pipe
- Drain valve at the bottom
- Gas line connections (for gas units)
Check for water stains, rust rings, white mineral deposits, or active dripping.
Quick Fix for Threaded Connections
- Turn off the water supply.
- Unscrew the leaking fitting.
- Wrap the threads 3–4 times with Teflon tape.
- Reattach and tighten.
This process takes under 10 minutes and is nearly free.
If you see a leak on the tank itself (as opposed to a fitting), that indicates internal corrosion. That typically means it’s time to replace the unit.
Fix #7 — Clean the Burner or Heating Element
Dirty burners and failing heating elements are the main reasons these heaters work poorly.
For Gas Water Heaters
The burner is located at the very bottom of the unit underneath the tank. Dust, debris, and spider webs can clog the flame and limit efficiency.
To clean it:
- Put the gas valve in “Pilot.”
- Use a vacuum with a narrow attachment around the burner area.
- Check the pilot light — it should be burning blue. A yellow or orange flame indicates incomplete combustion that a technician needs to address.
For Electric Water Heaters
Electric units utilize upper and lower heating elements. When one breaks, you end up with lukewarm or no hot water.
To test an element:
- Turn off the circuit breaker.
- Remove the access panel and pull back any insulation.
- Set the multimeter to resistance (ohms) and touch the probes to the screws of the element.
- 10–30 ohms = working. 0 or “OL” = replace the element.
Replacement elements run $10–$20 and take roughly 20–30 minutes to replace. Cleaning the space around the element takes under 10 minutes.
Fix #8 — Check the Dip Tube
Do you sometimes get unexpected blasts of cold water mixed into your hot shower?
The dip tube may be the issue.
The dip tube is a plastic pipe inside your tank that channels incoming cold water to the bottom of the tank — keeping it away from the hot water stored at the top. If it breaks or falls off, cold water mixes in right at the top and cools your hot-water supply.
Signs of a Broken Dip Tube
- Inconsistent hot water temperature
- White or grey specks in water from faucets
- Reduced hot water pressure
How to Replace It
- Shut off the water and power or gas.
- Disconnect the cold water inlet pipe.
- Pull out the old dip tube.
- Slide the new one in (the curved end points toward the tank wall).
- Reconnect everything.
A new dip tube runs $5–$15. The whole process takes about 10–15 minutes.
Fix #9 — Clean the Air Inlet Filter (Only for Tankless Units)
If you own a tankless water heater, this one’s for you.
Tankless units have air inlet filters that keep dust and debris out of the combustion chamber. When these get blocked, the unit works poorly — or shuts down altogether.
How to Clean It
- Turn off the unit.
- Find the filter (often at the bottom or side of the unit — consult your manual).
- Take the filter out and wash it under warm tap water.
- Allow it to dry completely before putting it back in.
Repeat this every 3–6 months, depending on the dustiness of your home.
If your unit has one, also check the water inlet filter screen — mineral buildup can obstruct flow and set off error codes.
Time required: 5–8 minutes
Your Annual Water Heater Maintenance Schedule
Use this simple annual checklist to stay on track:
| Task | Frequency | How Long It Takes |
|---|---|---|
| Flush the tank | Yearly (6 months for hard water) | 10 min active |
| Check anode rod | Every 2–3 years | 10 min |
| Test T&P valve | Every 6 months | 5 min |
| Adjust thermostat | Once (or seasonally) | 5 min |
| Insulate pipes/tank | One-time setup | 10 min |
| Inspect for leaks | Every 6 months | 5 min |
| Clean burner/element | Yearly | 10 min |
| Check dip tube | Every 3–5 years | 10–15 min |
| Clean inlet filter (tankless) | Every 3–6 months | 5–8 min |
Pin this to your fridge. Set a phone reminder. It keeps your water heater running for years longer.
A Few Signs Your Water Heater May Be Beyond Repair
Even the best water heater maintenance and care guide can’t help every situation. Sometimes, replacement is the smarter move.
Here are the warning signs to watch out for:
- More than 12–15 years old — Most units run about this long
- Rusty water — Indication of internal tank corrosion
- Visible cracks or holes in the tank body
- Frequent breakdowns — If you’re repairing something every couple of months
- Major flooding from the bottom of the tank
If you spot two or more of these, it’s time to start shopping for a replacement rather than pouring more money into repairs.
How Much Can Maintenance Actually Save You?
Let’s put some real numbers on this.
| Maintenance Action | Estimated Annual Savings |
|---|---|
| Flushing sediment | $130–$200 |
| Lowering thermostat to 120°F | $30–$60 |
| Insulating pipes | $15–$50 |
| Replacing worn anode rod | Extends tank life 5–8 years |
| Fixing minor leaks | $50–$100 in water savings |
| Total Estimated Savings | $225–$410+ per year |
Virtually all of the fixes in this guide are inexpensive and easy enough to do yourself. The savings are real, permanent, and substantial.
For more in-depth tips and product recommendations, visit Water Heater Care — a dedicated resource for homeowners who want to get the most out of their water heating systems.
Frequently Asked Questions
How frequently should I service my water heater?
Flush your tank at least once a year, and test the T&P valve every six months. Every 2–3 years, a full inspection — including the anode rod, thermostat, and connections — should take place.
Can I do all of these fixes myself, or do I need a plumber?
Most of these repairs are easy to do yourself. Flushing the tank, T&P valve testing, pipe insulation, and leak checking involve no special skills. Replacing heating elements or gas components might take more confidence with tools — but many homeowners do that too. For issues concerning gas lines or internal tank leaks, call a licensed plumber.
How long does a water heater last, on average?
Tank-style water heaters are usually good for 8–12 years. With proper upkeep, many last 15 years or longer. Tankless units can last 20+ years with regular care, according to the U.S. Department of Energy.
Why does my hot water smell bad?
A rotten egg odor typically indicates bacteria in the tank reacting with a magnesium anode rod. Flush the tank and try an aluminum/zinc anode rod. Briefly raising the temperature to 140°F can also kill bacteria — just lower it back down after.
My water heater is making a popping or rumbling sound. Is that normal?
No. Loud rumbling, popping, or banging generally indicates sediment buildup at the bottom of the tank. The cure: Fix #1 in this guide — flush the tank, and that should do it most of the time.
How do I tell if my anode rod needs replacing?
If it measures thinner than ½ inch, is heavily encrusted with white mineral buildup, or is crumbling apart — get a new one. Check it every 2–3 years as part of your regular water heater maintenance and care guide routine.
Will my tankless water heater require the same upkeep?
Tankless units require descaling (flushing with vinegar or a descaling solution) annually, along with regular filter cleaning. They lack anode rods or conventional tanks to flush, but they do require consistent maintenance to function properly.
Wrapping It All Up
Your water heater works overtime every single day.
It warms your showers, your dishes, your laundry. And most people don’t think twice about it — until something goes wrong.
This water heater maintenance and care guide covered 9 simple, powerful fixes that take about 10 minutes each. No expensive service calls. No special training. Nothing more than smart, proactive care that saves you hundreds of dollars and keeps your hot water flowing on-demand.
Start with the flush. Test your T&P valve. Check that anode rod.
Do those three things this weekend, and your water heater will thank you for the next 10 years.
Curious about your own unit or situation? Drop it in the comments — happy to help.