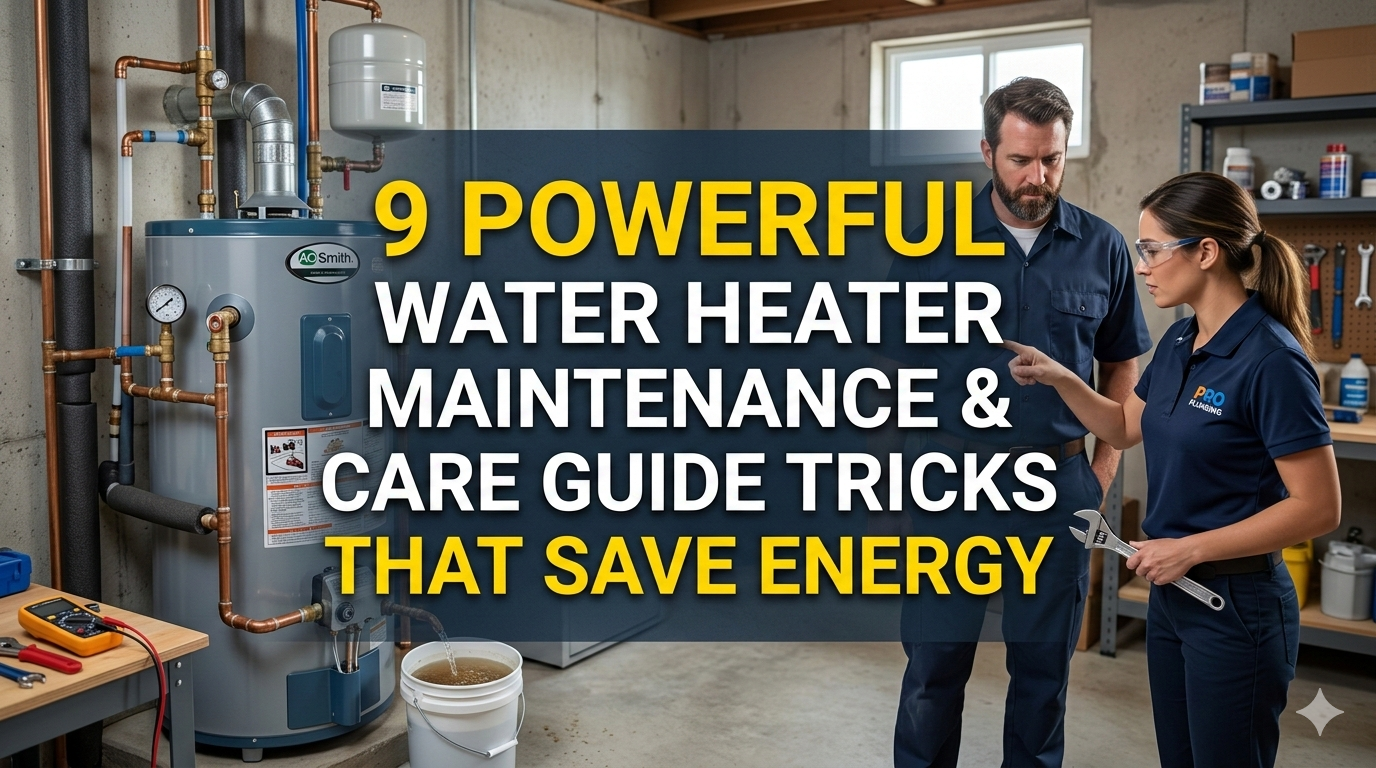
9 Powerful Water Heater Maintenance and Care Guide Tricks That Save Energy
Meta Description: Water heater maintenance and care guide tricks help you reduce energy bills, expand your device lifespan and keep away from costly repairs — here are 9 effective tips to get you started today.
9 Powerful Water Heater Maintenance and Care Guide Tricks That Save Energy
You probably don’t think much about your water heater until something goes wrong. Cold showers. Strange noises. A flooded basement. At that point, it’s too late — and costly.
The good news? It doesn’t take a lot of regular upkeep to keep things running smoothly. Using the right water heater maintenance and care guide tips, you can lower your energy bills, prolong the life of your unit, and prevent nasty surprises.
These 9 simple tricks truly work. Whether you have a tank-style heater or a tankless model, there’s something here for you.
Let’s get into it.
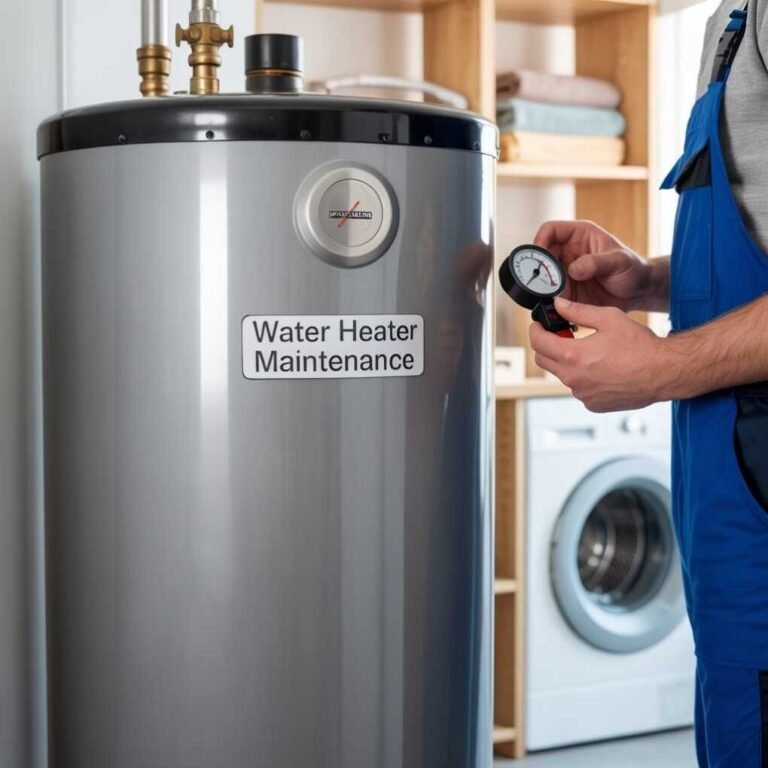
The Real Reason Why Water Heater Maintenance Matters
Most water heaters have a lifespan of 8 to 12 years. But here is the catch — most of them fail way before that due to zero maintenance.
An unattended water heater exerts additional effort to heat water. That means it consumes more power, which raises your monthly utility bill.
Water heating makes up about 18% of energy use in a home, according to the U.S. Department of Energy. That makes it — after heating and cooling — the second-largest energy expense for most households.
Regular maintenance keeps your heater at top performance. It also enables you to detect small issues before they grow into larger ones.
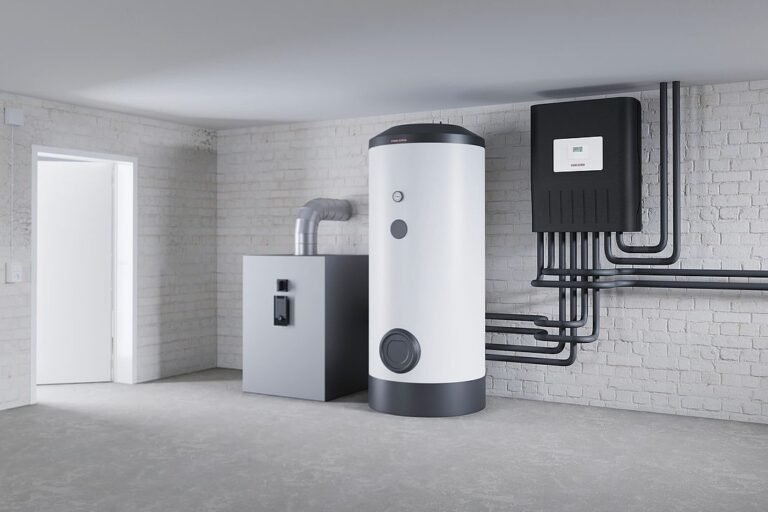
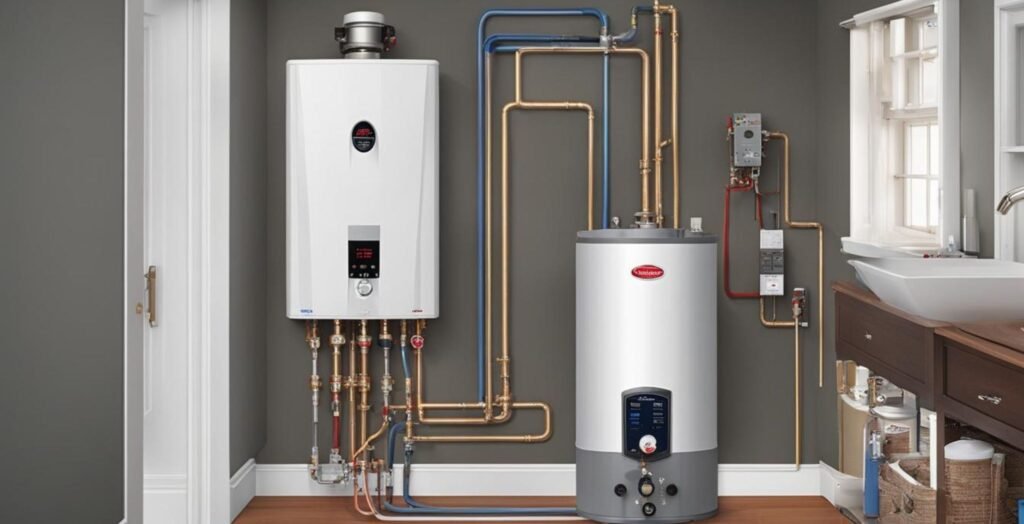
What Kind of Water Heater Do You Have?
Before we get into the tricks, know your unit. Different types of heaters require slightly different maintenance.
| Type | How It Works | Average Lifespan |
|---|---|---|
| Tank (Storage) | Heats and stores water in a large tank | 8–12 years |
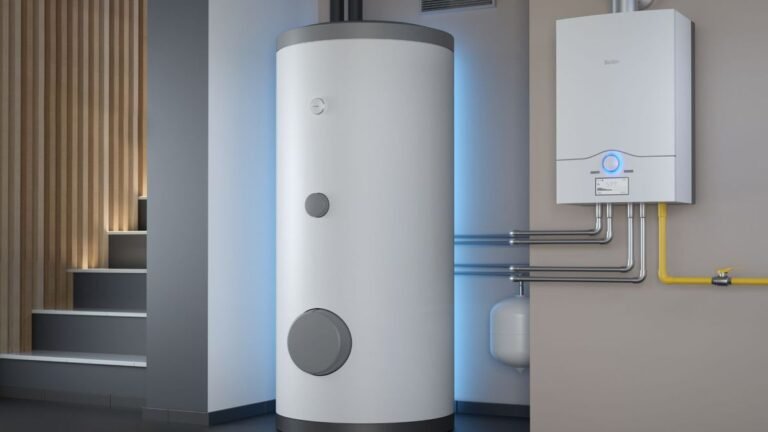
| Tankless (On-Demand) | Heats water only when needed | 15–20 years |
| Heat Pump | Pulls heat from surrounding air | 10–15 years |
| Solar | Uses sunlight to heat water | 15–20 years |
Most homes use tank-style heaters. The tricks described below apply mostly to those, but several work for tankless units as well.
Trick #1 — Flush the Tank Once a Year (Yes, Every Year)
This is the single most important maintenance task you can do.
Over time, minerals from your water — mainly calcium and magnesium — accumulate at the bottom of your tank. This buildup is called sediment.
Sediment causes big problems:
- It makes your heater work extra hard
- It produces popping or rumbling noise
- It lowers the amount of hot water you really get
- It can corrode the tank from within
How to Flush a Water Heater
- Turn the heater off (set to “pilot” for gas, or flip off the breaker for electric)
- Attach a garden hose to the bottom drain valve
- Direct the hose into a floor drain or outdoors
- Shut off the cold water supply
- Open the drain valve and let it flow
- Once empty, briefly turn the cold water back on to rinse out any remaining sediment
- Shut the valve, fill up the tank, and restart the heater
It takes 30–45 minutes in total. Do it once a year and your heater will return the favour.
Pro Tip: If you have very hard water (high mineral content), flush every 6 months instead.
Trick #2 — Inspect and Replace the Anode Rod
The anode rod is a small but powerful piece inside your tank. It’s typically made of magnesium or aluminum, and it operates by drawing corrosion to itself — so the tank walls don’t corrode.
Think of it as a sacrificial protector. It wears out slowly so your tank doesn’t have to.
When the anode rod is completely corroded, the tank itself starts to fall apart. This can result in leaks, rusty water, and premature failure.
How Often to Check It
- Check every 2–3 years
- Replace when over 6 inches of the core wire is exposed
How to Do It
- Turn off the heater and cold water supply
- Find the anode rod — typically on top of the tank beneath a plastic cap
- Unscrew it with a 1-1/16 inch socket wrench
- Pull it out and inspect it
- If it appears thin, crusty, or heavily corroded, replace it
Replacement anode rods cost $20–$50. A new one can help extend the life of your heater by 5 or more years. That’s one of the best investments in home maintenance.
Trick #3 — Reduce the Thermostat to 120°F
Most water heaters come from the factory set to 140°F. That’s higher than most people require.
Reducing the temperature to 120°F accomplishes three crucial things:
- Saves energy — the heater has to work less
- Decreases mineral buildup — lower temperatures slow sediment formation
- Avoids scalding — crucial for households with small children
Energy Savings Breakdown
| Temperature Setting | Estimated Monthly Savings |
|---|---|
| 140°F (factory default) | Baseline |
| 130°F | 3–5% savings |
| 120°F (recommended) | 6–10% savings |
That may not seem like a lot, but it adds up. Reducing to 120°F over the course of a year can save you anywhere between $36–$61 depending on your local utility rates.
Find the thermostat on the side of the tank (typically behind an insulation panel). Adjust it with a flathead screwdriver. Mark the new setting with a marker so you remember where it is.
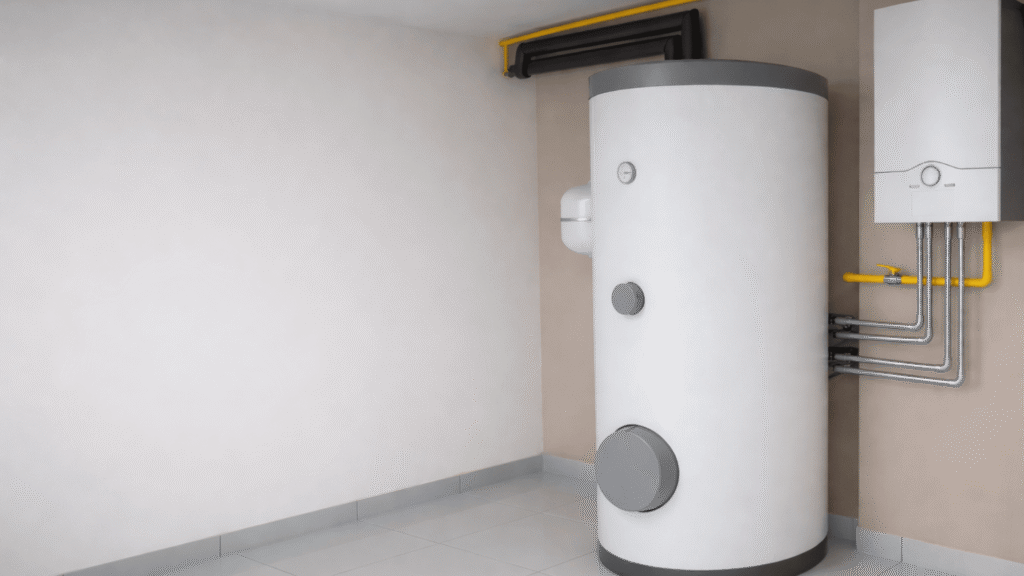
Trick #4 — Insulate the Tank and the Pipes
Your water heater works to heat the water. Then, while that hot water just sits in the tank awaiting use, it very gradually loses heat to the surrounding air. This is known as standby heat loss.
Insulating the tank decreases standby heat loss, allowing water to stay hot longer without wasting energy.
For more in-depth tips on keeping your unit in top shape, visit Water Heater Care — a dedicated resource for homeowners who want to get the most out of their water heating systems.
What to Use
- Insulating blanket (also known as a water heater jacket) — wraps around the exterior of the tank. Cost: $20–$40
- Foam pipe insulation — slips over the hot and cold water pipes next to the heater. Cost: about $1–$2 per foot
What to Watch Out For
- Do not cover the thermostat, pressure relief valve, or burner (on gas heaters)
- Always consult your heater’s manual first — some newer models already have good internal insulation and don’t require additional wrapping
Just insulating the first 6 feet of hot water pipes can make a significant difference in efficiency — especially in cold climates or unheated basements.
Trick #5 — Test the Pressure Relief Valve
The Temperature and Pressure Relief (TPR) valve is a safety device. It opens automatically when the tank gets too hot or the pressure inside rises too high.
When it fails, the consequence can be dangerous — even explosive.
Most homeowners never test this valve. That’s a mistake.
How to Test It
- Place a bucket underneath the discharge pipe attached to the valve
- Lift the lever on the valve slightly and then release it
- You should hear a slight rush of water or steam, then it stops when you release
- If nothing comes out, or if it keeps leaking after you release it, replace the valve
Test it once a year. A replacement valve costs around $15–$30 and takes minutes to install.
This is one of those maintenance steps that most people skip — but it’s too important to overlook.
Trick #6 — Fix Leaks and Drips Early
Even a small drip from a water heater fitting or valve can waste thousands of gallons annually. More critically, leaks are typically early signs of a bigger problem.
Common Spots Where Leaks Happen
- Pressure relief valve (dripping = possible overpressure issue)
- Drain valve (often leaks after flushing if not tightened properly)
- Inlet/outlet connections at the top of the tank
- Base of the tank (serious — could indicate internal corrosion)
If you notice water pooling around the base of the tank, pay close attention. That is often a sign of corrosion inside the tank itself — and it may need full replacement.
For fitting and valve leaks, tighten the connections or replace the component. Most repairs cost less than $20 and take under an hour.
Trick #7 — Keep the Area Around Your Heater Clean and Clear
This one may sound too simple — but it makes a real difference, particularly for gas heaters.
Gas water heaters require combustion air in order to operate correctly. When boxes, laundry, or clutter surround the unit, airflow is restricted. That makes the burner work less efficiently and raises carbon monoxide risks.
Basic Rules for the Space Around Your Heater
- Leave a minimum of 2 feet of clearance on all sides
- Do not store flammable materials (paint, gasoline, cleaning products) nearby
- Dust and vacuum the area regularly
- For gas heaters, ensure the air intake vents are clean and unobstructed
This is also a good time to visually inspect the heater for rust, corrosion, or moisture. Catching these early saves you a lot of money later.
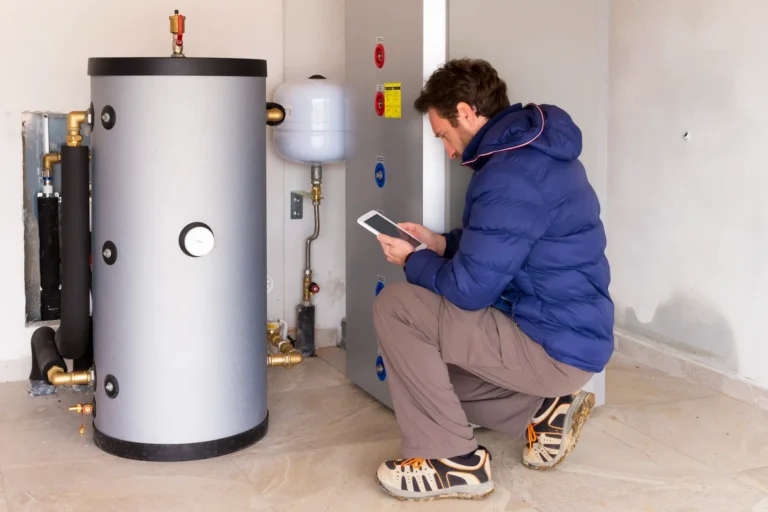
Trick #8 — Book a Professional Inspection Every 2–3 Years
DIY maintenance covers a lot. But certain things require a licensed plumber or HVAC technician.
A professional can:
- Inspect the flue and venting system (gas units)
- Check gas connections for leaks
- Test electrical components (electric units)
- Identify early-stage internal corrosion
- Flush and service the unit more thoroughly
A professional inspection costs between $80 and $150. Compare that to the cost of an emergency water heater replacement ($800 to $2,000+), and it’s obviously worth it.
According to the U.S. Department of Energy, regular professional servicing is one of the most effective ways to maintain water heater efficiency and extend equipment life.
If your heater is older than 8 years, consider annual professional checkups.
Trick #9 — Use a Timer or Smart Controller
This trick is about when your water heater runs — not just how well it runs.
Most households use hot water at predictable times: mornings and evenings. But a conventional water heater keeps water hot 24/7, even in the middle of the night when no one needs it.
A water heater timer or smart controller lets you program the heater to run only during peak usage hours. This can reduce energy use by 5–12% without compromising comfort.
Options to Consider
| Device | Cost | Energy Savings |
|---|---|---|
| Basic Plug-In Timer | $25–$50 | 5–8% |
| Smart Water Heater Controller | $100–$200 | 8–12% |
| Smart Tankless Upgrade | $150–$300 | Up to 15% |
A number of utility companies also offer rebates for smart water heater devices. Visit your provider’s website — you may be able to get the device free or at a discount.
How These 9 Tricks Work Together
There is no single magic trick that solves everything. But when you put all nine together, the results are impressive.
Here’s a quick summary of what each trick saves or protects:
| Trick | Main Benefit |
|---|---|
| Flush the tank | Removes sediment, improves efficiency |
| Replace anode rod | Prevents internal corrosion, extends lifespan |
| Lower thermostat to 120°F | Saves energy, reduces mineral buildup |
| Insulate tank and pipes | Reduces standby heat loss |
| Test TPR valve | Ensures safety, prevents failure |
| Fix leaks early | Saves water, prevents damage |
| Keep area clean and clear | Improves airflow, reduces safety risks |
| Professional inspection | Catches hidden problems early |
| Timer/smart controller | Cuts energy use during off-peak hours |
By following this water heater maintenance and care guide, you can extend your heater’s life by 3–7 years and reduce your water heating costs by 15–25% per year.
Signs Your Water Heater Needs Immediate Attention
Sometimes maintenance isn’t enough. Here are red flags that your unit might be failing:
- Rusty or cloudy water — sign of internal corrosion
- Loud banging or popping sounds — severe sediment buildup
- Running out of hot water quickly — reduced efficiency or a failing heating element
- Water pooling around the base of the tank — possible internal leak
- Unit is over 12 years old — well past its normal lifespan
If you notice any of these, call a plumber immediately. Waiting too long usually turns a repair into a full replacement.
FAQs About Water Heater Maintenance
Q: How often should I flush my water heater? The general recommendation is once a year. For those with hard water and high mineral content, flush every 6 months for the best results.
Q: Can I do water heater maintenance myself, or should a professional handle it? Most tasks — flushing the tank, checking the anode rod, testing the TPR valve, adjusting the thermostat — are DIY-friendly. Gas line checks and venting inspections should always be performed by a licensed professional.
Q: What happens if I never flush my water heater? Sediment accumulates and reduces efficiency, causing the unit to work harder. Eventually, it can lead to overheating, noise, lack of hot water, and premature tank failure.
Q: Is 120°F hot enough for a water heater? Yes. The CDC and most plumbing experts agree that 120°F is the sweet spot — hot enough to kill most bacteria but not so hot that it wastes energy or causes scalding.
Q: How do I know if my anode rod needs replacing? Pull it out and inspect it. If more than 6 inches of the core steel wire is exposed, or if the rod appears heavily corroded, it’s time to replace it.
Q: Does water heater insulation actually work? Yes. The Department of Energy estimates that insulating an older tank (especially pre-2004 models) can cut standby heat loss by 25–45%.
Q: How long do water heaters last with proper maintenance? A well-maintained tank-style heater can last 12–15 years, compared to 8–10 years for a neglected unit. Tankless models can last 20-plus years with proper care.
Q: What is the best water heater temperature to save energy? The generally accepted optimum setting is 120°F. It strikes the perfect balance of energy efficiency, safety, and comfort.
Wrapping It All Up
Your water heater performs a tough job every single day — and it usually does so without any recognition until something breaks.
But now you know better.
This water heater maintenance and care guide gives you 9 real, practical tricks to keep your unit going strong. Flush the tank. Replace the anode rod. Lower the temperature. Insulate the pipes. Test the safety valve. Fix leaks fast. Keep the area clear. Get a professional inspection every few years. And use a timer to conserve energy whenever you aren’t using hot water.
None of these tasks are complicated. Most cost less than $50 and take under an hour. But together, they can save you hundreds of dollars a year — and thousands over the life of your heater.
Start with one trick this week. Build the habit. Your future self — and your bank account — will be grateful.