7 Smart Water Heater Maintenance and Care Guide Safety Tricks That Prevent Leaks
Meta Description: Water heater maintenance and care guide safety tricks help prevent costly leaks, extend your unit’s lifespan, and keep your home safe year-round with simple DIY steps.
Safety Tricks That Prevent Leaks: 7 Smart Water Heater Maintenance and Care Guide
Simple and Effective Water Heater Care & Maintenance Tricks to Protect You Against Costly Leaks, Extend Your Unit’s Years of Life Cycle, Smart Safety Tips for Homeowners Year-Round.
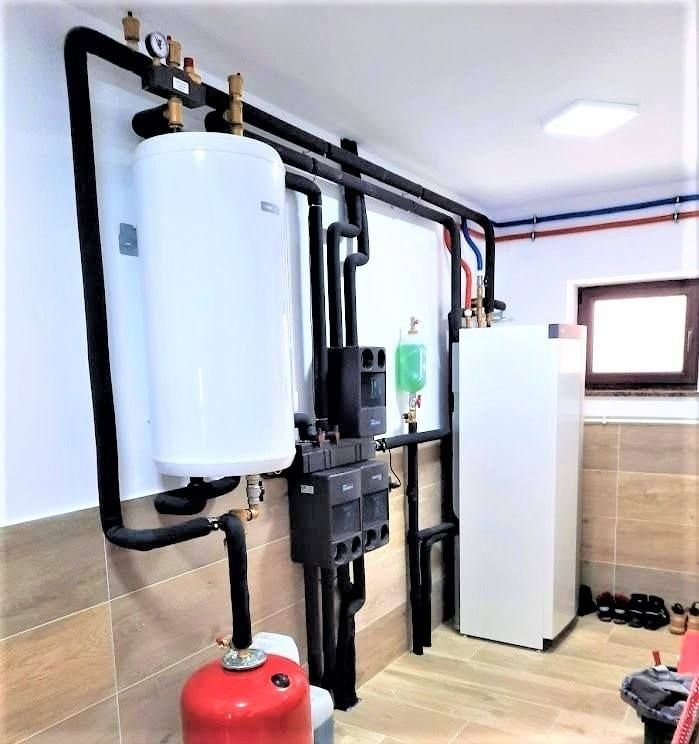
Your water heater runs quietly day after day. It warms your shower water, washes your dishes and helps keep your home in motion. But most homeowners ignore it — until something goes wrong.
A leaky water tank can do serious damage. We’re talking flooded basements, mold growth and repair bills that reach into the thousands. The good news? Most leaks are 100% preventable.
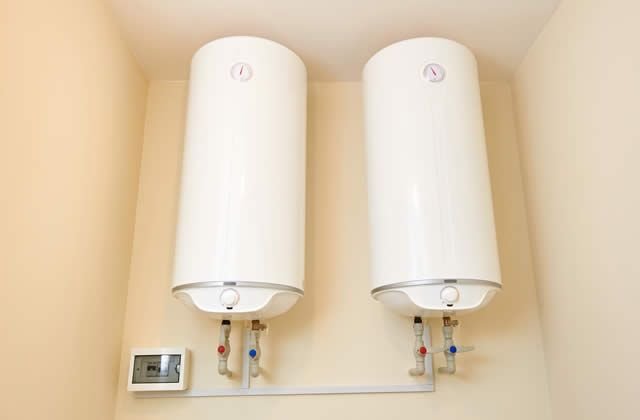
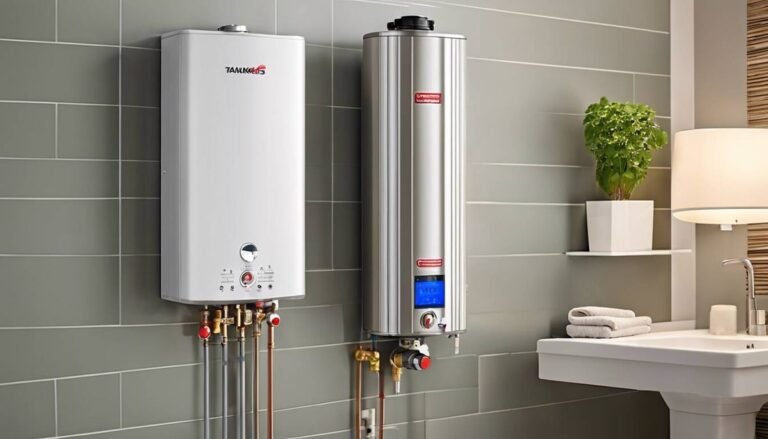
This water heater maintenance and care guide walks you through seven different ways to protect your unit, find a problem early, and keep all systems operating safely. Whether you own a traditional tank heater or a more recent tankless model, these suggestions are useful for everyone.
Let’s get into it.
Why Water Heater Maintenance Gets Neglected (And Why It’s a Huge Mistake)
The average person doesn’t think about their water heater until they’re hit with cold water in the shower. Out of sight, out of mind — right?
Wrong.
The average life expectancy of a water heater is 8 to 12 years. Without regular maintenance, they can go bad far sooner. Sediment builds up. Valves corrode. Pressure rises to dangerous levels. A drip becomes a flood, and before you know it, you have a serious problem.
Here’s the scary part: Average water damage claims in the U.S. exceed $11,000. And a significant portion of those claims come from water heater failures.
It doesn’t cost much and doesn’t take long to fix. A few simple habits can extend your unit’s lifespan and keep your home dry and safe.
Tip #1 — Flush the Tank Every 6 to 12 Months
Sediment is the water heater’s silent killer.
As time goes by, minerals — mainly calcium and magnesium — settle at the bottom of your tank. This layer serves as insulation — but the bad kind. It makes your heater work harder to heat the water above it. That wastes energy and stresses the tank.
Worse, sediment traps heat. That can cause the bottom of the tank to overheat and ultimately develop cracks or corrosion.
How to Flush Your Water Heater:
- Switch the power off (electric heater) or set the gas valve to “pilot” (gas heater)
- Attach a garden hose to the drain valve at the bottom of the tank
- Run the hose to an outside area or a floor drain
- Shut off the cold water supply
- Open a hot water faucet in your home to prevent a vacuum
- Fully open the drain valve and let it run
- When the tank is empty, turn the cold water on again briefly to flush out remaining sediment
- Close the drain valve, fill the tank back up and switch on power
At a minimum, do this once per year — or every 6 months if you’re in a hard water area.
Pro tip: If you close the drain valve and it leaks, replace it. They are cheap and easily interchangeable.
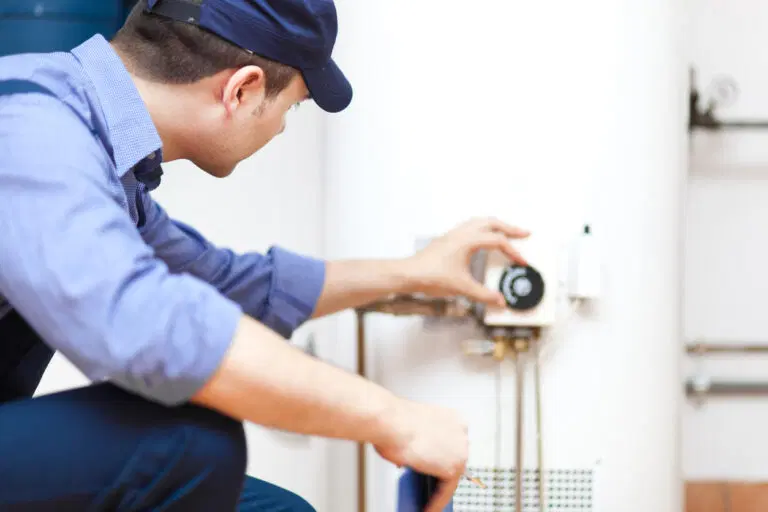
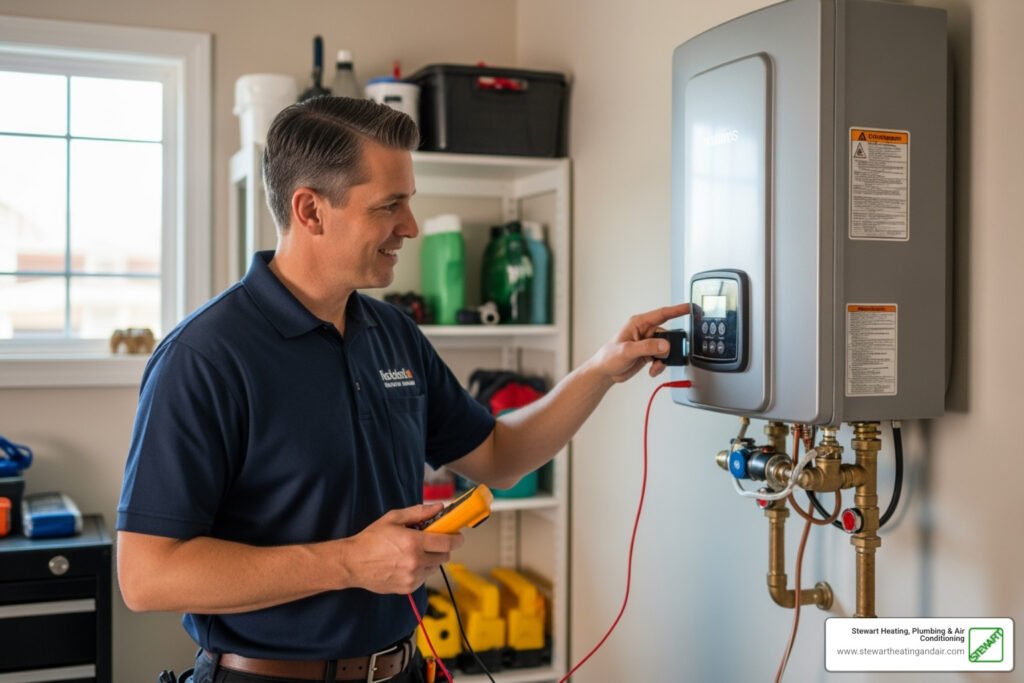
Tip #2 — Inspect the Pressure Relief Valve Annually
This one is non-negotiable for safety.
The temperature and pressure relief valve — commonly known as the T&P valve — is your water heater’s safety release. If pressure or temperature reaches an excessive level inside the tank, this valve opens to vent it.
If the T&P valve fails and pressure builds up without an outlet, the tank can rupture. In the most extreme scenarios, water heaters have been known to become rockets. That’s not an exaggeration.
How to test it:
- Place a bucket under the discharge pipe running from the T&P valve
- Slowly lift the lever on the valve — hot water or steam should emerge
- Put the lever back — it should snap back and stop the flow
If nothing comes out, the valve is stuck. If water continues to drip after you’ve released it, the valve is worn and should be replaced.
T&P valves cost between $15 and $30. A plumber can install one in less than an hour. Don’t skip this test.
| T&P Valve Condition | What It Means | Action Needed |
|---|---|---|
| Water flows, valve stops | Working properly | None |
| Nothing comes out | Valve is stuck or corroded | Replace immediately |
| Keeps dripping after test | Valve is worn out | Replace immediately |
| Valve releases on its own | Pressure too high | Call a plumber |
Tip #3 — Inspect the Anode Rod Every 2 to 3 Years
The anode rod is likely the most underrated part of your water heater.
It’s a long metal rod — typically magnesium or aluminum — that hangs inside your tank. It works by attracting corrosive minerals so they attack the rod instead of the steel tank walls. It essentially sacrifices itself to absorb damage on behalf of your tank.
That’s why it’s sometimes referred to as a sacrificial anode rod.
When the rod is entirely corroded, there’s nothing left to protect your tank. Rust begins to form on the tank walls. Leaks follow soon after.
Signs your anode rod may need to be replaced:
- Your hot water has a rotten egg smell
- Water has a rusty or metallic taste
- The rod is no thicker than half an inch, or covered in white calcium deposits
- The last check was more than 3 years ago
How to check it:
- Shut down the power and water supply to the heater
- Find the anode rod — it’s generally bolted into the top of the tank, or underneath a plastic cover
- Unscrew it with a 1-1/16 inch socket wrench
- Pull it out and inspect it
If it’s corroded or has become too thin, replace it. A replacement anode rod runs from $20 to $50 and can extend the life of your tank by years.
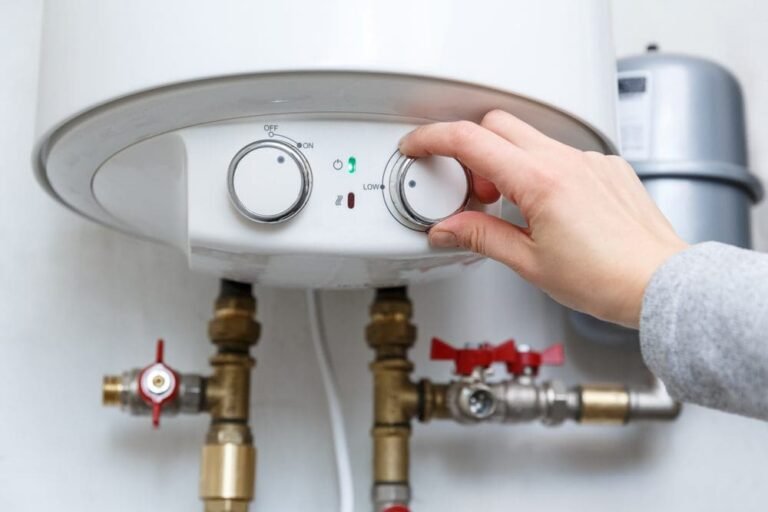
Tip #4 — Get the Temperature Right (Not Too High, Not Too Low)
Most people don’t understand how much temperature settings matter.
The U.S. Department of Energy suggests setting your water heater at 120°F (49°C). This is the golden zone for safety and efficiency.
Here’s why extremes of temperature are dangerous:
Too high (above 140°F):
- Scalding potential — burns from water at 140°F in as little as 5 seconds
- Higher energy bills
- Increased wear on the tank and valves
- Increases mineral buildup
Too low (below 120°F):
- Legionella bacteria can thrive in lukewarm water
- Risk of Legionnaire’s disease — a severe lung infection
- Insufficient water heat for dishwashers and washing machines
How to adjust the temperature:
For gas heaters, look for a dial near the burner at the bottom. For electric heaters, you will need to remove the access panel and adjust the thermostat behind the insulation.
Check with a cooking thermometer by running hot water from a tap for a minute and measuring the output.
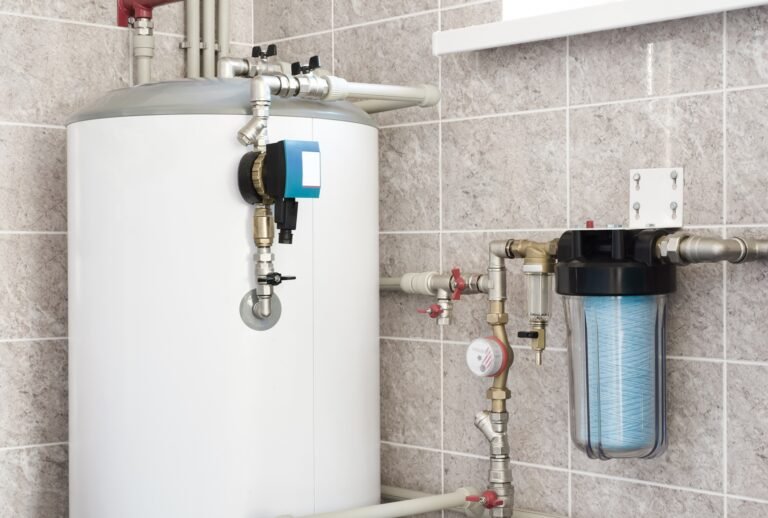
Tip #5 — Check All Pipes and Their Connections for Signs of Trouble
Leaks seldom materialize out of thin air. They typically start with warnings.
One of the simplest things you can do is perform visual inspections regularly. You don’t need any tools. All you need is your eyes and a few minutes each month.
What to look for:
- Rust or corroded areas around fittings, the top of the tank, or its base
- Moisture or small pools near the drain valve or at the base of the tank
- White mineral buildup around pipe fittings
- Staining on the tank body or adjacent walls
- Drips or slow seeps from the T&P valve discharge pipe
If you see any of these things, don’t hesitate. Small leaks get worse fast.
Areas to check during your inspection:
| Inspection Area | What to Look For | How Often |
|---|---|---|
| Base of tank | Puddles, rust, discoloration | Monthly |
| Cold/hot water pipes | Corrosion, drips, mineral buildup | Monthly |
| T&P valve discharge pipe | Dripping, corrosion | Monthly |
| Drain valve | Slow seeping, rust | Every 3 months |
| Pressure gauge (if installed) | Readings above 80 PSI | Monthly |
One more thing: Look at the surrounding floor and walls. Moisture migrates. A leak near the top of the tank could drip down and pool elsewhere, leading you to believe the source is somewhere else.
Tip #6 — Install an Expansion Tank if You Have a Closed Plumbing System
This is a trick that most homeowners have never heard of — but it’s critically important in many modern homes.
In older homes, excess water pressure could push back into the main water supply. But newer homes — and homes with backflow prevention devices — have closed systems. Pressure has nowhere to go.
Water expands as it warms up. And in a closed system, that expanding water increases pressure inside the tank. This causes wear on the tank, valves, and connections over time. It’s a top cause of mystery water heater leaks.
The answer is a thermal expansion tank — a small, secondary tank that’s connected to the cold water line. It serves as a pressure buffer, absorbing excess volume when water expands.
Do you need one?
- Consult your local plumbing code (most places now require them)
- Check with a plumber if your home has a closed system
- If your water pressure routinely runs above 80 PSI, you probably need one
Expansion tanks cost $40 to $100. Installation by a plumber generally costs $100 to $200. It’s a bargain compared to replacing a burst water heater.
Tip #7 — Install a Water Leak Detector Near the Base of the Tank
Even with excellent maintenance, surprises happen. A water leak detector is your final line of defense.
These small devices sit on the floor near your water heater. As soon as they sense moisture, they trigger an alarm — giving you time to shut off the water before extensive damage occurs.
Some advanced models go further. They can:
- Send alerts to your smartphone
- Shut off the water supply automatically when a leak is detected
- Track water usage and flag unusual patterns
Types of leak detectors:
| Type | Features | Price Range |
|---|---|---|
| Basic alarm | Beeps when wet | $10 – $25 |
| Wi-Fi connected | App alerts, history log | $30 – $80 |
| Auto shut-off | Detects and stops leak automatically | $100 – $300 |
| Whole-home monitor | Tracks all water usage | $200 – $500 |
Even the basic $15 alarm can save you thousands. Place one right at the base of your water heater and another near the drain valve.
How Frequently Should You Perform Each Maintenance Task?
The real secret is consistency. Here’s a general timeline to help you stay on track:
| Maintenance Task | Recommended Frequency |
|---|---|
| Flush the tank | Every 6–12 months |
| Check the T&P valve | Once a year |
| Check the anode rod | Every 2–3 years |
| Check temperature setting | Once a year |
| Visual inspection of pipes/connections | Monthly |
| Expansion tank pressure check | Once a year |
| Leak detector test (battery replacement) | Every 6 months |
Cut this out and stick it on your water heater. That simple reminder can save you thousands of dollars.
Gas vs. Electric Water Heaters — Does Maintenance Change?
Most of the tricks mentioned above apply to both types. But there are some differences worth knowing.
Gas water heaters:
- Annual inspection of pilot light and burner flame (should be blue, not yellow or orange)
- Check the flue pipe for rust, gaps, or blockages
- Ensure the space surrounding the heater is free from flammable materials
- Have a professional check the gas valve every couple of years
Electric water heaters:
- Inspect the heating elements every 3 to 5 years (they can corrode or burn out)
- Check thermostat settings on both upper and lower elements
- Look for scorching or burnt smell near the access panels
Tankless water heaters:
- Flush with a descaling solution every year to eliminate mineral deposits
- Clean the inlet filter screen every 6 months
- Inspect the venting system for blockages or corrosion
Whether you have a gas, electric, or tankless model, routine maintenance helps keep your unit operating safely and efficiently. According to the U.S. Department of Energy, proper water heater maintenance can also reduce your energy costs significantly over time.
Signs That Your Water Heater May Be on Its Last Legs
Don’t wait for a flood. Here are the red flags to keep an eye out for:
- Rumbling or popping noises — often due to sediment accumulating on the heating element
- Brownish or discolored water — indication of internal corrosion
- Water that heats slowly — may indicate a failing element or declining efficiency
- Visible rust on the outside of the tank
- Water surrounding the base of the unit — could indicate a hairline crack
- Age of over 10 years — time to begin budgeting for a replacement
If you experience two or more of these indicators simultaneously, contact a plumber right away. Trying to squeeze a few more months out of a failing unit usually leads to more damage and higher repair bills.
FAQs
Q: How can I tell if my water heater is leaking slowly? Look for damp spots, rust stains, or white mineral deposits around the base as well as around valves and pipe connections. Run your hand along the fittings and check for any moisture. You can also surround the base with dry paper towels overnight and see what you find in the morning.
Q: Can I do water heater maintenance myself, or do I need a plumber? The majority of the work in this guide — tank flushing, T&P valve testing, anode rod checking, and visual inspections — can all be done as a DIY project safely. More involved jobs such as T&P valve replacement, expansion tank installation, or gas connections should be performed by a licensed plumber.
Q: What is the typical lifespan of a water heater? Standard tank water heaters can last 8 to 12 years. Tankless models can last 15 to 20 years or more with appropriate maintenance. Proper maintenance — especially annual flushing and anode rod replacement — can push your unit toward the longer side of its expected lifespan.
Q: What would happen if I never flushed my water heater? Sediment settles at the bottom of the tank. This makes the heater less efficient, raises your energy bills, and causes the bottom of the tank to overheat. Eventually it can crack or corrode — resulting in a serious leak or total failure.
Q: Is it safe to increase my water heater temperature above 120°F? Some families choose 140°F in an effort to reduce Legionella bacteria risk, but this also means anti-scald mixing valves are required at faucets to prevent burns. For most homes without vulnerable residents, 120°F is the safest and most efficient setting.
Q: What are the best long-term tips to prevent water heater leaks? Employ all seven tricks from this guide: flush your unit regularly, test your T&P valve, replace your anode rod when necessary, keep the temperature at 120°F, do monthly visual checks, add an expansion tank if needed, and install a leak detector at the base. Combined, these measures dramatically reduce the risk of leaks.
Q: What is the cost of professional water heater maintenance? A professional tune-up usually runs $100 to $200 and covers flushing and inspection of key components. Some plumbers provide annual maintenance contracts. It’s a great investment compared to a $5,000+ water damage claim.
Wrapping It All Up
Your water heater doesn’t ask for a lot. It only takes a bit of attention each year to keep it running in safe and efficient condition.
These water heater maintenance and care guide safety tricks aren’t complicated. You don’t need fancy tools or specialist knowledge. But they do require consistency.
Flush the tank. Test the T&P valve. Check the anode rod. Keep the temperature right. Inspect the pipes. Consider an expansion tank. And install a leak detector.
These maintenance habits can help you avoid the stress, mess, and big bills of a water heater failure when done regularly. You’ll also save on energy bills and help your unit last years longer.
Pick one task to do this week. Build the habit. Your future self — and your dry basement — will thank you.