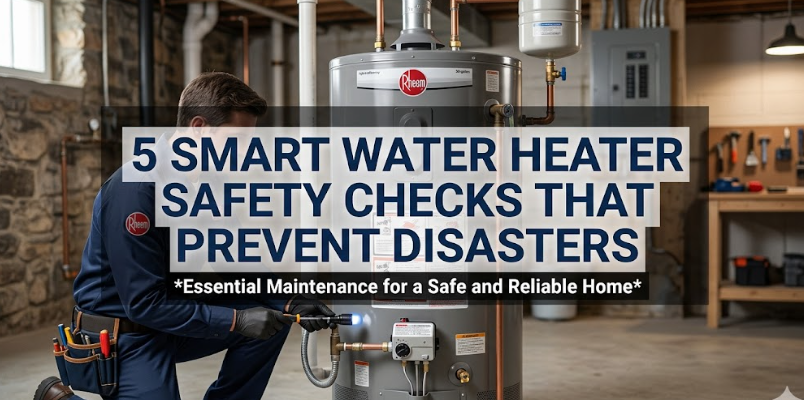
5 Smart Water Heater Safety Checks That Prevent Disasters
5 Smart Water Heater Safety Checks That Prevent Disasters
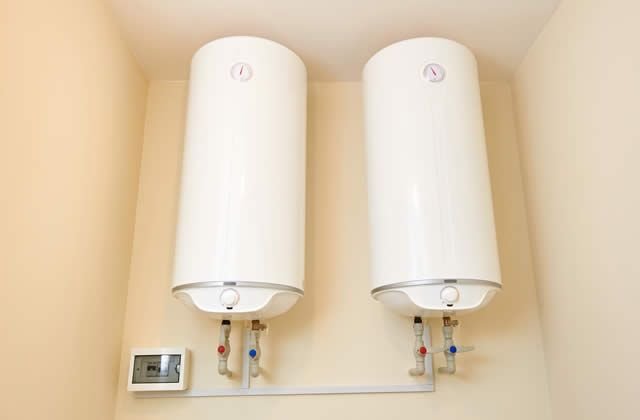
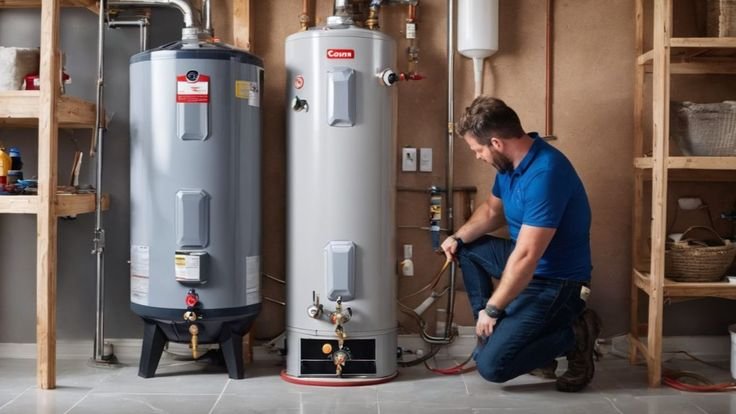
There’s something quietly comforting about hot water. You turn the tap, and within seconds, warmth flows out—steady, reliable, almost taken for granted. But behind that everyday convenience sits a machine that works under pressure, heat, and time. A water heater is not just another appliance; it’s a system that can become dangerous if ignored.
Most people don’t think about their water heater until something goes wrong. A strange noise. Rust-colored water. A leak that wasn’t there yesterday. By then, the issue is no longer a simple fix—it’s a warning sign that was missed.
This article isn’t just a checklist. It’s a closer look at five safety checks that, when done consistently, can prevent serious damage, costly repairs, and even dangerous situations. Along the way, you’ll find practical insights, small routines, and real-life perspectives that go beyond surface-level advice.
Let’s get into it.
checking the pressure relief valve before it checks you
If there’s one component in your water heater that acts like a silent guardian, it’s the pressure relief valve. This small valve plays a huge role. Its job is simple: release pressure if it gets too high inside the tank.
Now imagine what happens if that pressure has nowhere to go.
Water expands when heated. That expansion creates pressure. Under normal conditions, your system manages it. But if something fails—like a thermostat malfunction or sediment buildup—the pressure can rise beyond safe limits. That’s where the valve steps in.
Unless it’s stuck.
Many homeowners never test this valve. It sits there for years, untouched, collecting mineral deposits or rust that can prevent it from opening when needed. That’s the problem. It only matters when things go wrong—and if it doesn’t work at that moment, the consequences can be severe.
Here’s how to approach this check in a practical way.
Start by locating the valve. It’s usually positioned on the top or side of the tank, with a small lever attached. Place a bucket underneath the discharge pipe to catch any water. Then gently lift the lever.
You should hear a slight rush of water and possibly a hiss. That’s a good sign. It means the valve is doing its job. Once you release the lever, the water flow should stop.
If nothing happens, or if water continues to drip after releasing the lever, the valve might need replacement. Ignoring that sign is not worth the risk.
A small habit like testing the valve once every few months can make a significant difference. It takes less than a minute, yet it protects against one of the most dangerous scenarios a water heater can create.
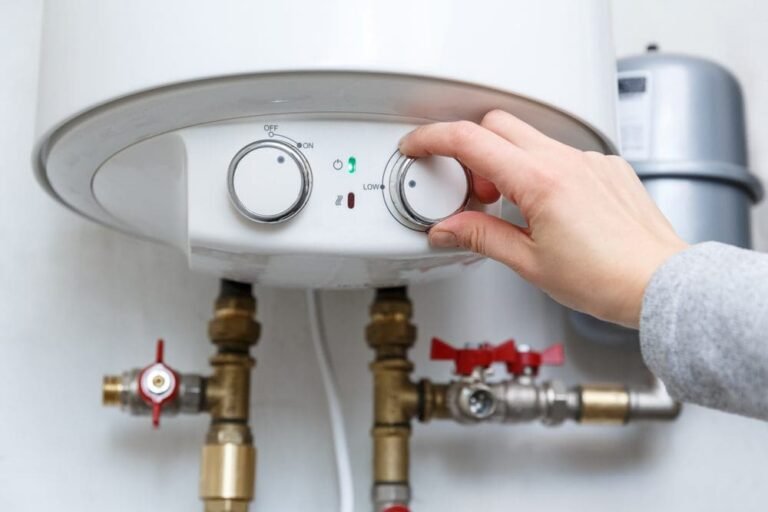
monitoring temperature settings to avoid silent hazards
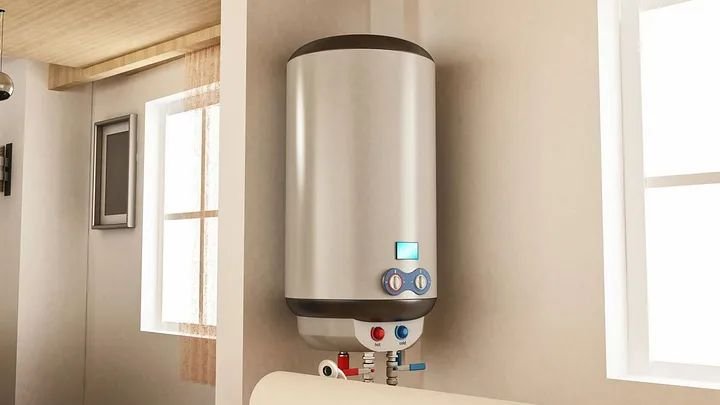
Hot water is meant to be comfortable—not dangerous. But the temperature setting on your heater can easily become a hidden risk if it’s set too high.
Most heaters come with a default setting that often goes unchecked for years. Some are set higher than necessary, either due to factory settings or previous adjustments. The result? Water that’s hotter than it needs to be.
At first glance, that may not seem like a big deal. After all, you can just mix in cold water. But there are two major concerns here.
The first is scalding. Water above a certain temperature can cause burns in seconds, especially for children or elderly individuals. The second is pressure buildup. Higher temperatures mean more expansion inside the tank, which increases internal stress.
A balanced approach is key.
Setting your water heater to around 49°C (120°F) is generally considered safe and efficient. It reduces the risk of burns while still providing enough heat for daily use. It also helps lower energy consumption, which is an added benefit.
Checking the temperature isn’t complicated. You can use a thermometer at the tap or adjust the thermostat on the heater itself. Some units have clear markings, while others may require a bit of guesswork and testing.
What matters most is consistency.
Make it a habit to revisit the setting every few months, especially after maintenance work or power interruptions. Sometimes, settings change without you realizing it.
This simple adjustment doesn’t just improve safety—it brings peace of mind every time you turn on the tap.
keeping an eye on leaks before they become floods
A water heater doesn’t usually fail all at once. It gives signs—subtle at first, then harder to ignore. One of the earliest indicators is a leak.
Leaks can come from different places: connections, valves, or the tank itself. Each has its own cause, but they all share one thing in common—they get worse over time.
A small drip might not seem urgent. You place a container under it, wipe the area, and move on. But that drip is telling you something. It’s a sign that pressure, corrosion, or wear is starting to affect the system.
The trick is to catch it early.
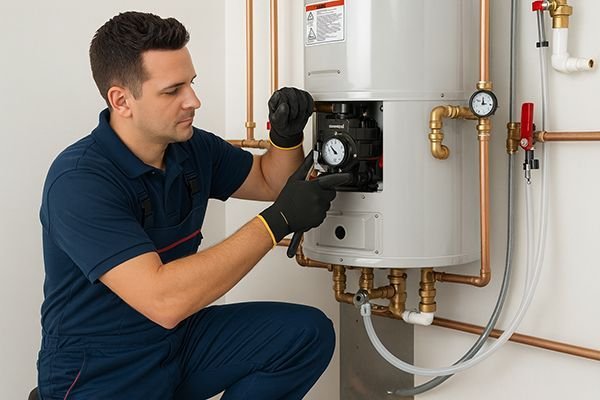
Make a quick visual inspection part of your routine. Look around the base of the heater. Check the pipes and fittings. Feel for moisture. Even a slight dampness can indicate the beginning of a problem.
Pay attention to unusual patterns. For example, if you notice water pooling after the heater has been running, that could point to pressure-related leaks. If it’s constant, it might be a loose connection or worn-out seal.
Another overlooked area is the drain valve. Over time, it can loosen or accumulate debris that prevents it from sealing properly.
Fixing a minor leak is usually straightforward—tightening a connection, replacing a valve, or sealing a joint. But if the tank itself is leaking, that’s a different situation. It often means internal corrosion has reached a critical point.
At that stage, replacement becomes the safest option.
Ignoring leaks doesn’t just risk water damage. It can weaken the structure of the heater and increase the chances of sudden failure. A few minutes of observation every now and then can save you from a major headache later.
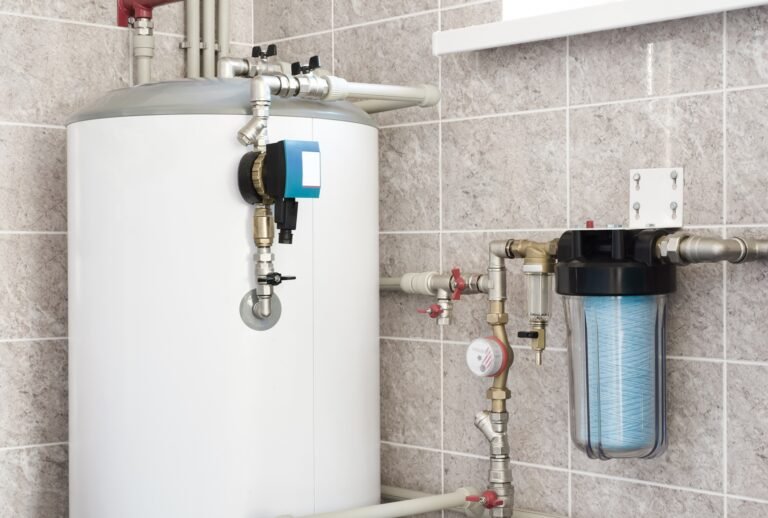
flushing out sediment before it hardens into trouble
Inside your water heater, something is slowly building up.
Every time water enters the tank, it carries minerals—especially if you live in an area with hard water. Over time, these minerals settle at the bottom of the tank, forming a layer of sediment.
At first, it’s harmless. But as the layer thickens, it starts to interfere with the heating process.
The burner or heating element has to work harder to heat the water. That means more energy consumption and uneven heating. You might hear popping or rumbling noises coming from the tank. That’s the sound of water trapped under the sediment layer, boiling and escaping.
But the bigger issue is what this buildup does to the tank itself.
Sediment acts like an insulating barrier. It traps heat at the bottom, which can cause overheating in certain areas. Over time, this stress can weaken the tank material, increasing the risk of cracks or failure.
Flushing the tank removes this buildup.
The process involves draining some or all of the water from the tank through the drain valve, allowing the sediment to flow out. It’s a task that can be done once or twice a year, depending on your water quality.
Before starting, turn off the power or gas supply and allow the water to cool. Attach a hose to the drain valve and direct it to a safe drainage area. Open the valve and let the water flow until it runs clear.
It’s not the most glamorous task, but it’s one of the most effective ways to extend the life of your heater and maintain its efficiency.
Think of it as clearing out the system’s hidden burden. What you remove today prevents damage tomorrow.
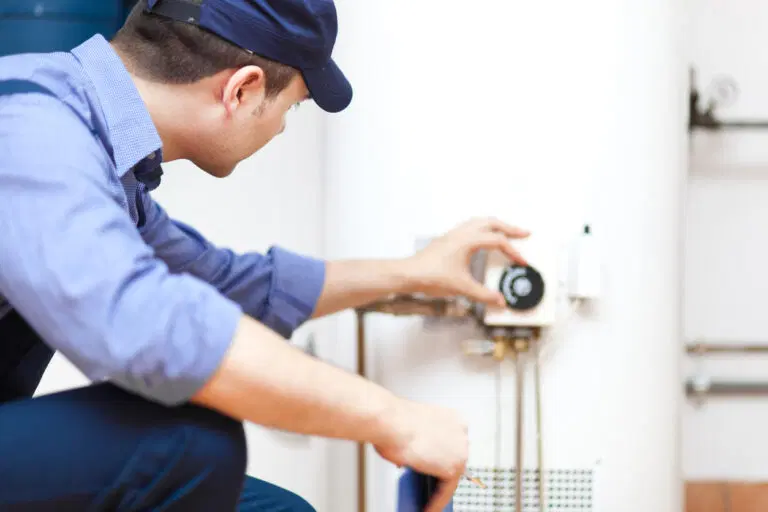
inspecting the anode rod before corrosion takes over
There’s a component inside your water heater that most people never see, yet it plays a crucial role in preventing rust. It’s called the anode rod.
This rod is designed to attract corrosive elements in the water. Instead of attacking the tank walls, these elements react with the rod, slowly wearing it down over time. It’s a sacrificial part—meant to be consumed so the tank stays intact.
But once the rod is depleted, the tank becomes the next target.
That’s why inspecting the anode rod is such an important safety check.
Depending on usage and water conditions, the rod can last anywhere from a couple of years to several. When it’s significantly corroded or reduced in size, it needs to be replaced.
Checking it involves unscrewing the rod from the top of the tank. It might require some effort, especially if it hasn’t been removed before. Once out, you can assess its condition.
If it’s heavily corroded, coated with calcium, or reduced to a thin wire, it’s time for a new one.
Replacing the rod is relatively inexpensive compared to replacing the entire heater. Yet many people skip this step simply because they’re unaware of it.
This small piece of metal quietly protects your investment every day. Giving it attention once in a while ensures that protection continues.
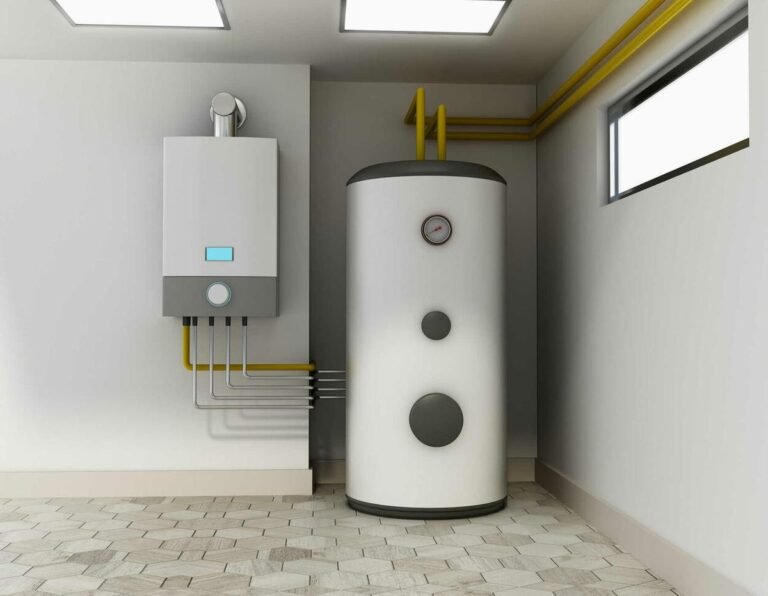
bringing it all together: a routine that actually works
Individually, each of these checks is simple. Together, they form a routine that keeps your water heater running safely and efficiently.
You don’t need to do everything at once. Spread the tasks throughout the year. Test the pressure valve every few months. Check the temperature seasonally. Inspect for leaks during routine cleaning. Flush the tank annually. Examine the anode rod every couple of years.
The goal isn’t perfection—it’s awareness.
When you understand how your water heater works and what signs to look for, you shift from reacting to problems to preventing them. That’s where real safety lies.
And the best part? These habits don’t require advanced skills or expensive tools. Just a bit of attention and consistency.
frequently asked questions
- how often should I check my water heater for safety issues
A basic visual inspection can be done once a month. More detailed checks, like testing the pressure relief valve or flushing the tank, can be done every 6–12 months depending on usage. - what is the most common sign that something is wrong with a water heater
Unusual noises, leaks, and inconsistent water temperature are the most common early signs. Any sudden change in performance should be investigated. - can I perform these safety checks myself or should I hire a professional
Many checks, like inspecting for leaks or testing the valve, can be done yourself. However, if you’re unsure or dealing with complex issues, it’s safer to consult a professional. - why is my water heater making rumbling or popping sounds
This is usually caused by sediment buildup at the bottom of the tank. Flushing the tank can often resolve the issue. - how long does a typical water heater last
Most water heaters last between 8 to 12 years, depending on maintenance and water quality. Regular safety checks can help extend this lifespan. - is it dangerous to ignore a small leak
Yes. Even a small leak can grow into a larger problem, leading to water damage or system failure. It’s best to address leaks as soon as they’re noticed.
Taking a few minutes to care for your water heater today can prevent hours of stress tomorrow. Safety isn’t about doing something once—it’s about building habits that quietly protect your home every day.