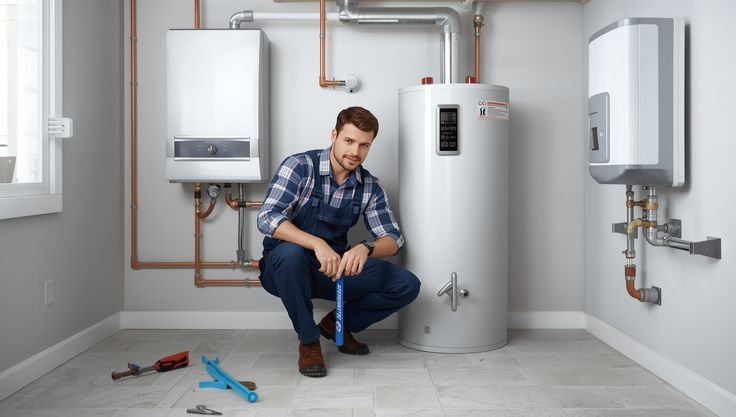
5 Secret Water Heater Maintenance and Care Guide Cleaning Methods Professionals Use
Meta Description: Water heater maintenance and care guide secrets from pros — learn 5 cleaning methods to prolong unit life and reduce energy bills.
5 Tricks That Only Professionals Use to Maintain & Clean a Water Heater
Most homeowners never give a thought to their water heater — until it breaks down.
That’s the problem.
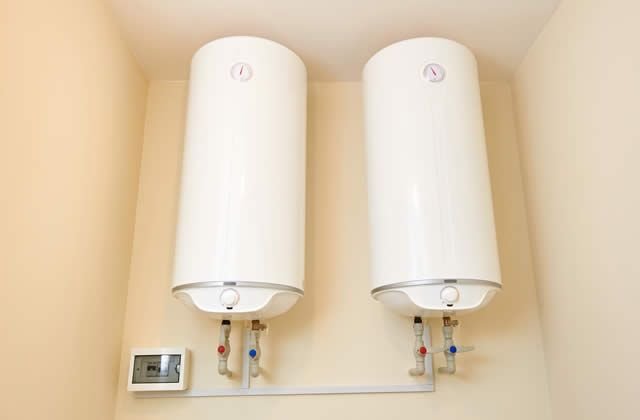
Your water heater has a busy life every single day. It heats water for your showers, dishes, laundry, and the like. But left unserviced, sediment, rust, and mineral deposits quietly build up — and that can kill its long life and send your energy bills climbing.
The good news? Pros have a few tried-and-true ways to clean water heaters so they can work like new for 15 to 20 years. Most homeowners never even hear about these techniques.
This water heater maintenance and care guide will take you through all 5 of those methods — step by step, in simple English.
Let’s get into it.
How to Maintain Your Water Heater Regularly
Believe it or not, most people don’t know this.
Each time water is flushed into your tank, it brings along minerals like calcium and magnesium. These minerals eventually settle at the bottom of the tank. This layer of accumulation is known as sediment.
Sediment causes serious problems:
- It requires your heater to work harder to heat water
- It insulates the burner from the water
- It causes weird popping or rumbling noises
- It can cause your tank to crack from the inside
- It causes a dramatic spike in your energy bill
According to the U.S. Department of Energy, a well-maintained water heater will use 25–40% less energy than one that hasn’t been cleaned.
That’s a big deal.
Regular maintenance saves energy — and adds savings up front by avoiding costly emergency replacements.
How Often Should You Service Your Water Heater?
Before we explore the methods, here’s a quick reference guide professionals use:
| Maintenance Task | Frequency |
|---|---|
| Flush the tank (drain sediment) | Once a year |
| Test the pressure relief valve | Every 6 months |
| Inspect the anode rod | Every 1–2 years |
| Check for leaks and corrosion | Every 3–6 months |
| Clean the burner (gas heaters) | Once a year |
| Insulate the tank and pipes | Every 3–5 years |
Sticking to this schedule is the most significant thing you can do to protect your water heater.
Getting Started: What You’ll Need
Many of these methods use simple tools you likely already own. Here’s a checklist:
- Garden hose
- Flathead and Phillips screwdrivers
- Channel-lock pliers or socket wrench
- Bucket
- White vinegar
- Replacement anode rod (optional)
- Pipe insulation foam (optional)
- Flashlight
- Safety gloves and goggles
Always shut off the power (or gas) before working on your water heater. Safety always comes first — every time.
Method 1: The Deep Tank Flush — Removing Years of Sediment
This is the key method in any water heater maintenance and care guide.
Flushing your tank clears out all the sediment that has settled at the bottom. Professionals do it once a year, and it makes an enormous difference in performance.
How-To: Flush Your Water Heater Tank Step-by-Step
Step 1: Turn off the power or gas. Flip the breaker for electric heaters. Gas heaters should be switched to the “Pilot” setting.
Step 2: Turn off the cold water supply. At the top of your heater is a valve. Turn it off completely.
Step 3: Allow the water to cool for a couple of hours. Burns from hot water can be severe. Don’t skip this step.
Step 4: Attach a garden hose to the drain valve. The drain valve is near the bottom of the tank. Attach the hose and run it into a floor drain, outside, or into a large bucket.
Step 5: Open a hot water faucet somewhere in your home. This relieves pressure and allows the tank to empty more quickly.
Step 6: Open the drain valve and let the tank drain. Keep an eye on the water that comes out. If it’s brown or cloudy, you have a serious buildup problem. Clear water means you’re in pretty good shape.
Step 7: Rinse with clean cold water. Temporarily turn the cold water supply back on to agitate any remaining sediment. Let it drain. Repeat 2–3 more times until water runs clear.
Step 8: Close the valve, refill the tank, and restore power. Only turn the power back on after the tank is completely full. Otherwise, you might burn out the heating element.
Pro Tip: The Vinegar Soak Method
For heaters with heavy buildup, professionals sometimes add 4–6 cups of white vinegar before the final flush. Let it sit for 6–8 hours. The acid naturally breaks down mineral deposits without damaging the tank.
This one trick alone can take a sluggish heater and return it to near-original performance.
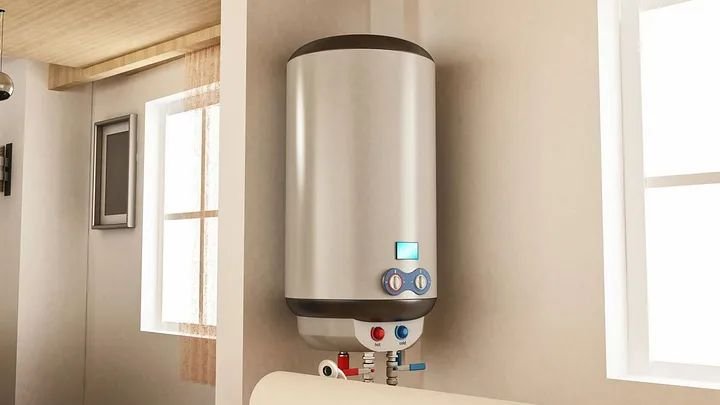
Method 2: Inspecting and Replacing the Anode Rod — The Hidden Protector
Many homeowners have never heard of an anode rod.
But to water heater professionals, it’s the most underrated element of any water heater.
What Is an Anode Rod?
An anode rod is a long metal rod — typically made of magnesium or aluminum — that screws into the top of your water heater tank.
Its function is simple but brilliant.
It sacrifices itself to keep the steel tank from rusting. Corrosion attacks the rod instead of your tank. This is known as cathodic protection, and it’s part of the reason tanks last as long as they do.
Once the rod is fully consumed, the tank is left exposed and vulnerable. Rust sets in fast.
How to Inspect and Replace the Anode Rod
Step 1: Locate the anode rod. It’s often on the top of the tank, sometimes under a plastic cap. If you can’t find it, check your owner’s manual.
Step 2: Unscrew it with a socket wrench (1 1/16 inch). This can be very tight. Apply penetrating oil if necessary and allow it to sit for 15 minutes.
Step 3: Pull out the rod and inspect it.
| Rod Condition | What It Means |
|---|---|
| Covered in white calcium deposits | Normal wear — rod is still functioning |
| Rod is thin, corroded, or crumbling | Replace immediately |
| Rod is mostly consumed (under 1/2 inch thick) | Replace immediately |
| Rod looks almost new | You’re in great shape |
Step 4: Wrap Teflon tape around the threads of the new rod and screw it into place. Don’t over-tighten — firm is sufficient.
How Often Should You Replace It?
Depending on your water type, most professionals recommend checking the rod every 1–2 years and replacing it every 3–5 years.
If you have a water softener, inspect it annually. Soft water is more corrosive and eats away at rods more quickly.
Replacing a $20–$40 anode rod can easily buy you 5–10 additional years of tank life.
Method 3: The Pressure Relief Valve Test — A Two-Minute Safety Inspection
This one isn’t just about performance.
It’s about safety.
What Does the Pressure Relief Valve Do?
The temperature and pressure relief (TPR) valve is a small mechanism on the side of your water heater tank. It is designed to automatically open if the internal temperature or pressure climbs to dangerous levels.
If it fails, pressure accumulates with no place to escape. In rare circumstances, this can lead to a tank rupture — a genuinely dangerous situation.
It takes less than two minutes to test.
How to Test the Pressure Relief Valve
Step 1: Place a bucket underneath the discharge pipe attached to the valve.
Step 2: Lift the small lever on the valve. You should hear a rush of hot water or steam. Water should pour out of the discharge pipe.
Step 3: Release the lever. The flow should stop completely.
If water continues to drip after you release the lever, the valve has gone bad and must be replaced.
If nothing came out when you lifted the lever, the valve may be stuck — also a sign it needs replacing.
Replacement cost: $15–$35 for the part, or about $100–$200 with a plumber. A small price to pay for real peace of mind.
When to Replace the Valve
| Sign | Action Needed |
|---|---|
| Water drips after test | Replace valve |
| No water released during test | Replace valve |
| Valve is older than 3 years | Consider replacement |
| Visible rust or corrosion on valve | Replace immediately |
Professionals test this valve twice a year. It’s the easiest thing you can do to make your home safer.
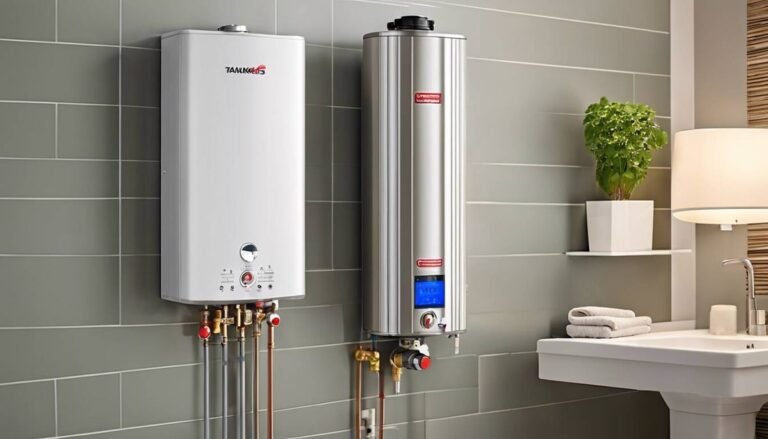
Method 4: Cleaning the Burner and Combustion Chamber (Gas Heaters Only)
If you have a gas water heater, this method is a lifesaver.
The burner and combustion chamber are where gas ignites to heat your water. Over time, dust, rust flakes, spider webs, and debris accumulate in this area. When they do, your heater becomes less efficient and can even produce dangerous carbon monoxide.
Signs Your Burner Needs Cleaning
- A yellow or orange flame instead of a blue flame
- Waiting a long time for the heater to heat water
- An odd smell when the heater runs
- Higher gas bills without explanation
Step-by-Step Burner Cleaning
Step 1: Turn the gas valve to “Pilot” and wait 10 minutes. This allows leftover gas to purge from the chamber.
Step 2: Remove the burner access panel. This is typically secured with two screws at the bottom of the heater.
Step 3: Use a vacuum with a narrow attachment to remove dust and debris. Work carefully around the thermocouple and igniter — they are fragile.
Step 4: Wipe the burner ports with a dry cloth or soft brush. These are small holes in the burner ring where gas flows out. If they’re blocked, your flame won’t be even.
Step 5: Check the pilot tube. Look for any blockages. Use a thin wire or compressed air to gently clear it if necessary.
Step 6: Inspect the thermocouple. This small rod sits in the pilot flame. If there’s buildup on it, clean it gently with fine steel wool.
Step 7: Reassemble and relight the pilot. Follow the instructions on the label of your heater.
The Flame Color Test
| Flame Color | What It Means |
|---|---|
| Blue with small yellow tips | Healthy and normal |
| Mostly yellow or orange | Poor combustion — needs cleaning |
| Green or purple | Possible contamination — call a pro |
A blue flame indicates complete combustion. A yellow flame wastes gas and can produce carbon monoxide. Never ignore it.
Method 5: External Cleaning and Pipe Insulation — The Overlooked Finishing Touch
Most guides finish after the internal methods.
But professionals always finish with the outside.
External care may not be as glamorous as a full tank flush — but it protects your investment just the same.
Cleaning the Exterior of the Tank
The tank’s exterior gradually becomes covered with dust, moisture, and grime. Although this has no direct impact on heating performance, it can:
- Cover up minor leaks or rust spots
- Contribute to corrosion in humid environments
- Limit your ability to spot early warning signs
How to do it:
- Use a damp cloth to wipe down the exterior
- Inspect all connections and joints for moisture or rust
- Check for any white, crusty buildup around fittings — that’s a sign of a slow leak
- Dry everything thoroughly
Do this every 3–6 months. It takes around 10 minutes and gives you a clear snapshot of your heater’s overall health.
Insulating Your Water Heater Tank
Here’s a trick that most homeowners skip entirely.
The U.S. Department of Energy states that wrapping your water heater in an insulation blanket can cut standby heat loss by 25–45%. Standby heat loss is energy wasted while your tank simply sits there keeping water hot.
For older heaters, this is a big deal.
How to insulate:
- Purchase a water heater insulation blanket ($20–$40 at hardware stores)
- Wrap the tank according to the package directions
- Leave the top open on gas heaters — never cover the flue
- Cut openings for the pressure relief valve, controls, and access panels
Pipe Insulation: The First 3 Feet Matter
Insulating the first 3 feet of hot water pipe leaving your heater can significantly reduce heat loss.
Use foam pipe insulation sleeves — they’re inexpensive, simple to cut, and slide directly onto the pipe.
| Insulation Type | Estimated Energy Savings |
|---|---|
| Tank insulation blanket | 7–16% on water heating costs |
| Hot water pipe insulation | 3–4% on water heating costs |
| Both combined | Up to 20% total savings |
It’s one of the most affordable upgrades you can make — and it pays for itself in months.
The Full Annual Maintenance Checklist
Use this checklist every year to make sure you cover everything in this water heater maintenance and care guide:
Spring/Summer:
- ✅ Flush the tank and remove sediment
- ✅ Inspect the anode rod
- ✅ Clean and check the exterior
- ✅ Inspect pipes and fittings for leaks
Fall/Winter:
- ✅ Test the pressure relief valve
- ✅ Clean the burner (gas heaters)
- ✅ Check and reapply pipe insulation as necessary
- ✅ Verify the temperature setting (120°F is optimal)
Dividing tasks across two seasons makes the job feel much more manageable — and nothing gets overlooked.
Red Flags That Mean You Should Call a Professional
Even with perfect maintenance, some problems need expert eyes.
Contact a licensed plumber if you notice:
- Water collecting at the base of the tank
- A pungent sulfur or rotten egg smell
- Rust-colored water from hot taps
- No hot water at all, even with the heater running
- The pressure relief valve constantly releasing water
- Your heater is older than 12–15 years with repeated issues
Some repairs are simple DIY jobs. Others — such as replacing a gas valve or a heating element — are best left to professionals. Knowing the difference can help you avoid accidents and save money.
FAQs: Water Heater Maintenance and Care
Q: How long can a water heater last with proper maintenance? A well-maintained tank water heater is designed to last 12–15 years, while some can serve up to 20. Tankless models can also exceed 20 years with proper maintenance.
Q: What temperature should I set my water heater to? The U.S. Department of Energy recommends 120°F (49°C). This is hot enough to prevent bacteria growth but cool enough to prevent scalding and reduce energy waste.
Q: Can I flush my water heater myself? Yes, absolutely. Flushing the tank is one of the simplest DIY maintenance tasks. Follow Method 1 and take your time. The entire process takes about 30–60 minutes.
Q: What happens if I never flush my water heater? Sediment builds up year after year. Eventually, it can compromise the tank from the inside, reduce heating efficiency by 25–40%, and cause loud rumbling or popping sounds. In extreme situations, the tank can fail completely.
Q: How can I tell if my anode rod needs replacing? If it is thinner than a pencil, mostly consumed, or heavily coated in calcium, it’s time to replace it. Check it every 1–2 years.
Q: Is it worthwhile to insulate an older water heater? Yes — especially if your heater is in an unheated area such as a garage or basement. An insulation blanket is a relatively inexpensive upgrade that can significantly reduce your energy bills.
Q: Does a tankless water heater require maintenance too? Yes. Tankless units require yearly descaling (flushing with vinegar or a descaling solution), filter cleaning, and vent inspection. They differ in design but are not maintenance-free.
Q: Is it safe to use bleach to clean my water heater? No. Bleach can damage internal components. Stick to white vinegar for natural cleaning and descaling.
Wrapping It Up
Your water heater is one of the hardest-working appliances in your home — and one of the most neglected.
But now you know what the pros already know.
With these five methods — deep tank flushing, anode rod care, pressure relief valve testing, burner cleaning, and external insulation — you have a complete water heater maintenance and care guide that can add years of life to your unit and put hundreds of dollars back in your pocket.
The best part? Many of these tasks cost little or nothing and take just an hour or two each year.
Pick one method to try this weekend. Build the habit. Your water heater will appreciate it — and so will your energy bill.