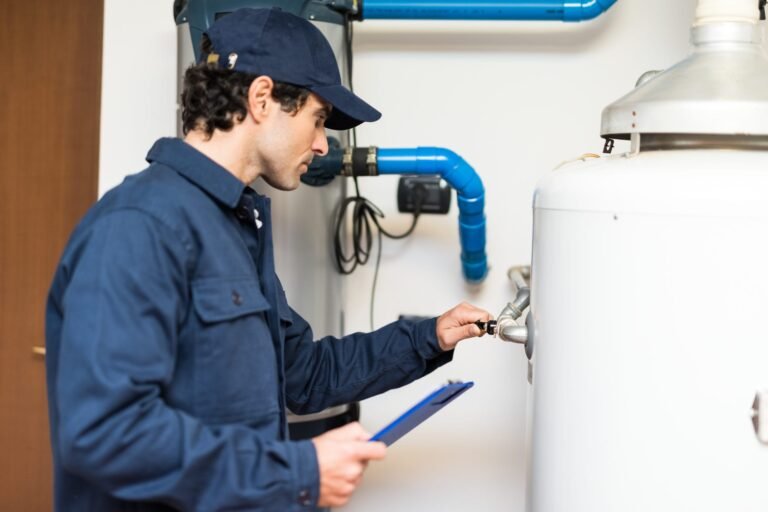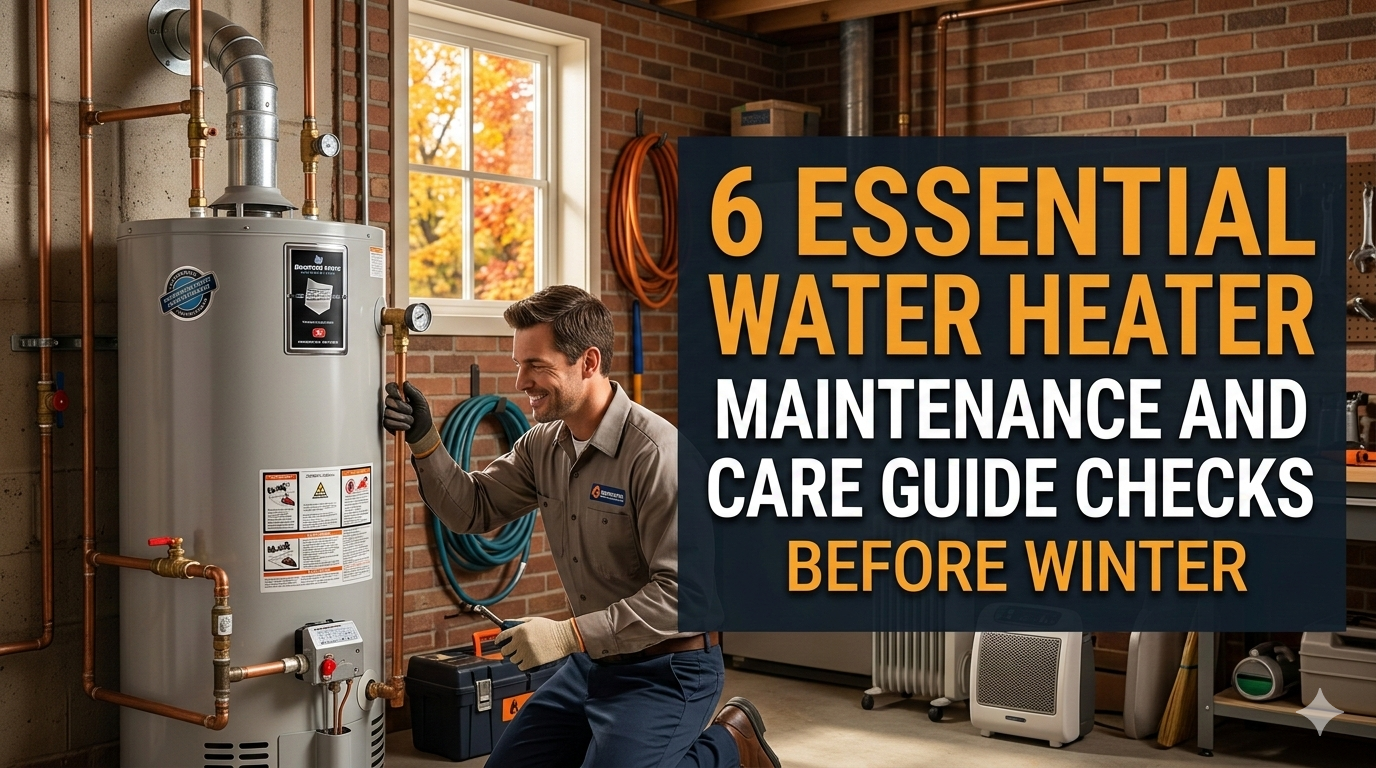
6 Essential Water Heater Maintenance and Care Guide Checks Before Winter
Meta Description: Water heater maintenance and care checklist before winter to help avoid a cold shower — and an expensive repair bill. Discover 6 key steps you can take today to prepare your unit.
6 Checks To Effectuate Before Winter: Water Heater Maintenance Care Guide
Winter is here — and your water heater is about to go into overdrive.
Think about it. In winter, the cold groundwater flowing into your tank is colder. Your heater runs more cycles. Energy bills creep up. And if something breaks, you’re left with cold showers in the middle of winter.
The good news? A bit of prep work can make a big difference.
This water heater maintenance and care guide takes you through 6 must-check points every homeowner should do before cold season arrives. These are easy, inexpensive steps that can prolong the life of your unit — for years.
Let’s get started.
Winter Is the Worst Season for Your Water Heater
Most people don’t think about their water heater until it breaks. But this appliance operates silently in the background day in and day out — heating water for showers, dishes, laundry and more.
During winter, the workload doubles.
Here’s why:
- Water coming in from the ground sinks to almost freezing temperatures
- This causes the heater to work harder and be on for a longer period of time before reaching the desired temperature
- Debris collected from summer use can impede heating efficiency
- Older units are at greater risk of failing under the additional stress
Water heating is estimated to make up about 18 percent of a home’s energy use, according to the U.S. Department of Energy. That number rises in the winter. An improperly maintained unit doesn’t just break — it subtly empties your wallet first.
The remedy is simple: Get your heater inspected before the chill sets in.
How Long Does a Water Heater Last?
Before you jump into these checks, it’s helpful to know where your unit ranks.
| Water Heater Type | Average Lifespan |
|---|---|
| Traditional Tank (Gas) | 8–12 years |
| Traditional Tank (Electric) | 10–15 years |
| Tankless (Gas) | 20+ years |
| Tankless (Electric) | 15–20 years |
| Heat Pump Water Heater | 10–15 years |
These checks are even more crucial if your unit is over a decade old. An aging heater stressed during winter is a prescription for an emergency replacement — typically at the most inconvenient time.
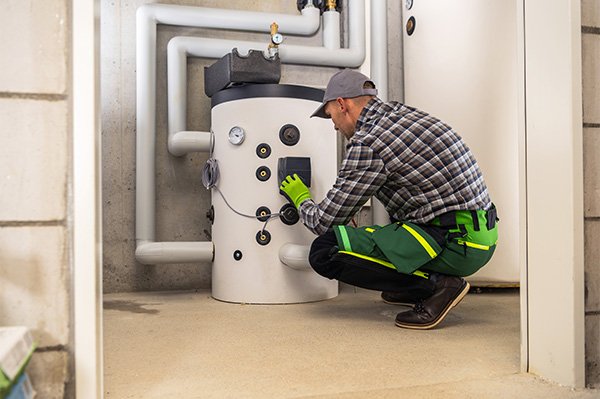
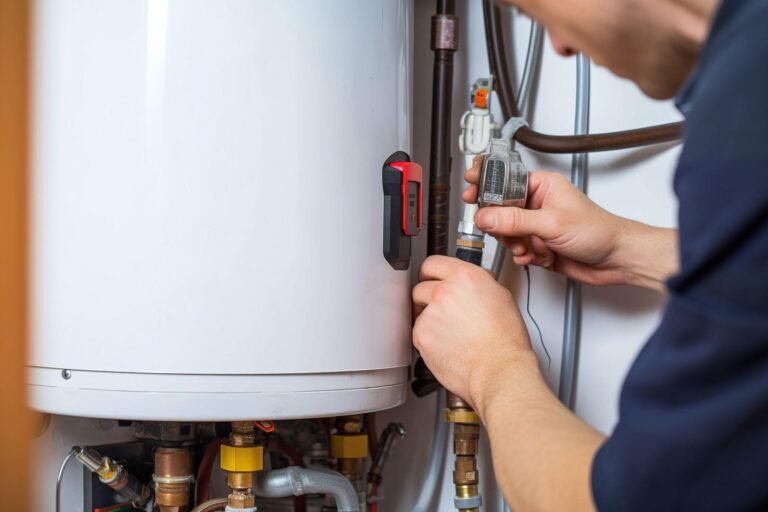
Step 1 — Flush the Tank to Remove Sediment Buildup
It’s the most important thing you can do for your water heater.
Over time, the minerals in your water supply — primarily calcium and magnesium — can settle at the bottom of your tank. This layer of sediment functions like a duvet on top of the heating element. The heater has to expend more energy simply to push heat through it.
The result? Higher bills. Slower heating. Strange popping or rumbling sounds. And then a burnt-out component or a cracked tank.
Steps to Flushing Your Tank
You do not require a plumber for this. Here’s what to do:
- Shut off the power source or gas to your water heater
- Attach a garden hose to the drain valve located at the bottom of the tank
- Fit the other end of the hose to a floor drain or run it outside
- Turn on one hot water faucet somewhere in the house to prevent a vacuum
- Open the drain valve and allow all the water to come out
- For a couple of seconds, turn on the cold water supply to rinse out sediment
- Close the valve, detach the hose, and refill the tank
- Turn on power or gas after the tank is full
Do this annually — late fall works best before winter sets in.
Pro Tip: For maximum effectiveness, flush the tank every six months if your water is very hard (high mineral content).
Signs That Sediment Is Already an Issue
- You hear popping, rumbling, or banging from the tank
- You run out of hot water faster than before
- Your energy bills have abruptly become more expensive
- The water coming out looks discolored or smells off
Finding this early on is always cheaper than a tank replacement.
Check 2 — Inspect the Temperature and Pressure Relief Valve
This little piece has one very big job — it prevents your water heater from becoming a pressure bomb.
The T&P (temperature and pressure relief) valve is a safety device. If the internal pressure or temperature is too high in the tank, it will open itself to expel steam or water. A water heater that doesn’t function properly can literally blow up.
It sounds dramatic. But it happens.
How to Test the T&P Valve
Test this valve in about 60 seconds:
- Set a bucket beneath the discharge pipe leading from the valve
- Raise the test lever on the valve for 3–5 seconds
- Observe for water flow out of the pipe
- Release the lever — it should stop immediately
If water flows freely and stops cleanly, the valve is working.
If no water comes out, if the valve drips after you release it, or if it feels stuck — replace it right away. T&P valves are cheap (about $15 to $30) and easy to replace.
How Often Should You Test It?
| Task | Frequency |
|---|---|
| T&P Valve Test | Annually |
| T&P Valve Replacement | Every 3–5 years (or when faulty) |
Don’t skip this step. A failed T&P valve is a serious safety risk.
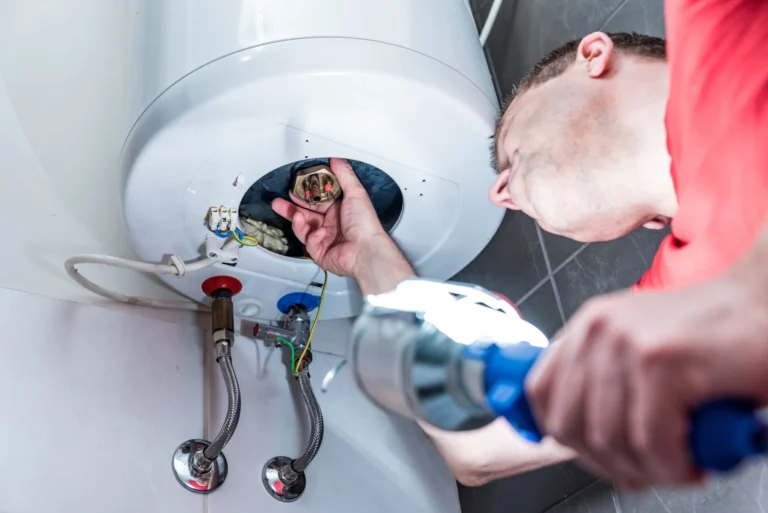
Check 3 — Examine the Anode Rod and Replace If Necessary
The anode rod is the unsung hero of your water heater.
It’s a metal rod — typically magnesium or aluminum — that runs through the middle of your tank. Its entire job is to corrode so your tank doesn’t have to. It draws rust and minerals to it, sacrificing itself in the process to protect the steel walls of the tank.
Once the anode rod is completely consumed, there’s nothing left to protect the tank. Rust begins to eat its way through the steel — and just like that, you have a leak or even a complete failure.
How to Check Your Anode Rod
- Switch off the power or gas, and turn off the cold water feed
- Find the anode rod — usually on top of the heater, sometimes under a plastic cap
- Unscrew the rod with a 1-1/16 inch socket
- Take it out and examine it visually
What You’re Looking For
| Condition | What It Means |
|---|---|
| Rod is thick and mostly intact | Still good — check again next year |
| Rod is thin, coated in calcium | Replace soon |
| Rod is less than ½ inch thick | Replace immediately |
| Rod is gone or just a wire core remains | Long overdue — check tank for damage |
Replacement anode rods cost around $20 to $50. Replacing one is much less expensive than replacing an entire tank.
Note: If your water smells like rotten egg, it could be a magnesium anode rod reacting with sulfur bacteria. You can improve the situation by switching to an aluminum rod.
Check 4 — Set the Thermostat at the Correct Setting
Manufacturer settings for most water heaters are 140°F (60°C). But most households should set the thermostat to 120°F (49°C), according to the U.S. Department of Energy.
Here’s why this matters as we head into winter.
The Temperature Sweet Spot
| Temperature Setting | What Happens |
|---|---|
| Below 120°F | Risk of bacteria growth (Legionella) in the tank |
| 120°F | Safe for most homes — energy efficient |
| 130–140°F | Risk of scalding, higher energy use |
| Above 140°F | High scalding risk — not recommended for families with children |
Setting the thermostat correctly before winter achieves two things:
- It conserves energy — lower temps equal less work for the heater
- It helps prevent scalding — especially relevant if you have kids or older folks in your home
How to Adjust the Temperature
- Gas water heaters: You should find a dial on the front of the gas valve. It typically displays markings such as “Hot,” “A,” “B,” “C,” or actual temperatures.
- Electric water heaters: Remove the access panel(s) and adjust the thermostat behind the insulation.
After adjusting, wait 24 hours and test the hot water at a faucet with a thermometer to check the actual output temperature.
Check 5 — Insulate the Tank and Pipes
Here’s something most people never consider — and it can truly save the day come winter.
Older water heaters lose heat through the walls of the tank. This is referred to as “standby heat loss.” The heater has to keep firing up just to keep the water warm when no one’s using it. This is made worse in winter, when the air around the heater is colder.
Insulating the Tank
You can purchase a premade water heater blanket for about $20–$40 at any home improvement store.
Key rules when wrapping your tank:
- Gas heaters: Do not cover the top, the thermostat, or the burner compartment at the bottom. Keep those areas open for safety.
- Electric heaters: You can wrap the top and sides, but leave the access panels and thermostat area bare.
The Department of Energy states that standby heat loss can be reduced by 25–45% with a properly insulated tank.
Insulating the Pipes
Cold pipes mean your heater has to work all the harder. When hot water runs through cold, uninsulated pipes, it reaches your faucet cooler than it ought to. The heater makes up for this by running longer.
Install foam pipe insulation sleeves — these are inexpensive, easy to put in, and don’t require any tools. Concentrate on the first few feet of both the hot and cold water pipes attached to your heater.
| Insulation Type | Estimated Energy Savings | Cost |
|---|---|---|
| Tank blanket (older heater) | 7–16% on water heating | $20–$40 |
| Pipe insulation | Up to 4% on overall energy use | $5–$15 |
| Both combined | Noticeable bill reduction | $25–$55 total |
It’s one of the least expensive upgrades you can do before winter.
Check 6 — Inspect for Leaks, Corrosion, and Warning Signs
This final check is the easiest — but people forget it all the time.
Walk around your water heater. Get close. Look at it carefully.
You are searching for things that should not be there.
What to Look For
Around the tank:
- Puddles or damp floors
- Rust stains on or below the tank
- Visible corrosion on fittings or connections
- White or yellowish mineral deposits around the base
On the pipes and connections:
- Drips from any connection points
- Green or white residue on fittings (sign of a slow leak)
- Corroded or discolored pipe sections
From the heater itself:
- Strange sounds (popping, banging, hissing, whining)
- Longer heating times than usual
- Inconsistent water temperature
- Discolored hot water (orange or brownish tint)
Small Leaks Are Big Warnings
A small drip from a fitting might not appear to be dangerous. But water near a heater can lead to floor damage, mold, and eventually a much larger failure.
If you spot rust on the body of the tank itself, that is a clear red flag. A rusting tank can’t be repaired — only replaced. Catching this before it blows keeps you from having a flooded utility room in the dead of January.
When to Call a Professional:
- You observe rust or cracks on the tank itself
- The T&P valve is continuously relieving pressure on its own
- You smell gas in the vicinity of a gas water heater
- Hot water is discolored and flushing did nothing
Quick Winter-Ready Water Heater Checklist
Consider this your fall reference every year:
| Check | Task | DIY or Pro? | Time Needed |
|---|---|---|---|
| 1 | Flush sediment from tank | DIY | 30–45 min |
| 2 | Test T&P relief valve | DIY | 5 min |
| 3 | Inspect/replace anode rod | DIY (or Pro) | 20–30 min |
| 4 | Set thermostat to 120°F | DIY | 5 min |
| 5 | Add insulation to tank/pipes | DIY | 30 min |
| 6 | Check for leaks and corrosion | DIY | 15 min |
Total time: Around 2 hours once per year. It’s a small investment against an emergency replacement or a flooded basement.
What Is the Cost of Water Heater Maintenance?
The biggest hesitation people have is thinking maintenance is costly. It’s not.
| Task | Average DIY Cost | Average Pro Cost |
|---|---|---|
| Tank flush (supplies) | $0–$10 | $80–$150 |
| T&P valve replacement | $15–$30 | $100–$200 |
| Anode rod replacement | $20–$50 | $150–$300 |
| Tank insulation blanket | $20–$40 | $50–$100 (installed) |
| Pipe insulation | $5–$15 | $50–$100 |
| Full professional tune-up | — | $100–$250 |
The biggest savings come from doing it yourself. But a pro annual tune-up still costs less than one emergency service call, which can run $300–$600 or more.
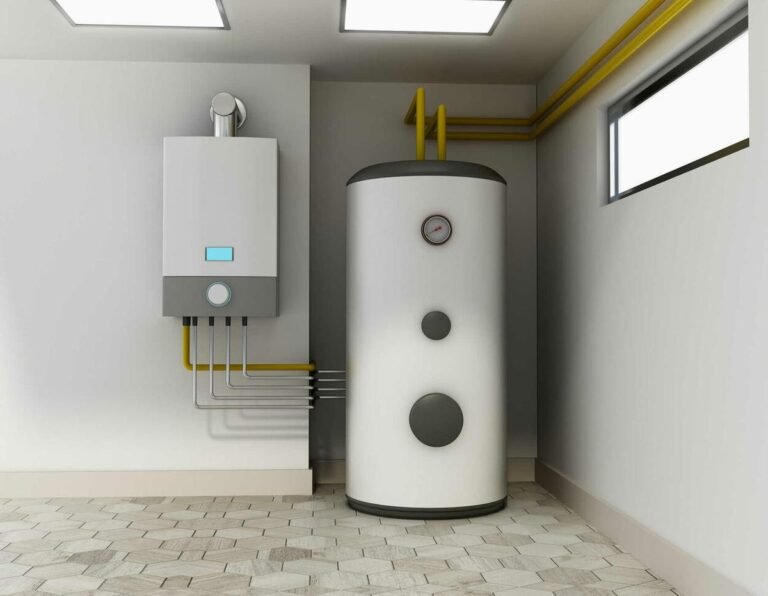
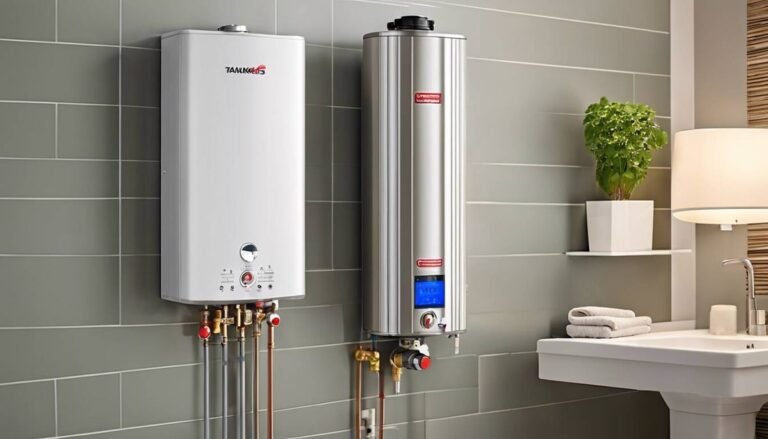
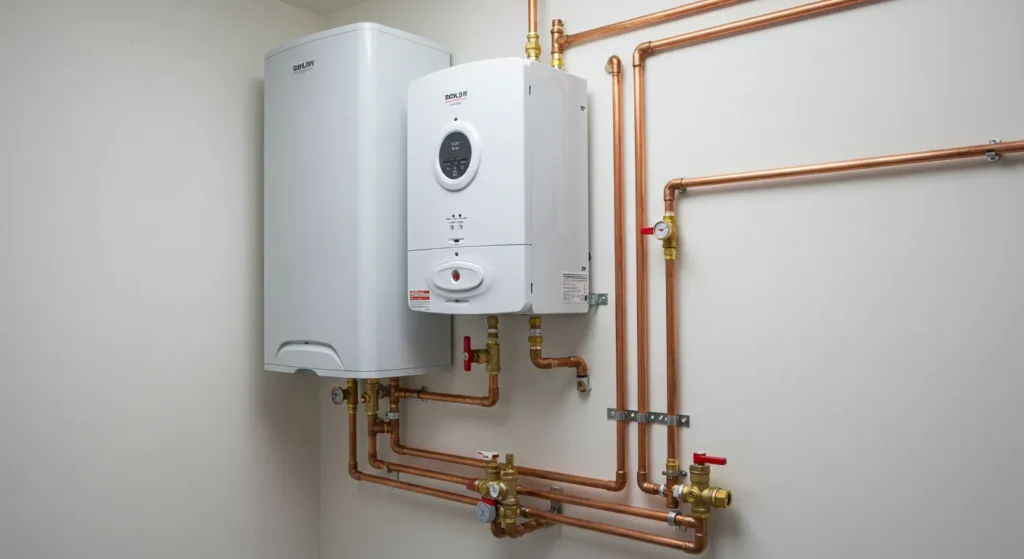
Tankless Water Heater? Here’s What’s Different
Tankless (on-demand) heaters require different maintenance. If you have one, here’s what to do before winter:
- Descale the heat exchanger by flushing it with a descaling solution
- Clean the inlet filter screen — remove, rinse, and reinstall
- Ensure the venting system does not have any blockages or debris
- Make sure the flow sensor and ignition are working properly for a clean startup
- Check gas connections for any smell or corrosion (gas units)
Tankless units are more efficient but more sensitive to scale buildup. Flushing the system once a year lets them run at peak performance.
FAQs About Water Heater Maintenance
Q: Is there a recommended schedule for flushing my water heater? The normal recommendation is once a year. If your water is hard and contains high levels of minerals, this should be done every 6 months.
Q: What if I’ve never flushed my old water heater? If the heater is older and has never been flushed, flushing it could agitate built-up sediment that has been plugging small leaks. Approach with caution, and call a plumber if the unit is older than 10 years.
Q: Is 120°F really safe for hot water? Yes. The CDC recommends not letting the water drop below 120°F — safe enough to prevent Legionella bacteria from growing. It’s also hot enough for comfortable showers, dishes, and laundry.
Q: How can I tell whether my anode rod needs replacing? Check it once a year during your pre-winter inspection. If it’s less than half an inch thick or heavily coated, replace it.
Q: Can I add insulation to a new water heater? Most newer models already feature good built-in insulation. Consult the manual — if you already have a high energy factor (EF) rating, you may not need additional insulation on the tank itself. It is still a good idea to insulate the pipes.
Q: What does it mean when my T&P valve keeps dripping? A T&P valve that keeps dripping means either the valve itself is malfunctioning, or the pressure/temperature in the tank is too high. Both need to be tackled at once. Call a plumber.
Q: Should I turn off my water heater while on vacation in winter? Yes. Most heaters include a “vacation mode” that keeps the water warm enough to avoid freezing but uses far less energy. If yours doesn’t, turning the thermostat to the lowest setting does the same thing.
Q: My water heater has been making loud noises. What does that mean? Popping or rumbling is often a sign of sediment buildup. Hissing or whistling may signify a pressure problem. Start with a tank flush and a T&P valve test before anything else.
Wrapping It All Up
Winter puts a real strain on your water heater. But with a little time spent working through these steps, you can keep it going safely, efficiently, and reliably for the rest of the season.
Here are the 6 critical checks from this water heater maintenance and care guide:
- Flush the tank to eliminate sediment
- Test the T&P valve to ensure it’s working safely
- Check the anode rod and replace it if worn out
- Set the thermostat to 120°F for safety and savings
- Insulate the tank and pipes
- Inspect for leaks and corrosion before they become disasters
None of these tasks require special training. Most take just minutes. And together, they can extend your heater’s life by years while reducing your energy bills at the same time.
Don’t wait for the first cold snap to find out that your water heater isn’t up to the task. Do these checks now — when the weather is reasonably manageable and parts are relatively easy to find.
Your future self (and your wallet) will appreciate it.