5 Secret Water Heater Maintenance and Care Guide Tips Most People Ignore
Meta Description: Water heater maintenance and care guide tips most people ignore can save you hundreds in repairs. Discover 5 secret tricks to extend your unit’s life today.
5 Tips Most People Don’t Follow In Secret Water Heater Maintenance and Care Guide
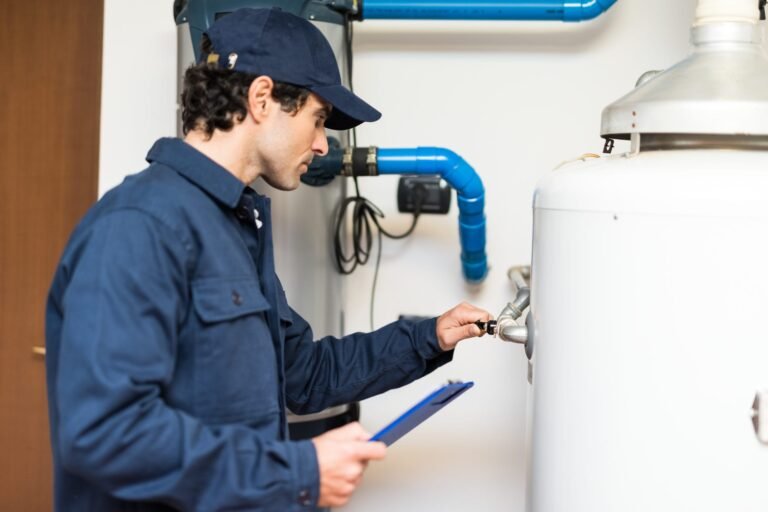
You utilize your water heater on a daily basis. Hot showers. Clean dishes. Warm laundry. But when’s the last time you considered how to take care of it?
Most homeowners never even touch their water heater until something goes wrong. And by then? The cost to fix is painful — or even worse, the unit has to be completely replaced.
The truth is, there are a few simple habits that can keep your water heater going for years longer. They can also reduce your energy bill and make your water cleaner.
In this water heater maintenance and care guide, I will show you 5 secret tips that most people ignore completely. These aren’t complicated. They don’t require a plumber. And they can save you a ton of money.
Let’s get into it.
Why Most People Ignore Their Water Heater
Out of sight, out of mind. That’s the problem.
Your water heater is in a closet, basement or garage. You never really see it. So you never think about it.
But here’s the thing — water heaters don’t last forever. Average units have a lifespan of 8 to 12 years. But you can reduce that to 5 or 6 years with poor maintenance. With good maintenance it can make it beyond 15.
That’s a big dollar difference when a new water heater runs from about $500 to $2,000 or more installed.
Lifespan aside, a neglected water heater:
- Uses high energy (leading to higher bills for you every month)
- Produces rusty or smelly water
- Can leak and cause serious water damage
- Can fail abruptly without any warning
The good news? Prevention is cheap and easy. You just have to know what to do.
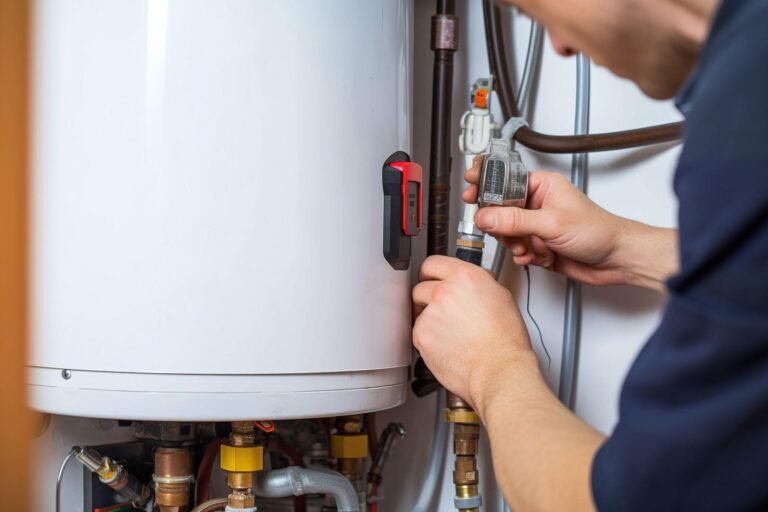
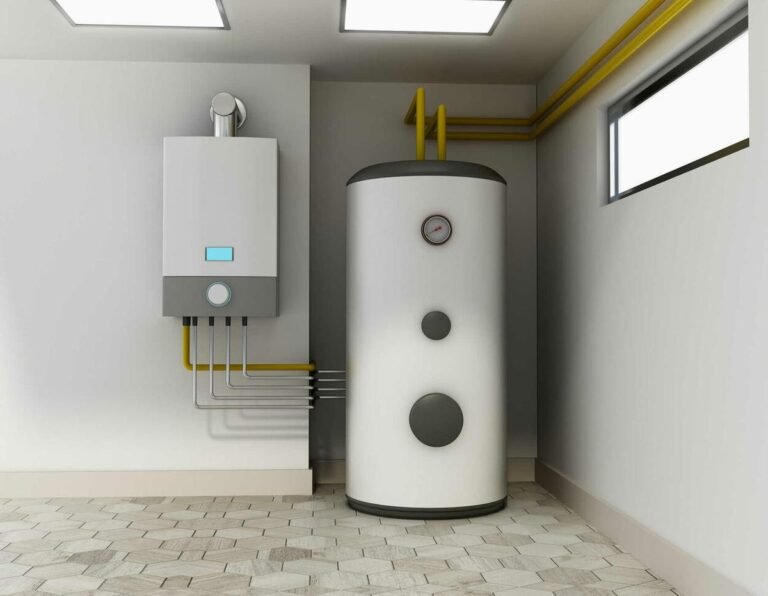
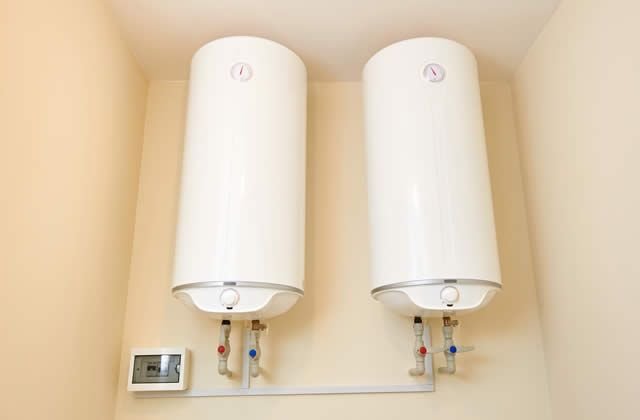
How Your Water Heater Works: A Quick Overview
Before getting into the tips, it’s useful to understand the basics. Here’s how a standard tank water heater works:
| Part | What It Does |
|---|---|
| Tank | Stores hot water (typically 30–80 gal.) |
| Heating Element or Burner | Heats the water in the tank |
| Thermostat | Controls the temperature of the water |
| Anode Rod | Attracts minerals to prevent rusting in tank |
| Pressure Relief Valve | Vents pressure if it gets too high |
| Drain Valve | Used to flush out sediment |
All of these parts have a role to play. When one is neglected, all are harmed. The following tips will address the aspects of this system most often overlooked.

Tip #1 — Drain the Sediment Out of Your Tank Once a Year
This is the most overlooked step in any water heater maintenance and care article. And it may be the single most important one.
What Is Sediment, and Why Should You Care?
Water contains minerals. Among the most common are calcium and magnesium. These minerals sink to the bottom as water heats inside your tank. Eventually they accumulate into a thick layer of sediment.
This sediment creates three major issues:
- It insulates the bottom of the tank. Your heater has to work harder and longer to heat that water. Energy bills go up.
- It causes strange noises. That popping, rumbling or cracking noise from your water heater? That’s sediment getting cooked.
- It speeds up corrosion. Sediment retains moisture on the metal that causes the tank to rust inside out.
Steps to Flush Your Water Heater (Step-by-Step)
Each year, you only need to do this once. Here’s how:
What you’ll need: A garden hose, work gloves and 30 to 45 minutes.
Step 1: Shut off the cold water supply valve to the heater (located at top of heater).
Step 2: If you have a gas heater, switch the thermostat to “pilot.” For electric, turn the breaker off.
Step 3: Allow water to cool for another one to two hours (or do this before first use in the morning).
Step 4: Attach a garden hose to the drain valve at the bottom of the tank. The other end can be run outside or to a floor drain.
Step 5: Open a hot water faucet somewhere in your home. This stops a vacuum from being created.
Step 6: Open the drain valve and let the water run out. At first, it might appear cloudy, brown or gritty. That’s the sediment leaving.
Step 7: After the water runs clear, close the drain valve, remove the hose, turn back on your water supply and restore power or relight the pilot.
Pro Tip: If your water heater hasn’t been flushed in years, the sediment might be too thick to drain completely. If that’s the case, a plumber can assist with a deep flush.
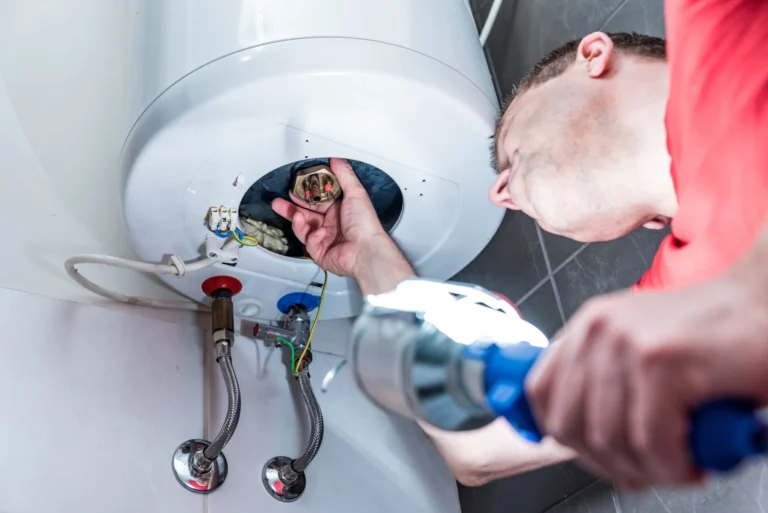
Tip #2 — Inspect and Replace the Anode Rod Before It’s Too Late
The majority of homeowners have never heard of an anode rod. That’s unfortunate — because this little piece is essentially your water heater’s bodyguard.
What Does the Anode Rod Do, Exactly?
The anode rod is a long metal (often magnesium or aluminum) rod that screws into the top of your water heater. It is intended to corrode so your tank does not.
Think of it as the bodyguard who takes a hit so the boss stays safe. The minerals and oxygen in the water attack the anode rod first. And when the rod is fully decayed, there’s nothing left to shield the tank. Rust sets in fast.
For a deeper dive into how the anode rod and other components work together, visit Water Heater Care — a helpful resource covering everything about water heater upkeep and long-term care.
How Frequently Should You Be Checking It?
| Water Type | Recommended Check Interval |
|---|---|
| Soft Water | Every 2 years |
| Hard Water | Every 1 year |
| Well Water | Every 6–12 months |
In fact, soft water consumes anode rods at a quicker rate than hard water. That means if you have a water softener, you should inspect your anode rod more frequently.
Red Flags Your Anode Rod Should Be Replaced
- Your hot water smells like rotten eggs (sulfur smell)
- The rod looks thin, cracked or coated in white calcium
- The rod is less than half an inch thick
Replacing an anode rod costs approximately $20–$50 for the part. A plumber might charge $50–$150 for labor. Still a lot less expensive than a new tank.
Tip #3 — Set the Right Temperature (You’d Be Surprised How Many Get This Wrong)
Here’s something that shocks many homeowners: the temperature setting on your water heater impacts a lot more than the warmth of your shower.
You Could Be Losing Money by Default
Most water heaters are set by the manufacturer to 140°F, which is actually too hot for most households.
For most homes, the U.S. Department of Energy recommends a water heater setting of 120°F. Here’s why that matters:
| Temperature Setting | Energy Cost Impact | Safety Risk |
|---|---|---|
| 110°F or lower | Lowest energy use | Risk of bacteria growth (Legionella) |
| 120°F | Optimal — saves up to 10% on bills | Safe for most households |
| 130°F | Moderate energy use | Minor scalding risk |
| 140°F | Higher energy use | Scalding risk, especially for kids and elderly |
When 140°F Actually Makes Sense
There are occasions where a higher setting is appropriate:
- You use a dishwasher that lacks a booster heater
- There is someone in your household with a compromised immune system
- Your house has long pipe runs that cool water off before it arrives at faucets
How to Adjust Your Thermostat
On most gas water heaters, the thermostat dial is located on the front of the unit near the gas valve. On electric heaters, you might have to remove an access panel to get at it.
Use a cooking thermometer to check the actual water temperature at the tap. Run the hot water for two minutes, then test. Adjust accordingly.
Safety Note: Never lower your water heater below 120°F. At temperatures lower than that, dangerous bacteria can flourish inside the tank.
Tip #4 — Check the Pressure Relief Valve (This Could Save Your Life)
This is the most neglected safety step in any water heater maintenance and care guide. Either people have never heard of it, or they assume everything is okay without checking.
What Is the T&P Valve?
The Temperature and Pressure Relief Valve — commonly known as the T&P valve — is a critical water heater safety device. It’s typically on the side of the tank toward the top, with a small metal lever and a pipe that leads down toward the floor.
If pressure or temperature inside your tank reaches dangerous levels, this valve opens automatically to release it. Without one, a water heater could literally explode.
Yes, that’s a real risk.
How to Test It (Under a 2-Minute Process)
Step 1: Place a bucket under the discharge pipe leading from the valve.
Step 2: Gently lift the metal lever — just for 2–3 seconds.
Step 3: Hot water should run out of the pipe. When you release the lever, it should stop.
That’s it. If it flows and stops cleanly, your valve is functioning.
Warning Signs of a Failing T&P Valve
- No water comes out when you lift the lever
- Water continues to drip after the lever is released
- The valve is visibly corroded or covered in mineral deposits
A faulty T&P valve needs to be replaced as soon as possible. This is not a maintenance item to postpone. Replacement valves run roughly $10–$30, and a plumber can install one in less than an hour.
Check your T&P valve once a year. That’s all it takes.
Tip #5 — Insulate Your Tank and Pipes to Prevent Energy Loss
The last piece of advice in this water heater maintenance and care guide is one that almost nobody does — and it’s among the easiest ways to save money starting this month.
Why Insulation Matters More Than You Might Think
Your water heater keeps water hot 24/7 — including at 3 a.m., when no one is using it. Every hour, some of that heat seeps out through the tank walls. Your heater kicks back on to reheat the water. This cycle repeats constantly.
This is referred to as standby heat loss. And it can represent 15–20% of your home’s water heating costs, according to the U.S. Department of Energy.
Insulating the tank reduces that heat loss. Less energy wasted. Lower bills. Simple.
How to Insulate a Water Heater Tank
You’ll want a water heater insulation blanket — found at most hardware stores for around $20–$40.
Important:
- With gas heaters, never cover the top, the thermostat or the burner access panel at the bottom.
- On electric heaters, you can cover the top too, just avoid the thermostat access panels.
Read the directions on the blanket carefully. Installation tends to take under an hour for most.
Don’t Forget the Pipes
The first 3–6 feet of pipe leading from your water heater also releases heat rapidly. Covering them with foam pipe sleeves (less than $5 at any hardware store) keeps water hot as it flows to your faucets.
It also means you receive hot water quicker — less time waiting with the tap running. That saves water too.
Annual Water Heater Maintenance Checklist
Here’s a simple yearly schedule you can follow:
| Task | How Often | Time Required | Cost |
|---|---|---|---|
| Flush sediment from tank | Once a year | 30–45 minutes | Free |
| Inspect anode rod | Every 1–2 years | 20–30 minutes | $20–$50 (if replacing) |
| Check temperature setting | Once a year | 5 minutes | Free |
| Test T&P relief valve | Once a year | 2 minutes | Free |
| Insulate tank and pipes | Once (then check yearly) | 1 hour | $25–$50 |
| Check for leaks or rust | Twice a year | 5 minutes | Free |
Print this out. Tape it beside your water heater. It takes less than two hours a year all told — and it can literally double the lifespan of your water heater.
How Long Should a Water Heater Last With Maintenance?
Here’s a realistic comparison:
| Maintenance Level | Average Lifespan | Estimated Savings Over 20 Years |
|---|---|---|
| None (as is) | 6–8 years | — |
| Basic maintenance (this guide) | 12–15+ years | $1,000–$3,000+ |
| Professional maintenance included | 15–20+ years | $2,000–$5,000+ |
These figures incorporate savings from improved energy efficiency, deferred repairs and delayed replacement costs. The math is clear: maintenance pays for itself again and again.
Signs Your Water Heater Needs Attention ASAP
Even with regular upkeep, issues can arise. Watch for these red flags:
Call a plumber if you notice:
- Rust-colored or brown hot water
- A sulfur or rotten egg odor from hot water
- Water accumulating around the base of the heater
- Loud popping, banging or rumbling noises
- Hot water running out faster than usual
- Your unit is more than a decade old and showing any of the above signs
Don’t wait on these. A tiny leak or malfunctioning part can turn into a flooded room very quickly.
FAQs on Water Heater Maintenance and Care
How often do I need to flush my water heater?
Once a year is the general advice. Consider flushing every 6 months if you have hard water or well water. In those situations, sediment builds up more quickly.
Can I do this myself, or does it require a plumber?
Most of these are beginner-level tasks. Flushing the tank, testing the T&P valve, insulating and adjusting the thermostat are all DIY moves. It is also possible to replace the anode rod or T&P valve yourself, but this will require some basic tools and comfort working with hot water systems. When in doubt, call a professional.
At what temperature should my water heater be set?
Most homes find the sweet spot at 120°F. It gets hot enough to kill bacteria, is safe for most household members and saves energy relative to the manufacturer-installed 140°F setting.
How can I tell if the anode rod needs to be replaced?
You have to actually look at it. Unscrew it from the top of the tank and examine it. If it is less than half an inch thick, very corroded or calcified, replace it. You may also notice a sulfur smell in your hot water.
Should you bother maintaining an old water heater?
If your unit is less than 10 years old, then yes. If it is 10 to 15 years old, weigh the cost of repair versus replacement. If it’s more than 15 years old and giving you problems, replacing it is almost always the better financial decision.
Does insulating my water heater actually save money?
Yes. According to studies, an insulation blanket can reduce standby heat loss by 25–45%, saving the average household between $20 and $60 annually. It pays for itself in the first year.
How do you know if your T&P valve is bad?
Test it once a year by lifting the lever briefly. If no water comes out, or if water continues to drip after you release it, the valve should be replaced immediately. Do not put this off — it’s a safety concern.
Conclusion
Your water heater works tirelessly around the clock without a single complaint. At the very least, you ought to give it a little attention once a year.
This guide simplifies it down to five steps:
- Flush out the sediment — maintain a clean and efficient tank
- Inspect the anode rod — protect your tank from the inside out
- Set the proper temperature — conserve energy without compromising safety
- Test the T&P valve — ensure your safety mechanism actually works
- Insulate the tank and pipes — stop wasting money on standby heat loss
None of these take long. None require special skills. But in tandem, they can extend the life of your water heater by years and save you actual cash every month.
Don’t wait until you’re standing in a cold shower or dealing with a flooded basement. Pick one thing on this list and do it today.
Your wallet — and future self — will thank you.