7 Fast Water Heater Maintenance and Care Guide Tasks You Can Do Today
Meta Description: Water heater maintenance and care guide tasks that help you maintain your water heater are few, easy & quick, and save you hundreds in repairs. Learn 7 simple things you can do today.
7 Quick Water Heater Maintenance and Care Guide Tasks You Can Do Today
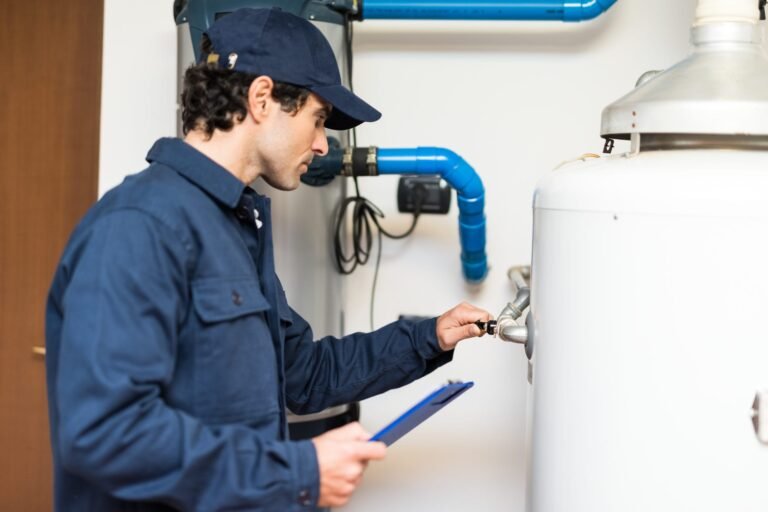
Your water heater puts in a lot of hard work each and every day. It warms water for your showers, dishes, laundry and more — usually without you giving it a second thought. But just as your car requires an oil change, so does your water heater need regular attention.
The good news? Most are done in less than an hour. You are not required to be a plumber. You don’t need expensive tools. You just need some time plus the right guidance.
One of the biggest mistakes homeowners make is putting off maintenance. An ignored water heater can leak, become inefficient, or even break down altogether — resulting in cold showers and a large repair bill.
This guide breaks down 7 speedy, beginner-level maintenance tasks you can accomplish today. Each one promotes the longevity of your unit, reduces your energy costs, and keeps your home safe.
Let’s get started.
Why Regular Maintenance Of Your Water Heater Is Important
Before you get into the tasks, let’s check why these are so important.
As with any appliance, they have a limited lifespan — an average water heater can last from 8 to 12 years. But well-maintained units can last 15 years or longer. When you factor in that a new water heater can cost from $500 to $2,000 with installation, that’s quite the difference.
Here’s what can go wrong if you neglect maintenance:
- Sediment accumulation causes heating inefficiency and damage to the tank
- An erroneous pressure relief valve is a safety hazard
- A worn anode rod will result in rust and tank corrosion
- Extreme temperatures waste energy and present a scalding risk
All of these problems can be avoided with regular care. It also helps your unit operate efficiently, which contributes to lower monthly energy bills.
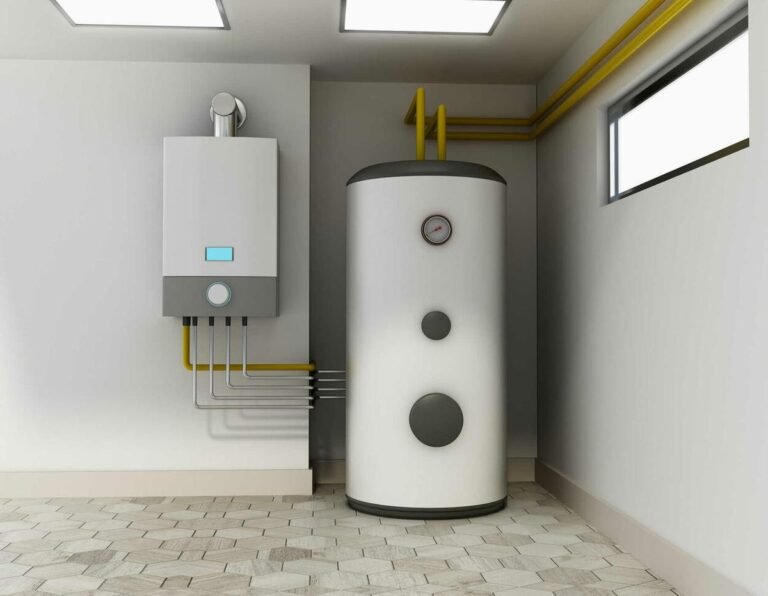
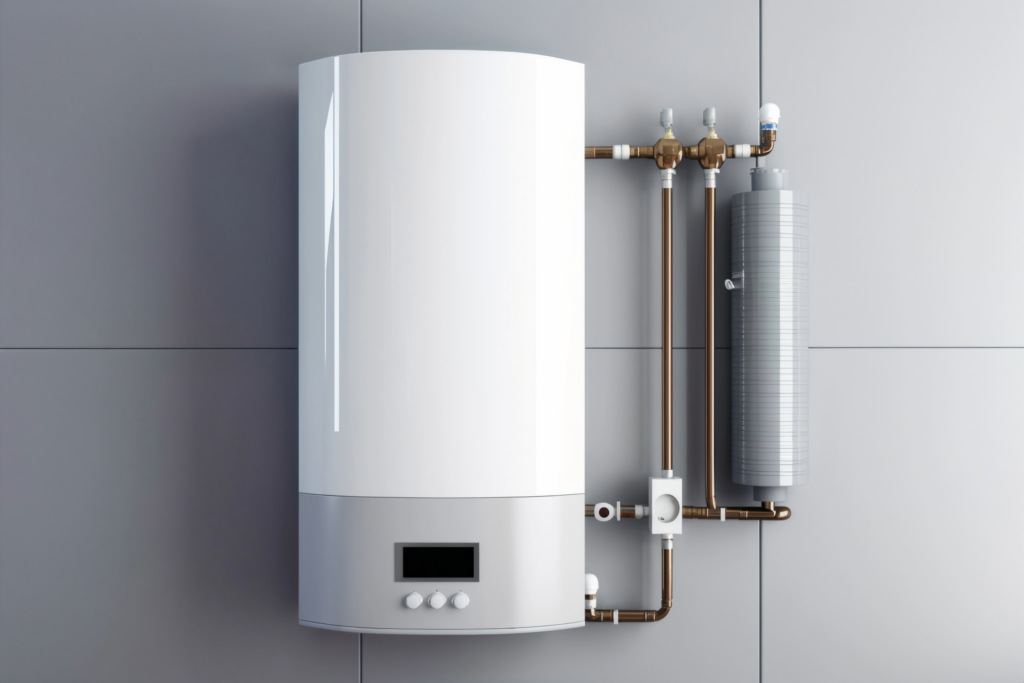
What Kind of Water Heater Do You Own?
Before you begin any maintenance task, be aware of the style of the unit you have.
| Type | Description | Maintenance Requirements |
|---|---|---|
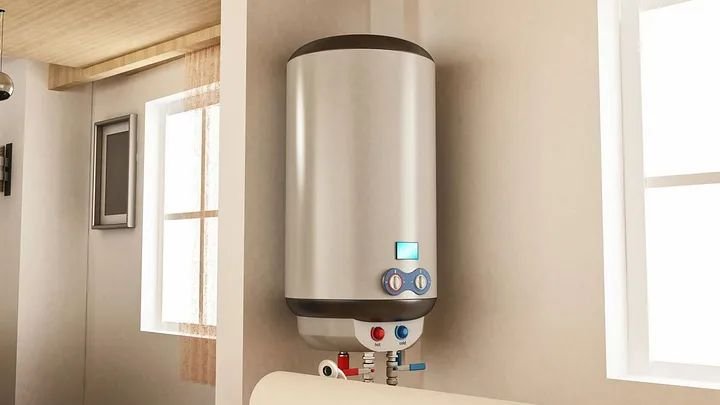
| Tank Water Heater | Holds hot water in a generally large (30–80 gallon) tank | Flushing of the tank and checking of the anode rod or valve |
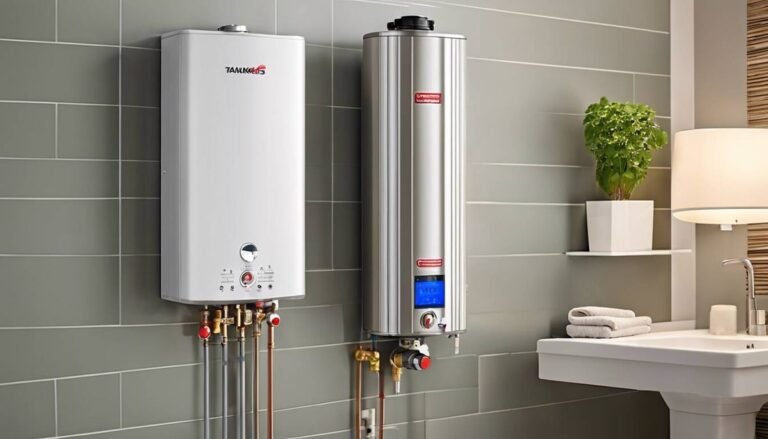
| Tankless Water Heater | Heats water on demand without storage tank | Descale regularly, clean filters, check the inlet |
| Heat Pump Water Heater | Uses electricity + heat from air | Coil inspections & filter cleaning |
| Solar Water Heater | Heats water through panels | Clean panels and check backup system |
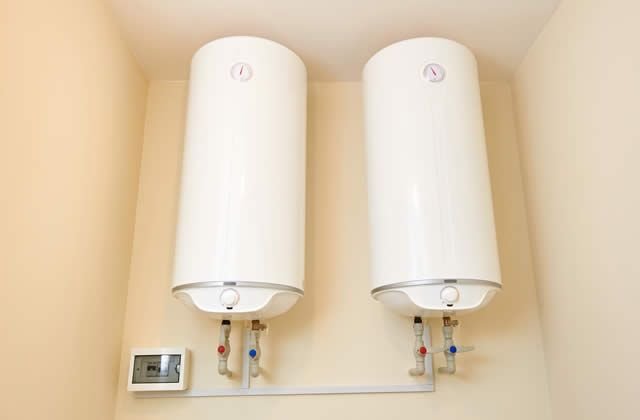
Most homes in the U.S. have a conventional tank water heater. The recommendations below are geared toward tank units, but much of the advice also applies to tankless models.
Task 1: Clear Sediment From the Tank
This will be the single most important thing you can do for your water heater.
As time passes, minerals such as calcium and magnesium drift to the bottom of your tank. That’s particularly true if you have hard water. That layer of sediment acts like an insulator — your burner has to put in extra work to heat the water, wasting energy and reducing the lifespan of the unit.
Signs you need to flush:
- Sounds from the tank such as popping or rumbling
- Water takes longer to heat up
- Energy bills have gone up for no apparent reason
- Rusty or cloudy hot water
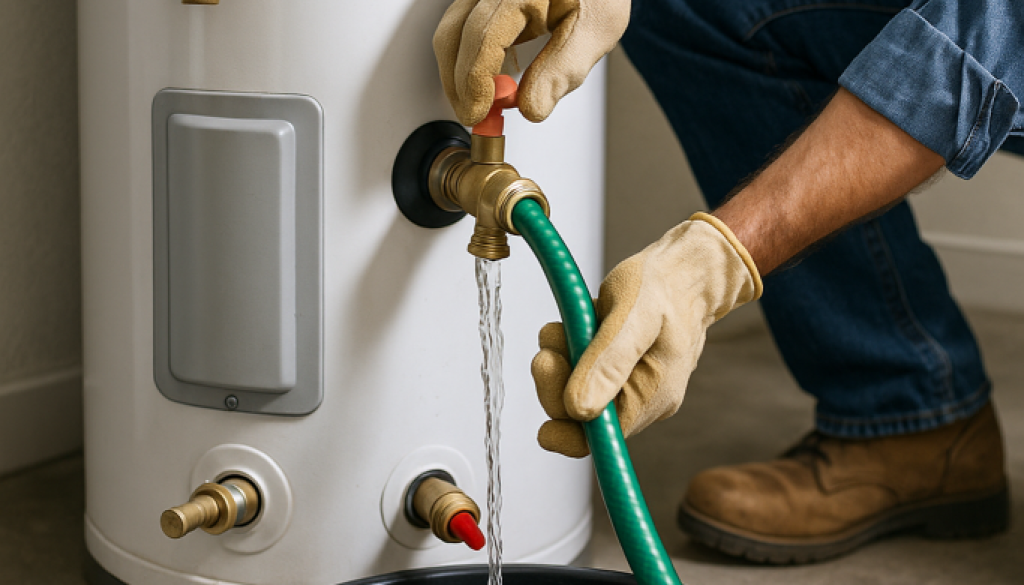
How to Flush Your Water Heater Step by Step
What you’ll need: Garden hose, flat-head screwdriver, work gloves
- Disconnect the power (electric) or set gas to “pilot”
- Attach a garden hose to the drain valve located at the bottom of the tank
- Run the hose outside or to a floor drain
- Shut the cold water supply inlet located at the top of the tank
- Turn on a hot water faucet somewhere in the house (this avoids a vacuum)
- Turn on the drain valve and let all the water out
- Turn the cold water on again briefly to stir up any remaining sediment, then drain again
- Close the drain valve, remove the hose, and refill the tank
- Reconnect power or gas after the tank is full
How often: Once a year. Every 6 months if you have hard water.
Pro Tip: The water that comes out might look brownish or gritty at first — that’s normal. That’s exactly what you want to get out of there.
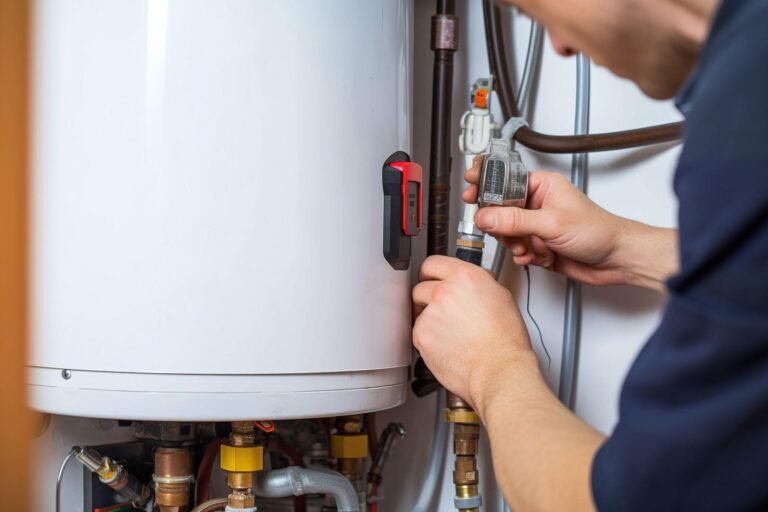
Task 2: Inspect and Replace the Anode Rod
One of the most neglected components of a water heater is its anode rod. But it’s one of the most significant.
This rod — typically made of magnesium or aluminum — hangs in your tank and sacrifices itself to protect the metal walls from rust. It dissolves slowly over time so your tank doesn’t have to.
After the anode rod is completely corroded, there’s nothing left to protect the tank. Rust forms quickly after that, and tank failure often follows.
How to Inspect the Anode Rod
What you’ll need: 1-1/16 inch socket wrench, Teflon tape, replacement rod (if necessary)
- Shut off the electricity and cold water supply
- Find the anode rod — it’s typically on the top of the tank, sometimes under a plastic cap
- Use the socket wrench to loosen and remove the rod
- Inspect it carefully
What you’re looking for:
| Condition | What It Means |
|---|---|
| Thick, solid rod | Still in good shape — reinstall it |
| Thinned to less than ½ inch | Replace it now |
| Coated in white calcium | Replace it soon |
| Completely gone or broken | Tank may already be damaged |
If the rod must be replaced, wrap the threads of a new one with Teflon tape, screw it in, and tighten securely. Don’t overtighten.
How often: Check every 2–3 years. Replace every 4–5 years, or sooner if necessary.
Task 3: Test the Temperature and Pressure Relief Valve
The T&P (Temperature and Pressure) relief valve is a vital safety mechanism. It opens automatically if the pressure or temperature inside your tank becomes dangerously high — avoiding a potential explosion.
This isn’t something to skip.
Fewer homeowners ever test this valve, and over the years it can get stuck in the closed position. When it fails when we most need it, the consequences can be catastrophic.
How to Safely Test the T&P Valve
What you’ll need: A towel or a small bucket
- Look for the valve on the side or top of the tank — it has a short lever and a pipe that goes down
- Put a towel or bucket under the discharge pipe
- Raise the lever briefly (a second or two)
- You should hear a rush of hot water or steam, and then it should snap shut
If the valve:
- Releases water and closes → All is well
- Doesn’t output anything → It could be jammed or broken — replace it
- Still drips after testing → It may be worn out — replace it
Replacing a T&P valve is something most homeowners can handle with common tools, but if in doubt, call a plumber.
How often: Test once a year. Replace every 5 years as a precaution.
Safety Warning: Do not plug or cap the discharge pipe. That pipe is a safety release — blocking it is life-threatening.
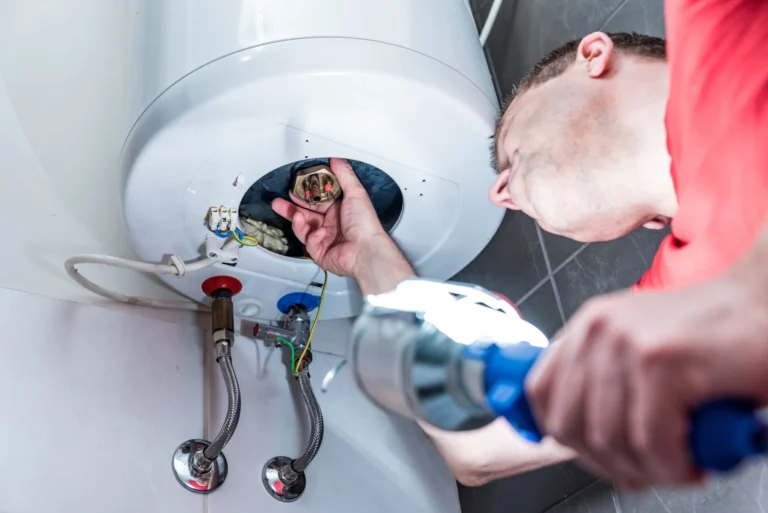
Task 4: Adjust the Temperature on Your Water Heater
Here’s a task that takes just two minutes but can make a real impact.
The U.S. Department of Energy recommends keeping your water heater set to 120°F (49°C). Many appliances leave the factory set at 140°F — which is higher than what most households require.
Why This Simple Setting Matters
Reducing from 140°F to 120°F can:
- Save you $36 to $61 annually in standby heat loss
- Reduce the risk of scalding, particularly for children and elderly people
- Reduce mineral deposit formation in the tank
How to Adjust the Temperature
For electric water heaters:
- Turn off power at the breaker
- Open up the access panels (typically 2 — top and bottom)
- Pull back the insulation carefully
- Adjust the thermostat dial using a flathead screwdriver
- Reinstall insulation and panels, then restore power
For gas water heaters:
- The thermostat dial is typically right on the front of the unit
- Set the dial to 120°F (some dials show “warm,” “hot,” and “very hot” — go for “hot”)
Households that may want 140°F:
- Households with individuals with compromised immune systems
- Houses with a dishwasher that lacks an internal heater
How often: Check the temperature setting once a year.
Task 5: Insulate the Hot Water Pipes and Tank
This is one of those maintenance tasks that’s easy to neglect — but it impacts your energy bill every single month.
As hot water flows through your pipes to a faucet, it loses heat as it travels. The same occurs as your tank sits idle — heat slowly leaks through the tank walls. This is known as standby heat loss.
Insulation reduces that heat loss significantly.
Insulating Your Hot Water Pipes
What you’ll need: Foam pipe insulation (available at hardware stores in pre-cut tubes)
- Measure the diameter of your hot water pipes
- Buy matching foam pipe insulation
- Snap it over the pipes — it’s pre-slit for easy installation
- Pay particular attention to the first 3 feet of pipe after exiting the water heater
Savings potential: Insulating pipes can increase water temperature by 2°F to 4°F, so you can turn the thermostat down but still enjoy the same comfort.
Should You Insulate the Tank Itself?
For pre-2004 tanks, an insulating blanket can decrease standby heat loss by 25–45%.
Most newer tanks already have embedded insulation rated at R-16 or higher — check your model’s manual before wrapping it.
| Tank Age | Insulation Blanket Needed? |
|---|---|
| Pre-2004 | Likely yes — check the tank’s R-value |
| 2004 or newer | Probably not — check the specs |
How often: A one-time install. Inspect for wear or damage every few years.
Task 6: Check for Leaks, Corrosion, and Red Flags
A quick visual inspection can spot little issues before they turn into major disasters.
Take 5–10 minutes a couple of times each year to carefully inspect your water heater. You are looking for early warning signs that things aren’t right.
What to Look For During Your Inspection
Around the base of the tank:
- Puddles or water stains (may suggest a slow leak or tank corrosion)
- Rust-colored water or mineral deposits
On the tank itself:
- Rust stains or discoloration on the outer shell
- Dents or bulging (this is a serious sign — call a plumber right away)
On the connections and valves:
- White or green mineral crust around pipe fittings (indicative of a slow drip)
- Corrosion on the cold inlet or hot outlet pipes
On the flue pipe (gas heaters only):
- Rust, gaps, or disconnected sections
- Yellow or orange flames rather than blue (blue = good, yellow = call a technician)
Inspection Checklist
| What to Check | What You’re Looking For | Action if Found |
|---|---|---|
| Base of tank | Puddles, rust stains | Call plumber |
| Pipe connections | Mineral crust, corrosion | Tighten or replace |
| T&P valve | Dripping, rust | Replace |
| Anode rod port | External rust | Inspect rod inside |
| Flue/venting (gas) | Gaps, rust, loose sections | Call technician |
| Pilot light (gas) | Yellow/orange flame | Call technician |
How often: Inspect visually every 3–4 months. It only takes a few minutes.
Task 7: Flush and Clean a Tankless Water Heater (If You Have One)
If you have a tankless water heater, sediment flushing isn’t required — but you still need to descale regularly.
Mineral deposits (especially calcium) build up on the heat exchanger inside a tankless unit over time. This process is called scaling, and it decreases efficiency and shortens the lifespan of the unit.
How to Descale a Tankless Water Heater
What you’ll need: Submersible pump, two hoses, 5-gallon bucket, food-grade white vinegar or descaling solution
- Cut power and gas to the unit
- Shut off the hot and cold water service valves
- Attach hoses to the service ports (most new tankless units come with these built in)
- Run the pump to circulate vinegar through the unit for 45–60 minutes
- Rinse with clean water to clear the vinegar
- Open service valves and restore power
How often: Once a year in hard water areas. Every 18 months in softer water regions.
Don’t Forget the Inlet Filter Screen
Most tankless water heaters come with a small mesh filter on the cold water inlet. This traps debris and sediment before they make their way into the unit.
- Shut off the cold water supply
- Unscrew the inlet filter
- Rinse it under running water
- Reinstall it
This takes less than 5 minutes and it’s easy to forget — but a dirty filter reduces flow and performance dramatically.
Full Maintenance Schedule at a Glance
Here is a simple schedule to keep everything on track:
| Task | Frequency |
|---|---|
| Flush sediment from tank | Every 6–12 months |
| Check anode rod | Every 2–3 years |
| Test T&P relief valve | Once a year |
| Adjust temperature setting | Once a year (or as needed) |
| Check pipe and tank insulation | Once a year |
| Visual inspection for leaks/corrosion | Every 3–4 months |
| Descale tankless unit | Once a year |
| Clean inlet filter (tankless) | Once a year |
Print this out and tape it to your water heater. Small reminders go a long way.
How Much Does Regular Maintenance Save You?
Let’s put real numbers to it.
| Maintenance Task | Estimated Annual Savings |
|---|---|
| Flushing sediment | $30–$60 (improved efficiency) |
| Lowering temperature to 120°F | $36–$61 |
| Insulating pipes and tank | $20–$45 |
| Fixing small leaks early | $100–$500+ (avoided repair costs) |
| Replacing anode rod on time | $500–$1,500 (avoided tank replacement) |
Total possible savings: $686–$2,186 annually when adding in avoided repairs and a longer lifespan.
That’s a great return for just a few hours of simple maintenance each year.
For more in-depth tips and expert guidance, visit Water Heater Care — a trusted resource dedicated to helping homeowners keep their water heaters running safely and efficiently.
When to Call a Professional
Certain jobs are better left to a licensed plumber. Call a professional if you:
- See a bloated tank or big rusty spots
- Smell gas around your water heater
- Have a yellow or orange flame on a gas burner
- Have rotten-egg smelling water (may be a bacterial issue)
- Have a total hot water failure with no direct reason
- Need to replace the T&P valve and don’t know how
According to the U.S. Department of Energy, professional annual inspections are advisable for units older than 7 years. A plumber might notice things the untrained eye cannot.
Water Heater Maintenance and Care: FAQs
Q: How long can you expect a water heater to last with proper maintenance? A tank water heater can last 12–15 years or longer with proper maintenance. Most units fail between 8–10 years without maintenance.
Q: How can I tell if my water heater needs to be replaced instead of repaired? Use the “Rule of 5,000.” Multiply the age of your unit by the cost to repair it. If it’s more than $5,000, replacement is usually best. For example, a 10-year-old unit requiring a $600 repair = 6,000. Consider replacing it.
Q: Is DIY water heater maintenance safe? Yes — the vast majority of the tasks in this guide are safe for homeowners. Always cut power or gas before touching anything electrical or mechanical. If you don’t know, get professional help.
Q: What would happen if I never flush my water heater? Sediment accumulates at the bottom of the tank. This makes the unit work harder, increases your energy bills, creates loud rumbling noises, and eventually damages the heating element or tank lining — causing premature failure.
Q: Do tankless water heaters require maintenance? Yes. Although a tankless unit doesn’t require sediment flushing, it still requires annual descaling, inlet filter cleaning, and visual inspection to remain in tip-top shape.
Q: How hot should the water heater be? Most households should set it to 120°F (49°C). It’s hot enough for daily use, safe enough to avoid scalding, and efficient enough to reduce energy costs.
Q: What would it cost to maintain a water heater yourself? The vast majority of DIY maintenance is extremely low-cost. Replacing an anode rod costs $20–$50. Pipe insulation runs about $10–$30. The greatest cost is your time — typically only an hour or two a year.
Keep It Running, Keep the Hot Water Flowing
Water heater maintenance and care guide tasks need not be complicated, costly, or time-consuming. All 7 tasks discussed in this article are absolute beginner-friendly and take no more than a single afternoon.
Here’s a brief reminder of what you can do today:
- Flush sediment from the tank for improved efficiency
- Inspect the anode rod and replace it if worn
- Test the T&P valve to make sure it’s functioning safely
- Adjust the temperature to 120°F to save energy and avoid scalding
- Insulate your pipes and tank to reduce standby heat loss
- Look for leaks, rust, and corrosion during regular inspections
- Descale and clean your tankless unit if you have one
Pick one task today. Every one you finish is an investment in your home’s comfort, safety, and long-term budget. A regularly maintained water heater is a reliable water heater — and that’s something worth protecting.