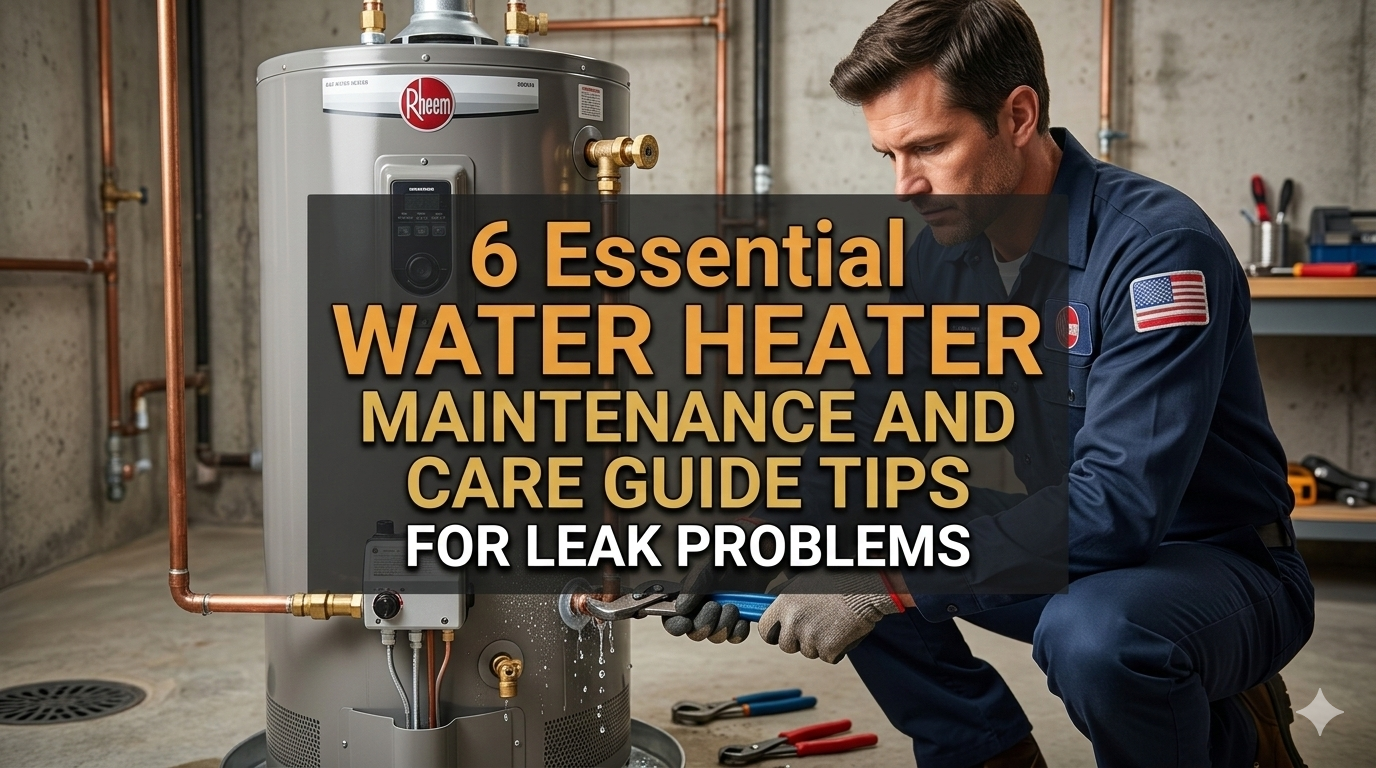
6 Essential Water Heater Maintenance and Care Guide Tips for Leak Problems
Meta Description: Water heater maintenance and care guide tips help you prevent costly leaks, extend your unit’s lifespan, and keep hot water flowing safely in your home.
Water Heater Maintenance Guide: Tips For Caring Your Unit And Preventing Costly Leaks
6 Tips of Maintaining Water Heater and Care Guide for Your Leak Problems
No one thinks about their water heater — until it starts to leak.
A puddle on the floor. A musty smell in the utility room. A rusty stain on the wall. These are indications that your water heater needs immediate attention.
The good news? Most water heater leaks can be avoided. The right water heater maintenance and care guide tips will have you preventing small issues in your water heater from becoming expensive disasters.
In this article, we put together 6 easy-to-follow tips that will help protect your water heater from leaks and save you money in the long run. For newer units and ones getting close to 10 years old alike, you can follow these steps.
Let’s get into it.
The Water Heater Leak: Why It’s a Big Deal, Bigger Than You Think
A little drip may not feel like an emergency. But water heater leaks can lead to significant damage quickly.
Here’s what you’re actually dealing with when a leak is left unattended:
| Problem | Potential Cost |
|---|---|
| Water damage to flooring | $500 – $5,000+ |
| Mold remediation | $1,000 – $6,000 |
| Full water heater replacement | $800 – $2,500 |
| Emergency plumber visit | $150 – $400/hour |
That’s not pocket change. And most of those costs result from waiting too long.
Water heaters last an average of 8 to 12 years. Neglecting to maintain can cut that lifespan in half. On the other hand, proper upkeep can push it long past 12 years.
How to Know If Your Water Heater Is Leaking (Before It Gets Serious)
Before getting into maintenance tips, first, you need to understand what to look for.
Red Flags That Should Never Be Overlooked
- Puddles or dampness around the bottom of the unit
- Rusty water from hot taps
- Squeaks or rattles when the heater is running
- Lower water pressure than usual
- Increase in your water bill for no reason
- Running out of hot water more quickly than usual
Any one of these signs is cause to check up on your water heater. If you see two or more signs together, it’s time to act — today.
Now, let’s dive into the six key ways to maintain your water heater and prevent leaks from ever happening.
Tip #1 — Flush Your Water Heater Tank Once a Year
This is the single most important thing you can do for your water heater.
Over time, minerals from your water supply — particularly calcium and magnesium — settle at the bottom of the tank. This layer of sediment accumulates steadily. You won’t notice it at first. But after a year or two, it begins to create real issues.
Sediment’s Effect on Your Tank
- It makes your heater work harder to heat water
- It traps heat at the bottom, which can crack or warp the tank
- It creates the perfect environment for rust and corrosion
- It causes pinhole leaks that develop into big ones
Flushing clears that sediment out before it can do damage.
How to Flush a Water Heater Step by Step
- Shut off power (electric) or set the gas to “pilot”
- Attach a garden hose to the drain valve at the bottom of the tank
- Take the other end of your hose to a floor drain or outside
- Turn on a hot water tap somewhere in your house to avoid a vacuum
- Turn the drain valve open and allow water to run out completely
- After it has drained, briefly turn your cold water supply back on to churn up any remaining sediment
- Drain until the water runs clear
- Turn the drain valve back off, disconnect the hose, and refill the tank
- Reestablish electricity or re-ignite the pilot
Do this once a year. If your area has hard water, you might even want to do it twice a year.
Pro Tip: Have a plumber out first if you’ve never flushed the water heater and it’s older than 5 years. Sometimes when old sediment gets stirred up, it can clog the drain valve.
Tip #2 — Check the Anode Rod for Wear and Tear
The anode rod is probably the most neglected part of a water heater. But it’s the primary thing that separates your tank from rust.
What Exactly Is an Anode Rod?
It’s a long metal rod — typically made of magnesium, aluminum, or zinc — that hangs inside your tank. Its role is to draw corrosive elements in water. Instead of those elements attacking your tank, they attack the rod.
This is known as sacrificial corrosion. The tank is protected at the expense of the rod.
But of course, the rod eventually exhausts its ability to give. When it’s expended, corrosion eats into the tank itself. And a corroded tank leaks.
How Often Should You Check It?
| Water Heater Age | Inspection Frequency |
|---|---|
| 0–2 years | Every 2 years |
| 3–5 years | Once a year |
| 6+ years | Every 6–12 months |
For homes with water softeners, check even more often. Rod depletion is actually accelerated by softened water.
Signs the Rod Needs Replacing
- It measures less than ½ inch thick (the original is closer to 1 inch)
- It’s coated in white calcium deposits
- There are large gaps or holes in the rod
- The steel core wire that runs through it is visible
The part alone runs about $20–$50 to replace an anode rod. That’s a minor investment compared to replacing a whole rusted-out tank.
Tip #3 — Monitor the Pressure Relief Valve
The temperature and pressure relief valve — or T&P valve for short — is one of the most important safety devices in a water heater. It’s built to vent pressure if the tank becomes too hot or too pressurized.
If that valve fails, the pressure inside the tank can rise to dangerous levels. In the worst case, a failed T&P valve can cause a tank explosion.
That’s not a scare tactic. That’s physics.
Where Is It Located?
The T&P valve is on the side of the tank, near the top. It has a small lever and a discharge pipe that runs downward, normally toward a floor drain.
How to Test the T&P Valve
It takes about 30 seconds to test it:
- Place a bucket below the discharge pipe
- Pull up on the lever for 2–3 seconds
- Hot water should flow out
- Let go of the lever — the water should stop
If no water emerges, or if water continues to drip after you let the lever go, the valve is defective and should be replaced immediately.
Test this valve once a year. Replacement valves run between $15 and $35 and typically take an hour to install.
How to Tell If the T&P Valve Is Leaking
- Constant dripping from the discharge pipe
- Mineral deposits or rust stains around the valve
- The lever seems stuck or loose
A T&P valve that’s leaking isn’t merely annoying. It means there is something wrong — either the valve itself is malfunctioning, or the pressure and temperature inside the tank are too high.
Tip #4 — Inspect All Pipe Connections and Fittings
Not every leak originates from within the tank. So many water heater leaks actually begin at the pipe connections on top of the unit.
The Two Main Connection Points
Cold water inlet: This is where cold water flows into the tank from your home’s supply line.
Hot water outlet: This is the point where heated water exits the tank, heading toward your faucets and showers.
Both of these connections use fittings that can gradually loosen under constant water pressure, vibration, and temperature swings.
How to Inspect Pipe Connections
- Check for any white mineral deposits (calcium buildup) at fittings
- Run over connections with a dry paper towel — even minor leaks will leave moisture
- Look for rust or discoloration around joints
- Check beneath the connection points for drip marks
Here’s What to Do If You Discover a Leak
If the drip is minor, a plumber can typically tighten or reseal that connection in less than an hour. For larger leaks or corroded fittings, you may need a complete pipe replacement.
Don’t force-tighten corroded fittings yourself. Old metal can fail under pressure, turning an irritating drip into a deluge.
Flexible Connectors — A Special Note
Water heaters typically use flexible stainless steel braided connectors as opposed to rigid pipes. These are great for absorbing vibration, but they also wear out after about 10 years. Inspect them for:
- Cracks or bulging in the outer braid
- Rust spots
- Kinks or bends in the hose
Replace them proactively before they fail.
Tip #5 — Find the Right Temperature (Yes, It Matters More Than You Think)
The thermostat on your water heater probably never gets touched by most homeowners. It’s set at the factory and left untouched.
That’s a mistake.
The Issue With Setting It Too High
The factory temperature setting for many water heaters is 140°F. That’s hotter than most people require. Running your heater at that temperature:
- Increases pressure inside the tank
- Increases wear on the tank lining and seals
- Increases the likelihood of leaks over time
- Raises your energy bill
So, What’s Wrong With Setting It Too Low?
When set below 120°F, there is another risk. Legionella bacteria — which causes Legionnaire’s disease — can thrive in water that isn’t hot enough.
The Sweet Spot
The U.S. Department of Energy recommends 120°F for most homes. This keeps a balance between safety, efficiency, and tank life.
| Temperature Setting | Risk Level | Notes |
|---|---|---|
| Below 110°F | High (bacteria) | Not recommended |
| 110°F – 119°F | Moderate | Borderline safe |
| 120°F | Ideal | Best for most homes |
| 121°F – 130°F | Moderate (pressure) | Higher wear on parts |
| 140°F+ | High (pressure + burns) | Only for some dishwashers |
How to Adjust the Temperature
For gas heaters: There’s normally a dial on the gas valve. Rotate it to the setting you want.
For electric heaters: You might have to remove an access panel and adjust the thermostat directly. Turn off the power first.
Allow the adjusted heater to settle for 1–2 hours, then test with a thermometer at your hot tap.
Tip #6 — Install a Water Heater Drip Pan and Leak Detector
Even if you regularly maintain a water heater, it can still fail. When they do, you want to catch the issue early — before water seeps into your floor, walls, or ceiling (especially if an upper-floor unit is involved).
What Is a Drip Pan?
A drip pan is a shallow tray, usually metal or plastic, that you place beneath your water heater. If the tank develops a small leak or the connections drip, the pan collects the water.
Most drip pans have a drain port that allows you to attach a small hose that directs water to a floor drain.
Drip pans cost $15–$40. They are simple, effective, and many building codes mandate their use for water heaters installed indoors.
Pairing the Pan With a Leak Detector
A drip pan is passive. A leak detector is active — it lets you know the instant it finds moisture.
Today’s leak detectors are small devices placed in or near the pan. When water touches them, they:
- Sound a loud alarm
- Send an alert to your smartphone (for smart models)
- Can even shut off your water supply automatically (on higher-end systems)
Recommended Setup
| Component | Cost | Function |
|---|---|---|
| Drip pan | $15–$40 | Catches dripping water |
| Basic leak detector | $10–$25 | Audible alarm when wet |
| Smart leak detector | $30–$80 | App alerts + auto shutoff |
| Full leak detection system | $100–$300 | Whole-home protection |
This duo — pan plus detector — provides both passive and active protection. It’s one of the smartest things you can do for any water heater located indoors.
Water Heater Maintenance Schedule at a Glance
Here’s a handy reference chart to help you stay on top of your maintenance:
| Task | Frequency | DIY or Pro? |
|---|---|---|
| Flush the tank | Every 12 months | DIY (or Pro) |
| Inspect anode rod | Every 1–2 years | DIY (or Pro) |
| Replace anode rod | Every 3–5 years | DIY (or Pro) |
| Test T&P valve | Every 12 months | DIY |
| Replace T&P valve | Every 5–7 years | Pro recommended |
| Inspect pipe connections | Every 6 months | DIY |
| Check flexible connectors | Every 2–3 years | DIY |
| Verify thermostat setting | Every year | DIY |
| Check drip pan condition | Every 6 months | DIY |
| Test leak detector | Every 6 months | DIY |
Print it out or save it on your phone. Set reminders. Ongoing maintenance is what keeps your water heater working safely for a long time.
When to Call a Professional Plumber
Some tasks are perfectly fine to handle yourself. Others need a licensed plumber.
Call a pro if you notice:
- Water actively spraying from the tank or fittings
- The T&P valve keeps dripping after testing
- Rust-colored water that won’t resolve after a flush
- Your water heater is more than a decade old and exhibiting multiple signs
- You detect gas around a gas water heater (leave the house and call your gas company immediately)
It is not a disgrace to ask for help. It takes a professional to diagnose issues that may not be apparent to the untrained eye. And identifying a serious problem early is always less expensive than suffering a complete tank failure.
Frequently Asked Questions: Water Heater Maintenance and Leak Prevention
Q: How can I tell if my water heater is leaking from the tank itself or from a pipe?
Wipe the area completely dry with towels and then put dry paper towels around different areas — base, connections, T&P valve. Wait half an hour, and see which paper towel is wet. That tells you the source.
Q: If my water heater has a minor leak, can I continue using it?
Not for long. Even relatively small leaks tend to quickly escalate. A slight drip at a fitting may not be so bad, but a leak from the tank body indicates the tank is failing and should be replaced soon.
Q: What is the lifespan of a water heater with regular maintenance?
With routine maintenance — annual flushing, replacing the anode rod, and checking the T&P valve — a quality tank water heater can last 12 to 15 years. Some last even longer.
Q: Should water from the T&P valve occasionally drip?
A small amount of dripping during heating cycles may occur if pressure is slightly high. But a continuous drip is not normal and indicates an issue with either the valve or the tank pressure.
Q: Should I buy a tankless water heater to get around these problems?
Tankless heaters have fewer corrosion-related issues, but they still require servicing — namely descaling to get rid of mineral deposits. They’re not maintenance-free. They just have different needs.
Q: What could happen if I never flush my water heater?
Sediment accumulates and insulates the water from the heating element. The heater has to work harder and consumes more energy, and the bottom of the tank can overheat and crack. Most prematurely dead tanks die from lack of flushing.
Q: Can water heaters explode?
Very rarely, yes — only if the T&P valve fails, causing pressure to build to catastrophic levels. That is why it is vital to test and replace the T&P valve on a timely basis. Well-maintained heaters are very safe.
Wrapping It All Up
Your water heater is one of the hardest-working pieces of equipment in your home, doing its job quietly. It deserves some attention in return.
These six water heater maintenance and care tips are not complex. They don’t take a ton of tools or technical skill. But they play a huge role in preventing leaks, prolonging the life of your unit, and protecting your home from water damage.
Here’s the quick recap:
- Flush the tank annually to clear out sediment
- Inspect the anode rod and replace it when necessary
- Test the T&P valve annually and change it every 5–7 years
- Check each pipe connection every six months for drips or rust
- Set the thermostat to 120°F to reduce pressure and bacteria risk
- Install a drip pan and leak detector to be alerted before disaster strikes
Begin with one tip this weekend. Then go down the list. A few hours of maintenance now can save you thousands of dollars — and a huge headache — down the road.
Your future self will thank you for it.