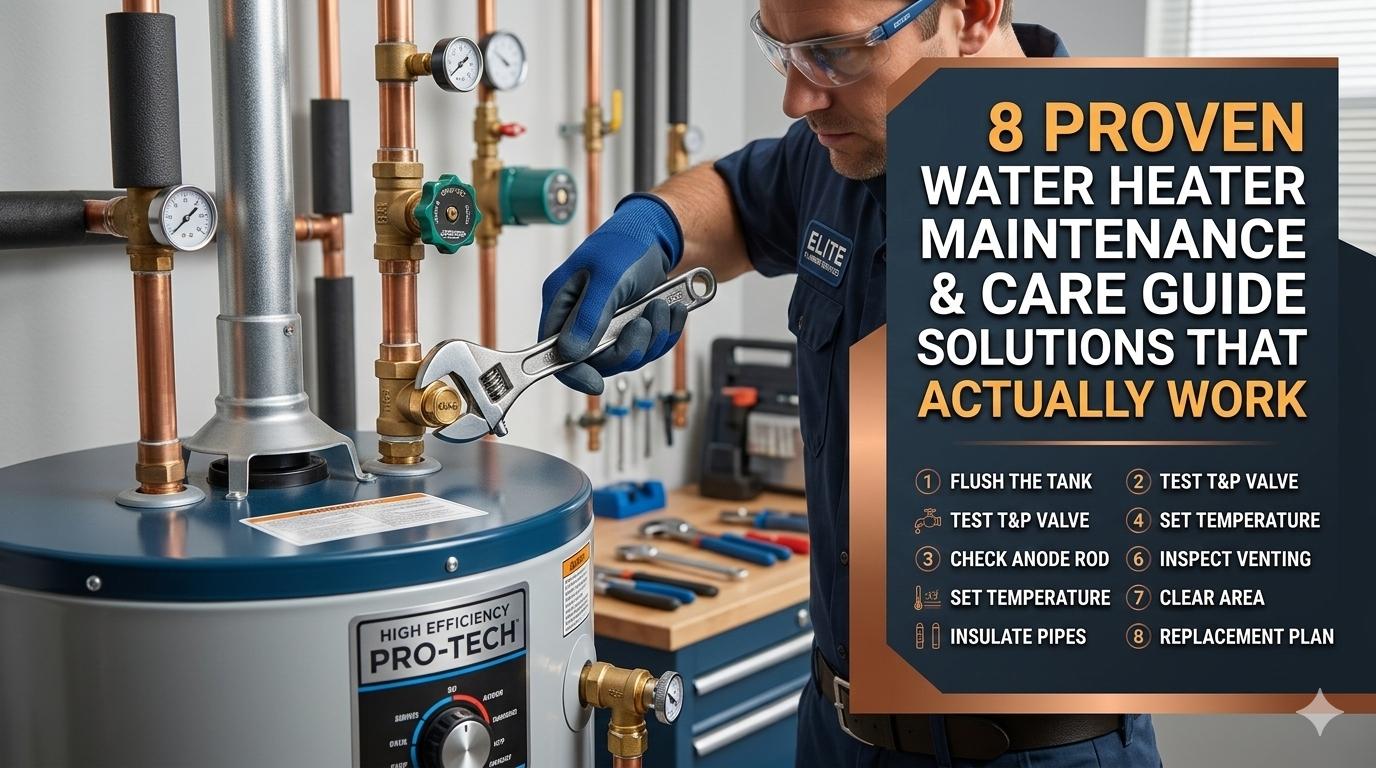
8 Proven Water Heater Maintenance and Care Guide Solutions That Actually Work
Meta Description: Water heater maintenance and care guide tips that actually work — protect your unit, cut energy bills, and extend its lifespan with these 8 proven solutions.
8 Effective Water Heater Maintenance and Care Guide Solutions
Your water heater operates 24/7. Most of us never think about it — until it fails.
No hot showers, whammy repair bills and a whole lot of angst. The good news? The majority of problems with a water heater will have been preventable.
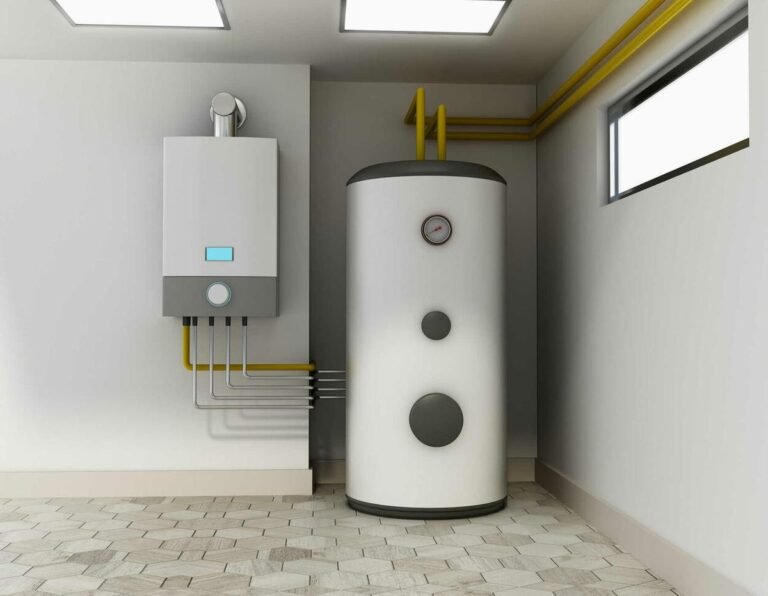
This water heater maintenance and care guide will take you through 8 simple, real solutions that sincerely prolong your unit life, save money, and allow hot water to run all year long. These tips apply whether your heater is tank-type or tankless.
Let’s get into it.
The Crucial Importance of Water Heater Maintenance
Water heaters usually last eight to 12 years. But many of them fail early — not because there were bad parts, but because they got zero maintenance.
Neglected heaters collect sediment, corrode from the inside out and try to heat water twice as much. And that raises your energy bill and reduces the unit’s lifespan.
Regular maintenance can:
- Extend your heater life by 3–5 years
- Cut energy costs by up to 20%
- Prevent emergency breakdowns
- Maintain a clean water supply
It’s like an oil change for your car. Neglect it long enough, and that repair bill will skyrocket.
Solution #1 — Flush the Tank Once a Year (Yes, Every Year)
Your water heater’s No. 1 enemy is sediment.
Over time, minerals such as calcium and magnesium will accumulate at the bottom of your tank. The sediment layer forms a sort of insulator between the heating element and the water. Your heater has to work harder, consume more energy and still produce lukewarm results.
The Correct Way to Flush Your Water Heater
Here’s a simple step-by-step process:
- Shut off power (electric) or turn gas to pilot
- Turn off the cold water supply valve
- Attach a garden hose to the drain valve on the bottom
- Take the other end of the hose outside or to a drain
- Open a hot water tap in your house to relieve pressure
- Open the drain valve and allow water to gradually flow out
- Briefly turn back on the cold water supply to flush out any remaining sediment
- Shut the drain valve, re-fill the tank and restore electrical power
Pro Tip: If you see brown or sandy water, flush it again until it clears.
Do this once a year. If you have hard water, do it every 6 months.
Solution #2 — Inspect and Change Out the Anode Rod
This one is the least mentioned topic in any water heater maintenance and care guide — yet it’s among the most important.
The anode rod is a long piece of metal (generally magnesium or aluminum) that hangs inside your tank. Its only job is to rust so that your tank doesn’t have to. It literally gives up itself to protect the steel tank walls.
When the rod is completely corroded, your tank will rust. At that point, the tank is toast.
When Should You Replace It?
| Anode Rod Condition | Action Required |
|---|---|
| Thick and solid | Leave it alone |
| Slightly worn (under 50%) | Monitor |
| More than 50% corroded | Replace immediately |
| Completely gone | Tank may already be damaged |
Inspect the rod every 2–3 years. Replacement rods range from $20 to $50 and only take around 30 minutes to switch out.
To do so, find the hex head on top of your heater (often behind a plastic cap), take a 1-1/16 inch socket wrench, and unscrew it. If you see a thin wire or it’s crumbling, it’s time for a new one.
Solution #3 — Check the Temperature and Pressure Relief Valve
The T&P valve (temperature and pressure relief valve) is a safety device. This valve opens to prevent something bad from going wrong if your tank becomes too hot or pressurized.
If it fails, you might find yourself with a serious problem on your hands.
How to Test It Safely
- Put a bucket underneath the discharge pipe
- Pull the test lever for 3–5 seconds
- Water needs to come out, then stop cleanly once you release it
If there’s no water coming out, or if it continues to drip after you release the lever, that valve needs to be replaced immediately.
Cost to replace: $15–$40 for the part, plus labor if you hire a plumber.
Test this valve once a year. This process takes less than 2 minutes and can prevent a tank explosion.
Solution #4 — Use the Right Temperature (Not Too Hot, Not Too Cold)
The vast majority of water heaters are set at the factory to 140°F. That’s actually too hot for most homes.
The U.S. Department of Energy advises setting your water heater to 120°F. Here’s why that matters:
- Safety: Water heated to 140°F can cause scalding burns in as little as five seconds
- Energy savings: Each 10°F reduction saves 3–5% on your water heating bill
- Less mineral buildup: Cooler temps slow down sediment accumulation
And on the other end, don’t go lower than 120°F. Temperatures beneath 120°F can give harmful bacteria like Legionella a chance to proliferate in the tank.
How to Adjust the Temperature
Gas heater: Find the dial on the gas control valve. Set it to the “warm” or 120° setting.
Electric heater: Shut off the breaker, take out the access panel, pull aside the insulation and use a flat-head screwdriver to change the setting on the thermostat.
Use a kitchen thermometer to check the temperature at your tap. Let the hot water run for 2 minutes and then check.
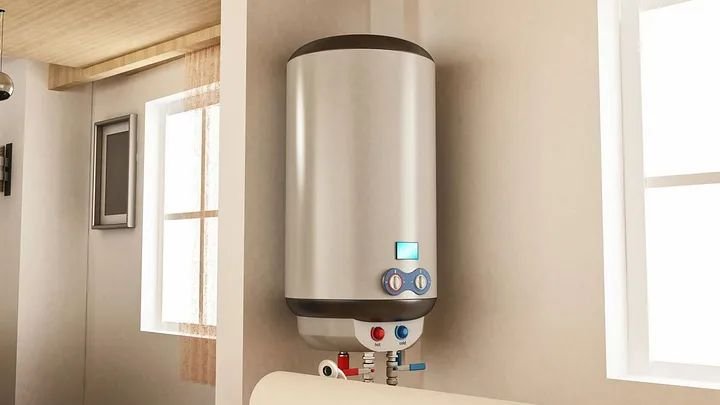
Solution #5 — Insulate the Tank and Pipes
Here’s a simple fix that most homeowners overlook: insulate your water heater.
Tanks lose heat through their walls — this is known as “standby heat loss.” You’re essentially paying to heat water that just sits cooling off waiting to be put into use.
A water heater blanket (also known as an insulation jacket) wraps around the outside of the tank and reduces standby heat loss by 25–45%.
What You Need
- Water heater insulation blanket (~$30)
- Pipe insulation foam (~$10–$20 for a pack)
- Scissors or a utility knife
- Tape
Important: Do NOT cover the top, the thermostat or the burner at the bottom of a gas heater. For electric heaters, do not cover the thermostat access panels.
Also insulate the first 6 feet of hot water pipes that come out of your heater. This keeps water hotter longer and speeds up access to hot water at the tap.
Solution #6 — Fix Leaks Before They Turn Into Disasters
A little drip by your water heater is never “just a little drip.”
Leaks spell corrosion, water damage to your floors and walls and potential mold growth. Catching them early is key.
Common Places Leaks Show Up
| Location | Likely Cause |
|---|---|
| Around the T&P valve | Valve needs replacing |
| At the drain valve | Loose or worn valve |
| At pipe connections | Loose fittings |
| At the bottom of the tank | Internal corrosion (serious) |
If the leak is coming from the bottom of the tank itself, that’s a sign of internal rust. By then, that heater often requires complete replacement — no patch is going to solve the situation.
For pipe connections and drain valves, you can often quickly fix the issue by tightening the fittings or replacing a valve.
Inspect your heater once every few months. Keep an eye out for wet spots, rust stains or mineral deposits (white crusty buildup) around connections.
Solution #7 — Keep the Area Around Your Heater Clear
This one sounds too easy, but it creates real problems.
Water heaters — particularly gas models — need proper airflow to operate safely and efficiently. Placing boxes, cleaning agents or other items around your heater impairs ventilation and creates a fire hazard.
Rules to Follow
- Maintain at least 18 inches of clearance on every side of a gas water heater
- Never place flammable items (paint, gasoline, solvents) near any heater
- Check that the flue pipe (on gas models) is not blocked or damaged
- Keep the space dry — moisture causes rust and corrosion on the unit
For tankless heaters, make sure the venting is clear and clean. Blocked vents trigger error codes and shutdowns.
It’s also easier to maintain the heater without objects around it. You can inspect it easily, catch problems early and get into it without having to shift half your garage.
Solution #8 — Schedule a Professional Inspection Every 1–2 Years
DIY maintenance goes a long way. But there are some things that should be left to a licensed plumber.
A professional is trained to spot issues you may not notice — early-stage corrosion, a faulty thermostat or a gas valve that isn’t opening properly. Identifying these issues early is almost always more cost-effective than paying for emergency repairs.
What a Pro Will Check
- All connections for leaks and corrosion
- Burner performance (gas models)
- Heating elements (electric models)
- Venting and exhaust systems
- Anode rod condition
- Overall efficiency and output
Cost: The average price for a simple water heater inspection is $50–$150. That’s a small price compared to an emergency replacement that costs $1,200.
While your plumber is on-site, have them flush the tank. Most plumbers offer this as part of a maintenance visit.
Water Heater Maintenance Schedule at a Glance
Stay on top of every task with this quick-reference chart:
| Task | Frequency | DIY or Pro? |
|---|---|---|
| Drain the tank | Once a year (every 6 months for hard water) | DIY |
| Inspect anode rod | Every 2–3 years | DIY or Pro |
| Test T&P valve | Annually | DIY |
| Check water temperature | Annually | DIY |
| Look for leaks | Every 3–6 months | DIY |
| Check pipe insulation | Annually | DIY |
| Clear surrounding area | Quarterly | DIY |
| Professional inspection | Every 1–2 years | Pro |
Signs Your Water Heater Is Trying to Tell You Something
Even between maintenance inspections, your water heater will alert you. Pay attention to these:
Rusty or discolored water — Could mean the bottom of the tank is rusting. Check the anode rod first.
Rumbling or banging sounds — Almost always sediment buildup at the bottom. Time for a flush.
Water that takes ages to heat up — Could be a faulty heating element or a thick layer of sediment.
Inconsistent water temperature — Indicates a thermostat issue or a heating element that’s worn out.
Higher energy bills without explanation — A struggling heater must work harder and consume more power.
Water pooling around the base — Could be a serious internal leak. Call a plumber.
Don’t ignore these signs. Timely action saves money and prevents bigger problems down the road.
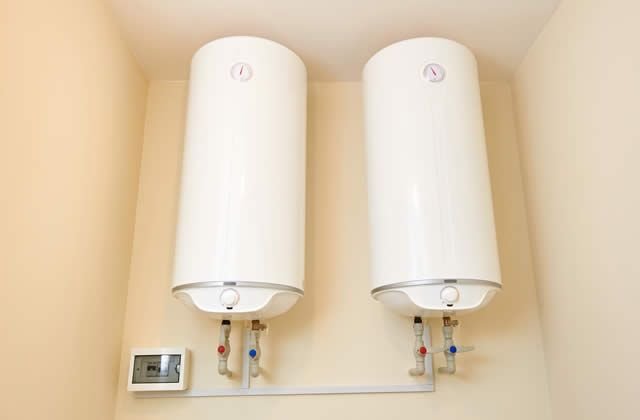
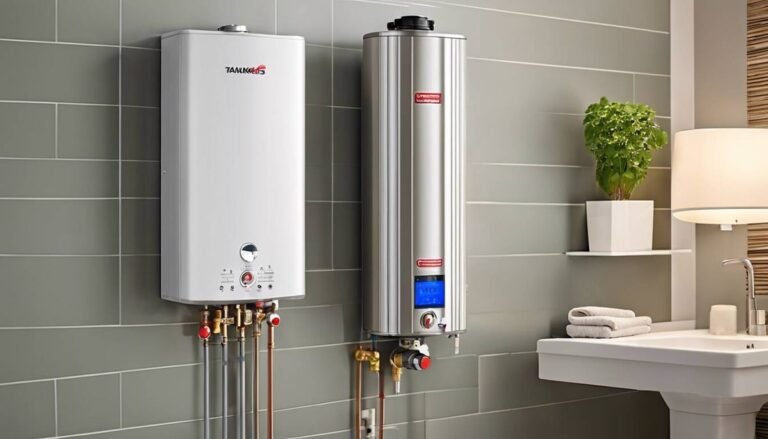
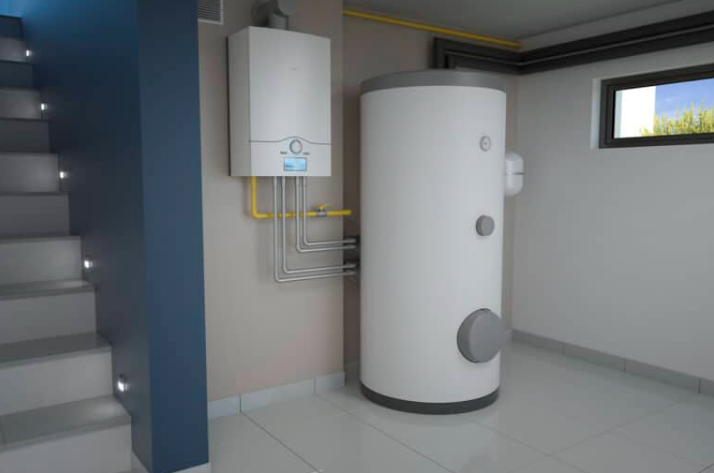
Tank vs. Tankless: Is Maintenance Different?
Yes — but not by much.
According to the U.S. Department of Energy, proper maintenance of both tank and tankless water heaters can significantly reduce energy costs and extend equipment life.
| Maintenance Task | Tank Heater | Tankless Heater |
|---|---|---|
| Flushing | Annual tank flush | Annual descaling flush |
| Anode rod | Check every 2–3 years | Not applicable (most models) |
| Filter cleaning | Not applicable | Clean inlet filter annually |
| T&P valve testing | Yes | Yes (if applicable) |
| Professional inspection | Every 1–2 years | Every 1–2 years |
Tankless heaters require descaling rather than flushing. Mineral buildup forms in the heat exchanger and can reduce efficiency. Get a descaling kit or call a pro.
Insulated pipes, temperature checks and regular professional inspections are beneficial to both types.
Frequently Asked Questions
How often should I service my water heater? Flush the tank and test the T&P valve at least once a year. Check the anode rod every 2–3 years. Check for leaks every few months. Get a pro inspection every 1–2 years.
Can I perform water heater maintenance myself? Most fundamental tasks — flushing, adjusting the temperature, checking for leaks — are DIY-friendly. Replacing the anode rod requires a little more skill but is still very doable. Gas valves and major repairs are always best left to a licensed plumber.
How can I tell if my water heater is going bad? Watch for rusty water, banging sounds, slow heating, water pooling around the base or a sudden rise in energy bills. All of these are red flags that something isn’t right.
Does the hardness of water affect maintenance frequency? Yes. Higher mineral content means sediment builds up faster and the anode rod corrodes more quickly. If you have hard water, be sure to flush your tank every six months rather than annually.
Is it worth maintaining an old water heater? If your heater is less than 10 years old, maintenance is virtually always worth it. If it’s more than 12 years old and is having problems, replacement may be a better investment than continuing to pay for repairs.
What happens if you never flush your water heater? Sediment accumulates, efficiency drops, energy bills increase and the tank corrodes more rapidly. In extreme cases, heavy sediment can split the tank lining and result in leaks.
How much will a new water heater cost if mine breaks? Tank water heaters cost $400–$1,500 installed. Tankless models run $1,000–$3,500 installed. Regular maintenance postpones that expense for years.
Can a water heater explode? A failing T&P valve combined with extreme pressure or temperature can cause serious damage. It is rare, but this is precisely why it’s so critical to test the T&P valve at least once per year.
Wrapping It All Up
Other than that, your water heater doesn’t make demands — just a bit of attention once or twice a year.
This guide to maintaining and caring for your water heater covers everything you need to keep your unit running at peak efficiency, save money on energy costs and prevent those cold-shower emergencies. Flushing the tank, replacing the anode rod, arranging for a pro to inspect — all 8 solutions here do real work in prolonging your heater’s life.
Start with the easy ones. Flush the tank. Test the T&P valve. Set to 120°F — then go from there.
A well-maintained water heater can last 15 years or longer. Is that not worth an hour of your time every year?