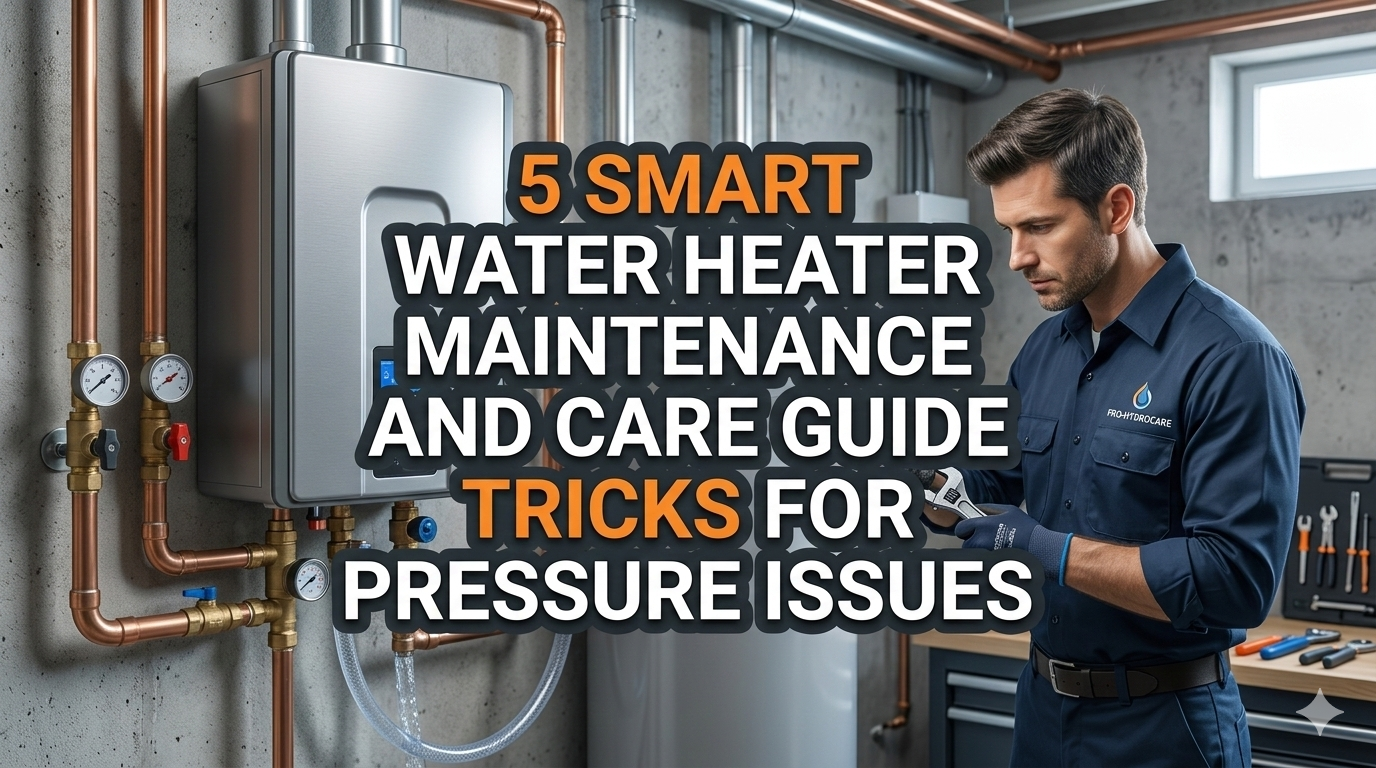
5 Smart Water Heater Maintenance and Care Guide Tricks for Pressure Issues
Meta Description: Smart water heater maintenance and care guide tricks for pressure issues can save you from costly repairs. Learn 5 proven tips to keep your system safe and efficient.
5 Mind-Blowing Tricks to Solve Pressure Problems: Smart Water Heater Maintenance and Care Guide
Is your water heater acting up and making weird sounds? Do you experience pressure drops whenever you switch on the tap for hot water? You are not alone. Every year, millions of homeowners experience water heater pressure problems — and the vast majority are unaware of the simple tricks that can repair or prevent them.
Water heater pressure problems are sneaky. They start small. And then, the next thing you know, you are contending with a burst pipe, a flooded basement, or a water heater that has stopped working altogether. The good news? With the right maintenance habits, most pressure issues are entirely preventable.
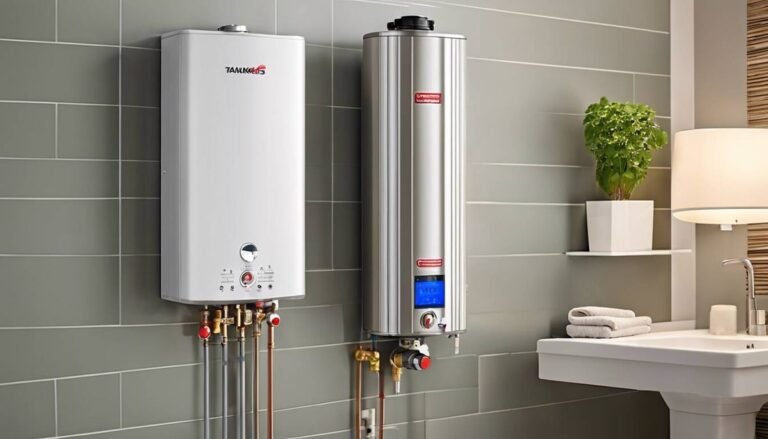
In this guide, we will go through 5 smart water heater maintenance and care guide tricks that specifically target pressure problems. Whether your heater is tank-style or a tankless unit, these tips can keep trouble at bay — and ensure that hot water flows safely within the confines of your home.
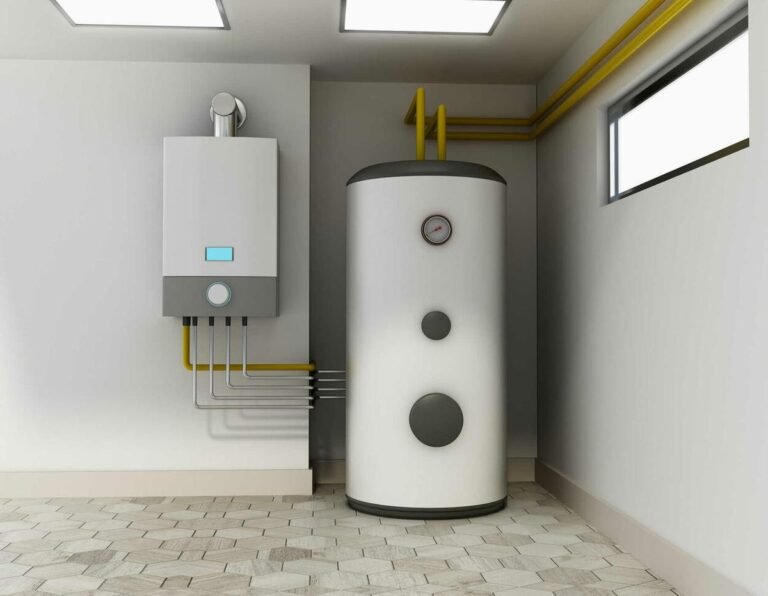
The Importance of Water Heater Pressure Issues
Before you dive into the tricks, it helps if you understand why pressure is so important.
Your water heater runs at a continuous pressure. Cold water flows into the tank, is heated up inside it, and passes through your pipes at a specific pressure level. When that pressure builds too high — or drops too low — everything goes wrong quickly.
High pressure can cause:
- Leaking valves and joints
- Pipe damage
- Tank ruptures (in extreme cases)
- Wasted energy
Low pressure can cause:
- Weak hot water flow
- Inconsistent temperatures
- Damage to the heating element over time
Most residential units operate best between 50 and 80 PSI (pounds per square inch). If you experience more than 80 PSI, you are endangering your system.
| Pressure Level | PSI Range | What It Means |
|---|---|---|
| Too Low | Below 40 PSI | Weak flow, may damage the heater |
| Normal | 50–80 PSI | Safe and efficient operation |
| High | 80–100 PSI | Potential leaks and valve failure |
| Dangerous | Above 100 PSI | Immediate risk of rupturing the tank |
Now, here are the five smart tricks every homeowner needs to know.
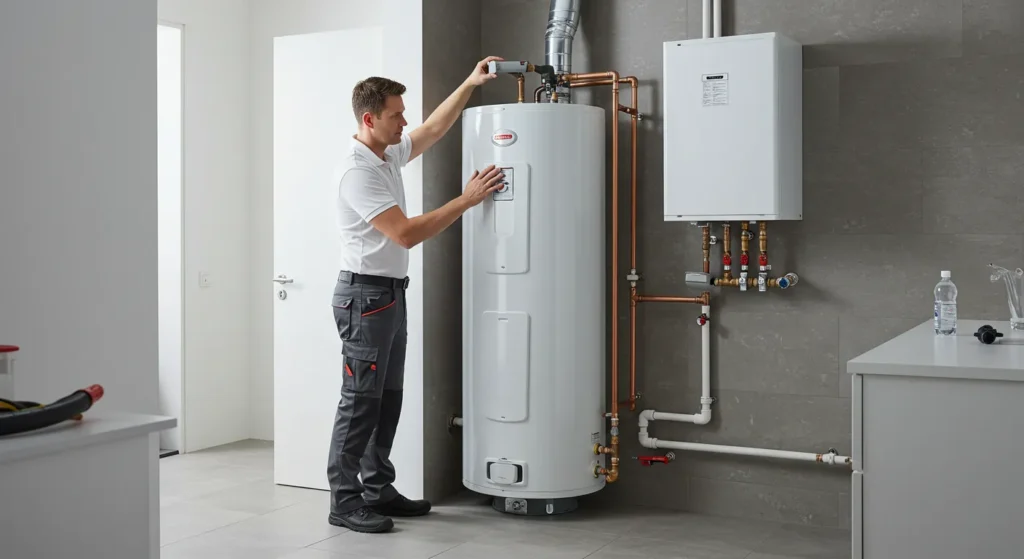
Trick #1 — Inspect and Test Your Temperature & Pressure Relief Valve Twice a Year
What Is the T&P Relief Valve?
The Temperature and Pressure Relief (T&P) valve is the most significant safety device on your water heater. Its purpose is to automatically open in the event that excessive pressure or high temperature develops inside the tank. Consider it a pressure release valve for your water heater.
If this valve fails, excess pressure has nowhere to go. That is when the serious accidents occur.
How to Test It the Right Way
Testing this valve is simple. This one doesn’t require a plumber.
Here’s what to do:
- Turn off the power to your water heater (or put gas into “pilot” mode).
- Put a bucket under the discharge pipe from the T&P valve.
- Press down on the test lever of the valve for around 3 seconds.
- Hot water should come pouring into the bucket.
- Let go of the lever and it will snap back into place.
- If water continues to drip after you let go, the valve may be worn and need replacing.
Signs and Symptoms of T&P Valve Failure
- You hear a hissing sound next to the valve
- Puddling water at the base of the heater
- The lever is stiff or won’t move
- You test it and no water comes out
If you suspect the T&P valve is faulty, it should be replaced immediately. It typically costs $15 to $40 for a new one, and installation is easy for most do-it-yourselfers.
Tip: Never plug or cap the T&P valve discharge pipe. This is very dangerous and can cause a tank explosion.
Trick #2 — Ditch the Sediment, Flush Your Tank Once a Year
The Inside Job: An Invisible Thief of Pressure in Your Tank
Here’s something most people don’t know: sediment is a leading cause of pressure problems in water heaters.
Over time, minerals such as calcium and magnesium build up at the bottom of your tank. This layer of sediment serves as an insulator between the heating element and the water. Your heater needs to work overtime. Heat gets trapped. The pressure in the tank builds unevenly.
The result? It puts more stress on your tank, uses more energy, and shortens the life of your unit.
How to Flush the Tank of Your Water Heater
Flushing your tank once per year will remove this sediment and keep pressure levels consistent. Here’s the step-by-step process:
- Stop the power or gas supply to the heater.
- Attach a garden hose to the drain valve at the bottom of the tank.
- Guide the hose to a floor drain, outside, or into a large bucket.
- Close the cold water supply to the heater.
- Turn on a hot water faucet in the home to avoid vacuum formation.
- Open the drain valve and allow for complete drainage.
- Briefly turn the cold water supply back on to agitate and flush out any remaining sediment.
- After the water runs clear, close the drain valve and refill the tank.
- After the tank is full, restore power or gas.
How Much Is Too Much Sediment?
| Sediment Level | Signs | Action Needed |
|---|---|---|
| Mild | Slightly cloudy water | Annual flushing |
| Moderate | Rumbling/popping noises | Flush immediately |
| Heavy | Rusty water, weak hot water | Flush + inspect anode rod |
| Severe | No hot water, major pressure issues | Consider replacement |
Households with hard water will have to flush their tanks twice a year rather than annually.
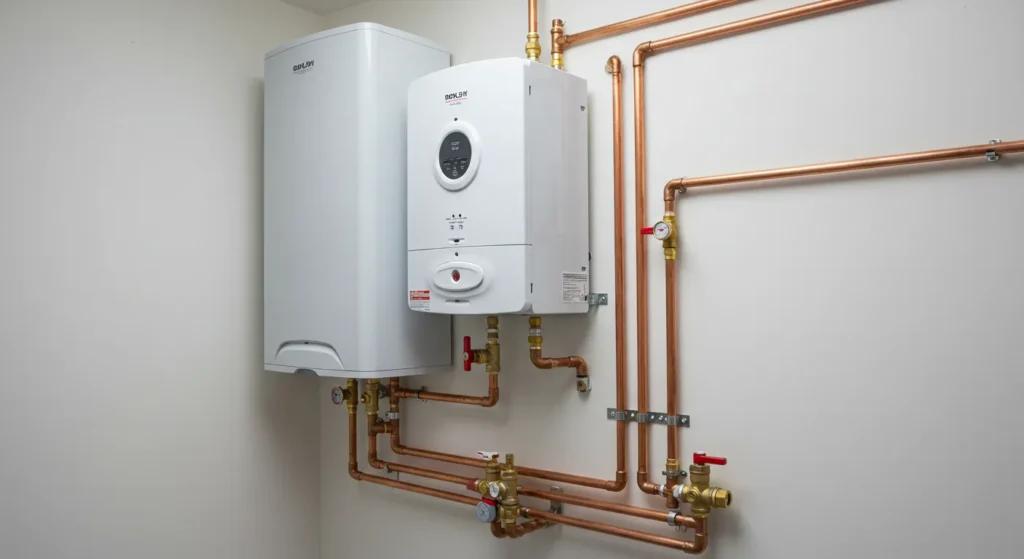
Trick #3 — Check or Install an Expansion Tank to Absorb Pressure Surges
What Is a Thermal Expansion Tank?
As water gets hot, it expands. In an open plumbing system, that extra volume of water can flow back into the municipal supply line — no big deal. But in a closed plumbing system (most modern homes have them), that expanded water has no place to go. Inside the tank, pressure builds up.
This phenomenon is known as thermal expansion, and it is one of the most common — and also one of the most neglected — causes of chronic pressure problems.
An expansion tank is a small container (usually about the size of a football) that is installed near your water heater. It has an inflatable bladder that reduces the water volume as it expands. This maintains stable pressure in your main tank.
For a deeper look at how thermal expansion affects your system, the U.S. Department of Energy’s water heater guide explains the science behind it clearly.
Does Your Home Need One?
You almost certainly have a closed system if your house has a pressure-reducing valve (PRV) or check valve on the main water line. An expansion tank in this case isn’t just handy — it is also mandated by building code in much of the country.
If you aren’t clear about what your plumbing setup looks like, check in with a licensed plumber.
How to Know If Your Expansion Tank Is Working
- Knock on the expansion tank with your knuckle.
- The bottom half should sound hollow (air-filled).
- The top half may sound slightly different because of how water gets absorbed.
- If the entire tank sounds the same (fully waterlogged), the bladder inside has failed and the tank needs replacement.
You can also check the air charge in the Schrader valve on your expansion tank with a tire pressure gauge. It should usually match your home’s water pressure (around 50–60 PSI).
Cost Note: Expansion tanks generally run $30 to $80 for the unit, plus installation. This is a minor investment relative to what it costs to fix pressure damage.
Trick #4 — Monitor and Adjust Your Water Pressure Regulator
Your Home’s Pressure Gatekeeper
Most homes have a pressure-reducing valve (PRV) — also known as a pressure regulator — that is installed where the main water line comes into the home. This device maintains the pressure of incoming water from your municipal supply at a safe level for your home’s plumbing.
The problem? PRVs wear out over time. When they don’t work, water pressure can creep well above safe levels without you noticing — until something goes wrong.
How to Test the Water Pressure in Your Home
You do not require a plumber to check this. All you need is a water pressure gauge, available for about $10 at any hardware store.
Here’s how to do it:
- Attach the gauge to an outdoor hose bib or washing machine tap by screwing it on.
- Turn on the water fully.
- Read the gauge.
If you have a reading over 80 PSI, your PRV requires attention or replacement.
Adjusting Your Pressure Regulator
Most PRVs have a basic adjustment mechanism — a bolt or screw on top of the device.
- Turn clockwise to increase pressure.
- Turn counterclockwise to decrease pressure.
Adjust slightly (a quarter turn at a time) and test the pressure every time.
If the PRV is old or corroded, or if adjusting it doesn’t work, a licensed plumber can replace it. PRVs cost $50 to $150, and installation typically takes about an hour.
Recommended Pressure Settings
| Location | Recommended PSI |
|---|---|
| Residential homes | 50–60 PSI |
| Maximum safe limit | 80 PSI |
| After PRV adjustment | 55–65 PSI ideal |
Maintaining correct water pressure in your home protects not only your water heater — it protects every appliance and pipe in your home.
Trick #5 — Check the Anode Rod Once a Year and Swap It Out If Necessary
The Unsung Hero of Your Water Heater
The anode rod is unknown to most homeowners. Yet this simple part has a big role to play in keeping your water heater healthy — and indirectly affects pressure too.
The anode rod is a long metal rod (generally magnesium or aluminum) that goes through the center of your tank. Its role is to attract corrosive minerals in the water through sacrificial corrosion. Simply put, the rod deteriorates so that your tank doesn’t have to.
Once the anode rod is completely consumed, corrosion starts occurring within the tank itself. Inside, rust and debris accumulate. This compounds sediment buildup, creates additional stress on the T&P valve, and can ultimately result in leaks or pressure-related failures.
How to Inspect the Anode Rod
- Switch off power and water supply to the heater.
- Open a hot water faucet to relieve pressure.
- Find the anode rod — typically located underneath a plastic cap on top of the heater or built into the hot water outlet.
- Loosen the rod with a 1 1/16-inch socket wrench.
- Pull it out and inspect it.
What to Look For
| Rod Condition | Description | Action |
|---|---|---|
| Good | Mostly intact, light mineral coating | Leave it in |
| Worn | Less than ½ inch thick, heavily coated | Replace soon |
| Depleted | Just a wire core remaining | Replace immediately |
| Calcified | Completely coated in hard white mineral | Replace and flush tank |
Depending on the quality of your water, anode rods typically last about 3 to 5 years. Households with extremely hard water may require replacements every two years.
An anode rod retails for $20 to $50 — one of the cheapest ways to extend your water heater’s life by years.
Smart Upgrade: Switch to a powered anode rod (also known as an electric anode rod). These rely on a small electrical current rather than sacrificial metal and never need to be replaced.
Putting It All Together — Your Yearly Maintenance Checklist
Maintaining your water heater does not take much time. Here’s a basic schedule to follow:
| Task | Frequency | Time Required | Cost (DIY) |
|---|---|---|---|
| Test T&P valve | Every 6 months | 5 minutes | Free |
| Check water pressure | Every 6 months | 10 minutes | ~$10 (gauge) |
| Inspect expansion tank | Annually | 5 minutes | Free |
| Flush tank | Annually | 30–45 minutes | Free |
| Inspect anode rod | Annually | 20–30 minutes | $20–$50 (if replacing) |
| Check PRV | Annually | 15 minutes | Free–$150 (if replacing) |
Following this schedule adds years to your water heater’s life and prevents pressure problems from sneaking up on you. For more detailed guides on each of these steps, visit Water Heater Care — a trusted resource for homeowners looking to get the most out of their water heating systems.
5 Simple Signs Your Water Heater Has a Pressure Problem Right Now
Don’t wait for a breakdown. Here are signs that something is going on with pressure in your water heater:
- Pounding or rumbling noises — usually sediment being shaken loose from pressure changes
- Water dripping from the T&P valve — the valve is relieving excess pressure
- Inconsistent hot water temperature — inconsistent pressure affects heat delivery
- Damp areas near the bottom of the heater — potential pressure-related leaks
- Diminished hot water flow in the house — might be low pressure or a failing expansion tank
If you see any of these, go through the five tricks in this guide before picking up the phone to call a plumber. You probably can fix the issue on your own.
FAQs: Smart Water Heater Maintenance and Pressure Problems
Q1: How frequently do I need to check my water heater for pressure issues? You have to check once every 6 months. Test the T&P valve, check the water pressure with a gauge, and listen for funny sounds. A full maintenance check — including flushing the tank and inspecting the anode rod — should be completed every year.
Q2: How many PSI should my water heater be set at? The recommended operating pressure for most home water heaters should stay between 50 and 60 PSI. 80 PSI is the safe maximum limit. Anything over risks damage to your tank, pipes, and valves.
Q3: Can I fix water heater pressure problems myself? Yes, a lot of pressure-related maintenance is DIY-able. Testing the T&P valve, flushing the tank, checking water pressure, and inspecting the anode rod can all be done without hiring a professional. But swapping in a PRV or adding an expansion tank might require a licensed plumber, depending on the codes where you live.
Q4: How long does a well-maintained water heater last? A properly maintained tank-style water heater should last 10 to 15 years. The lifespan can fall to 6 to 8 years, however, without proper maintenance — particularly regular flushing and replacing the anode rod.
Q5: Does a dripping T&P valve always indicate high pressure? Not always. Sometimes the valve just drips because it is old and wearing out. But it could also mean that your water pressure or temperature is too high. Before concluding that you simply have a worn valve, test the valve, check your home’s water pressure, and inspect the expansion tank.
Q6: What will happen if I do not address water heater pressure problems? Ignoring pressure problems results in bigger issues over time — leaky joints, corroded tanks, burst pipes, and in extreme cases, a catastrophic tank failure. The costs of repairs and damages can easily sum to thousands of dollars, which is a stark contrast to the relatively small cost of routine maintenance.
Q7: Do tankless water heaters have pressure issues as well? Yes. Tankless units are also impacted by pressure problems, especially high or low incoming water pressure. Even if you have a tankless system, you should still monitor your home’s water pressure and ensure your PRV is working properly.
Wrapping It All Up
Water heater pressure issues are not typically broadcast with a loud siren. They accumulate silently — in layers of sediment, corroded valves, and deferred maintenance chores — until something eventually breaks down.
These 5 smart water heater maintenance and care guide tricks give you a clear, practical roadmap to stay ahead of pressure issues:
- Test the T&P valve every six months.
- Flush your tank annually to remove sediment.
- Inspect your expansion tank to cushion against pressure spikes.
- Monitor and adjust your PRV to keep incoming pressure within range.
- Check and change your anode rod to protect the inside of the tank.
None of these activities require expert knowledge or expensive tools. All it takes to keep your water heater running safely, efficiently, and as long as possible is a little time and attention each year.
This weekend, do just one of them. After you see how easy it is, the rest will fall right into place. Your future self — and your water bill — will appreciate it.