9 Essential Water Heater Maintenance & Care Habits That Prevent Breakdowns
Last winter, I woke up at 6 AM, stumbled into the bathroom half-asleep, turned on the shower — and got a blast of ice-cold water. Not the refreshing kind. The “something is seriously wrong” kind.
Turns out, my water heater had given up overnight. The repairman showed up, took one look at the sediment-clogged tank, and said something that still stings: “This could’ve been prevented.”
That was three years ago. Since then, I’ve become borderline obsessed with water heater maintenance. I’ve read manuals, watched repair videos, talked to plumbers, and — most importantly — actually done the work myself. What I’m sharing here isn’t textbook stuff. It’s the real habits that have kept my current heater running clean for three years without a single breakdown.
Let’s get into it.
1. Flush the Tank at Least Once a Year — Seriously, Don’t Skip This
This is the big one. Sediment buildup is the number one killer of water heaters, and most people never flush their tanks. Ever.
Here’s what happens: minerals from your water — calcium, magnesium, and other deposits — settle at the bottom of the tank over time. That layer of gunk forces your heater to work harder, burns more energy, and eventually damages the heating element or the tank lining itself.
How to flush it (step-by-step):
- Turn off the heater (gas to “pilot,” electric off at breaker)
- Connect a garden hose to the drain valve at the bottom
- Run the other end outside or to a floor drain
- Open a hot water tap inside your house to prevent a vacuum
- Open the drain valve and let it run until the water comes out clear
- Close the valve, refill, and restart
The first time I did this, the water that came out was brownish and murky. I genuinely couldn’t believe that was sitting in my tank. After flushing, my heating time dropped noticeably. Hot water came faster, and my electricity bill dipped a little too.
Do this once a year minimum. Twice if you have hard water.
2. Test the Pressure Relief (T&P) Valve Every 6 Months
Most homeowners have never touched this valve. I hadn’t either — until my plumber friend pointed at it and said, “If this thing fails and you don’t know it, your tank can turn into a rocket.”
That got my attention.
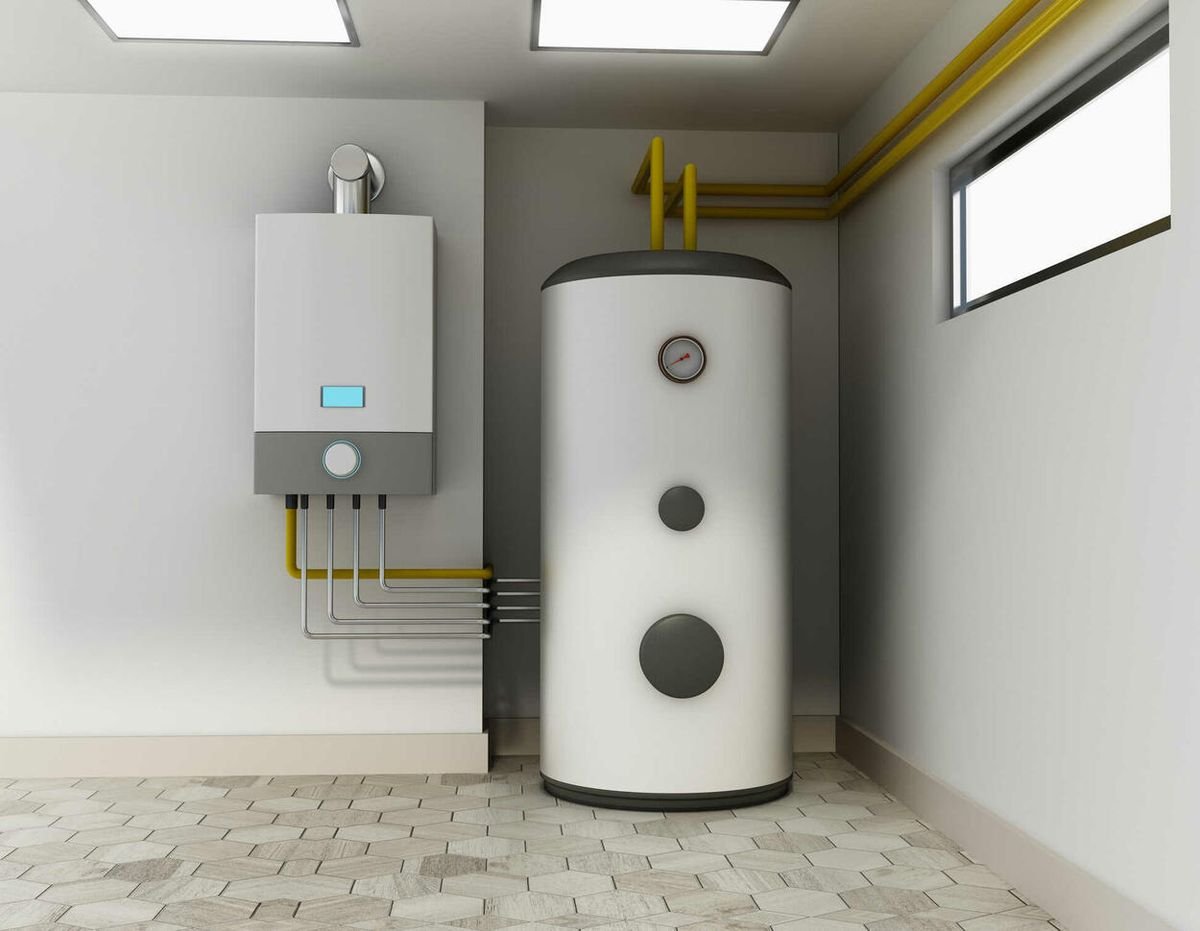
The T&P (Temperature & Pressure) valve is a safety device. If pressure or temperature inside the tank gets dangerously high, this valve opens and releases it. If it’s stuck or corroded, it won’t work when you need it most.
Testing it is simple:
- Lift the lever on the valve briefly (have a bucket ready — water will come out)
- It should snap back and stop dripping
- If it keeps dripping or doesn’t move at all, replace it
Replacement valves cost around $15–$25 and are easy to swap out. Don’t postpone this one — it’s a safety issue, not just a maintenance one.
3. Check the Anode Rod Every 2–3 Years
This is the most underrated maintenance task on the list, and almost nobody does it.
The anode rod is a metal rod (usually magnesium or aluminum) inside your tank that sacrifices itself to prevent rust. It attracts corrosion so your tank lining doesn’t have to. When it’s fully corroded, your tank starts rusting from the inside out.
I didn’t know this existed until year two of homeownership. When I finally pulled mine out, it looked like a skeleton — barely any material left. The plumber told me I was lucky the tank hadn’t started rusting yet.
How to check it:
- Locate the hex head on top of your heater (may be under a sheet metal cover)
- Use a 1 1/16″ socket wrench to unscrew it
- Pull the rod out and inspect it
If it’s less than ½ inch thick, heavily corroded, or covered in white calcium, replace it. New rods cost $20–$50 and can add years to your heater’s life.
| Anode Rod Condition | Action Needed |
|---|---|
| Thick, slightly corroded | Good — check again in 2 years |
| Thin, heavily corroded | Replace soon |
| Barely there / skeleton-like | Replace immediately |
| Covered in white calcium | Replace and consider a water softener |
4. Keep the Area Around Your Heater Clear
This one sounds obvious, but you’d be surprised how many people store stuff right next to their water heater. I was guilty of this too — boxes, cleaning supplies, an old vacuum cleaner.
For gas heaters, this is a fire hazard. The pilot light and burner need clearance, and flammable materials nearby are a genuine danger. For electric heaters, clutter can block ventilation and make servicing harder.
The rule of thumb: Keep at least 2 feet of clear space around the unit on all sides.
Also, if your heater is in a garage or utility room, make sure it’s elevated at least 18 inches off the floor. This keeps it away from flammable vapors that can settle near ground level.
It’s a tiny habit, but it matters more than people think.
5. Insulate the Tank and Pipes to Cut Energy Waste
One thing I learned the hard way — a bare water heater tank loses heat constantly, which means it’s reheating water more often than it needs to. This is called “standby heat loss,” and it quietly inflates your energy bill every month.
The fix? A water heater insulation blanket.
You can grab one at any hardware store for around $20–$30. Just make sure it’s rated for water heaters and follow the installation instructions (you need to leave certain parts uncovered, especially on gas units).
Also insulate the first few feet of hot and cold water pipes connected to the heater. Foam pipe insulation is cheap, easy to cut, and snaps right on.
After I did this in my utility room, I noticed the water stayed hotter longer between uses. It’s not a dramatic difference, but over a year, it adds up — both in energy savings and reduced wear on the heater.
For more practical steps like this, check out 9 Powerful Water Heater Maintenance and Care Guide Tricks That Save Energy.
6. Set the Temperature Correctly — 120°F Is the Sweet Spot
A lot of people crank their water heater up as high as it goes, thinking hotter is better. It’s not.
Setting your heater above 140°F does two things: it increases your risk of scalding (especially dangerous for kids and elderly), and it causes mineral buildup to accelerate inside the tank. The Department of Energy recommends 120°F for most households.
How to adjust it:
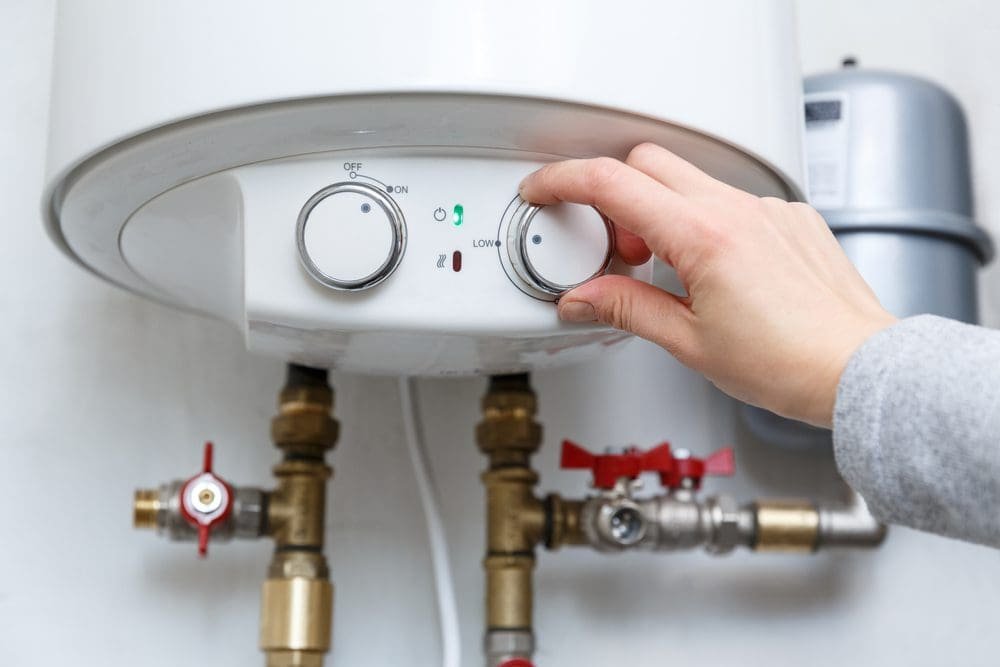
- Gas heaters usually have a dial on the front of the burner control
- Electric heaters have thermostats behind access panels (turn off power first)
- Some newer digital models let you set it from a display panel
I set mine to 120°F three years ago and haven’t touched it since. My showers are still hot, my tank has less buildup, and I’m not accidentally scalding myself.
One caveat: if you have a dishwasher without its own booster heater, you might need 130°F. Check your dishwasher manual first.
7. Watch for Warning Signs Before They Become Disasters
Your water heater usually gives you warnings before it completely fails. The trick is knowing what to look for.
Here are the signs I now check for regularly:
Rumbling or popping sounds — This is sediment at the bottom of the tank being heated. It’s your cue to flush the tank.
Rusty or discolored water — If your hot water looks brownish, the anode rod may be depleted and the tank may be rusting internally.
Water pooling around the base — Even a small puddle is serious. Could be a failing pressure valve, a loose connection, or a crack in the tank.
Inconsistent water temperature — If your water goes hot and cold unpredictably, the thermostat or heating element might be failing.
Age of the unit — Most traditional tank heaters last 8–12 years. If yours is over 10, start budgeting for a replacement even if it seems fine.
I now do a quick visual check on my heater every month. Takes 2 minutes. I look at the base for moisture, listen for weird sounds when it’s heating, and check the flue pipe (on gas units) for any signs of corrosion.
If you’re dealing with strange noises already, this article is worth a read: 7 Smart Water Heater Maintenance and Care Guide Solutions for Strange Noises.
8. Consider a Water Softener If You Have Hard Water
This one isn’t strictly a “heater maintenance” task — but it directly affects how long your heater lasts and how well it works.
Hard water is water with high mineral content. If you live in an area with hard water (which is most of the US, by the way), those minerals are constantly depositing inside your tank and pipes. It speeds up sediment buildup, clogs the anode rod faster, and shortens your heater’s lifespan significantly.
Signs you might have hard water:
- White scale buildup around faucets and showerheads
- Soap doesn’t lather well
- Water tastes slightly chalky
- Frequent sediment in the tank
You can test your water hardness with a simple $10 test kit from Amazon or a hardware store.
If hardness is high (above 7 grains per gallon), a water softener is worth the investment. Yes, they cost a few hundred dollars, but they protect your entire plumbing system — not just the water heater.
I had a softener installed after my second flush turned up really heavy sediment. The difference in the next flush (a year later) was dramatic. Much less buildup.
9. Schedule a Professional Inspection Every 1–2 Years
I’m a big fan of DIY maintenance. But there’s a limit to what you can safely do yourself, and a professional inspection catches things that aren’t obvious to an untrained eye.
A good plumber or HVAC technician will:
- Check the flue and venting system (critical for gas heaters)
- Inspect the burner assembly
- Test the thermostat calibration
- Look for gas leaks or carbon monoxide risks
- Assess the overall condition and give you an honest lifespan estimate
I had my first professional inspection after that cold-shower morning. The tech found a partially blocked flue I never would’ve spotted, which was causing the heater to run inefficiently and — more seriously — potentially backing up combustion gases into the house.
That inspection cost me $80. Not getting it done could’ve cost me a lot more.
| Maintenance Task | Frequency | DIY or Pro? |
|---|---|---|
| Flush the tank | Annually | DIY |
| Test T&P valve | Every 6 months | DIY |
| Check anode rod | Every 2–3 years | DIY |
| Insulate tank/pipes | Once (then check) | DIY |
| Adjust temperature | As needed | DIY |
| Check for warning signs | Monthly | DIY |
| Water softener maintenance | Annually | DIY or Pro |
| Full professional inspection | Every 1–2 years | Pro |
Common Mistakes I See (And Made Myself)
Ignoring it until it breaks. The number one mistake. Water heaters are “out of sight, out of mind” for most people — until there’s no hot water.
Flushing wrong. Draining a few gallons isn’t enough. You need to flush until the water runs clear. I made this mistake my first time and still had significant sediment the following year.
Not knowing the age of the unit. Check the serial number — most manufacturers encode the manufacture date in it. If your heater is 10+ years old, start planning, not reacting.
Skipping the anode rod. This one is almost universal. People flush the tank and check the T&P valve but never touch the anode rod. It’s the unsung hero of water heater longevity.
DIYing gas repairs. I’m all for doing things yourself, but gas connections and flue repairs are not the place to learn. Call a pro for anything gas-related that goes beyond basic inspection.
Quick Habit Checklist to Save Somewhere
- ✅ Flush tank annually
- ✅ Test T&P valve every 6 months
- ✅ Inspect anode rod every 2–3 years
- ✅ Keep 2-foot clearance around unit
- ✅ Insulate tank and first 6 feet of pipes
- ✅ Set temperature to 120°F
- ✅ Do a monthly visual check
- ✅ Test water hardness if you suspect mineral buildup
- ✅ Schedule pro inspection every 1–2 years
Final Thoughts
Water heater maintenance isn’t glamorous. It’s not the kind of thing you talk about at dinner. But it’s one of those home tasks where a little consistent attention genuinely saves you money, prevents emergencies, and extends the life of an appliance that works hard every single day.
That cold shower three years ago was honestly a gift. It pushed me to actually learn how to take care of this thing. Now I spend maybe 2–3 hours a year on water heater maintenance, and I haven’t had a single problem since.
If you’re just getting started and want a solid foundation to build on, this guide is a great next step:
5 Smart Water Heater Maintenance and Care Guide Habits That Prevent Breakdowns
Start with one or two habits from this list. Even flushing the tank once and testing the T&P valve puts you miles ahead of most homeowners. Your future self — standing under a hot shower on a cold morning — will thank you.
About the Author