7 Easy Water Heater Maintenance and Care Guide Tips Every Homeowner Should Know
Meta Description: Water heater maintenance is simple and can follow a few basic steps. 7 Simple Tips All Homeowners Should Follow to Increase Longevity, Reduce Energy Bills & Avoid Costly Repairs.
7 Home Water Heater Care and Maintenance Tips You Should Be Aware Of
You start the shower and expect hot water. Simple, right?
But behind that indulgent array sits a hardworking household appliance that most homeowners barely notice — until something goes wrong. No one wants their water heater to break down at an inconvenient time. And repairs (or replacements) can run between $300 and more than $1,500.
The good news? Some care, regularly, goes a long way.
But if you’re wondering how to maintain a water heater, this guide breaks it all down — with 7 straightforward tips that can help the life of your unit (and your energy bills) and keep nasty surprises at bay. No plumber degree required.
Why Water Heater Maintenance Actually Matters
Water heaters can typically last between eight and 12 years. Some can exceed 15 years — but only with the right care.
Skipping maintenance leads to:
- Buildup of sediment that makes the heater labor harder
- Higher monthly energy bills
- Rusty or smelly water
- Leaks and pressure issues
- Complete unit failure
Here’s a little insight on how neglect reduces your hot water availability over time:
| Years Without Maintenance | Common Problems |
|---|---|
| 1–2 years | Little sediment buildup |
| 3–5 years | Reduced efficiency and heat time |
| 5–8 years | Rust, strange sounds, lukewarm water |
| 8+ years | Leaks, failing system |
Regular water heater maintenance isn’t just about saving money — it’s also about safety. A neglected unit can cause high pressure buildup in the system that turns fatal, or a gas leak.
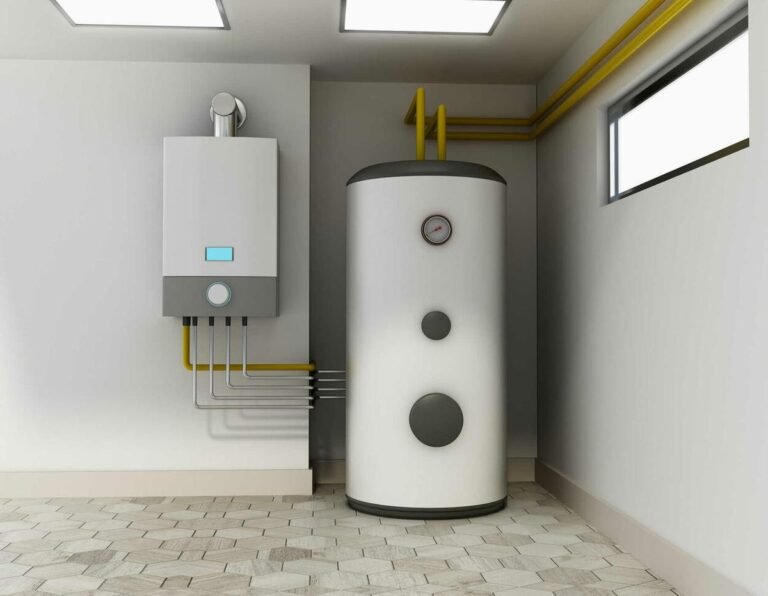
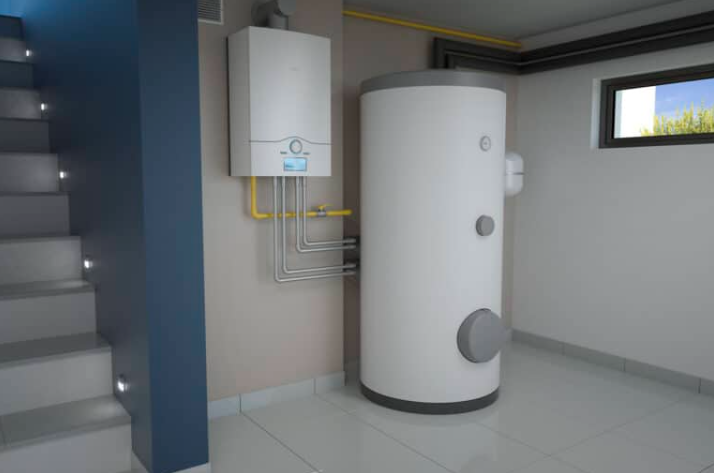
What Kind of Water Heater Do You Have?
Before we get into the tips, it helps to know your unit.
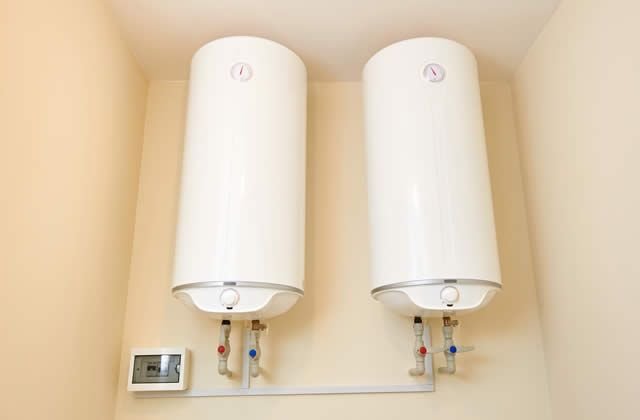
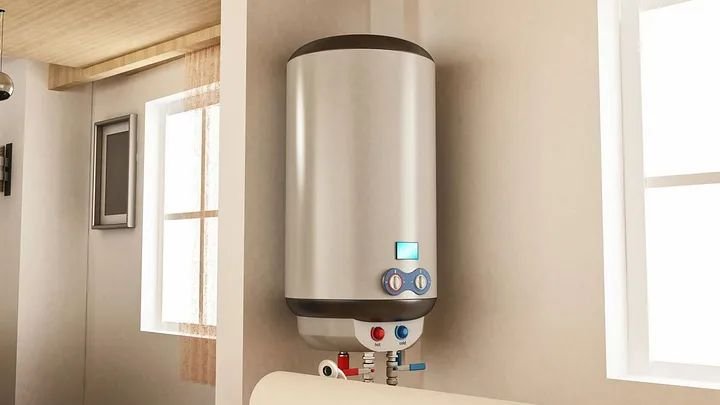
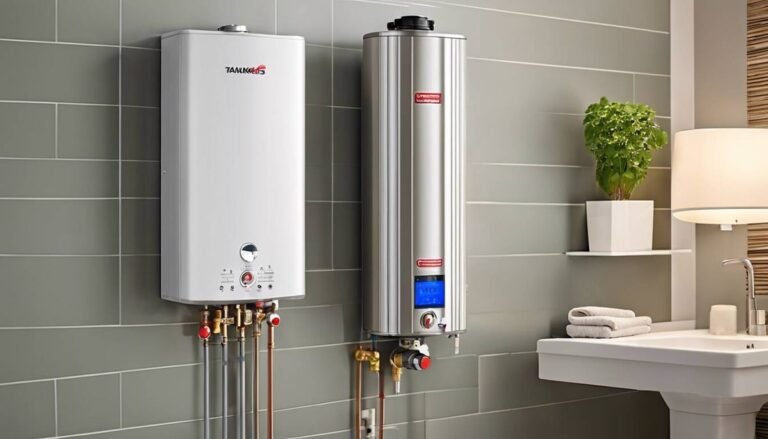
Tank Water Heaters — The most common type. They keep 20–80 gallons of hot water in a big tank. Many of the maintenance tips here apply to these.
Tankless Water Heaters — Heat water as needed. More energy-efficient, but still require flushing and cleaning the filter.
Heat Pump Water Heaters — Instead of a resistance heating element, they use electricity and air to heat water. Need filter and coil cleaning.
Solar Water Heaters — Work on solar panels. Requires panel and pressure valve check.
Most of the advice below is applicable to any type, with notes on what is specific to tank units.
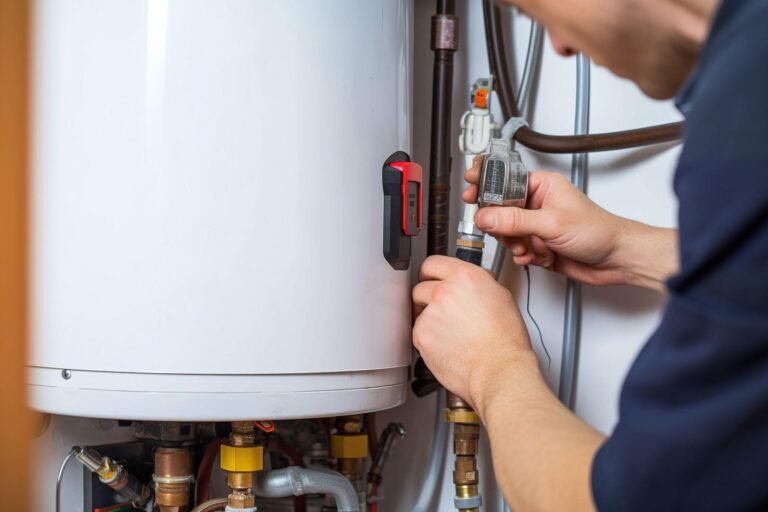
Tip #1 — Flushing the Tank Removes Sediment
This is the most crucial step of any water heater maintenance routine.
Over time, minerals in your water supply — primarily calcium and magnesium — sink to the bottom of the tank. This sediment layer serves as insulation and prevents heat from penetrating into the water. Your unit is operating harder and burning more energy than it should.
Signs you have sediment buildup:
- The tank is making popping or rumbling sounds
- Water takes longer to heat up
- Higher-than-usual energy bills
- Gritty or discolored water
How to Flush a Water Heater (Step-by-Step)
- If electric, turn your power off or set the gas valve to “pilot”
- Attach a garden hose to the drain valve at the bottom of the tank
- Shut off the cold water supply to the heater
- Turn on a hot water faucet somewhere in your house (this avoids a vacuum)
- Turn on the drain valve and allow water to escape
- When the tank is empty, briefly turn on the cold water again to flush out last sediment
- Close the drain valve, refill the tank and restore power or gas
How often: The general recommendation is once a year. Every 6 months is ideal if you have hard water.
Pro Tip: It may be brown or cloudy when it first comes out. That’s normal — it’s just the sediment being flushed out.
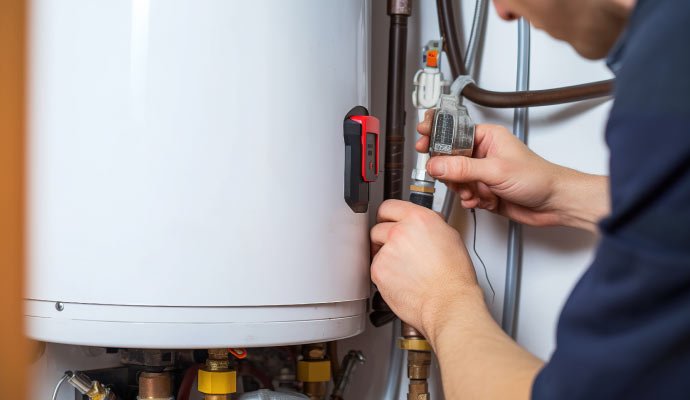
Tip #2 — Annual Testing of the Pressure Relief Valve
The T&P valve (Temperature and Pressure Relief valve) is unobtrusive enough, but also a vital safety device.
This valve opens automatically to vent any excess pressure or temperature in case it gets too high inside your tank. Without it working properly, your water heater unit may become a huge risk.
How to Test It
- Put a bucket under the discharge pipe attached to the valve
- Quickly raise the lever on the valve (for approx. 3 seconds)
- You will hear a rush of water or steam
- Pull off the lever — it needs to return to its position and stop the flow
If water continues to dribble after you release the lever, or if nothing comes out at all when you raise it, the valve needs a replacement. A new T&P valve is $15–$30 and easy to replace.
How often to test it: Once a year (preferably when you’re getting your tank flushed).
| T&P Valve Test Result | What It Means |
|---|---|
| Water flows, then stops | The valve is working properly |
| Water keeps dripping | Replace the valve |
| Nothing comes out | The valve may be stuck — replace immediately |
| Lever won’t move | Corrosion buildup — replace the valve |
Never skip this step. It’ll take less than two minutes and it could save you from a serious accident.
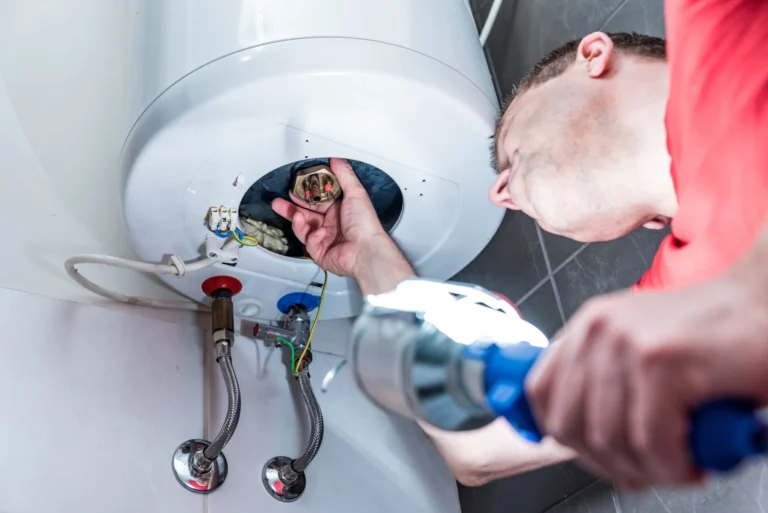
Tip #3 — Inspect the Anode Rod and Replace as Necessary
The anode rod is the unsung hero of your water heater.
It’s a metal rod — typically magnesium or aluminum — that hangs inside the tank. Its function is to draw corrosive elements in the water, and “sacrifice” itself so that the walls of the tank don’t rust. A broken anode rod means your tank is rusting from the inside out.
The average lifespan is about 3 to 5 years, but this varies significantly based on the quality of your water.
When to Replace the Anode Rod
- Water smells like rotten eggs (sulfur)
- The rod has a thickness of under ½ an inch
- The rod is covered with calcium deposits
- The rod disintegrates into chunks
How to Check It
- Find the hex head bolt on top of the water heater (refer to your manual if you don’t know)
- Unscrew it with a 1 1/16-inch socket wrench
- Remove the rod and check it
- If it is heavily corroded or worn, get a new one
Replacement anode rods run $20–$50. It’s much cheaper to replace one every 3–5 years than the whole tank.
Note for tankless heaters: You don’t have an anode rod, but you should flush the heat exchanger yearly to remove mineral accumulation.
Tip #4 — Set the Correct Temperature (Neither Too Hot nor Too Cold)
A lot of homeowners never even touch the thermostat on their water heater after it is installed. But the temperature setting matters for safety and energy costs far more than most people know.
The ideal setting is 120°F (49°C).
Here’s why that number matters:
- Below 120°F: Legionella and other bacteria can grow in the tank. This is a real health risk.
- Above 140°F: Scalding risk, particularly to children and elderly. Also wastes energy.
- At 120°F: Kills bacteria, safe in the house, low energy use.
How to Adjust the Temperature
For electric heaters: Start by shutting off power at the breaker. Take off the access panel, turn the thermostat dial, put the panel back on, turn on power.
For gas heaters: The dial is typically located on the front of the unit, close to the gas valve. Set it to the setting you want — most dials are labeled “Hot,” “A,” or “B,” and some even have actual temperature markings.
| Temperature Setting | Risk Level | Energy Impact |
|---|---|---|
| Below 110°F | Bacteria growth risk | Low energy use |
| 120°F | Safe and recommended | Moderate energy use |
| 130°F | Mild scalding risk | Higher energy use |
| 140°F+ | High scalding risk | Highest energy use |
Checking and adjusting the temperature of your water heater takes five minutes and can save you 3–5% off your water heating bill.
Tip #5 — Insulate Your Tank and Pipes for Maximum Efficiency
Your water heater puts in a lot of work to keep water hot — even when nobody’s using it. This is known as standby heat loss, and it’s a stealth energy sucker.
Insulation decreases standby heat loss, making it easier for your unit to hold temperature without cycling on and off constantly.
Insulating the Tank
- Purchase a water heater insulation blanket (any hardware store worth its salt has one; $20–$40)
- Wrap it around the tank, leaving the top, thermostat, and all valves uncovered
- Secure with tape or straps
Important: Only insulate older tanks. Most newer water heaters are already insulated. Before you add a blanket, check your owner’s manual — some manufacturers recommend against it.
Insulating the Pipes
Wrap the first 3–6 feet of hot water pipe leaving the heater with foam pipe insulation.
Benefits:
- Water reaches the faucet hotter, faster
- Less water wasted waiting for the temperature to rise
- Reduced heat loss between uses
Pipe insulation costs $1–$2 per foot and installs in under 30 minutes.
Quick Test: Feel your hot water pipes an hour after using hot water. If they feel warm, you’re losing heat. Insulation will help.
Tip #6 — Check for Leaks, Rust, and Corrosion on a Regular Basis
Your water heater shows signs before it fails completely. The key is catching them early.
Develop a habit of doing a quick visual inspection once every 1–3 months.
What to Look For
Around the tank:
- Moisture or puddles on the floor
- White or reddish-brown crust near the joints and valves
- Discoloration on the tank body
From your faucets:
- Rusty or reddish-brown water
- Metallic taste or smell
Sounds from the unit:
- Banging (sediment)
- Hissing (potential leak or pressure problem)
- Whining (scale accumulation on heating elements in electric units)
Common Leak Spots
| Location | Likely Cause | Action |
|---|---|---|
| Cold/hot water inlet | Loose connection | Tighten or replace fitting |
| Drain valve | Worn valve | Replace the valve |
| T&P valve discharge pipe | Excess pressure or failing valve | Test valve, reduce pressure, or replace |
| Bottom of tank | Internal corrosion | Consider full replacement |
A drip can turn into a flood overnight. Don’t ignore drips.
Rust on the outside of the tank body or discolored water coming out of your taps often indicates that the tank is corroding inside. Replacement is typically the better choice over repair at that point.
For more in-depth guidance on keeping your unit in top shape year-round, Water Heater Care is a great resource dedicated entirely to water heater maintenance, troubleshooting, and care tips for homeowners.
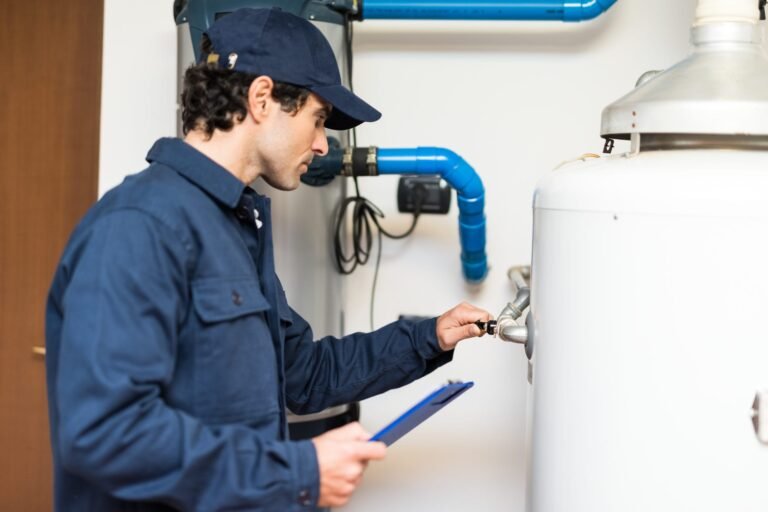
Tip #7 — Know When to Call a Pro (Or Replace the Unit)
DIY maintenance covers a lot. But some situations require a licensed plumber or HVAC technician.
Get Professional Help If You Notice:
- Gas odor near the gas water heater (leave home and call immediately)
- Unit on but no hot water
- Water heater keeps tripping the breaker
- Visible cracks in the tank
- Water heater is more than a decade old and having ongoing problems
The Repair vs. Replace Dilemma
Follow this simple rule of thumb: Multiply your unit’s age by the cost to repair it. If the figure exceeds $3,000, replacement is typically the wiser investment.
| Unit Age | Repair Cost | Decision |
|---|---|---|
| 3 years | $400 | Repair — unit is young |
| 7 years | $300 | Repair — still worthwhile |
| 10 years | $500 | Borderline — get a second opinion |
| 12 years | $600 | Replace — near end-of-life |
| 15 years | Any cost | Replace — past life expectancy |
Choosing a New Water Heater
If it’s due for replacement, consider the following:
- Energy factor (EF) rating — the higher, the more efficient
- Tank volume — 40 gallons for 1–3 people, 50–80 for larger homes
- Tank vs. tankless — tankless costs more upfront, but saves over the long haul
- Warranty — should be a minimum 6-year warranty on the tank
According to the U.S. Department of Energy, a new energy-efficient water heater can help you save between 20% and 50% on water heating costs compared to an aging unit.
Annual Water Heater Maintenance Checklist
Here’s a basic summary to keep on your refrigerator or in a home maintenance binder:
| Task | Frequency |
|---|---|
| Flush the tank | Every 6–12 months |
| Test the T&P valve | Once a year |
| Check the anode rod | Every 2–3 years |
| Verify temperature setting | Once a year |
| Inspect insulation and pipes | Once a year |
| Check for leaks and rust | Every 1–3 months |
| Professional inspection | Every 2–3 years |
FAQs About Water Heater Maintenance
Q: What is the average lifespan of a water heater? Tank water heaters typically have a lifespan of 8–12 years. Tankless models can last 20 years or longer with suitable care. With regular water heater maintenance, you can extend the life of either type significantly.
Q: Is all this maintenance something I can do myself? Yes, most of these are beginner-friendly tasks. Flushing the tank, checking the T&P valve, and inspecting the anode rod are all DIY-friendly. For gas line issues or electrical problems, always talk to a licensed professional.
Q: How can I tell if my water heater has sediment buildup? When your heater is on, listen for popping or rumbling sounds. You may also notice longer heating times and rising energy bills. Flushing the tank is the fix.
Q: What happens if I never flush my water heater? Sediment settles at the bottom, lowering efficiency and adding strain on the unit. Over time, it can cause overheating, corrosion, and premature failure — sometimes shaving years from the tank’s life.
Q: Is 120°F really the best temperature setting? Yes. The U.S. Department of Energy and most plumbing experts recommend 120°F — hot enough to inhibit bacterial growth, yet cool enough to decrease the risk of scalding, especially in homes with young children or older people.
Q: Why does my hot water smell like sulfur or rotten eggs? This commonly indicates that your anode rod has started to react with bacteria inside the water. Replacing the anode rod and flushing the tank usually takes care of it. In some instances, changing to a zinc-alloy anode rod does the trick.
Q: What is the cost of professional maintenance on a water heater? An inspection and tune-up by a professional usually costs $80–$150. A plumber flushing and performing a full check-up can cost anywhere from $100–$200. It is worth it every 2–3 years for peace of mind.
Wrapping It All Up
Day in, day out, your water heater diligently performs its job. It warms your showers, cleans your dishes, and powers your laundry — frequently without a word of thanks.
The bare minimum would be to show it some loving attention once a year.
These 7 water heater maintenance tips are not rocket science. They don’t need costly equipment or expert instruction. But they can extend the life of your unit by years, save you hundreds on energy bills, and spare you the stress that comes with an unexpected breakdown.
Start small. Flush the tank this weekend. Test the T&P valve. Check the temperature. Develop the habit gradually, little by little.
Your future self — standing under a warm shower on a cold morning — will appreciate it.