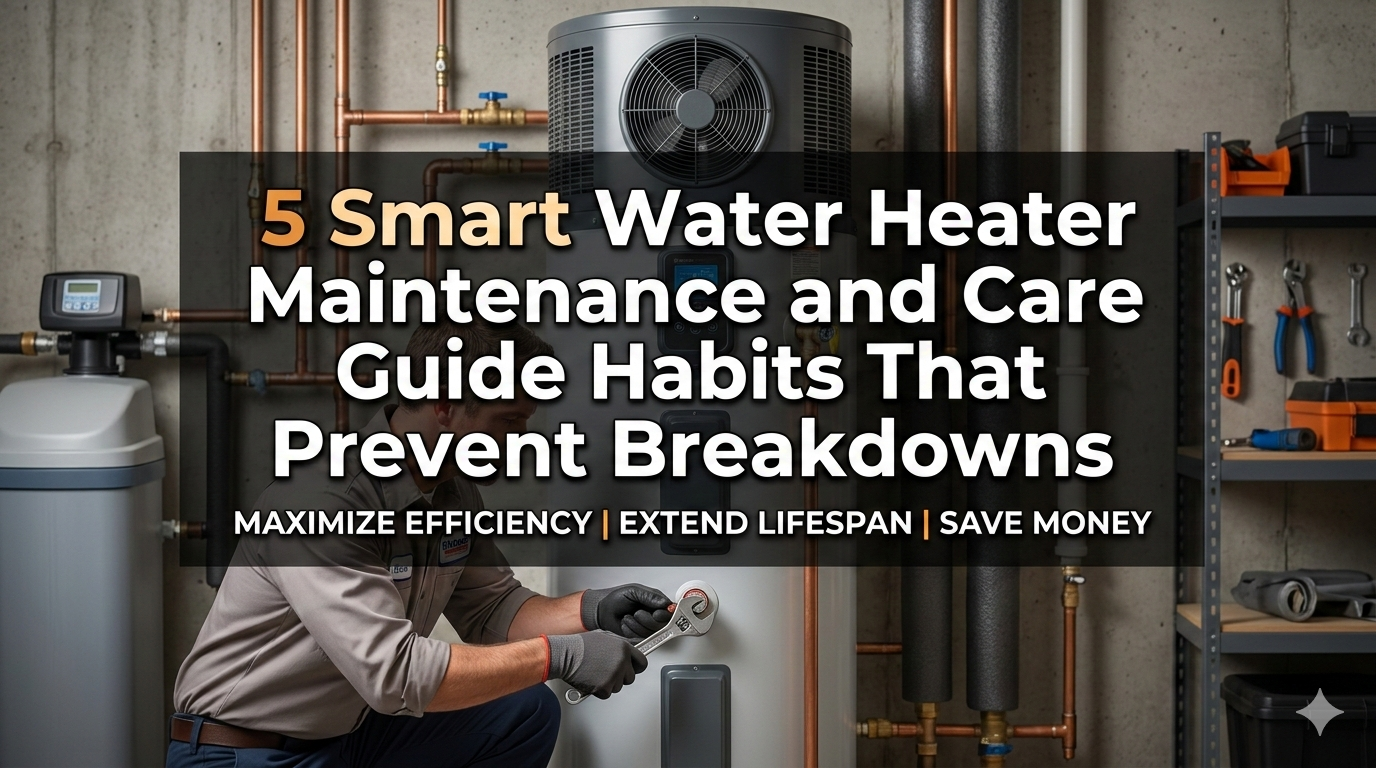
5 Smart Water Heater Maintenance and Care Guide Habits That Prevent Breakdowns
Meta Description: A water heater maintenance and care guide habits can save you from expensive costly repairs. Find 5 smart routines that help you keep your water heater going strong year-round.
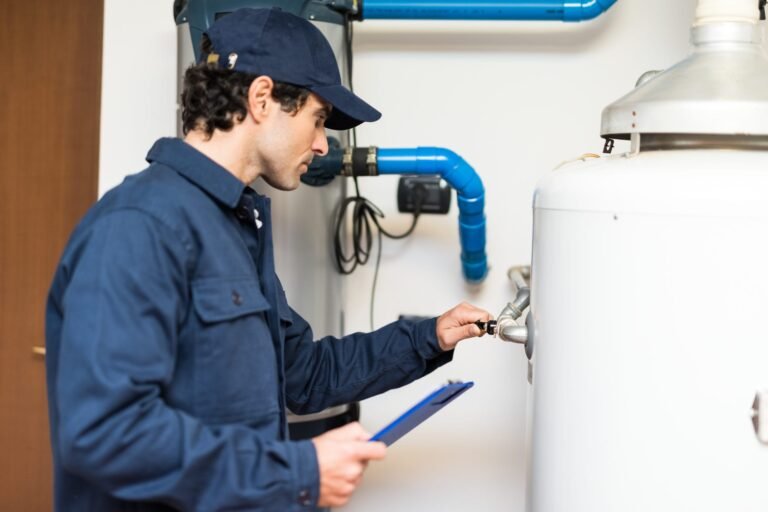
5 Habits To Care For Your Water Heater And Keep It From Breaking Down
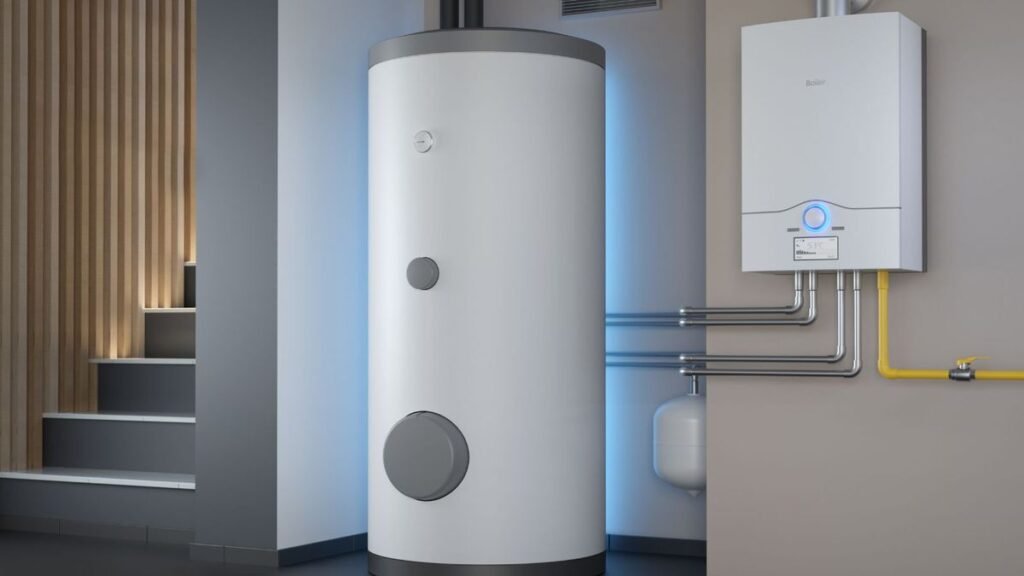
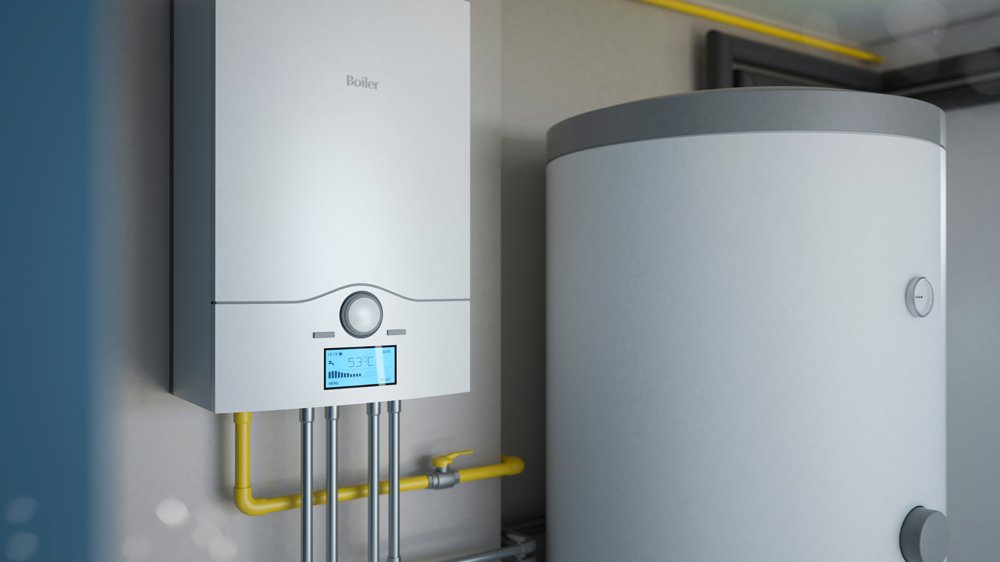
It helps that your water heater works quite hard every day. It warms your water for your morning shower, for your dirty dishes, for your laundry — all without you even being aware of it. But here’s the reality: Most people entirely ignore it until something breaks.
And when it does go wrong? It’s typically expensive, inconvenient and frankly completely avoidable.
A malfunctioning water heater can set you back between $500 and more than $1,500 in repairs or replacement. The good news is that a bit of regular attention pays big dividends. Maintaining and caring for your water heater doesn’t require any special skills or fancy tools. It simply takes some time and consistency.
This article will guide you through 5 smart habits that could help you get the most life out of your water heater, save money on energy bills, and prevent those dreaded cold showers at the worst moment.
The Real Reason Most Water Heaters Die Before Their Time
Average tank water heaters have a lifespan of around 8 to 12 years. But many units do not get close to that — and sometimes break down at just 5 or 6 years old.
Why? Neglect.
Sediment builds up inside the tank. Pressure rises unchecked. The anode rod corrodes completely. None of these phenomena occur overnight, but they all occur silently — until they don’t.
So let’s take a quick glance at the main reasons your water heater may fail early on:
| Failure Cause | How Common | Preventable? |
|---|---|---|
| Sediment buildup | Very common | ✅ Yes |
| Corroded anode rod | Very common | ✅ Yes |
| Faulty pressure relief valve | Common | ✅ Yes |
| Thermostat issues | Moderate | ✅ Yes |
| Improper installation | Less common | ✅ Yes |
| Old age (12+ years) | Common | ⚠️ Partially |
As you can see — most failures are 100% preventable. That’s exactly what this water heater maintenance and care guide will help you to do!
Habit #1 — Flush the Tank Once a Year to Prevent Sediment Buildup
What Is Sediment, and Why Should We Care?
Water isn’t just water. Tap water contains small minerals such as calcium and magnesium. Over years of use, these minerals settle at the bottom of your water heater tank and cause a thick, crusty accumulation that is termed sediment.
This layer of sediment produces a domino effect:
- Your heater has to put in a significantly greater effort to get the water heated
- Energy bills go up
- The bottom of the tank heats up and experiences weakness
- You may hear popping or rumbling noises coming from the tank
- Hot water does not last as long as it used to
The solution is easy: flush the tank once a year. DIYing it costs nothing and takes about 30 to 45 minutes.
How to Flush Your Water Heater: A Step-by-Step Guide
What you’ll need: A garden hose, gloves, and a bucket (optional)
- Power off — Shut off electric heaters at the circuit breaker. For gas heaters, the dial should be set to “pilot.”
- Attach a hose to the drain valve located at the bottom of the tank. Thread the other end to a floor drain or outside.
- Shut the cold water supply valve on top of the heater.
- Open a hot water tap somewhere in your house to avoid the formation of a vacuum.
- Open the drain valve and drain all the water out completely.
- Reopen the cold water for a short time to stir up and flush any remaining sediment.
- Close the drain valve, unplug the hose and refill the tank.
- Power up again once the tank is full.
Pro Tip: If the water that comes out is brown or murky, you waited too long. Begin doing this every year from this point forward.
How Often Should You Flush?
| Water Type in Your Area | Recommended Flush Frequency |
|---|---|
| Soft water | Once every 12 months |
| Hard water | Every 6 months |
| Very hard water | Every 3–4 months |
Unsure if you have hard water? Consult your local water utility or purchase a simple test kit online for around $10.
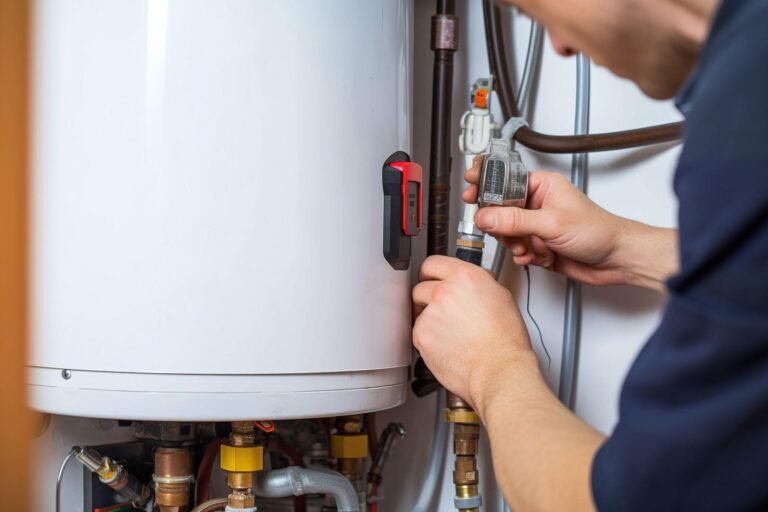
Habit #2 — Inspect & Replace the Anode Rod Every Couple of Years
The Most Overlooked Component of Your Water Heater
Even seasoned homeowners have never heard of an anode rod. But this one piece of metal may be the most critical element of your entire water heater.
The anode rod is a long metal rod — typically made of magnesium or aluminum — that hangs inside your tank. Its sole job is to corrode so your tank does not need to. It literally sacrifices itself to protect the steel walls of your tank. This is also why it’s known as the “sacrificial anode rod.”
When the rod is consumed, corrosion attacks the tank itself. Once that begins, there’s no turning back. Your tank will rust from the inside and eventually leak or burst.
The following are some signs you may need to replace your anode rod:
- Your hot water smells like rotten eggs (a sulfur smell)
- You may notice rust-colored water from hot taps
- When you pull it out, the rod appears thin, cracked, or covered with calcium
- It’s been over 3 years since you last checked it
Inspecting and Replacing the Anode Rod
The rod is generally positioned at the top of the heater, below a plastic cap or directly on the hot water outlet pipe. To remove it, you will need a 1 1/16-inch socket wrench.
Steps:
- Shut down the water heater and cold water supply
- Open a hot water tap to relieve pressure
- Find the anode rod hex head on top of the tank
- Unscrew and remove the rod
- Check it — replace if less than ½ inch thick or heavily corroded
- Wrap the threads of the new rod with Teflon tape
- Screw it back in firmly
- Restore water and power
A new anode rod runs $20 to $50. That’s a bargain compared to replacing an entire tank. For more detailed guidance on anode rods and other components, visit Water Heater Care — a helpful resource covering everything you need to know about keeping your water heater in top shape.
Habit #3 — Annual Test of the Pressure Relief Valve
What Is the Pressure Relief Valve?
The temperature and pressure relief valve — or T&P valve, for short — is a safety device. It’s designed to open automatically if the pressure or temperature in your tank gets too high.
If this valve malfunctions, pressure can increase to hazardous levels. In rare cases, a water heater can explode. That’s not typical, but it has occurred — and is entirely avoidable.
This valve will typically be located on the tank’s side or top and features a small lever with a pipe pointing downward.
The Simple Test That Takes Only 60 Seconds
It only takes about 60 seconds to test the T&P valve. Here’s how:
- Put a bucket under the discharge pipe
- Raise the valve lever for just a second or two
- You should hear a rush of hot water or steam, and water should come out
- Release the lever — it should snap back into position and halt the flow
- If water continues to drip after releasing it, the valve needs to be replaced
Do this test once a year. Put it on your calendar so you won’t forget.
When to Replace the T&P Valve
| Situation | Action Needed |
|---|---|
| Water continues dripping after test | Replace immediately |
| Valve will not open when you pull the lever | Replace immediately |
| Valve is older than 5–6 years | Consider replacing proactively |
| White mineral deposits around the valve | Clean or replace |
| No discharge pipe installed | Have a plumber install one as soon as possible |
Replacement valves generally range in cost from $15 to $30, and installation is straightforward. A licensed plumber can do it in under an hour, if you’d rather not get your hands dirty.
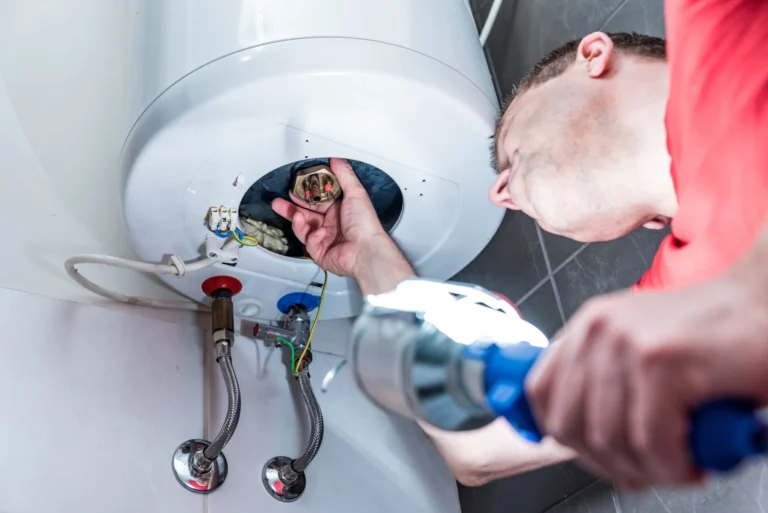
Habit #4 — Set the Right Temperature Setting
The Goldilocks Problem of Water Heater Temperature
The vast majority of water heaters are set to 140°F when they leave the factory. But the U.S. Department of Energy recommends setting your thermostat down to 120°F in most homes.
Why does this matter?
Too hot (above 140°F):
- Burn risk, particularly for children and seniors
- Speeds up mineral deposit growth in the tank
- Wastes energy and raises your electricity or gas bill
- Adds undue stress on the tank and parts
Too cold (below 120°F):
- Bacteria such as Legionella can breed in lukewarm water
- You could run out of hot water more quickly
- Hot water will not feel truly hot at the tap
120°F is the sweet spot. It’s hot enough to kill bacteria, safe for household use, and easy on your equipment.
How to Adjust the Temperature
For electric water heaters:
- Power off at the breaker
- Take out the access panel (normally secured by screws)
- Use a flathead screwdriver to adjust the thermostat dial
- Put the panel back and power up
For gas water heaters:
- Look for the dial located toward the bottom of the tank
- Switch to the 120°F setting (sometimes labeled “hot” or “A”)
Wait a few hours, then test the water at a tap with a thermometer to verify the temperature.
Energy Savings From Thermostat Setting Adjustments
| Temperature Setting | Estimated Annual Savings |
|---|---|
| From 140°F to 120°F | $36–$61 per year |
| From 130°F to 120°F | $18–$30 per year |
The cumulative impact over the expected 10-year life of a heater adds up. That’s actual money back in your pocket simply for turning a dial.
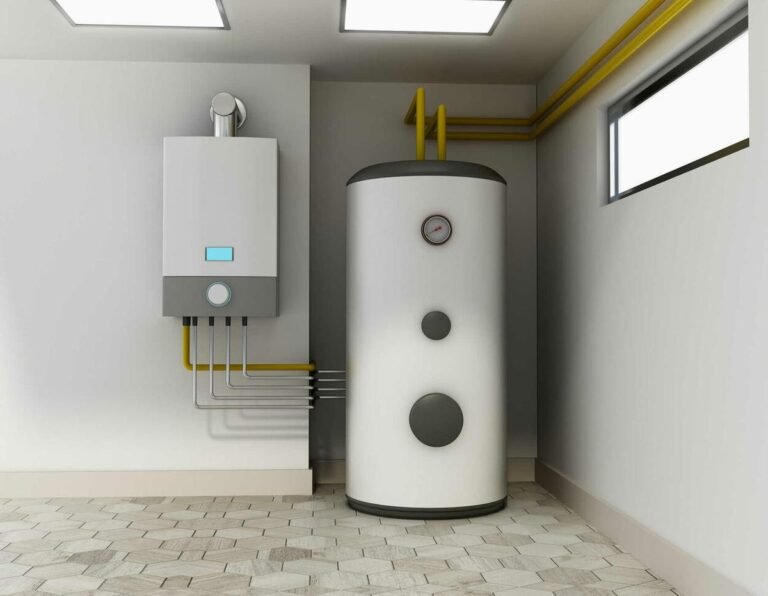
Habit #5 — Give Your Tank and Pipes Year-Round Insulation
Why Insulation Belongs in a Good Maintenance Routine
Here’s something most people do not think about: your water heater loses heat even when you’re not using it. This phenomenon, known as standby heat loss, requires your heater to continually reheat water simply to keep it at the designated temperature.
Insulating the tank — and the pipes that go in and out of it — cuts that heat loss dramatically. As part of the overall water heater maintenance and care guide you are following, it is one of the cheapest things you can do.
How to Add Insulation to Your Water Heater Tank
You can find a pre-cut water heater blanket for about $20 to $30 at most hardware stores. These blankets are made from fiberglass insulation and are simple to install.
Important notes before you insulate:
- Don’t cover the top of a gas heater — ventilation is required there
- Do not cover the T&P valve or thermostat access panels
- Electric heaters can usually be completely wrapped
- Check your owner’s manual — some newer models are already well insulated and don’t require a blanket
Insulating Your Hot Water Pipes
Foam pipe insulation is very inexpensive (around $1 per foot) and makes a big difference when wrapped around your hot water pipes.
Focus on the first 5 to 6 feet of pipe coming from the water heater. This is the area where heat loss is at its highest.
Benefits of pipe insulation:
- Hot water arrives at the faucet faster
- Less water is wasted waiting to heat up
- Reduced energy consumption
- Prevents freezing of pipes in cold regions
Annual Insulation Check
| What to Check | How Often | What to Look For |
|---|---|---|
| Tank blanket condition | Once a year | Tears, moisture, loose edges |
| Pipe insulation | Once a year | Cracks, gaps, missing sections |
| Cold water inlet pipe | Once a year | Condensation or frost |
Putting It All Together — Your Yearly Maintenance Schedule
You do not have to do everything all at once. Space these tasks out over the course of the year, and it won’t feel like much work at all.
| Task | Frequency | Time Required | Estimated Cost |
|---|---|---|---|
| Flush the tank | Once a year | 30–45 minutes | Free (DIY) |
| Check anode rod | Every 2–3 years | 30–60 minutes | $20–$50 (rod) |
| Test T&P valve | Once a year | 5 minutes | Free |
| Adjust temperature | Once (then as needed) | 15 minutes | Free |
| Insulate tank and pipes | Once, then annual check | 1–2 hours | $20–$60 |
Choose a date — perhaps the same weekend each fall — and go through this checklist. Your future self will thank you.
Signs You Should Never Ignore
No matter how well you take care of things, sometimes issues arise anyway. These are the warning signs that mean you need a professional immediately:
- Rust-colored hot water — Tank rusting inside
- Water pooling around the base — A leak or crack in the tank
- No hot water at all — Possibly a thermostat, heating element, or pilot light problem
- Thumping or banging noises — Intense sediment buildup
- Rotten egg odor — Anode rod failure or tank bacteria
- Water heater 12+ years old — Start planning to replace it
Don’t wait on these. A small issue left untreated can turn into a big water damage catastrophe.
Common Questions About Water Heater Maintenance and Care
Q: How often should I maintain my water heater? The bulk of the work — flushing the tank and testing the T&P valve, for example — needs to be done once a year. Check the anode rod for wear every 2 to 3 years. If you’re consistent, it comes out to only a few hours of work each year.
Q: Can I handle all of this on my own, or should I use a plumber? Most of these tasks can be done by beginner-level individuals. Flushing the tank, the T&P valve test, adjusting temperature, and pipe insulation are all easy DIY jobs. The anode rod is also moderately easy to replace with some simple tools. If you’re uncomfortable with any of it, a plumber can do a full service check for about $100 to $200.
Q: What will happen if I never flush my water heater? Sediment accumulates, and after a while it acts as a thick insulating layer separating the burner from the water. This leads to overheating at the bottom of the tank, cracks, and premature failure. Over time it also wastes a significant amount of energy.
Q: My water heater is already 10 years old. Should I still maintain it? Yes — but also begin saving to replace it. Good maintenance can keep an older unit running longer, but a heater 10 years old is in its sunset years at best. Keep a close eye out for any warning signs.
Q: Does a tankless water heater require maintenance as well? Absolutely. Tankless heaters should have their filters cleaned and be descaled (flushed with a vinegar solution) once a year, particularly in hard water areas. They have fewer parts to worry about overall, but maintenance is still a necessity.
Q: Will the warranty be voided if I insulate my water heater? It can in some cases. Check your manufacturer’s warranty first. Most newer heaters already come equipped with decent factory insulation. If your heater is a newer model, consult the manual before putting on a blanket.
Q: How do I know if my water is “hard”? Hard water leaves behind white mineral deposits around faucets and showerheads. A water test kit can also be purchased at a hardware store for about $10, or your local water utility may give you the information — they’ll often share the water hardness measurement for your area for free.
Wrapping It All Up
Maintaining your water heater doesn’t need to be difficult or time-consuming. By adding just a few simple habits to your routine and sticking with them, you can double its useful life, lower your energy bills, and totally eliminate the frustration of an unexpected breakdown.
This water heater maintenance and care guide comes down to five simple habits: flush the tank, inspect the anode rod, test the pressure valve, set the right temperature, and insulate for efficiency.
That’s it. Five things. Performed annually (or every few years in the case of the rod), and your water heater will return the favour with reliable and efficient service for years to come.
Start small if you need to. Doing one or two of these today is better than nothing. Check the temperature setting right now — it takes two minutes and could save you money starting today.
Your water heater is one of the most hard-working appliances in your house. Treat it a little nice, and it’ll treat you nice right back.