6 Powerful Water Heater Cleaning Habits for Crystal-Clear Water
I still remember the morning I turned on the shower and got this weird rotten-egg smell mixed with barely lukewarm water. I stood there thinking — when did I last actually do anything to my water heater? The honest answer? Never. I’d owned that house for three years and treated the water heater like it was completely self-sufficient.
Spoiler: it’s not.
That little wake-up call sent me down a rabbit hole of research, YouTube tutorials, and a few embarrassing calls to a plumber who probably judged me silently. What came out of it, though, was a cleaning routine that actually works — and honestly, it’s changed how I think about home maintenance altogether.
So here’s everything I learned, in the order I’d tell a friend who just moved into their first house.
1. Flush the Tank — Yes, It Actually Needs That
This was the first thing my plumber mentioned, and I had absolutely no idea it was even a thing. Sediment — basically mineral deposits from your water supply — builds up at the bottom of the tank over time. The older your tank, the more you’ve probably got sitting in there.
What sediment does is force your heater to work harder to heat water through that crusty layer, which means higher energy bills and a shorter lifespan for the unit.
Here’s how I do it now:
- Turn off the cold water supply valve at the top of the tank
- Switch the heater to “pilot” mode (for gas) or shut off the breaker (for electric)
- Connect a garden hose to the drain valve at the bottom
- Run the other end somewhere the hot water won’t cause damage — a floor drain, outside, etc.
- Open the drain valve and let it run until the water coming out looks clear
The first time I did this, the water that came out was genuinely dark and cloudy for a solid minute. I was horrified. Now I do this every six months and the water clears up almost immediately.
2. Clean or Replace the Anode Rod
Most people have never heard of an anode rod. I certainly hadn’t. But this thing is basically the unsung hero inside your water heater — it’s a long metal rod (usually magnesium or aluminum) that attracts corrosive elements in the water so they attack the rod instead of the tank walls.
Once it’s fully corroded, your tank starts taking the hit instead.
To check it:
- Locate the hex head on top of the tank (you might need to remove an insulation cover)
- Use a 1 1/16″ socket wrench to unscrew it
- Pull it out and look at it
If it looks like a sad, shriveled piece of metal with barely anything left on it — replace it. A new anode rod costs around $20–$40 and can add years to your tank’s life. I picked mine up from a local hardware store, and the whole swap took maybe 30 minutes.
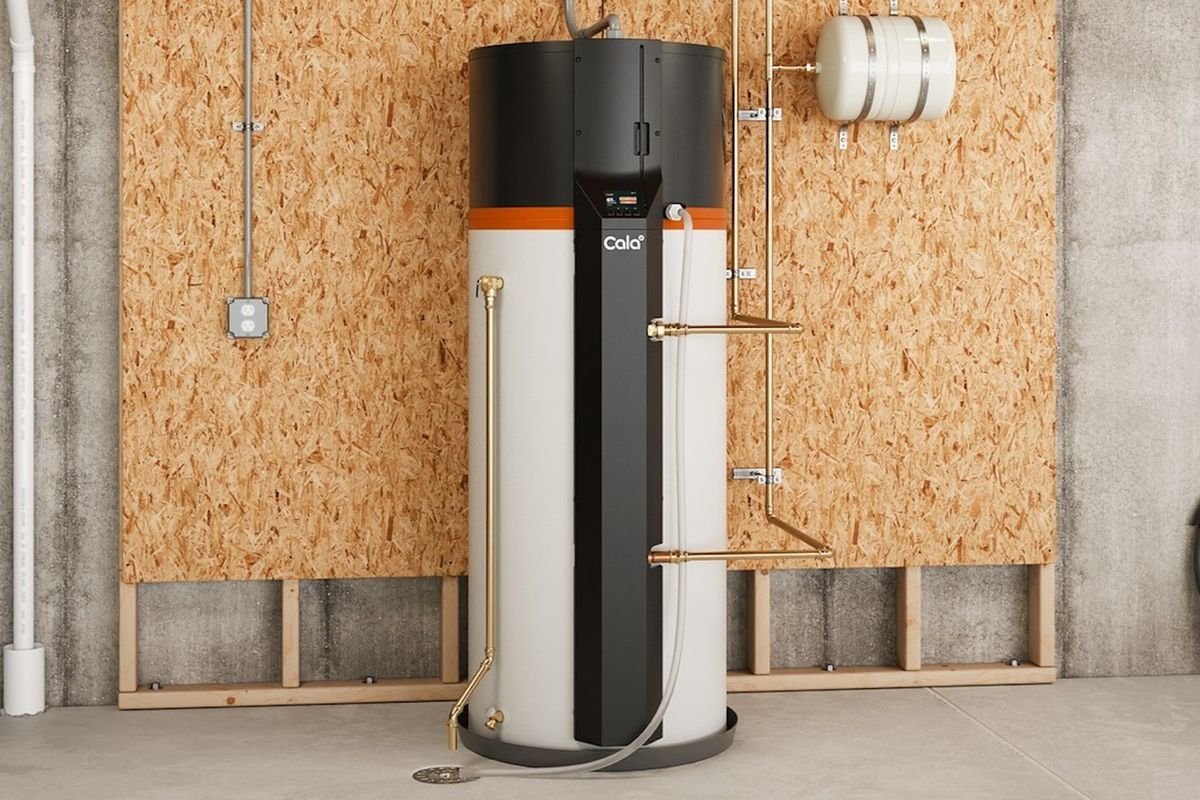
3. Wipe Down the Exterior (More Important Than It Sounds)
I used to completely ignore the outside of my water heater. It’s in the utility closet, out of sight, so why bother, right?
Here’s why: dust and grime buildup around the unit — especially near the vents and burner area — can actually affect airflow and in gas heaters, create a fire risk. I was stunned when I finally wiped mine down and saw how much had accumulated around the base.
Now I do a quick wipe-down every couple of months:
- Use a damp cloth to wipe the exterior surfaces
- Use a dry brush or handheld vacuum to clean around the base and any vent areas
- Check for any visible rust spots or discoloration
If you notice any rust flaking off the outside, that’s worth investigating further — it can signal deeper corrosion.
4. Check and Clean the Pressure Relief Valve
The T&P (temperature and pressure relief) valve is a safety device that releases water if the pressure or temperature inside the tank gets dangerously high. And it’s one of those things that people never test until something goes wrong.
Testing it is simple. There’s a small lever on the valve — lift it briefly and you should hear a hiss or see a small amount of water release into the discharge pipe. If nothing happens, or it drips continuously afterward, the valve likely needs replacing.
To clean around it:
- Make sure the area around the valve is free of mineral deposits
- If there’s white crusty buildup around the valve opening, gently clean it with a descaling solution or white vinegar on a cloth
I had mine drip for two days after I first tested it — turns out the valve itself had gone bad and needed replacement. A new one cost me around $15. Worth it for the peace of mind.
If you’re dealing with pressure issues specifically, it helps to understand the full picture — 5 Smart Water Heater Maintenance and Care Guide Tricks for Pressure Issues is a solid deep dive on that.
5. Descale the Heating Element (Electric Heaters)
If you have an electric water heater, the heating elements themselves can get coated in mineral scale — especially if you live somewhere with hard water. This is basically limescale, and it insulates the element, making it work harder and heat less efficiently.
Here’s a quick overview of what happens as scale builds up:
| Scale Thickness | Efficiency Loss | Energy Impact |
|---|---|---|
| 1/16 inch | ~11% | Noticeable bill increase |
| 1/8 inch | ~20% | Significant performance drop |
| 1/4 inch | ~40% | Major efficiency loss |
To clean the element:
- Shut off the power and drain the tank partially
- Remove the element using an element wrench
- Soak it in white vinegar for a few hours — the scale loosens up
- Scrub with a soft brush, rinse, and reinstall
I did this after noticing my electric bills creeping up for no obvious reason. The difference after cleaning was noticeable within the first week.
6. Flush with Vinegar for a Deep Clean
This one surprised me when I first read about it — you can actually do a vinegar flush to descale the interior of the tank. It’s particularly useful if you’ve been skipping regular flushes and have a significant scale buildup.
What you’ll need:
- White vinegar (4–6 gallons)
- Garden hose
- Funnel (sometimes helpful)
Steps:
- Drain the tank completely as described in trick #1
- Close the drain valve and disconnect the cold water inlet
- Pour vinegar directly into the tank through the inlet opening
- Let it sit for 6–8 hours (overnight works great)
- Drain the vinegar out completely
- Flush with fresh water 2–3 times until you don’t smell vinegar
- Reconnect everything and refill normally
The first time I did this, I honestly wasn’t expecting much. But the water that drained out after the soak was visibly murky with dissolved scale. It felt like giving the tank a proper bath for the first time in years.
7. Insulate the Pipes and Tank
Okay, this one isn’t “cleaning” in the traditional sense, but it changed my routine because it made everything else I was doing more effective. After all the effort of maintaining a clean, efficient tank — I was losing heat through uninsulated pipes.
Pipe insulation foam is ridiculously cheap (I paid about $10 for enough to cover all my hot water pipes in the utility room). Just measure the diameter of your pipes, grab the right size foam tubing from a hardware store, and snap it on.
For the tank itself, you can buy a water heater insulation blanket. These are especially helpful for older tanks that don’t have built-in insulation. The Department of Energy suggests this can reduce standby heat loss by 25–45%.
Here’s a rough idea of what you might save annually depending on your setup:
| Setup | Est. Annual Savings |
|---|---|
| Pipe insulation only | $15–$30 |
| Tank blanket only | $25–$50 |
| Both combined | $40–$80 |
| Both + regular flushing | $60–$100+ |
These are rough estimates, but they reflect what I’ve seen in my own utility bills over the past two years.
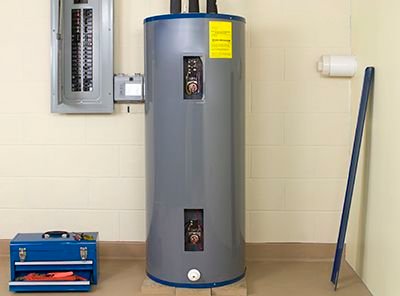
8. Set the Right Temperature — Then Check It Annually
This one took me the longest to think of as “maintenance.” But your thermostat setting directly affects how hard your heater works, how fast sediment bakes onto the tank walls, and your safety.
The sweet spot most experts recommend is 120°F (49°C). High enough to kill bacteria, low enough to prevent scalding and reduce mineral buildup.
To check your current setting:
- On gas heaters, there’s usually a dial on the gas valve
- On electric heaters, you’ll need to remove the access panel and adjust the thermostat directly
After adjusting mine from what I realized was a too-hot 140°F (someone had cranked it up at some point), I noticed:
- Hot water lasted longer (less demand on the tank)
- A slight reduction in my energy bill
- No real change in shower comfort
It’s a small thing, but worth checking once a year as part of your routine.
For anyone who wants to approach this more systematically, 7 Proven Water Heater Maintenance and Care Guide Flushing Tips for Better Heating covers the flushing side of things really well with extra detail.
Common Mistakes I Made (So You Don’t Have To)
Since I’m being honest here, let me share the things I got wrong early on:
Not turning off the power before draining. I did this once. The heating element ran dry and burned out within minutes. A replacement element cost $30 and a lot of frustration. Always cut power first.
Draining too fast. Opening the valve all the way at once can stir up sediment that then clogs the valve itself. Open it slowly.
Using too much descaling chemical. I tried a commercial descaler once and used twice the recommended amount thinking “more is better.” The smell when I reflushed was awful and it took five rinses to get rid of it. Read the instructions.
Ignoring the cold water dip tube. The dip tube directs incoming cold water to the bottom of the tank. If it breaks, you get cold water mixing at the top and weird temperature inconsistencies. Check it when you do your annual deep clean — it’s inexpensive to replace and easy to miss.
Skipping safety checks. I once noticed a small drip near my pressure relief valve and ignored it for two months. That “small drip” turned into a failed valve that I had to replace urgently. If something looks off, deal with it early.
How Often Should You Actually Do All This?
Here’s a simple schedule that works for me:
| Task | Frequency |
|---|---|
| Quick exterior wipe-down | Every 2–3 months |
| Check T&P valve | Every 6 months |
| Flush the tank | Every 6 months |
| Check anode rod | Once a year |
| Full vinegar descale | Every 1–2 years |
| Inspect heating elements | Every 1–2 years |
| Thermostat check | Once a year |
| Pipe insulation check | Once a year |
You don’t need to do everything at once. Spread it out, put reminders on your phone, and it becomes pretty manageable.
If you want to see how safety fits into all of this — especially before winter — 6 Essential Water Heater Maintenance and Care Guide Checks Before Winter is worth bookmarking now before the cold months sneak up on you.
What This Routine Actually Did for Me
Before I started doing any of this, my water heater was 8 years old and starting to show its age — slower heating, occasional odors, slightly higher bills. I was half-expecting to replace it within a year or two.
That was three years ago. It’s now 11 years old, runs quietly, heats efficiently, and my plumber (who I now see for a proper annual check) said it’s in surprisingly good condition for its age.
I’m not saying cleaning alone will make a water heater last forever — eventually they all give out. But the difference between a unit that lasts 10 years and one that makes it to 15 is often just consistent, basic maintenance. None of the tricks I described above are complicated. None require expensive tools. Most of them take under an hour.
If you’ve been treating your water heater like I used to — as some mysterious appliance that takes care of itself — I hope this nudges you to give it a little attention. Start with the flush. That alone will probably surprise you.
Also worth reading: 9 Powerful Water Heater Maintenance and Care Guide Tricks That Save Energy — some genuinely clever efficiency tips that pair well with everything covered here.
About the Author