10 Smart Water Heater Cleaning Steps Most Homeowners Ignore
I’ll be honest — I didn’t think about cleaning my water heater for the first four years I owned my house. It just sat in the corner of my utility room, doing its job, and I completely ignored it. Until one morning I turned on the shower and got a stream of rusty, foul-smelling water that looked like it came straight out of a swamp.
That was my wake-up call.
Turns out, water heaters need regular cleaning just like any other appliance in your home. Most people assume they’re maintenance-free. They’re not. And the consequences of ignoring them can range from higher energy bills to full tank failure — which, trust me, is not a fun Saturday afternoon expense.
So here’s everything I’ve learned — some of it from YouTube rabbit holes at midnight, some from a very patient plumber, and some from my own trial and error.
1. Turn Everything Off First (Yes, All of It)
Before you touch anything, shut it all down. For a gas heater, turn the dial to “Pilot.” For electric, flip the breaker. Then shut off the cold water inlet valve — that’s usually the pipe coming in from the top of the tank.
I skipped this step once thinking I’d “just take a quick look.” I ended up with scalding water spraying across my garage floor. Don’t be me.
Let the water cool down for at least an hour before you start any cleaning. Two hours if the tank has been running all day.
2. Do a Visual Inspection Before Anything Else
Grab a flashlight and just look. Really look. Check for:
- Rust spots or discoloration on the tank body
- Moisture or pooling water near the base
- Corrosion around the inlet and outlet pipes
- White crusty deposits (calcium/mineral buildup) around fittings
This took me maybe five minutes and saved me a lot of unnecessary work once. I spotted a small crack near the pressure relief valve during one of these checks — caught it early before it became a full leak.
Most homeowners go straight to flushing without ever doing this inspection. That’s a mistake.
3. Check and Clean the Anode Rod
If you’ve never heard of an anode rod, you’re not alone. Neither had I until my plumber pointed at this long, crusty metal rod and said, “This is what’s been keeping your tank from rusting out from the inside.”
The anode rod is a sacrificial magnesium or aluminum rod that attracts corrosive elements in your water so they attack the rod instead of your tank walls. Problem is, most people never replace it.
Here’s what to do:
- Locate the hex head on top of your heater (might be under a plastic cap)
- Use a 1-1/16 inch socket wrench to unscrew it
- Pull it out and inspect it
If it’s less than ½ inch thick or heavily coated in calcium, replace it. A new one costs $20–$40 and can add years to your heater’s life.
| Anode Rod Condition | What to Do |
|---|---|
| Looks mostly intact | Leave it, check again in 1 year |
| Thinning but not gone | Plan to replace within 6 months |
| Heavily corroded/broken | Replace immediately |
| Completely dissolved | Tank may already be damaged |
This is genuinely one of the most ignored maintenance steps out there. Replacing mine was a game-changer.
4. Flush Out the Sediment — Properly
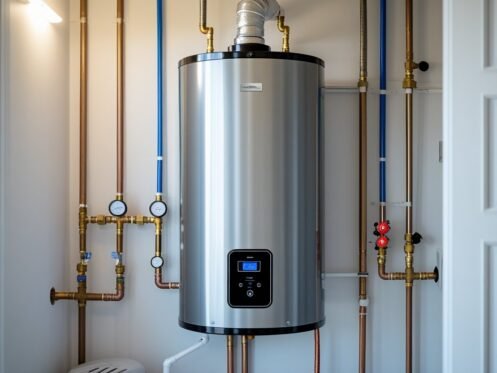
This is the big one. Sediment — basically minerals and debris that settle at the bottom of your tank — is the silent killer of water heaters. It insulates the water from the heating element, makes your heater work harder, and creates that horrible rumbling or popping sound you might have heard.
For a step-by-step guide with more tips on how to flush properly, check out 7 Proven Water Heater Flushing Tips for Better Heating.
Basic flushing steps:
- Connect a garden hose to the drain valve at the base of the tank
- Run the other end to a floor drain or outside
- Open the pressure relief valve slightly (to let air in so water flows out)
- Open the drain valve and let it all drain out
- Once empty, briefly open the cold water supply to flush out remaining sediment
- Repeat until the water runs clear
First time I did this, the water came out dark brownish-grey. I thought something was seriously wrong. My plumber laughed and said, “That’s just years of buildup — you’re doing it right.”
Do this once a year. Mark it on your calendar.
5. Clean the Pressure Relief Valve (T&P Valve)
The Temperature and Pressure Relief valve — the T&P valve — is a safety device. If your tank overheats or pressure builds up too much, this valve releases it. It can literally prevent your water heater from exploding.
And yet almost no one ever tests or cleans it.
Here’s a simple test:
- Place a bucket under the discharge pipe
- Lift the lever on the valve for 2–3 seconds
- Let it snap back
You should see a burst of hot water or steam. If nothing comes out, or the valve keeps dripping after you release it, it needs to be replaced.
Clean any mineral crust around the valve opening with a little white vinegar on a cloth. Don’t ignore a faulty T&P valve — this is a real safety issue, not just a performance one.
6. Descale the Heating Element (Electric Heaters)
If you have an electric water heater, the lower heating element is especially prone to mineral scale buildup — particularly in areas with hard water.
When the element gets coated, it can’t transfer heat efficiently. Your heater runs longer, uses more electricity, and the element eventually burns out.
To descale:
- After draining the tank, remove the lower element using an element wrench (about $10 at any hardware store)
- Soak it in white vinegar for 30–60 minutes
- Scrub with a soft brush
- Reinstall and refill
I started doing this after noticing my electric bills creeping up for no clear reason. After descaling, my recovery time (the time it takes to reheat a full tank) dropped noticeably.
You can also read more about 9 Powerful Water Heater Cleaning Ideas for Long Life to keep your system running at peak performance.
7. Wipe Down the Exterior and Ventilation Area
This sounds almost too simple, but it matters more than you’d think.
Dust and debris on the exterior of your heater — especially around the burner area of gas models — can restrict airflow and create fire hazards. I once found a literal mouse nest built against the side of my water heater. Not a pleasant discovery.
What to do:
- Wipe down the tank exterior with a damp cloth
- Use a vacuum or brush to clear dust from ventilation openings
- Check that nothing is stored within 18 inches of the heater (clearance matters for gas models)
- Make sure the flue pipe on gas heaters is secure and rust-free
It takes ten minutes, and doing it twice a year keeps your utility room from turning into a fire hazard.
8. Clean the Inlet Filter Screen (Tankless Heaters)
If you have a tankless water heater, this one is specifically for you — and it’s one of the most commonly skipped steps I’ve seen.
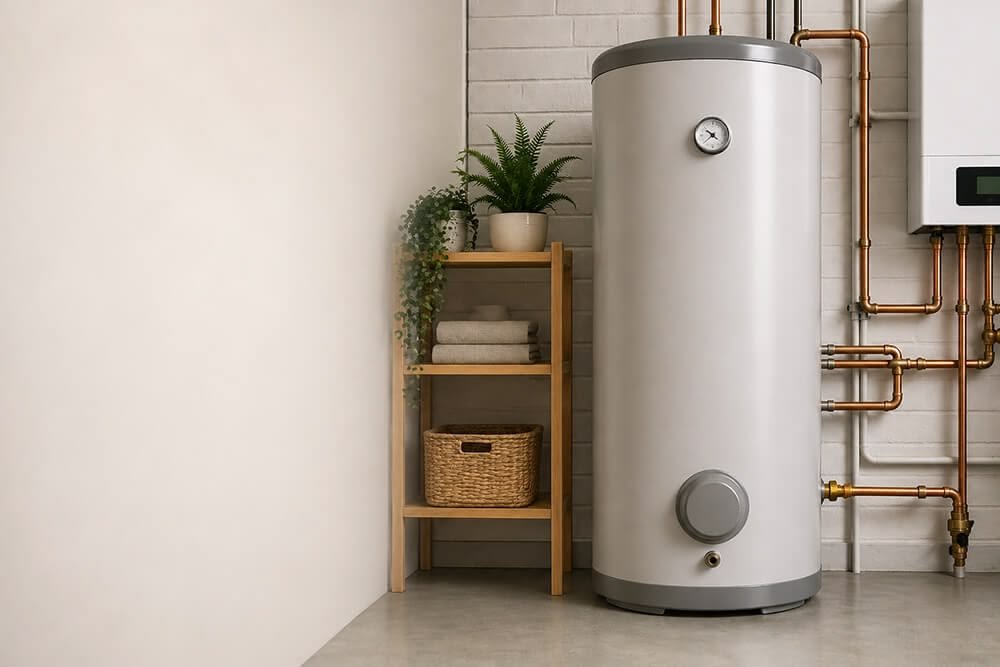
Tankless heaters have small inlet filter screens that catch debris before water enters the heating chamber. When these get clogged, water flow drops, and you start getting inconsistent hot water.
Cleaning steps:
- Shut off water supply
- Locate the cold water inlet (usually on the bottom)
- Unscrew the filter screen — it looks like a small mesh cylinder
- Rinse it under running water
- Use a soft brush to remove any scale or debris
- Reinstall
I have a friend who spent three months complaining about his tankless heater “not working right” and called a technician. The technician cleaned the inlet filter in 15 minutes and charged $150 for it. A lesson worth learning the free way.
For more on tankless-specific maintenance, here’s a helpful deep-dive: 9 Essential Tankless Water Heater Maintenance Hacks.
9. Flush Vinegar Through the System (Descaling Tankless Units)
For tankless heater owners, full descaling is something you should do every 12 months — or every 6 months if you have hard water.
You’ll need:
- A submersible pump (you can rent these or buy one for about $30–$40)
- Food-grade white vinegar (about 4 liters)
- Two hoses with service valves
- A bucket
The process:
- Connect the pump and hoses to the hot and cold service valves on your heater
- Place the pump in the bucket of vinegar
- Run the pump to circulate vinegar through the unit for 45–60 minutes
- Flush with clean water for 5–10 minutes after
This breaks up calcium and mineral deposits inside the heat exchanger — the part that actually heats your water. It’s the equivalent of descaling a kettle, just on a bigger scale.
First time I did this myself, I was nervous about getting it wrong. But honestly, it’s straightforward once you read your heater’s manual and have everything laid out in front of you.
| Task | Frequency | DIY Difficulty |
|---|---|---|
| Anode rod inspection | Yearly | Medium |
| Sediment flush | Yearly | Easy |
| T&P valve test | Yearly | Easy |
| Element descaling | Yearly (electric) | Medium |
| Inlet filter cleaning | Every 6 months (tankless) | Easy |
| Full vinegar descale | Yearly (tankless) | Medium |
| Exterior wipe-down | Every 6 months | Easy |
10. Insulate the Pipes and Check Connections After Every Clean
Here’s one that nobody talks about, and I genuinely wish I’d learned it sooner.
After every maintenance session, take five minutes to check the pipe connections going in and out of your heater. Over time, fittings can loosen slightly from thermal expansion — the pipes getting hot and cool repeatedly over years.
Use a wrench to gently snug up any fittings that feel loose. Don’t overtighten — just firm.
Then check your pipe insulation. The first few feet of the hot water outlet pipe lose heat fast if uninsulated, which means your heater has to work harder to compensate. Self-adhesive pipe foam insulation is about $5 for several feet at any hardware store. Wrap it around both the hot and cold water pipes near the tank.
I did this last winter and noticed my morning shower got hot faster — genuinely surprised how much of a difference it made.
Common Mistakes People Make (Including Me)
A few things I’ve done wrong that you don’t have to:
Waiting until something breaks. Everything on this list costs almost nothing when done proactively. Waiting until your tank fails means emergency plumber rates and a full replacement that can run $800–$2,000+.
Skipping the manual. Every water heater is slightly different. The manual tells you where specific parts are, what your drain valve looks like, and what the manufacturer recommends for maintenance intervals.
Using harsh chemical cleaners inside the tank. Stick to vinegar. It’s effective, food-safe, and won’t damage your heating elements or tank lining.
Not labeling what you turned off. The first time I flushed my tank, I forgot which valve was which and spent 20 minutes confused in my utility room. Label your shut-offs.
Ignoring the sound. That rumbling, popping, or knocking sound your heater makes? That’s sediment being disturbed by the heating element. It’s your tank telling you it needs a flush. Listen to it.
Final Thoughts
Water heater maintenance isn’t glamorous, and it’s not complicated. It’s just one of those things that falls off the radar because the heater keeps working — until it doesn’t.
The ten steps above took me a full afternoon the first time I did them all together. Now that I know what I’m doing, I get through the whole checklist in about two hours, once a year. My energy bills are lower, I’ve had zero cold water surprises, and my tank is now 11 years old and still going strong.
The best time to start is before something goes wrong.
Want to build better habits that prevent breakdowns before they happen? Don’t miss 5 Smart Water Heater Maintenance and Care Guide Habits That Prevent Breakdowns — it covers some everyday routines that genuinely make a difference over the long run.
About the Author