7 Proven Water Heater Maintenance & Care Tips I Learned the Hard Way
Let me be honest with you — I had absolutely no idea how much work a water heater needed until mine gave up on me in the middle of January.
It was one of those mornings where everything felt fine until it wasn’t. I turned on the shower, waited the usual 30 seconds… and nothing. Cold. Ice cold. I stood there in denial for a solid minute before realizing my water heater had officially quit.
The repair technician who came out looked at my unit, shook his head slowly, and said something I’ll never forget: “Sir, when was the last time you maintained this thing?”
I didn’t even know water heaters needed maintenance.
That embarrassing and expensive moment — we’re talking a $900 repair bill — sent me down a rabbit hole of research, YouTube tutorials, and honest conversations with plumbers and HVAC technicians. What I learned completely changed how I treat every appliance in my home, but especially my water heater.
Here are the 7 tips I wish someone had told me years ago.
1. Flush the Tank at Least Once a Year (Yes, Really)
This was the big one. The thing nobody told me.
Sediment — basically minerals and calcium deposits from your water supply — builds up at the bottom of your tank over time. If you have hard water (which most people do and don’t realize), this process happens faster than you’d think.
Here’s what that sediment does: it sits between the heating element and the water, forcing your heater to work harder to heat the same amount of water. That’s wasted energy every single day. Worse, over time it causes overheating at the bottom of the tank, which shortens the heater’s life dramatically.
How to flush your tank — step by step:
- Turn off the power (for electric heaters) or set gas to “pilot” mode
- Connect a standard garden hose to the drain valve at the bottom of the tank
- Run the other end somewhere safe — a floor drain, outside, or a bucket
- Turn off the cold water supply valve at the top
- Open a hot water faucet somewhere in your house (this prevents a vacuum from forming)
- Open the drain valve and let it run until the water comes out clear
- Close the drain valve, turn the cold water back on, and wait for the tank to refill before restoring power
First time I did this myself, I was genuinely shocked by the color of the water that came out. It was rust-brown for the first minute or two. That was two years of buildup.
It takes about 30–45 minutes and costs you nothing but a little time.
2. Check the Anode Rod Every 2–3 Years
I had never heard of an anode rod before my plumber mentioned it. Turns out it’s one of the most important parts of your water heater — and one of the most ignored.
The anode rod is a long metal rod (usually magnesium or aluminum) that hangs inside your tank. Its entire job is to corrode so your tank doesn’t have to. It’s called a “sacrificial” rod, which sounds dramatic, but it’s accurate.
Once this rod corrodes completely, your tank starts corroding instead. And a corroded tank = leaks, rust in your water, and eventual replacement.
The rod is usually found under a plastic cap on top of your heater. You’ll need a 1 1/16-inch socket wrench to remove it. If it looks thin, flaky, or is less than half an inch thick, replace it. New ones cost $20–$40 at any hardware store and can add years to your tank’s life.
Quick tip: If your hot water smells like rotten eggs, a degraded magnesium anode rod is often the culprit. Switching to an aluminum/zinc rod usually fixes this.
3. Set the Temperature Correctly — Not Too High, Not Too Low
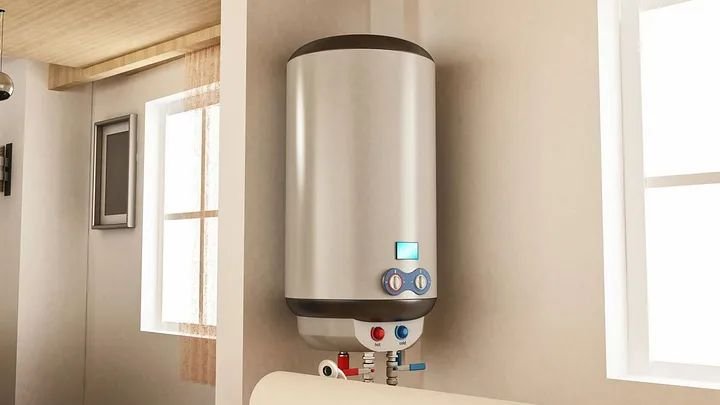
Most water heaters come factory-set at 140°F (60°C). That sounds fine, right? Actually, it’s higher than most households need and it quietly burns through energy every single month.
The U.S. Department of Energy recommends setting your water heater to 120°F (49°C) for most households. That’s hot enough to kill bacteria, comfortable enough for showers and dishes, and easier on your unit overall.
But here’s the other side of this — don’t go too low either. Anything under 120°F starts creating a risk for Legionella bacteria growth inside the tank. There’s a sweet spot, and 120°F hits it perfectly.
| Temperature Setting | Energy Use | Safety Level | Notes |
|---|---|---|---|
| Below 110°F | Very Low | ⚠️ Risk | Bacterial growth possible |
| 120°F | Optimal | ✅ Safe | Recommended by DOE |
| 130°F | Higher | ✅ Safe | Slight scalding risk |
| 140°F | Highest | ⚠️ Caution | Factory default, can scald |
I dropped mine from 140°F to 120°F and noticed a small but real difference in my electricity bill within two months. Nothing dramatic, but consistent savings are savings.
For those with tankless heaters, this principle applies too — check out 7 Smart Tankless Water Heater Care Tips That Save Energy for more specific guidance on dialing in those units.
4. Test the Pressure Relief Valve Annually
This one genuinely scared me when I first learned about it.
The Temperature and Pressure Relief valve — or T&P valve — is a safety device that releases pressure if your tank ever gets too hot or builds up too much internal pressure. Without it working properly, in extreme cases, a water heater can actually rupture.
Most homeowners never touch this valve. Ever. Which means they have no idea if it’s stuck, corroded, or completely non-functional.
Testing it takes 30 seconds:
- Place a bucket under the discharge pipe connected to the T&P valve
- Lift the lever briefly (just a quick lift and release — don’t hold it)
- You should hear a small rush of water or steam
- Release the lever — it should snap back and stop flowing
If water keeps trickling after you release it, the valve needs replacing. If nothing came out at all when you lifted it, same answer — it needs replacing.
A replacement T&P valve costs around $15–$25. A plumber can install it in under an hour. This is not something to ignore.
5. Insulate Your Tank and Pipes
Here’s a tip that gave me an immediate return on a tiny investment.
Older water heaters lose heat through their walls constantly — this is called “standby heat loss.” Even when you’re not using hot water, your heater is cycling on and off to maintain temperature. If the tank isn’t well insulated, it’s working much harder than it needs to.
Tank insulation blankets are sold at hardware stores for around $20–$30. Just make sure you:
- Don’t cover the thermostat (electric) or the top/bottom/burner area (gas)
- Check your owner’s manual — some newer tanks already have good built-in insulation and don’t need a blanket
The pipes matter too. Insulating the first 6 feet of hot water pipe leaving your heater with foam pipe insulation ($5–$10) means your water stays hotter as it travels to your faucets. Less waiting, less wasted water, less energy.
If your tank is more than 10 years old and sits in an unheated garage or basement, this upgrade makes an especially noticeable difference.
6. Pay Attention to Early Warning Signs
One of my biggest mistakes was ignoring the small signals my heater was sending before it completely failed. Looking back, the signs were there for months.
Here’s what I missed — and what you should watch for:
Popping or rumbling sounds: That’s sediment buildup being disturbed by heating. Flushing the tank usually solves it. If it’s very loud, the sediment may be too packed for a DIY flush.
Rusty or discolored water: This is either a failing anode rod or corrosion inside the tank itself. If it’s the tank, replacement is likely coming soon.
Water pooling around the base: Small puddles can indicate a loose drain valve (easy fix) or a crack in the tank (not an easy fix at all). Don’t ignore this.
Inconsistent hot water: You get hot water for a few minutes and then it goes warm or cold? Could be a failing heating element (electric) or thermocouple (gas), or it could just be sediment reducing your effective capacity.
Taking longer to heat: If you used to have hot water in 10 minutes and now it takes 20, your heater is struggling.
For a full walkthrough on diagnosing these kinds of issues yourself before calling anyone, 7 Easy Water Heater Maintenance & Care Guide Cleaning Tasks You Should Never Skip breaks down exactly what to check.
7. Know When to Call a Professional (and When You Don’t Have To)
I used to think calling a plumber meant admitting defeat. Now I think of it as smart resource management.
Some things are genuinely DIY-friendly:
- Flushing the tank
- Replacing the anode rod
- Insulating pipes and tank
- Testing the T&P valve
- Adjusting the thermostat
Other things really do need a professional:
- Gas line issues — full stop, don’t DIY this
- Replacing the T&P valve if you’ve never done plumbing work
- Any signs of corrosion inside the tank
- Electrical work on the heating elements if you’re not comfortable with electrical systems
- Anything involving venting or flue pipes on gas heaters
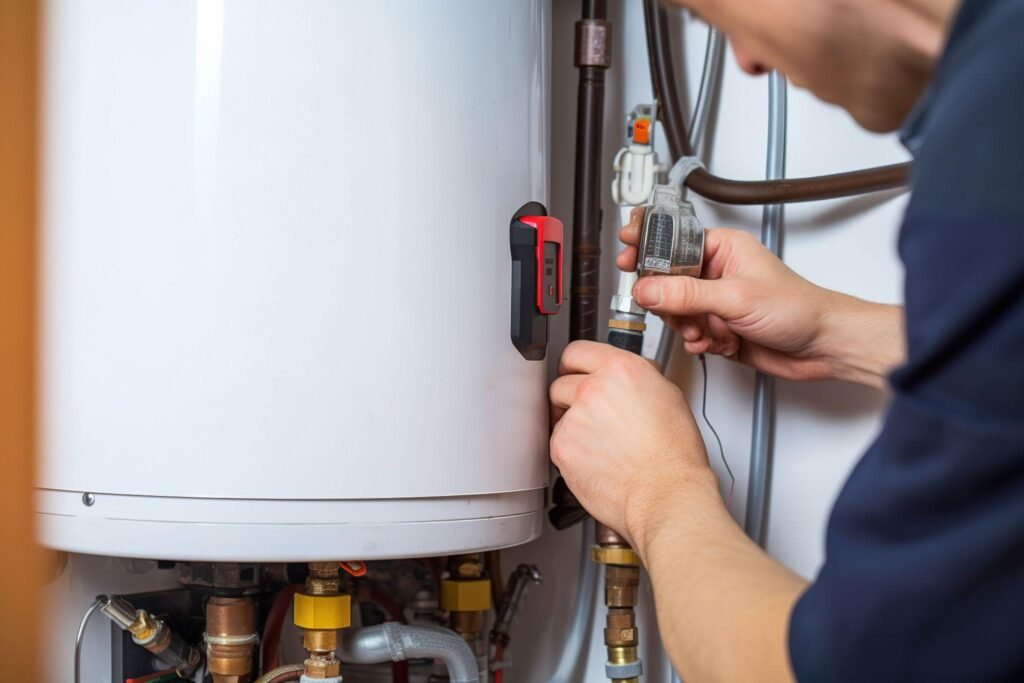
The honest truth is that a good plumber or HVAC tech can spot problems you’d never catch yourself — things like improper venting, mineral buildup in the pipes leading to the heater, or a unit that’s just past its safe operating life.
A typical professional maintenance visit costs $80–$150 and once a year is usually enough. Compared to an emergency repair or full replacement, it’s cheap peace of mind.
The Maintenance Schedule I Now Actually Follow
After all the lessons I’ve learned — some the hard way, some from professionals — here’s the simple schedule I keep on my phone as a recurring reminder:
| Task | Frequency | DIY or Pro? |
|---|---|---|
| Flush the tank | Annually | DIY |
| Test T&P valve | Annually | DIY |
| Check anode rod | Every 2–3 years | DIY (or Pro) |
| Inspect for leaks/sounds | Every 6 months | DIY |
| Check temperature setting | Annually | DIY |
| Professional inspection | Annually | Pro |
| Replace anode rod (if needed) | Every 3–5 years | DIY or Pro |
Nothing here is complicated. The whole thing takes maybe 2 hours a year. That’s it.
Common Mistakes I Made (So You Don’t Have To)
- Waiting until something broke to look at the heater. Don’t do this. Preventive maintenance is always cheaper.
- Ignoring the anode rod entirely for over 5 years. By the time I checked it, it had completely disintegrated.
- Running the temperature too high thinking it meant “better” hot water. It just meant higher bills and more mineral buildup.
- Not knowing where the shut-off valve was during a minor leak. Precious minutes wasted while water spread across the floor.
- Assuming “newer” meant “self-maintaining.” My heater was only 4 years old when it started showing problems from neglect.
Learn where your cold water shut-off valve is right now — before you ever need it. Seriously, go find it.
Final Thoughts
Water heater maintenance isn’t glamorous. Nobody’s excited to spend a Saturday afternoon draining a tank or inspecting a metal rod. But after my cold-shower wake-up call and a nearly four-figure repair bill, I can tell you without any hesitation that 30 minutes of annual maintenance is worth every second.
Your water heater is one of the hardest-working appliances in your home, running quietly in the background every single day. It deserves a little attention.
Start with just one thing this weekend — even if it’s only checking the temperature setting or locating your T&P valve. Small actions compounded over time keep appliances alive longer, keep bills lower, and keep cold-morning disasters from happening.
You’ll thank yourself later. I really wish someone had told me this sooner.
Also worth reading: 10 Essential Water Heater Maintenance Tips That Extend Life — a solid deep dive if you want to go even further with protecting your unit.
About the Author