5 Smart Water Heater Safety Checks I Never Skip Now
I’ll be honest — I used to completely ignore my water heater. It sat in the corner of my utility room, doing its thing, and I never gave it a second thought. Until one morning I walked in to grab something and noticed a small puddle forming near the base. My stomach dropped. That moment of panic, combined with a very expensive emergency plumber visit, completely changed how I think about water heater safety.
Since then, I’ve become borderline obsessive about these five safety checks. Not in a paranoid way — just in a “this thing holds gallons of scalding hot water and runs constantly, so maybe I should pay attention” kind of way. If you’ve been as hands-off as I was, this is your sign to start.
1. Check the Temperature & Pressure Relief (TPR) Valve — Every Single Time
This is the one most people have never heard of, and it’s arguably the most important safety feature on your water heater.
The TPR valve is a small lever-operated valve, usually on the side or top of the tank. Its entire job is to release pressure if the internal temperature or pressure gets dangerously high. If it fails? The tank can literally explode. That’s not an exaggeration — there are documented cases of water heater tanks being launched through roofs.
Here’s how I test mine:
- Place a bucket under the discharge pipe (the pipe connected to the valve)
- Lift the lever for about 3 seconds
- Let it snap back into position
- A small burst of hot water or steam should release — that’s good
- If nothing comes out, or it keeps dripping afterward, the valve needs replacing
I do this every 6 months without fail. Replacement valves typically cost $15–$30 at any hardware store, and swapping one out yourself is a manageable DIY job if you’re comfortable with basic plumbing.
What I learned the hard way: My first test produced zero water flow. The valve was completely seized — probably hadn’t been tested in years before I moved in. Had that gone unchecked during a pressure spike, the outcome could’ve been catastrophic. Now I mark it on my calendar like a dentist appointment.
2. Inspect the Anode Rod (And Don’t Skip This One, Seriously)
If the TPR valve is the heart of water heater safety, the anode rod is the immune system. It’s a long metal rod — usually magnesium or aluminum — that attracts corrosive elements in the water so they attack it instead of the tank lining.
Once that rod is fully corroded, the tank itself starts to rust from the inside out. That leads to leaks, contaminated water, and eventually a full tank failure.
Most manufacturers recommend checking it every 2–3 years, but if you have hard water (which I do), you might need to look at it annually. I pull mine using a 1-1/16″ socket wrench — it’s the largest socket I own, and the rod is usually located on top of the tank under a plastic cap.
Signs your anode rod needs replacing:
| Condition | What It Means |
|---|---|
| Less than ½ inch of core wire exposed | Still has life left |
| Core wire is mostly exposed | Replace soon |
| Rod is completely depleted | Replace immediately |
| Calcium buildup coating the rod | Hard water issue — flush the tank too |
| Rotten egg smell from hot water | Rod reacting with sulfur bacteria |
That rotten egg smell was actually my first clue something was off in my old apartment. The previous tenant had clearly never maintained the water heater, and the degraded anode rod was reacting with sulfur bacteria in the water. Not dangerous, but deeply unpleasant. A new rod and a full flush fixed it.
If you’re doing regular maintenance already, this pairs well with 7 Proven Water Heater Flushing Tips for Better Heating — flushing the sediment while you’ve got things partially drained just makes sense.
3. Look for Leaks — Including the Ones You Can’t See Yet
This one sounds obvious, but there’s a difference between “glancing at the heater when you walk by” and actually checking for leaks systematically.
There are three main places leaks start:
Around the cold inlet and hot outlet pipes — These connections at the top of the tank can develop small drips over time, especially if the pipes have any vibration or movement. I use a dry paper towel to wipe around these fittings. Even a faint damp spot tells you something.
The TPR valve discharge pipe — If you see mineral deposits or water staining along this pipe, the valve may be occasionally releasing pressure on its own. That’s not normal and means your pressure might be running too high.
The base of the tank — Any water pooling here is serious. It usually means the internal tank lining has failed and you’re dealing with a slow internal leak. At that point, the unit typically needs replacement, not repair.
I also started keeping a small piece of dry cardboard under my heater. It sounds low-tech, but it’s surprisingly effective — any moisture shows up immediately and I can tell roughly where it’s coming from before it becomes a puddle.
One thing I didn’t expect: I discovered a slow drip coming from a flex connector — not the tank itself. A $12 replacement part and 20 minutes of work solved it. Had I not been looking, that small drip would’ve eventually caused water damage to the floor and subfloor underneath.
4. Test the Thermostat Setting and Make Sure It’s in the Right Range
This one is both a safety check and an efficiency check, which is why I love it.
The recommended temperature for residential water heaters is 120°F (49°C). This is the sweet spot that:
- Kills most harmful bacteria (like Legionella)
- Prevents scalding burns
- Doesn’t waste energy overheating water
A lot of water heaters ship from the factory set at 140°F, which is actually hotter than necessary for most households and increases the risk of scalding — especially for kids and elderly family members.
Here’s my simple testing method:
- Run the hot water tap for 2–3 minutes (to clear any cooled water in the pipes)
- Fill a glass and immediately check the temperature with a kitchen or meat thermometer
- Compare to the dial setting on your heater
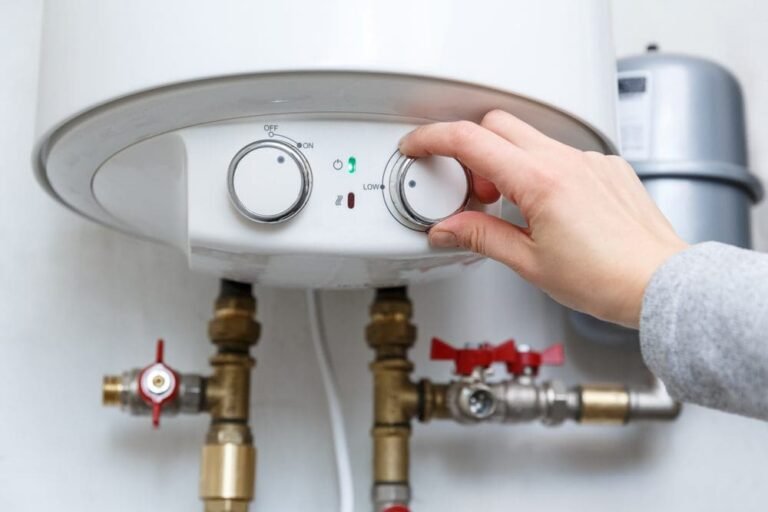
If your tap water is coming out significantly hotter than 120°F, adjust the dial. Most gas heaters have a simple dial near the burner. Electric heaters require removing an access panel to reach the thermostat — always turn off the breaker first.
Practical tip: I use a basic instant-read cooking thermometer like the ThermoPro TP03. It costs around $10 and gives me an accurate reading in seconds. No need for anything fancy.
For households with immune-compromised individuals or anyone in a high-risk category, some plumbers actually recommend keeping the tank at 140°F but installing a thermostatic mixing valve at the fixtures to reduce scalding risk at the tap. It’s worth discussing with a plumber if that applies to you.
If you want a deeper look at related safety habits, 5 Easy Water Heater Safety Habits That Saved My Heater covers some good complementary practices worth bookmarking.
5. Check for Gas Leaks and Proper Venting (If You Have a Gas Unit)
This is the one I take most seriously, and the one I’d urge you never to skip if you have a gas water heater.
Gas leaks are rare when equipment is properly maintained, but they’re also invisible, and they can be deadly. Carbon monoxide — a byproduct of incomplete combustion — is odorless and kills silently. This isn’t meant to scare you, but it is meant to make you take this seriously.
My monthly gas safety checks:
Smell test first. Natural gas has a mercaptan additive that smells like rotten eggs or sulfur. If you ever smell this near your water heater, don’t touch any switches, don’t use your phone inside, and leave the house immediately before calling your gas company.
Inspect the burner flame. On a gas water heater, the pilot light and burner flame should be blue with maybe a small yellow tip. A predominantly yellow or orange flame means incomplete combustion — potentially producing carbon monoxide. This needs a technician, not a DIY fix.
Check the exhaust flue. The flue pipe carries combustion gases out of your home. It should be properly connected, sloping slightly upward, and free of obstructions. Birds and small animals love to nest in exterior flue vents — it’s more common than you’d think. I use a flashlight to visually trace the pipe from the heater to where it exits the wall or roof.
Carbon monoxide detector. I have one mounted about 5 feet from my water heater. It’s a basic Kidde unit that’s been there for three years. Most CO detectors have a lifespan of 5–7 years, so check yours for the manufacture date. Mine is CO-only but I also have combination smoke/CO detectors on every floor.
Condensation around the flue collar — This is something I noticed only recently. A little condensation in cold weather can be normal, but persistent moisture around the flue collar can indicate venting problems or even backdrafting (where combustion gases flow back into the house instead of out). If you see this regularly, call a technician.
A Quick Reference: Safety Check Schedule
Here’s the schedule I actually follow, which has helped me stay on top of everything without making it feel overwhelming:
| Check | Frequency | Time Required |
|---|---|---|
| Visual leak inspection | Monthly | 5 minutes |
| Gas smell / flame color | Monthly | 5 minutes |
| Temperature test at tap | Every 3 months | 10 minutes |
| TPR valve test | Every 6 months | 10 minutes |
| Anode rod inspection | Every 1–2 years | 30–60 minutes |
| Full flush and sediment drain | Annually | 45–60 minutes |
| Professional inspection | Every 2–3 years | Per technician |
Sticking to this schedule isn’t about being paranoid — it’s about not ending up like past-me, calling a plumber at 7am on a Tuesday because I ignored something preventable for years.
Common Mistakes I See (And Used to Make)
Ignoring small drips. Small leaks don’t stay small. A weeping fitting becomes a burst connection. Catch it early.
Cranking the thermostat too high. More heat doesn’t mean better performance — it means higher bills and scalding risk. Stick to 120°F unless you have a specific reason not to.
Skipping the TPR test because “nothing’s happened yet.” This is survivor bias. The valve hasn’t failed yet. Test it.
Assuming a new water heater doesn’t need attention. New units still need their anode rod checked, TPR tested, and temperature verified. Manufacturers set defaults that may not be right for your water or household.
Not knowing where the shutoffs are. Before anything else — right now, today — locate your water heater’s cold water shutoff valve and, if gas-powered, your gas shutoff. Knowing these in an emergency is as basic as knowing where your fuse box is.
Final Thoughts
Water heaters are remarkably reliable appliances, and that reliability is kind of the problem. It makes them easy to forget. But they’re also under constant pressure, running on combustible fuel or high-voltage electricity, and filled with water hot enough to cause serious burns.
Five checks. Some take five minutes. The longest — the anode rod — takes maybe an hour once a year. That’s not a big ask for the peace of mind it buys.
Once you start doing these regularly, it stops feeling like maintenance and starts feeling like just… knowing your house. And honestly, that’s a good feeling.
For anyone who wants to go deeper on preventing problems before they start, I’d recommend reading 9 Important Water Heater Safety Rules You Should Follow — it covers some scenarios and rules that even experienced homeowners overlook.
About the Author