5 Smart Water Heater Safety Checks I Never Skip Now
Let me tell you about the night I nearly had a disaster on my hands.
It was a Tuesday in December, around 11 PM. I heard this low, rumbling sound coming from my basement — almost like someone had left a kettle on too long but deeper, more unsettling. I went downstairs and found my water heater making a noise I can only describe as “angry.” The pressure relief valve was dripping, there was a faint smell I couldn’t quite place, and the tank felt almost too hot to stand near.
I had zero idea what I was looking at.
After a frantic call to a neighbor who happened to be a retired plumber, I learned that my water heater was dangerously close to becoming a very expensive — and potentially deadly — problem. Excess pressure, sediment buildup, a relief valve that hadn’t been tested in years. The whole thing.
That night changed how I think about water heaters forever. Most of us treat them like furniture — we ignore them until something breaks. But a neglected water heater isn’t just an inconvenience. It’s a real safety risk.
Here’s everything I wish I’d known before that night.
1. Test Your Temperature and Pressure Relief (TPR) Valve Every Year
This is the single most important safety component on your water heater, and I’d be willing to bet most homeowners have never touched it.
The TPR valve is designed to automatically release pressure if your tank gets dangerously hot or over-pressurized. If it fails — and they do fail, especially older ones — you’re looking at a situation where the tank can literally rupture.
How to test it:
- Turn off power (or gas) to the heater
- Place a bucket under the discharge pipe
- Lift the valve’s lever briefly — water should flow out, then stop cleanly when you release it
- If nothing comes out, or if it drips constantly afterward, replace it immediately
TPR valves typically cost $15–$30 and take less than an hour to swap out. A plumber charges maybe $100 for the job. That is cheap insurance.
2. Keep the Temperature at 120°F — Not Higher
I used to think hotter meant better. My old landlord had the thermostat cranked to 140°F “to kill bacteria,” he said. That’s partially true, but at that temperature, you’re looking at scalding risk within seconds of contact — especially dangerous if you have kids or elderly family members at home.
The U.S. Department of Energy recommends 120°F as the sweet spot. It’s hot enough to be safe from Legionella bacteria, reduces scalding risk significantly, and actually saves energy too.
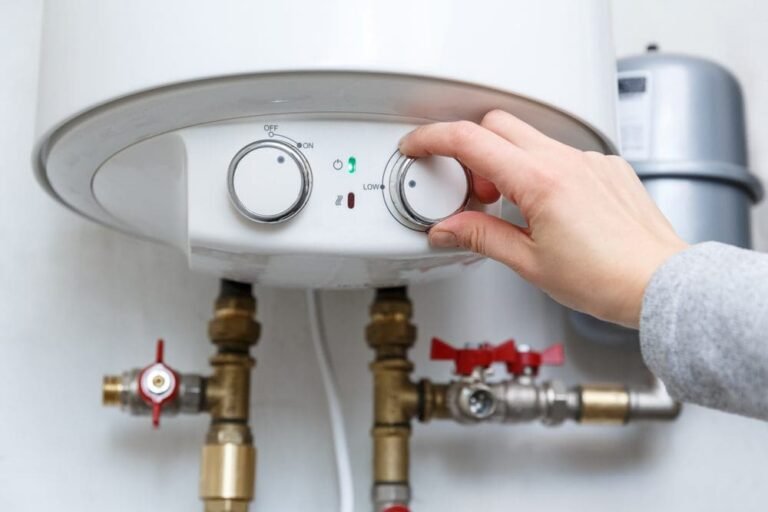
Most gas heaters have a dial on the front. Electric heaters usually require you to remove a panel and adjust the thermostat behind it. If you’re not sure, get a simple thermometer and run the hot tap for a minute before testing.
| Temperature | Risk Level | Notes |
|---|---|---|
| Below 110°F | Bacterial growth risk | Too cool for safe use |
| 120°F | Recommended | Safe, efficient, comfortable |
| 130°F | Moderate scalding risk | 30 seconds to burn |
| 140°F | High scalding risk | Burns within 5 seconds |
| 150°F+ | Dangerous | Scalding in under 2 seconds |
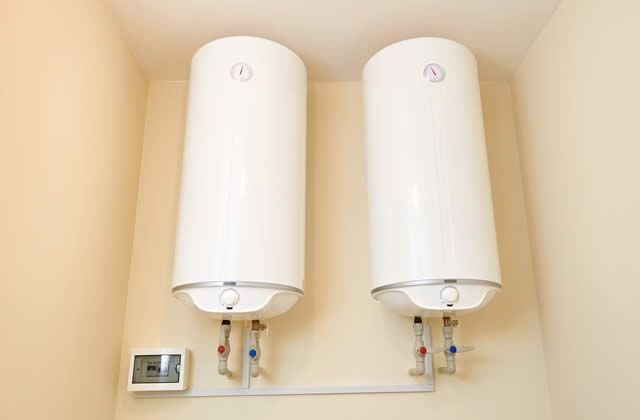
3. Flush the Tank at Least Once a Year
Sediment is the silent killer of water heaters. Over time, minerals from your water supply — calcium, magnesium, lime — settle at the bottom of the tank. This creates a layer of gunk that:
- Forces the heating element to work harder
- Causes that popping, rumbling, knocking sound
- Reduces your heater’s lifespan by years
- In extreme cases, can lead to overheating
Flushing is straightforward. You connect a garden hose to the drain valve at the bottom of the tank, run it to a floor drain or outside, and let the tank drain out fully. Then you open the cold water supply briefly to stir up remaining sediment and flush it through.
I do this every October. Takes about 45 minutes, and the difference in how quietly my heater runs afterward is genuinely noticeable. If you want a full step-by-step walkthrough, this guide on 7 Proven Water Heater Flushing Tips for Better Heating breaks it down really clearly.
4. Inspect the Anode Rod Every 2–3 Years
The anode rod is a sacrificial metal rod — usually magnesium or aluminum — that sits inside your tank and corrodes instead of your tank walls. Once it’s fully corroded away, your tank starts rusting from the inside.
Most people never even know this part exists. I certainly didn’t until my plumber neighbor pulled one out and showed me a rod that had basically dissolved. It was down to a thin wire wrapped in crusty white deposits. The tank it was in lasted another two years after that — barely.
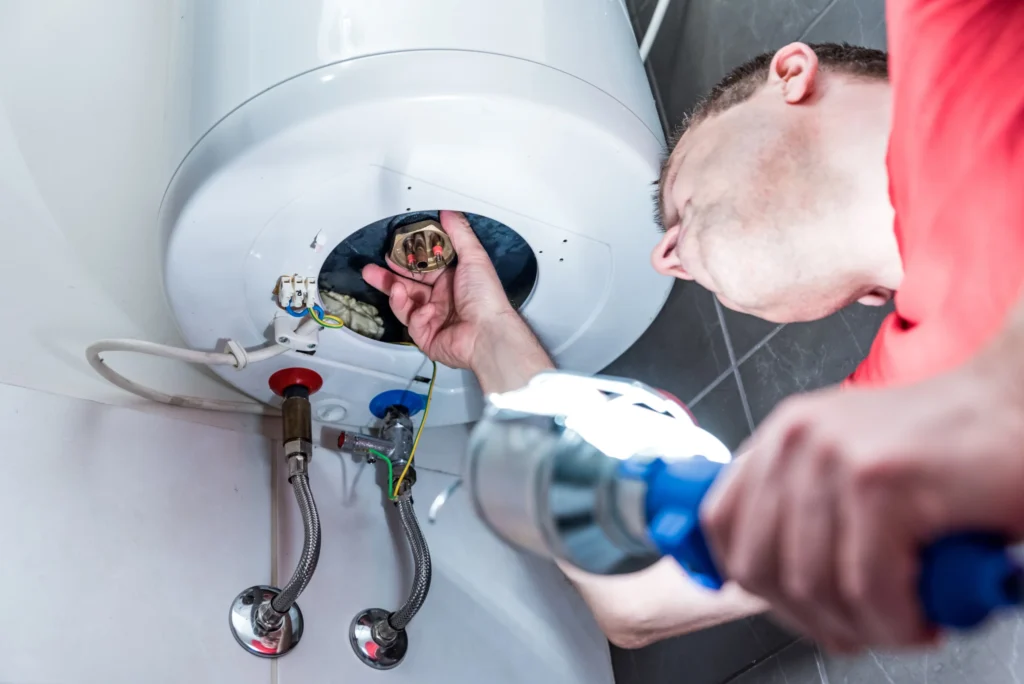
Checking it requires unscrewing it from the top of the heater (there’s usually a hex head under the plastic cap). If it’s less than half an inch thick or heavily corroded, replace it. A new anode rod costs $20–$50 and can add years to your tank’s life.
5. Look for Leaks Before They Become Floods
Small leaks are easy to dismiss. You notice a bit of moisture near the base, maybe chalk it up to condensation, and move on. Big mistake.
Even a minor slow leak can:
- Rot your subfloor or damage drywall
- Create mold within days in the right conditions
- Indicate a failing pressure valve or corroded fitting
Make it a habit to physically look at and around your water heater every month. Run your hand along the pipes and connections. Check the base of the tank. Even a tiny rust stain is worth investigating.
For older tanks, I’d also recommend a simple water leak detector alarm placed on the floor near the heater base. They cost about $10–$15 on Amazon (brands like Govee or Zircon make decent ones), and they’ll alert you immediately if water accumulates. Completely passive protection.
6. Don’t Ignore Strange Noises — They’re Telling You Something
Water heaters aren’t supposed to sound like a percussion instrument. If yours is:
- Popping or rumbling: Sediment buildup (flush it — see tip #3)
- High-pitched whining: Possibly a failing heating element (electric heaters)
- Hissing: Could be a small leak turning to steam
- Banging: Water hammer — may need a pressure-reducing valve
I spent two months ignoring a low rumble in my old apartment’s heater before the landlord finally had it checked. Turned out to be severe sediment. The heater was replaced entirely because it had already started affecting the tank lining.
If you’re hearing anything unusual and aren’t sure what’s causing it, this breakdown of 7 Smart Water Heater Troubleshooting Tips That Actually Work is genuinely helpful for diagnosing issues before calling a plumber.
7. Ensure Proper Ventilation for Gas Heaters
This one isn’t optional — it’s life and death.
Gas water heaters produce carbon monoxide as a byproduct of combustion. That CO has to go somewhere, and the venting system (flue pipe leading to a chimney or exterior vent) is what moves it out of your home.
If that vent becomes blocked, disconnected, or corroded, CO can back-draft into your living space. You won’t smell it. You won’t see it. And in high concentrations, it can kill within minutes.
What to check:
- Inspect the flue pipe for rust, holes, or disconnected sections
- Make sure nothing is blocking the exterior vent cap (birds nest in these regularly — I’ve seen it)
- Install a carbon monoxide detector on every floor of your home, especially near sleeping areas. The Kidde CO400 or First Alert CO400 are reliable and affordable
- Never store boxes, paint cans, or anything flammable near a gas heater
This is non-negotiable. If your CO alarm ever goes off, get everyone out first, then call the fire department. Don’t stop to grab belongings.
8. Keep the Area Around Your Water Heater Clear
This seems obvious but you’d be amazed how many utility closets look like a storage unit threw up in them.
Flammable materials near a gas water heater are a fire hazard. The pilot light or burner can ignite vapors from cleaning products, paint, gasoline containers, or even certain types of insulation foam.
The rule of thumb: keep at least 18 inches of clearance on all sides of a gas water heater. For electric heaters it’s less critical for fire reasons, but you still want access for maintenance.
I’ve seen people store holiday decorations literally touching the side of a gas heater. The decorations were cardboard boxes. Please don’t do this.
9. Install an Expansion Tank If You Have a Closed Plumbing System
This one comes up less often but it caught me completely off guard when I moved into my current house.
Modern homes often have a closed plumbing system — meaning a backflow preventer or check valve stops water from flowing back into the municipal supply. When your water heater heats water, it expands (thermal expansion). In an open system, that expanded water backs up harmlessly. In a closed system, it has nowhere to go — which builds up pressure in your tank.
Over time, this can stress your tank, damage the TPR valve, and shorten your heater’s life significantly.
The fix is a small thermal expansion tank ($30–$60 for the part) that attaches to the cold water supply line. It gives that expanding water a place to go. Many local codes now require these — worth checking with your plumber if you’re not sure whether you need one.
10. Know When to Replace, Not Just Repair
There comes a point where patching a water heater is just delaying the inevitable — and potentially at greater risk.
General lifespan guidelines:
| Heater Type | Average Lifespan |
|---|---|
| Traditional tank (gas) | 8–12 years |
| Traditional tank (electric) | 10–15 years |
| Tankless (gas or electric) | 15–20+ years |
| Heat pump water heater | 10–15 years |
If your heater is within 2–3 years of the end of its expected life AND you’re dealing with frequent repairs, leaks, rust-colored water, or inconsistent heating — start shopping for a replacement rather than throwing more money at it.
The serial number on most water heaters encodes the manufacture date. For most brands, the first letter represents the month (A=January, B=February, etc.) and the next two digits represent the year. So “F19XXXXX” was made in June 2019.
I’ve seen people spend $400 repairing a 14-year-old electric tank that failed completely six months later. At that age, replacement is almost always the smarter call. This detailed look at 4 Proven Water Heater Maintenance Guide Steps for Longer Lifespan walks through what genuinely extends heater life versus what’s just money down the drain.
Common Mistakes People Make (That I’ve Either Made or Watched Others Make)
Setting and forgetting. Water heaters get ignored for years. Even just a quick visual check every few months makes a huge difference.
DIY-ing gas connections. I’m all for doing things yourself, but gas line work should always go to a licensed professional. Always.
Skipping the anode rod. This single part is the reason tank heaters last as long as they do. Neglecting it is like never changing your car’s oil.
Not knowing where the shutoff is. Before anything else — right now, today — find your water heater’s cold water shutoff valve and your gas shutoff (if applicable). Know how to turn them off in an emergency.
Assuming new means safe. Even a brand-new water heater needs its installation inspected. Improper venting or connections can exist from day one.
One More Thing Before You Go
Water heater safety isn’t exciting. It’s not the kind of thing you think about until something goes wrong. But the half-hour you spend testing your TPR valve, checking for leaks, and making sure your CO detector has fresh batteries? That’s genuinely time well spent.
My basement incident from that December night ended up costing me about $180 in repairs and a lot of lost sleep. But it also made me someone who actually knows what’s going on with my water heater — and that feels a lot better than hoping for the best.
Start with one tip from this list this week. Just one. Build from there.
Also worth reading: If you’re dealing with unusual behavior from your water heater and aren’t sure what’s causing it, check out 10 Easy Water Heater Troubleshooting Fixes You Can Do Yourself — it covers most of the common problems in plain language with no technical background required.
About the Author