8 Easy Water Heater Safety Mistakes That Can Be Dangerous
I’ll be honest — I never thought about my water heater until the day I walked into my utility room and smelled something burning. The unit was fine, as it turned out, but I’d been setting the temperature way too high for years without realizing it was slowly stressing out the whole system. That little scare sent me down a rabbit hole of everything I’d been doing wrong.
And here’s the thing: most of us make the same mistakes. Not because we’re careless, but because water heaters just sit in a corner doing their job quietly, and we assume everything is fine. Until it isn’t.
So let me walk you through 8 safety mistakes that are surprisingly common — and genuinely dangerous if you let them slide.
1. Setting the Temperature Too High (or Too Low) — and Ignoring It
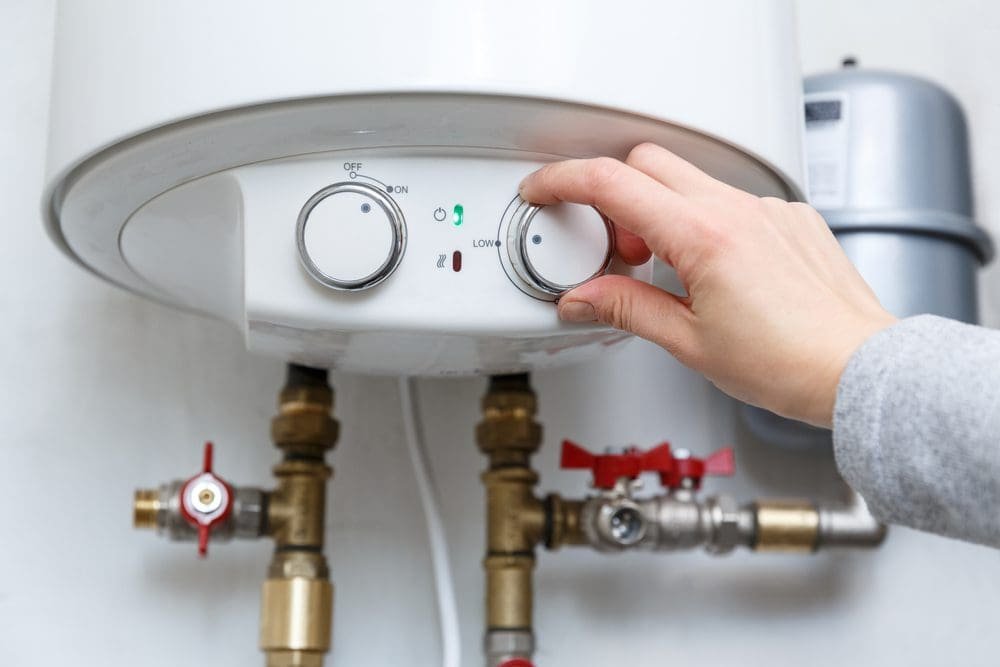
Most people never touch the thermostat on their water heater after it’s installed. The dial gets set by whoever installed it, and that’s that.
The problem? Factory settings are often too high. Many units ship set at 140°F (60°C), which is hot enough to cause third-degree burns in under 5 seconds. Families with young kids or elderly members are especially at risk.
On the flip side, if you’ve turned it way down to save energy, anything below 120°F (49°C) creates a breeding ground for Legionella bacteria — the stuff behind Legionnaires’ disease.
The sweet spot is 120°F. Use a simple cooking thermometer at the tap to verify what you’re actually getting. The dial markings on most water heaters are notoriously inaccurate.
| Temperature | Risk |
|---|---|
| Below 120°F | Bacterial growth (Legionella) |
| 120°F | Safe and recommended |
| 130°F | Scalding risk increases |
| 140°F+ | Severe burn risk in under 5 seconds |
2. Ignoring the Pressure Relief Valve (T&P Valve)
This one genuinely scares me now that I understand what it does.
The Temperature and Pressure Relief valve — that little lever on the side of your tank with a pipe running down — is literally the one thing standing between your water heater and a potential explosion. If pressure inside the tank builds up too much, this valve opens and releases it.
The scary part? Most homeowners have never tested it. Including me, for about six years.
Testing it is simple: flip the lever briefly and let it snap back. You should hear a rush of water or steam. If nothing happens, or if it keeps dripping after the test, it needs replacing.
A stuck or failing T&P valve means if pressure builds up — which it will eventually — there’s no release. Water heaters have literally launched through roofs when this goes wrong. Not trying to scare you, but this is not a maintenance item to skip.
Test it once a year. Replace it every 3–5 years regardless. It costs about $15–$30 and takes 20 minutes to swap out.
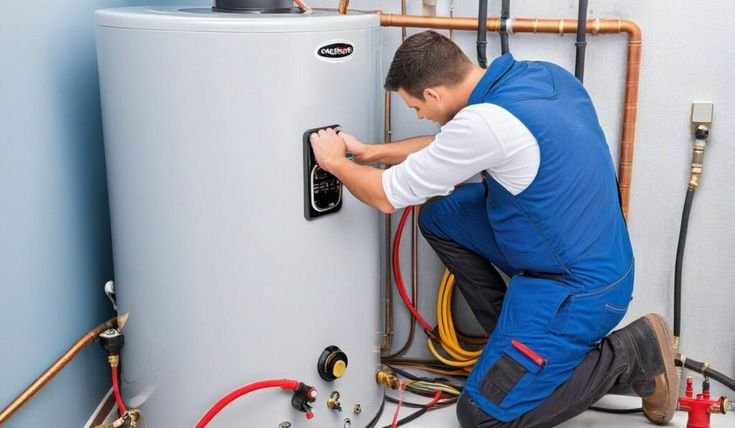
3. Skipping Annual Flushing (Sediment Buildup Is a Real Hazard)
Here’s something nobody talks about enough: sediment. Over time, minerals from your water supply — mostly calcium and magnesium — settle at the bottom of the tank. Especially if you’re on hard water.
That layer of sediment forces your heater to work harder because the heating element or burner has to heat through it to warm the water. This causes overheating at the bottom of the tank, which can crack the tank lining, damage the heating element, or cause strange popping and rumbling noises.
I once heard what sounded like rocks rolling around inside my tank. That’s literally what it is — hardened sediment breaking loose.
Beyond efficiency, thick sediment can trap superheated water underneath it and create localized hot spots. That’s a structural stress issue over time.
How to flush it:
- Turn off the heater (gas to pilot, electric to off)
- Connect a garden hose to the drain valve at the bottom
- Run the hose to a floor drain or outside
- Open the valve and let it drain until water runs clear
- Close valve, refill, then turn back on
Do this once a year, or twice a year if you have hard water. You can check out 7 Proven Water Heater Flushing Tips for Better Heating for a detailed walkthrough.
4. Blocking the Area Around the Water Heater
This is one of those mistakes that feels harmless until it isn’t.
Storage rooms and utility spaces are prime spots for clutter. I’ve seen people stack boxes right next to gas water heaters, lean bikes against them, store cleaning chemicals nearby — all of it is genuinely risky.
Gas water heaters need air circulation to burn properly. Block the vents or air intake, and you get incomplete combustion, which produces carbon monoxide. That’s an odorless, colorless gas that can kill you in your sleep.
Beyond combustion issues, flammable materials near a gas heater are an obvious fire hazard. And even with electric heaters, heat buildup around the unit stresses components.
Keep a clear zone of at least 2 feet around your water heater on all sides. Don’t store anything flammable nearby — paint, gasoline cans, cleaning solvents. None of it.
5. Not Checking the Anode Rod
This is probably the most ignored maintenance item on the entire list.
The anode rod is a sacrificial metal rod — usually magnesium or aluminum — that hangs inside your water heater tank. Its entire job is to corrode slowly so the tank doesn’t. When the rod is depleted, the tank itself starts rusting from the inside.
Most homeowners don’t even know it exists. I certainly didn’t for the first several years I owned a home.
A depleted anode rod means:
- Rusty, discolored hot water
- Metallic taste
- Tank corrosion that shortens lifespan dramatically
- Risk of tank failure and leaks
Check it every 2–3 years. If it’s less than ½ inch thick or heavily coated in calcium, replace it. Rods cost $20–$50. Not checking it can mean replacing the entire water heater ($800–$1,500+) years earlier than you should have to.
If you want a deeper look at maintenance habits that actually make a difference, 5 Smart Water Heater Maintenance and Care Guide Habits That Prevent Breakdowns covers this well.
6. Ignoring Small Leaks
“It’s just a little drip.”
Famous last words. Seriously — I’ve heard this from so many people, and small leaks almost always mean one of three things: a failing valve, loose fittings, or early-stage tank corrosion. None of those get better on their own.
A drip around the T&P valve could mean it’s releasing pressure intermittently (which means pressure is too high — a separate problem). A drip at the drain valve is usually just a loose cap, but ignore it and it can worsen. A wet ring at the base of the tank is a serious warning sign of internal tank corrosion.
Here’s a quick diagnostic guide:
| Leak Location | Likely Cause | Urgency |
|---|---|---|
| T&P valve | Excess pressure or failing valve | High |
| Drain valve | Loose cap or worn seal | Medium |
| Inlet/outlet pipes | Loose fittings | Medium |
| Base of tank | Internal corrosion | Very High — replace soon |
Never ignore a leak at the base. Once the tank starts leaking from the bottom, it’s usually near the end of its life. Catch it early and you can plan a replacement. Let it go and you might come home to a flooded utility room.
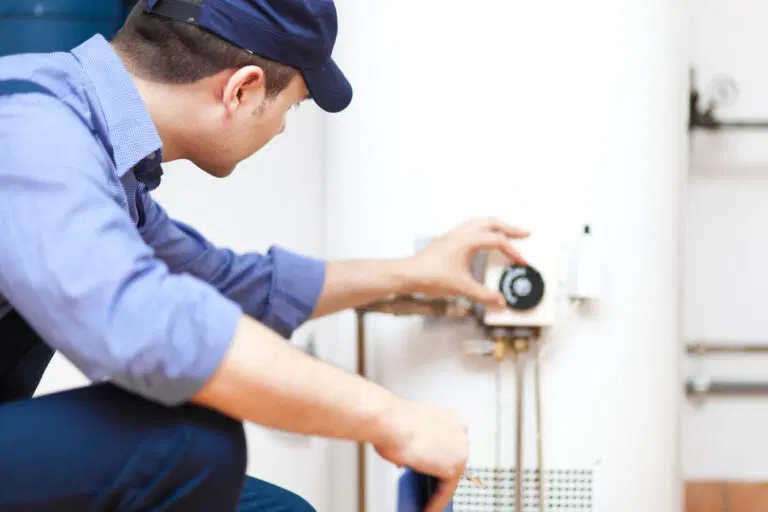
7. DIY Repairs Without Turning Off Power or Gas
Look, I’m all for DIY. I’ve replaced valves, flushed tanks, and swapped anode rods myself. But the number of people who attempt water heater repairs without properly shutting down the unit is alarming.
Working on a gas water heater while the gas is on is obviously dangerous. But electric water heaters catch people off guard — the wiring carries enough voltage to be lethal, and the water in the area makes it even more hazardous.
Before any repair work:
- Gas heaters: Turn the gas valve to “Pilot” or shut off the supply line completely
- Electric heaters: Flip the dedicated breaker in your electrical panel — usually a 240V double-pole breaker — and verify it’s off with a voltage tester
- Both types: Turn off the cold water supply inlet at the top of the unit
- Let the water cool before draining if you need to do anything with the tank
A non-contact voltage tester (you can grab one for under $20 at any hardware store) is worth every penny before you touch wiring.
And honestly — if you’re dealing with gas line connections, thermocouple replacement, or anything that involves the flue or venting, just call a professional. Some things are genuinely worth paying for. For guidance on what you can safely handle yourself, check out 4 Easy Water Heater Maintenance and Care Guide Checks Before Calling a Plumber.
8. No Carbon Monoxide Detector Near a Gas Water Heater
This last one is simple, inexpensive, and genuinely life-saving — and a shocking number of homes don’t have it.
If you have a gas water heater (or any gas appliance), carbon monoxide is a real risk. Cracked heat exchangers, blocked flues, backdrafting, or poor combustion from a dirty burner can all leak CO into your living space.
Carbon monoxide is completely undetectable by human senses. No smell. No color. No taste. By the time you start feeling symptoms — headache, dizziness, nausea — you might already be in serious trouble.
A combination smoke/CO detector costs about $30–$50. Place one near the water heater and another on each floor of your home, particularly near bedrooms.
Also do this:
- Inspect the flue pipe annually for blockages, rust, or disconnected sections
- Watch for a yellow or orange flame instead of blue (indicates incomplete combustion)
- Never run a generator or any combustion equipment in enclosed spaces near your heater
This is honestly the easiest thing on this list to fix and possibly the most important.
A Quick Safety Checklist to Print Out
| Safety Task | Frequency | DIY or Pro? |
|---|---|---|
| Test T&P valve | Annually | DIY |
| Flush tank sediment | Annually | DIY |
| Check anode rod | Every 2–3 years | DIY |
| Inspect for leaks | Every 6 months | DIY |
| Test CO detector | Monthly | DIY |
| Inspect flue/venting | Annually | Pro recommended |
| Check temperature setting | Annually | DIY |
| Clear surrounding area | Ongoing | DIY |
Final Thoughts
The thing about water heater safety is that none of this is complicated — it just requires actually doing it. Most of these mistakes happen not because of ignorance, but because the water heater just works quietly in the background until it doesn’t.
Set a reminder once a year. Do a quick walkthrough of this list. Test the T&P valve, peek at the anode rod, flush out the sediment, and make sure your CO detector has fresh batteries. The whole routine takes maybe an hour, and it genuinely extends the life of your heater by years while keeping your family safe.
That burning smell that sent me into research mode? Turned out to be dust on the burner plate. Totally harmless that time. But if it had been something worse and I hadn’t known what to look for, I wouldn’t have known what I was dealing with.
Now I do. And so do you.
Also worth reading: 9 Important Water Heater Maintenance and Care Guide Safety Rules You Should Follow — a solid companion piece that goes deeper on the safety rules side of things.
About the Author