5 Easy Water Heater Maintenance and Care Guide Safety Habits That Saved My Heater
5 Easy Water Heater Maintenance and Care Guide Safety Habits That Saved My Heater
Let me tell you a story that still makes me shake my head every time I think about it. A few years back, I was living in this old house on the outskirts of town, the kind with creaky floors and a water heater tucked away in the basement that I’d pretty much ignored since moving in. One winter morning, I turned on the shower, expecting that usual blast of hot water, but instead, I got a sputtering stream of lukewarm sludge. Panic set in—visions of expensive repairs or, worse, a full replacement danced in my head. I called a plumber, bracing for the bad news, but after a quick inspection, he told me the heater was salvageable. It turned out, a few simple habits I’d started adopting just months before had prevented a total disaster. Those habits? They’re the core of this guide. I’ve expanded on them here, drawing from my own experiences, chats with pros, and a bit of trial and error, to help you avoid the headaches I nearly faced.
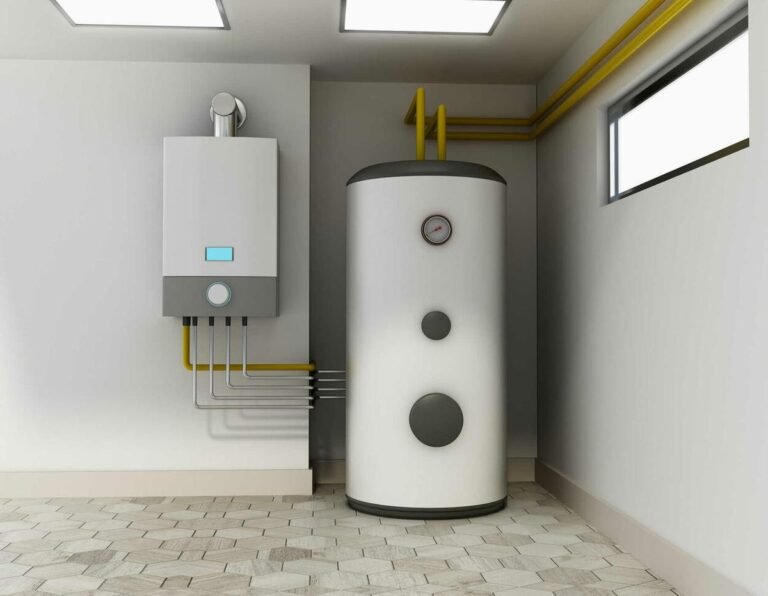
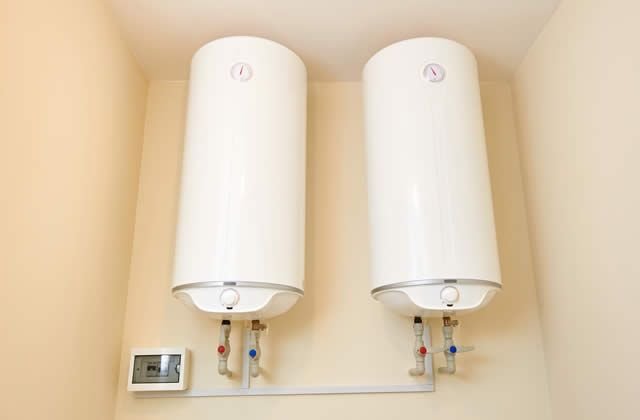
Water heaters aren’t glamorous, but they’re essential. Whether you’ve got a tank-style electric model, a gas one, or even a tankless version, keeping them in shape isn’t just about longevity—it’s about safety too. Burst tanks, scalding water, gas leaks; these aren’t hypotheticals. The U.S. Consumer Product Safety Commission reports thousands of incidents yearly related to water heaters, many preventable with basic care. In this article, I’ll walk you through five easy safety habits that literally saved my heater from an early grave. I’ll keep it straightforward, like we’re chatting over coffee, and throw in some real-life tips to make it stick. By the end, you’ll have a solid plan to keep your setup running smoothly, safely, and efficiently.

First Habit: Flush the Tank Regularly to Banish Sediment Buildup
Okay, let’s start with the basics. If there’s one thing that sneaks up on water heaters, it’s sediment—that gritty stuff from minerals in your water supply that settles at the bottom of the tank. Over time, it hardens, reduces efficiency, and can even cause overheating or tank corrosion. I learned this the hard way when my heater started making these weird popping noises, like popcorn in a microwave. Turns out, the sediment was boiling and expanding, stressing the tank walls. Flushing it out became my go-to habit, and it’s saved me from what could have been a ruptured tank.
How do you do it? It’s simpler than you think. First, turn off the power or gas to the heater—safety first, always. For electric models, flip the breaker; for gas, set the thermostat to pilot. Then, attach a garden hose to the drain valve at the bottom of the tank. Run the other end to a drain or outside. Open a hot water faucet somewhere in the house to let air in, then slowly open the drain valve. Let the water run until it clears up, which might take 20-30 minutes. If it’s really murky, you might need to repeat this a few times a year.
In my case, living in an area with hard water, I flush every six months. The first time, the water came out rusty brown, and I thought I’d broken something. But nope, that was just years of neglect flushing away. Now, it’s routine, and my heater runs quieter and heats faster. Safety-wise, this habit prevents overheating, which can lead to pressure buildup and explosions—rare, but terrifying. The National Fire Protection Association notes that sediment-related issues contribute to many heater failures. Plus, it extends the life of your unit; manufacturers like Rheem recommend it annually.
To make it even safer, wear gloves and eye protection—hot water can splash. And if your heater’s over 10 years old, like mine was, consider a professional for the first flush to check for corrosion. I’ve also started adding a water softener to my system, which cuts down on mineral buildup. It’s an extra step, but worth it if your water’s as hard as mine. Think about your water source too; well water often has more sediment than city water. Test your water hardness if you’re unsure—kits are cheap at hardware stores.
Common mistake? Forgetting to refill the tank after flushing. Close the drain valve, turn off the hot faucet, and turn the cold water inlet back on. Then restore power. I once skipped this and ended up with air pockets causing noisy pipes for days. Lesson learned. This habit alone probably added years to my heater’s life, and it’s easy—takes under an hour.
Expanding on this, let’s talk about tools. You’ll need a sturdy hose, maybe a bucket for initial drainage, and a wrench if the valve’s stuck. If it’s really stubborn, a bit of lubricant helps, but don’t force it—call a pro to avoid cracking the valve. In terms of energy savings, flushing can boost efficiency by 10-20%, per Energy Star guidelines. That’s real money in your pocket, especially with rising utility bills. I’ve noticed my electric bill dip a bit since starting this.
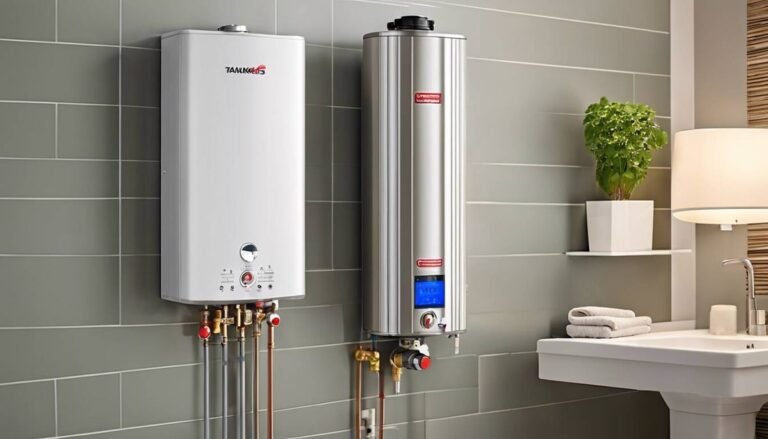
For tankless heaters, it’s different—no tank means less sediment, but you still flush the heat exchanger with vinegar annually to descale. I switched to a tankless model recently, and the process is similar but uses a pump kit. Safety tip: Always unplug tankless units before maintenance to avoid shocks. If you’re in a cold climate, like parts of the Midwest, sediment can freeze and expand, worsening issues. Insulate exposed pipes too, but we’ll get to that later.
All in all, this habit is foundational. It’s like changing your car’s oil—skip it, and problems compound. I’ve shared this with neighbors, and one caught a leaky valve early, saving hundreds. Don’t underestimate it.
Second Habit: Inspect and Replace the Anode Rod Before It Sacrifices Itself Completely
Now, onto something a bit more technical but still doable for most folks: the anode rod. This unsung hero is a metal rod inside your tank that attracts corrosion, protecting the tank walls. It’s sacrificial— it corrodes so your heater doesn’t. But when it’s gone, your tank starts rusting from the inside out. Mine was down to a nub when I first checked, explaining the faint rusty smell in my hot water. Replacing it was a game-changer.
To check, locate the rod—usually on top of the tank, under a hex nut. Turn off power, drain a few gallons to relieve pressure, then unscrew it with a socket wrench. Pull it out (it might be long, up to 4 feet) and inspect. If it’s thinned to less than half an inch or coated in calcium, replace it. New ones cost $20-50 and screw right in. I use magnesium rods for my hard water; aluminum for softer.
Safety angle? A corroded tank can leak or burst, flooding your basement or causing electrical hazards. The American Society of Home Inspectors says anode checks should happen every 3-5 years. In my old house, ignoring this led to pinhole leaks I patched temporarily, but it was a wake-up call. Now, I mark my calendar.
Pro tip: If your heater’s in a tight spot, like mine was behind shelves, clear space first. And always test for gas leaks after if it’s gas-powered—use soapy water on connections. I’ve heard horror stories of explosions from loose fittings. For electric heaters, ensure the breaker stays off during work.
What if you’re not handy? Many plumbers include this in annual tune-ups for $100-200. But doing it yourself saves cash. I watched a YouTube video first—plenty out there. Just ensure the new rod matches your model; check the manual.
In areas with aggressive water, like high sulfur, use powered anodes—they last longer but cost more. Mine’s standard, and it’s fine. This habit not only saved my heater but prevented potential water damage to my home. Imagine waking to a flooded floor—nightmare avoided.
Let’s dive deeper into types. Magnesium anodes work best for hard water, aluminum for soft or if you have smelly water issues. Combo rods exist too. Installation torque matters—too tight, and you strip threads; too loose, leaks. Use Teflon tape on threads.
Common pitfalls: Forgetting to drain enough water, making rod removal messy. Or reinstalling without greasing the nut, leading to seizures next time. I’ve been there. Also, if your heater’s warranty is active, DIY might void it—check first.
Overall, this is a low-effort, high-reward habit. It extends life by 50% in some cases, per industry stats. Pair it with flushing for max effect.
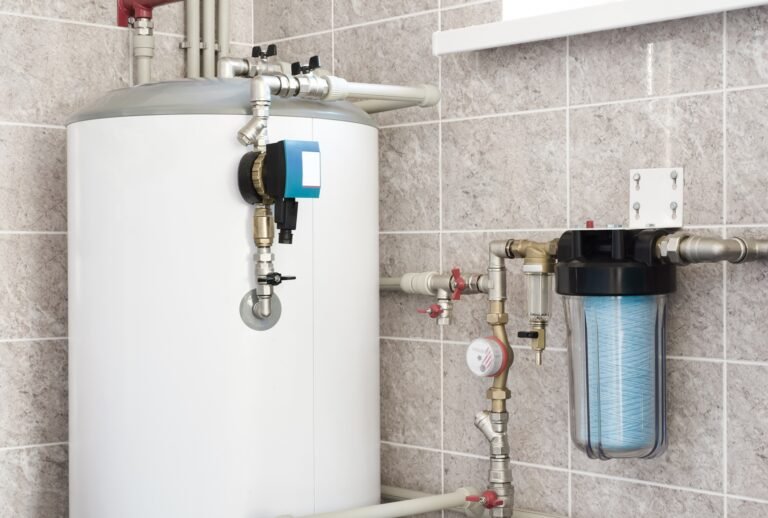
Third Habit: Insulate Your Tank and Pipes to Prevent Heat Loss and Freezing
Insulation might sound boring, but it’s a safety lifesaver, especially in colder months. My heater was in an unheated garage, losing heat like crazy, forcing it to work overtime. That not only hiked bills but risked freezing pipes, which can burst and cause massive damage. Adding insulation was easy and cut my energy use noticeably.
Start with the tank: Buy pre-cut insulation blankets from home stores for $20-30. Wrap it around, secure with tape, but leave controls and access panels clear. For pipes, use foam sleeves—cut to fit and tape seams. Focus on the first 6 feet from the heater.
Safety benefits? Reduces burn risks—insulated surfaces are cooler to touch. Prevents condensation, which can lead to rust or mold. In freezing temps, it stops pipes from bursting, avoiding floods. The Department of Energy says insulation can save 7-16% on heating costs.
In my experience, after insulating, hot water arrived faster at faucets, and the heater cycled less. No more waiting ages for a shower. But beware: Don’t insulate gas heaters’ tops or vents—fire hazard. Electric ones are safer for full wraps.
For tankless, insulate pipes only, as the unit itself doesn’t store water. In hot climates, it prevents overheating outdoors.
Tools needed: Utility knife, tape measure, duct tape. Takes an afternoon. I did mine on a weekend, and it paid off immediately.
Extend this habit: Check for drafts around the heater room. Seal gaps to maintain warmth. If your area’s prone to earthquakes, strap the tank to walls—another safety must.
Mistakes? Over-insulating access points, making maintenance hard. Or using wrong materials—fiberglass can irritate skin; foam’s better.
This habit’s passive—do it once, reap benefits long-term. Saved my heater from strain and me from high bills.
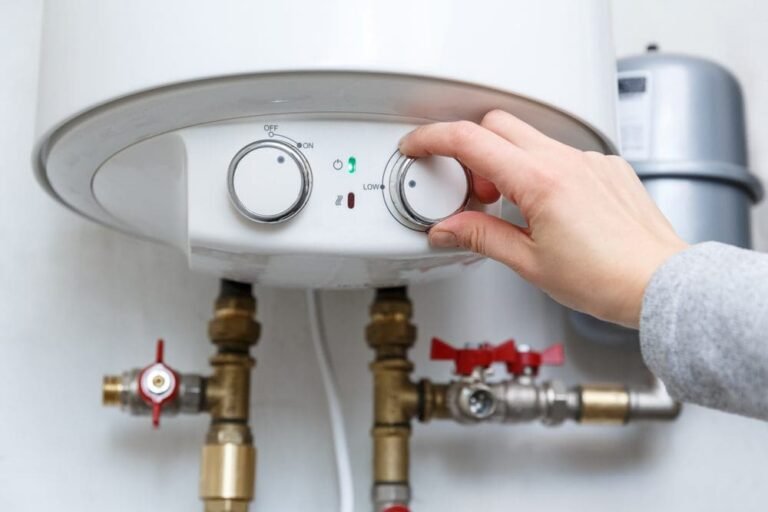
Fourth Habit: Set and Monitor the Temperature to Avoid Scalds and Bacteria
Temperature settings are crucial for safety and efficiency. Too high, and you risk burns; too low, bacteria like Legionella thrive. I had mine cranked to 140°F, thinking hotter was better, but after a near-scald in the shower, I dialed it back.
Ideal? 120°F, per CDC and OSHA. It prevents burns (especially for kids/elderly) and saves energy—every 10°F drop cuts bills 3-5%. To adjust, locate the thermostat (under a panel), turn off power, and set with a screwdriver.
My story: Kids visiting, one got a red arm from hot water. Scary. Now, I check seasonally and use anti-scald valves on faucets for extra protection.
Safety wise, high temps stress the tank, increasing rupture risk. Low temps breed bacteria—120°F balances it.
For gas heaters, adjust the dial; electrics might have two thermostats. Test water temp with a thermometer at the farthest faucet.
Vacation mode? Set to 50-60°F when away to save energy without freezing risk.
Common error: Assuming factory settings are optimal—they’re often high. Adjust based on needs.
This habit’s quick but impactful. Monitors prevent issues; I use a smart thermometer now for alerts.
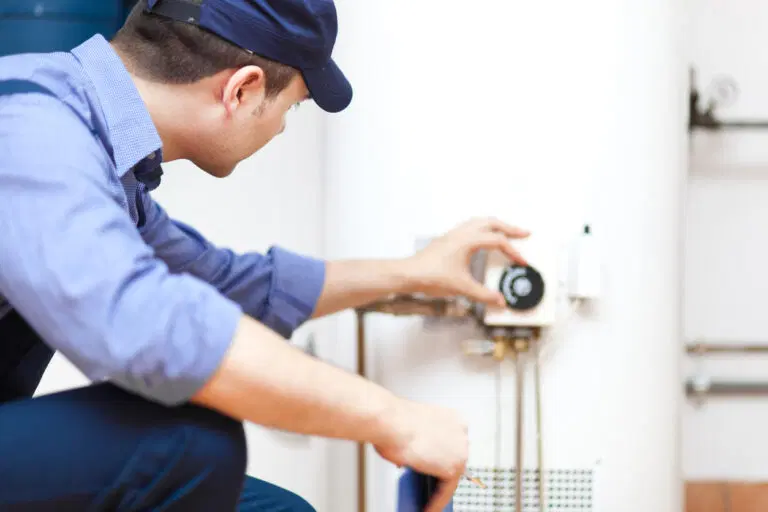
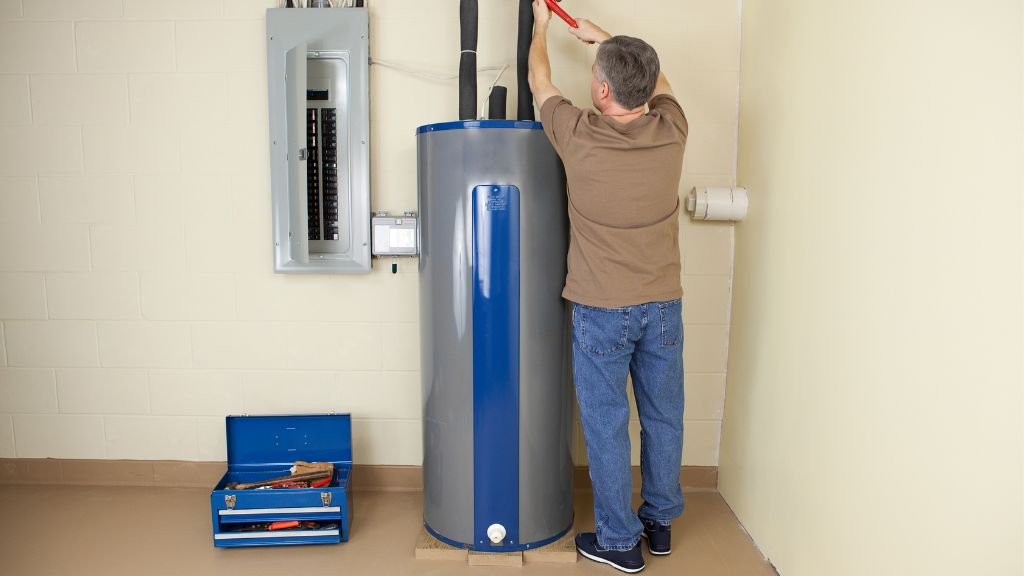
Fifth Habit: Schedule Annual Professional Inspections for Peace of Mind
Even with DIY habits, pros catch what you miss. I skipped this for years, but after my close call, I make it annual. They check for leaks, test pressure relief valves, inspect elements/burners, and more.
Cost? $75-150, worth it. They flushed mine thoroughly, replaced a faulty valve I overlooked, saving potential disaster.
Safety? Valves prevent explosions if pressure builds. Pros test them—DIY can be risky if not done right.
Find a licensed plumber; check reviews. Ask about certifications.
In my new place, the inspector found a small gas leak—fixed before it became dangerous.
Combine with other habits for comprehensive care. It’s like a doctor’s checkup for your heater.
Wrapping Up: Why These Habits Matter
These five habits transformed my approach to water heater care. From flushing sediment to professional checks, they’ve kept my system safe, efficient, and long-lasting. No more surprises, lower bills, peace of mind. Implement them gradually—you’ll see the difference. Stay safe out there.