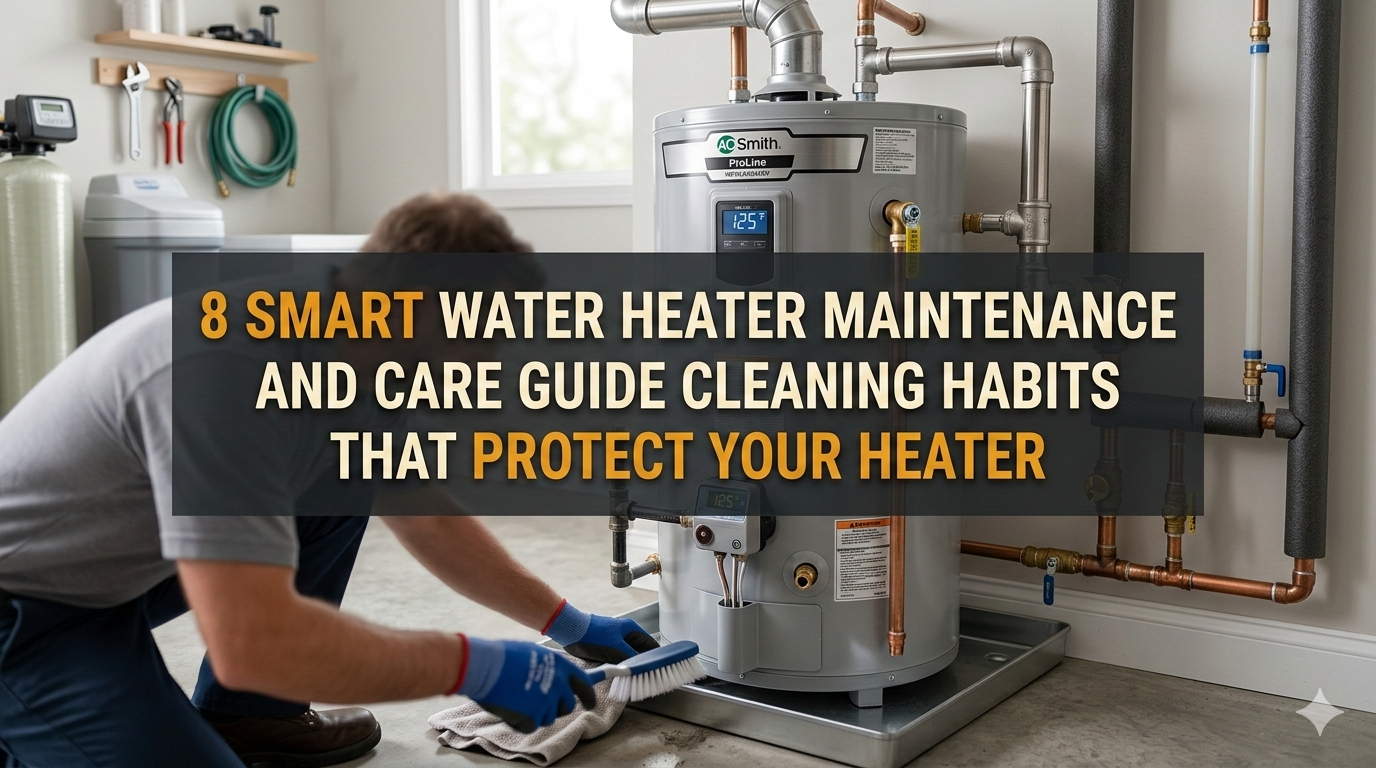
8 Smart Water Heater Maintenance and Care Guide Cleaning Habits That Protect Your Heater
Meta Description: Water heater maintenance and care guide habits can extend your unit’s life by years. Discover 8 smart cleaning routines that protect performance and cut energy bills.
8 Smart Water Heater Maintenance and Care Guide Cleaning Habits That Protect Your Heater
Have you ever walked into the shower expecting warm water — only to be greeted with a cold blast? That’s usually the first indication your water heater is failing.
The very last thing that anybody thinks of is their water heater, unless something goes wrong. But the reality is this: Some regular maintenance can do wonders. With proper habits, you could have your heater running strong for 15 to 20 years — and in some cases even longer.
This water heater maintenance and care guide has you covered with 8 smart cleaning habits that are easy to follow, even if you’ve never touched a water heater in your life. These suggestions will help keep your investment safe, reduce your energy bills and prevent costly repairs.
Let’s get started.
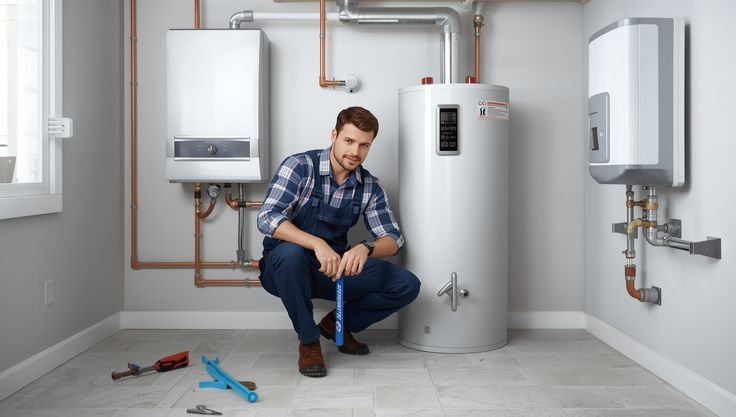
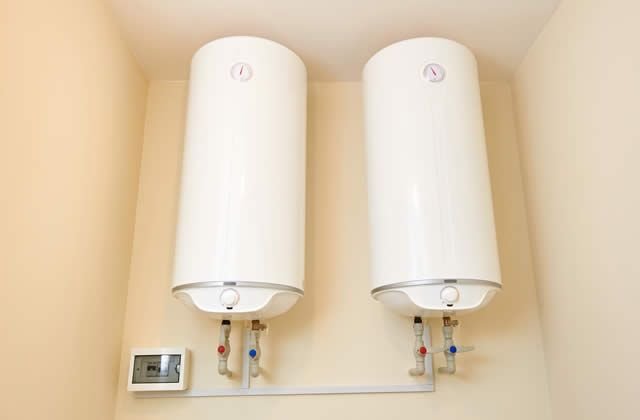
Here’s Why Water Heater Maintenance Really Matters
Your water heater operates each and every day. It heats the water for your showers, dishes, laundry and more. That’s a ton of work — and over the years, minerals, sediment and rust will accumulate in the tank.
When that happens:
- Heating water is far more strenuous on your heater
- Energy bills go up
- The unit wears out faster
- You run the risk of leaks, bursts, or complete breakdowns
The good news? Many of those problems are 100% preventable with some light maintenance on a regular basis.
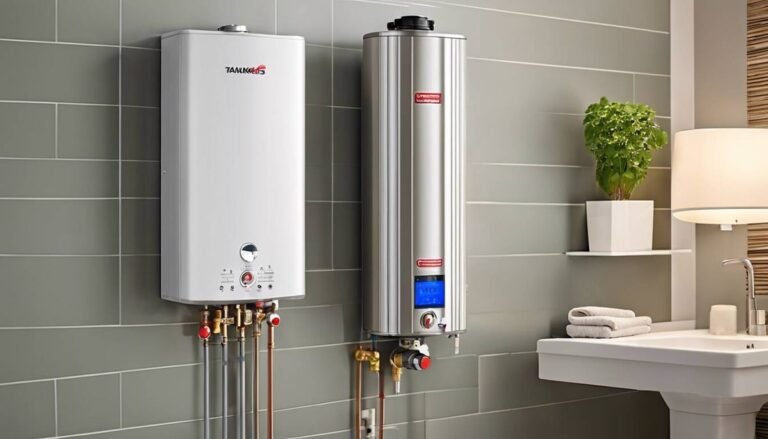
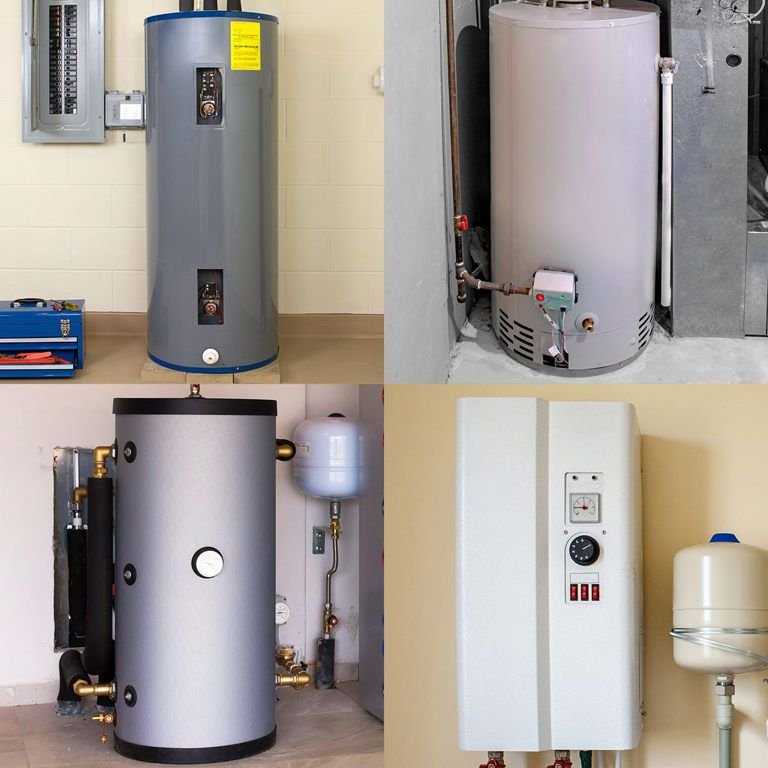
How Long Should a Water Heater Last?
| Water Heater Type | Average Lifespan (No Maintenance) | Average Lifespan (With Maintenance) |
|---|---|---|
| Traditional Tank (Gas) | 8–10 years | 12–15 years |
| Traditional Tank (Electric) | 10–12 years | 15–20 years |
| Tankless (Gas) | 15–18 years | 20+ years |
| Tankless (Electric) | 12–15 years | 18–20 years |
| Heat Pump Water Heater | 10–12 years | 15+ years |
As you can tell, maintenance can literally double the life of your unit in some cases. That’s hundreds, maybe thousands of dollars saved.
Habit #1: Flush the Tank Every 6 to 12 Months
This is the number one most important thing you can do for your water heater.
Over time, minerals such as calcium and magnesium settle to the bottom of your tank. This sediment layer acts as insulation between the heating element and the water. Your heater has to consume more energy just to push heat through all that buildup.
The fix? Flush it out.
Steps to Flush Your Water Heater
- Shut off the unit’s power or gas
- Attach a garden hose to the tank’s bottom drain valve
- Connect the hose to a floor drain or outside
- Open a hot water faucet in your home (to stop a vacuum from forming)
- Open the drain valve and let water flow out
- When the water runs clear, close the valve and refill the tank
- Turn the power or gas back on
It takes about 30 to 45 minutes in total. Do it once a year — or every 6 months if you have hard water.
Pro Tip: If your water appears rusty or brown during flushing, that indicates heavy sediment buildup. Sometimes you have to flush it two or three times in succession.
Habit #2: Check the Pressure Relief Valve at Least Annually
The pressure relief valve — also known as the T&P valve — is a safety device. If pressure inside your tank becomes too high, this valve opens up to relieve it.
If it were to fail, pressure could build to dangerous levels. That’s how water heaters explode.
Yes, it’s rare. But it happens. Testing the valve takes less than two minutes.
How to Test the T&P Valve
- Put a bucket under the discharge pipe leading to the valve
- Lift the tab on the valve slightly to allow some water out
- Let go of the tab — water should stop immediately
- If it continues to drip after you let go, the valve will need to be replaced
If the T&P valve is defective, replace it immediately. It’s an inexpensive component — typically $20 to $50 — and could protect your home from extensive damage.
Habit #3: Inspect the Anode Rod Annually
One of the most ignored parts of a water heater: the anode rod. But it does a massive job.
It’s a metal rod — usually made of magnesium or aluminum — that hangs inside your tank. Its job is to attract corrosive minerals so they attack the rod instead of your tank walls. Essentially, it’s a sacrificial rod that prevents your heater from rusting out.
The problem? It wears out. When it’s gone, the rust comes after your tank instead.
When to Replace Your Anode Rod
- It’s less than ½ inch thick
- It’s covered in calcium deposits
- It’s broken or missing chunks
- Your water smells of rotten eggs (indicating the rod is depleted)
Most anode rods have a lifespan of 3 to 5 years. Inspect it yearly and replace it if it appears worn. A replacement rod costs $20 to $50 and takes about 20 minutes to swap out.
| Anode Rod Material | Best For | Average Lifespan |
|---|---|---|
| Magnesium | Soft water areas | 3–5 years |
| Aluminum | Hard water areas | 4–6 years |
| Zinc/Aluminum Alloy | Sulfur smell problems | 4–6 years |
| Powered (Electronic) | Any water type | 10+ years |
Habit #4: Insulate the Tank and Pipes
This habit has nothing to do with cleaning — but it protects your heater as much as any of the other tips here.
If your water heater is sitting in a cold garage or basement, it’s losing heat through the tank walls. It has to reheat the water repeatedly just to maintain temperature. That’s known as standby heat loss, and it wastes energy every day.
The U.S. Department of Energy says wrapping your tank in an insulating blanket can reduce standby heat loss by 25–45%. That can lead to savings of $30 to $60 a year — each year.
What You’ll Need
- A water heater insulation blanket (from hardware stores, $20–$30)
- 3–6 feet of foam pipe insulation for the first few feet of pipes
Important Safety Notes
- Do not cover the top of a gas water heater — it needs ventilation
- Do not cover the T&P valve or the thermostat
- For electric heaters, you can cover the top if the blanket instructions allow it
It is a one-time effort that keeps giving for years.
Habit #5: Set the Right Temperature
Here’s something most people probably don’t think about: the temperature setting on your water heater matters more than you might imagine.
The default factory setting is typically 140°F, but the U.S. Department of Energy recommends setting it to 120°F for most homes.
Why does this matter for maintenance?
- Too hot (over 140°F): Accelerates sediment formation, corrodes your tank faster and raises pressure — all of which shorten your heater’s life
- Too cool (below 120°F): Poses a risk of Legionella bacteria growing in the tank — a major health hazard
How to Adjust the Temperature
- Gas heaters: Rotate the dial on the front of the unit
- Electric heaters: Access the thermostat behind the panel — make sure power is cut first
Set it to 120°F and check it once a year. It’s an easy step that can really help your heater last longer.
Habit #6: Clean the Space Around Your Heater
This one sounds simple — because it is. But many homeowners skip it altogether.
Your water heater needs space to breathe. With gas heaters in particular, blocked airflow around the unit can cause combustion issues and carbon monoxide buildup.
What to Watch For
- Buildup of dust and debris around the base or burner area
- Flammable material stored too near a gas heater (fire hazard)
- Puddled water or dampness near the unit — an indicator of a slow leak
- Blocked vents or flues on gas and propane heaters
What to Do
- Leave at least 2 feet of clear space around the unit
- Vacuum or brush dust out of the base and burner area every few months
- Regularly look for moisture or rust stains at the bottom
- Check the flue pipe (the exhaust pipe on gas heaters) for gaps or blockages
This takes about five minutes every few months. But it can help prevent fires, carbon monoxide leaks and premature breakdowns.
Habit #7: Check for Leaks and Rust Regularly
Spotting a tiny leak sooner rather than later can prevent you from having to deal with a flooded basement, mold growth and an entire tank replacement.
You should inspect your water heater visually on a monthly basis. You don’t need any tools — just your eyes.
What to Look For
| Warning Sign | What It Could Mean |
|---|---|
| Puddle of water at the base | Tank leak or valve drip |
| Rust-colored water | Corrosion inside the tank |
| White or yellow crust on fittings | Mineral buildup and small leak |
| Damp insulation on pipes | Pipe sweating or pinhole leak |
| Rust on the outside of the tank | Corrosion spreading — act quickly |
If you see rust inside the tank (visible through the drain valve during flushing), that’s an indication that the tank may need to be replaced soon.
A small leak at a valve or fitting? That’s often an easy fix. Tighten the fitting or replace the valve. But a leak from the tank itself is generally an indication that it’s time for a new unit.
Important: If you smell strong gas near your water heater, get out of the house immediately and call your gas company. Don’t try to fix it yourself.
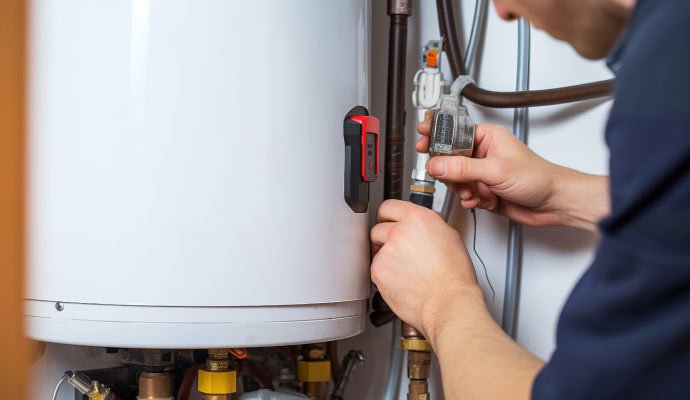
Habit #8: Schedule a Professional Inspection Every 2 to 3 Years
DIY maintenance is great. But some things require a trained eye.
A licensed plumber or HVAC technician can identify issues you’d never notice — like:
- Microcracks in the tank
- Faulty electrical connections
- Gas line issues
- Early corrosion before it becomes serious
- Venting problems on gas heaters
A professional inspection typically costs between $80 and $150. That’s a small price compared to the $800 to $2,000 you might suddenly face for a water heater replacement — or dealing with damage caused by a burst tank.
What a Pro Will Check
- Anode rod condition
- T&P valve function
- Thermostat accuracy
- All connections and fittings
- Gas valve and burner (for gas units)
- Sediment level in the tank
- Overall tank condition
Do this every 2 to 3 years — or annually if your heater is older than 10 years.
Your Annual Water Heater Maintenance Checklist
Use this checklist to stay on top of your maintenance routine:
| Task | Frequency | DIY or Pro? |
|---|---|---|
| Flush the tank | Every 6–12 months | DIY |
| Test the T&P valve | Once a year | DIY |
| Check the anode rod | Once a year | DIY |
| Inspect for leaks and rust | Once a month | DIY |
| Clean around the unit | Every 3–4 months | DIY |
| Check temperature setting | Once a year | DIY |
| Insulate tank and pipes | One-time (annual check) | DIY |
| Professional inspection | Every 2–3 years | Pro |
Print this out and tape it near your water heater. Or set phone reminders. Whatever it takes to make it happen.
Warning Signs Your Water Heater Is in Trouble
But even with routine upkeep, issues may arise. These are the red flags to watch for:
- Thumping or popping noises — excessive sediment buildup
- Water heats up slowly — malfunctioning heating element or excessive buildup
- Inconsistent water temperature — thermostat issue
- Discolored or rusty water — tank corrosion
- Rotten egg odor — depleted anode rod or bacterial growth
- Rust or cracks visible on the outside — serious structural problem
- Water pooling at the base — active leak
If you notice two or more of these signs at the same time, call a professional immediately. Don’t wait.
How Hard Water Affects Your Water Heater
If you live in an area with hard water, it’s even more important that you’re vigilant about maintenance.
Hard water has elevated concentrations of calcium and magnesium. These minerals like to cling to the interior of your tank and heating elements. The result? Accelerated sediment buildup, increased stress on your heating element, and a shorter lifespan for your unit.
Signs You Have Hard Water
- White, crusty buildup around faucets and showerheads
- Soap doesn’t lather easily
- Spots on clean dishes
- Limescale on your kettle or coffee maker
What to Do
- Flush your tank every 6 months instead of once a year
- Think about installing a water softener — it removes minerals before they reach your heater
- Check and replace the anode rod more frequently (every 2 years)
A water softener installed costs $400 to $1,000, but it safeguards your entire plumbing system — not just your water heater. For more detailed tips and guides on keeping your unit in top shape, visit Water Heater Care — a helpful resource covering everything from routine upkeep to troubleshooting common heater problems.
FAQs About Water Heater Maintenance
Q: How frequently should I flush my water heater? Most experts suggest at least once a year. Flush every 6 months if you have hard water. If you just got a new heater, start the habit now.
Q: Should I perform water heater maintenance myself or hire a plumber? Most of the tasks in this guide are DIY-friendly — flushing, testing the T&P valve, checking the anode rod and inspecting for leaks. Anything that involves gas lines, electrical wiring or structural repairs should always be handled by a licensed professional.
Q: What will happen if I never service my water heater? Sediment settles at the bottom, the heating element works harder, energy bills increase, and the tank corrodes faster. Most unmaintained heaters fail 5 to 8 years early — costing you $1,000 or more in premature replacement costs.
Q: My water has a rotten egg smell. What does that mean? This typically indicates that the anode rod has decayed and bacteria are growing in the tank. Replace the anode rod. If the odor lingers, flush the tank and briefly raise the temperature to 140°F to kill the bacteria — then readjust it back down to 120°F.
Q: How can I tell whether to repair my water heater or replace it? A general guideline: if the cost to repair is more than 50% of the price of a new unit, replace it. Also think about age — if your heater is more than 12 years old and you’re having problems, replacement is almost always the smarter option.
Q: Can I leave my water heater on vacation mode? Yes! Most newer water heaters have a “vacation” or “low” setting. This prevents the water from freezing and reduces energy usage while you’re not home. Use it whenever you’ll be away for over a week.
Q: Do I need to maintain a tankless water heater as well? Absolutely. Tankless heaters must be descaled once a year to remove mineral buildup in the heat exchanger. There are also filters that need cleaning every few months. A professional flush is recommended once a year.
Wrapping It All Up
Your water heater is one of the most-used appliances in your home. It operates in the background every day, requiring very little from you. But when you neglect it for years, it repays you with cold showers, high bills and costly repairs.
The good news? This water heater maintenance and care guide has shown you that keeping your heater in tip-top shape doesn’t take a special skill set or costly tools. Eight simple habits — flushing the tank, testing the T&P valve, inspecting the anode rod, insulating the pipes, setting the right temperature, keeping the area around your unit clean, watching for leaks and scheduling a pro inspection every few years — will preserve your heater for decades.
Start with one habit this week. Then spend the next few months working your way through the list. Your future self — and your bank account — will thank you.
A properly maintained water heater is more than a convenience. It’s peace of mind.