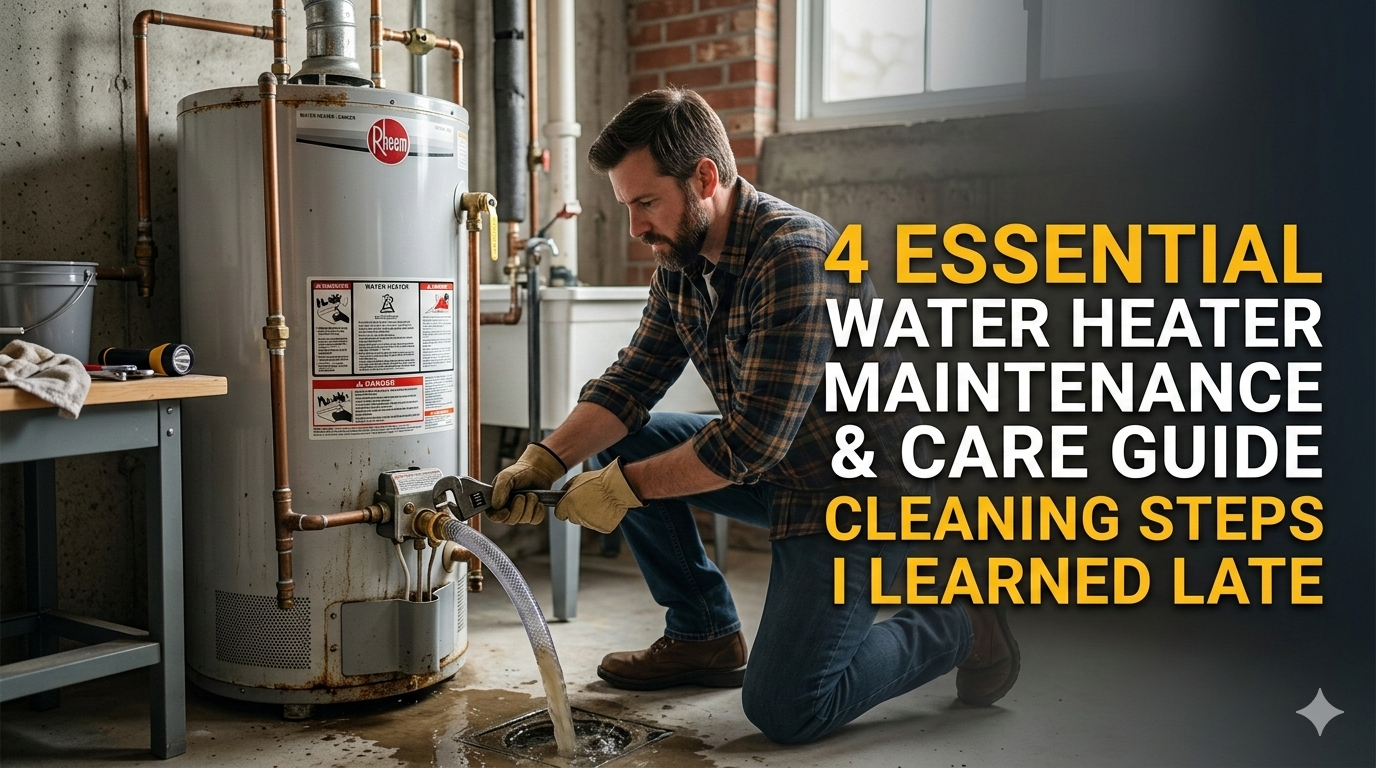
4 Essential Water Heater Maintenance and Care Guide Cleaning Steps I Learned Late
Meta Description: 4 Essential Water Heater Maintenance and Care Guide Cleaning Steps I Learned Late — discover the simple routine that extends your heater’s life and saves money.
4 Things I Learned Late About Water Heater Maintenance and Care Guide Cleaning: The Simple Routine That Extends Your Heater Life and Saves You Money!
I Wish I Knew These 4 Steps To Water Heater Care And Maintenance Cleaning
I didn’t pay much attention to my water heater for years.
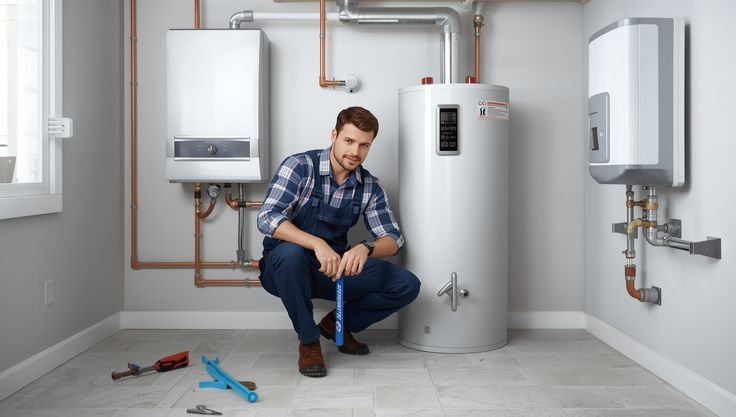
It was sitting in the corner of my utility room, doing its job quietly. I never thought about it. Then one morning I switched on the shower and received a spray of cold, rust-colored water. That was my wake-up call.
After we called a plumber and spent more than I wanted to, I learned something. Water heaters need regular maintenance. Not just a passing glance once in a while — actual, hands-on care.
The plumber ran me through four cleaning and maintenance tasks that he said most homeowners overlook entirely. He was right. I had skipped all of them.
This article explains the very same four steps. Everything I learned — too late — so you won’t have to pay as steep a price as I did. These steps apply no matter whether you have a tank-style or tankless water heater.
Let’s get into it.
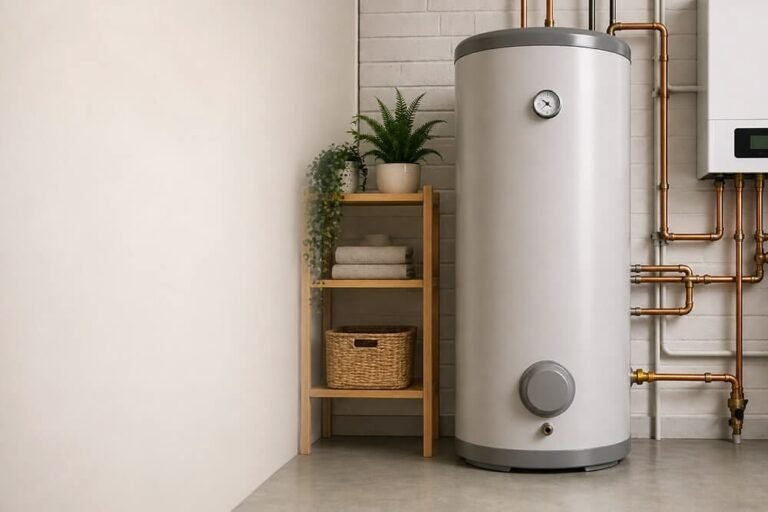
Why You Should Take Care of Your Water Heater (And What Will Happen If You Don’t)
Most folks do not give water heaters much thought, just like refrigerators. You hook them up, and they simply work. But that’s not quite how it works.
Your water heater works hard, every day of the week. It heats gallons of water again and again, copes with mineral buildup, tackles rust, and manages pressure. All of that wears on you after a while.
Here’s what can happen when you neglect maintenance:
| Problem | Cause | Result |
|---|---|---|
| Rusty or discolored water | Corroded anode rod | Contaminated water supply |
| Rumbling or popping sounds | Sediment buildup at the bottom | Reduced efficiency, damage |
| Higher energy bills | Scale on heating element | Unit works harder, uses more power |
| Leaks or pressure issues | Faulty pressure relief valve | Flooding, potential explosion risk |
| Early unit failure | Combination of all above | Expensive replacement |
A water heater has a lifespan of 8 to 12 years. If you maintain it properly, you can stretch it to 15 years or more. That’s no small thing when a new unit costs from $500 to $1,500 — not including installation.
The four steps that follow take two to three hours, once per year. That’s it. Two or three hours a year to guard an appliance you use every single day.
What You’ll Need to Get Started
Before diving into the steps, prepare your supplies. Being ready saves time and keeps you safe.
Tools and supplies:
- Garden hose (long enough to reach a drain)
- Flathead and Phillips screwdriver
- Adjustable wrench or pipe wrench
- White vinegar (several gallons for tankless models)
- A large bucket
- Safety gloves and goggles
- Replacement anode rod (first, find out what size your unit is)
- Teflon tape
- Wet/dry vacuum (optional but helpful)
Safety first — before you start, do this:
- Turn off the power. For electric heaters, turn off the circuit breaker. For gas heaters, turn the valve to “pilot.”
- Close the cold water supply valve at the top of the tank.
- If the heater has been running recently, let the water cool for at least an hour. Hot water can inflict severe burns.
Now you’re ready.
Step 1 — Flush Out the Sediment That’s Quietly Killing Your Heater
This was the first thing the plumber showed me, and I was horrified by what came out of my tank.
Sediment is a combination of minerals — chiefly calcium and magnesium — that naturally occurs in tap water. Whenever your heater heats up water, these minerals settle and collect at the bottom of the storage tank. Over months and years, they pack into a thick layer of muck and grit.
That layer acts as insulation between the burner and the water. Your heater needs to put a lot more effort into reaching the same water temperature. It uses more energy. It wears out faster. And it makes that awful rumbling sound you may already know.
How To Flush Your Water Heater Tank
Step 1: Attach a garden hose to the drain valve located near the bottom of the tank. Guide the other end to a floor drain, outside, or into a large bucket — this will need to be emptied several times.
Step 2: Turn on a hot water faucet somewhere in your home — such as a bathroom sink. This avoids the formation of a vacuum in the tank that would slow down draining.
Step 3: Open the drain valve. Water will start flowing out. Initially, it may appear brown, muddy, or gritty. That’s the sediment.
Step 4: Allow it to drain fully. For a 40 to 50-gallon tank, this might take 20 to 45 minutes.
Step 5: When empty, turn the cold water supply back on momentarily. This stirs up whatever residual sediment remains at the bottom and flushes it out. Repeat two or three times until the water runs clear.
Step 6: Close the drain valve, remove the hose, and refill the tank. Allow water to flow freely from the open faucet before turning the power back on.
Pro tip: Do this once a year. If you have hard water (high mineral content), do it every six months.
Signs That You’re Overdue for a Flush
- You hear popping, rumbling, or crackling sounds
- Your hot water takes longer to reach the right temperature
- Your energy bills have been rising for no obvious reason
- Water appears slightly cloudy or has a strange smell
Step 2 — Inspect and Replace the Anode Rod Before It’s Too Late
This was the step I didn’t even know existed before my plumbing fiasco. It turns out it could be the most important one.
Hidden inside every tank-style water heater is a long metal rod called the anode rod. It is typically made of magnesium or aluminum. Its only job is to corrode so your tank doesn’t.
It works through a process known as sacrificial corrosion. The rod attracts the corrosive elements in your water and “sacrifices” itself to protect the steel tank lining. Without it, your tank will rust from the inside out.
Here’s the problem. Most homeowners don’t even know this rod exists. They never check it. And when it eventually corrodes completely — typically over a 3 to 5 year timeframe — there’s nothing left to shield the tank. Rust takes over. Water turns reddish-brown. The tank fails.
For a deeper dive into how the anode rod works and why it matters, Water Heater Care is a great resource to bookmark.
How to Inspect and Replace the Anode Rod
Step 1: Locate the anode rod. It’s typically found at the top of the water heater, behind a plastic cap or inside a port on top. If you’re not sure, check your owner’s manual.
Step 2: Unscrew it with a 1-1/16 inch socket wrench. This can be stiff if it hasn’t been touched in years. Apply penetrating oil the night before if necessary.
Step 3: Pull it out and look at it. Here’s what to look for:
| Anode Rod Condition | What It Means |
|---|---|
| Thick, mostly intact | Still good — check again in 1–2 years |
| Half eaten away, thin sections | Getting close — replace within 6 months |
| Less than ½ inch thick, or wire-like | Replace immediately |
| Completely gone | Tank may already be damaged |
Step 4: If replacement is needed, take the old rod to a hardware store and match the size. Before installing the new rod, wrap its threads with Teflon tape.
Step 5: Screw it in firmly but don’t overtighten. Replace the cap if there is one.
Inspect the anode rod every two to three years. In softened-water areas, check annually — softened water is more corrosive and eats through rods more quickly.
What To Expect If You Skip This Step
Skipping the anode rod check is like skipping oil changes in your car. The engine — or the tank, in this case — just slowly tears itself apart from the inside out. By the time you spot it, it’s usually too late to do anything but replace the entire unit.
Step 3 — Test the Pressure Relief Valve Each and Every Year
This one is about safety, not merely efficiency.
All water heaters have what is called a temperature and pressure relief valve — also referred to as a T&P valve or TPR valve. It’s a small valve, typically located on the side or top of the tank, with a small lever on it.
Its job is critical. If pressure or temperature levels become dangerously high, the valve opens automatically to relieve the buildup. If it doesn’t work properly, extreme pressure could cause serious damage — or worse.
Yet most homeowners never test it. Ever.
How to Test the T&P Valve
Testing this valve takes about two minutes.
Step 1: Place a bucket below the discharge pipe connected to the valve. This pipe runs from the valve down toward the floor.
Step 2: Quickly lift the lever on the valve and let it snap back. You should hear a rush of hot water or steam into the discharge pipe. A small amount of water may flow out — that’s normal.
Step 3: Release the lever. It should snap shut and the flow should stop entirely.
- If the valve does not release water: It may be stuck or failed. Replace it.
- If the valve releases water but continues to drip after you release it: The valve is faulty and must be replaced.
- If you hear a clear rush and it stops cleanly: The valve is functioning correctly.
How to Replace a Faulty T&P Valve
Replacement is straightforward for a confident DIYer.
- Turn off the power and cold water supply
- Drain a few gallons from the tank so the water level is below the valve
- Unscrew the discharge pipe from the valve
- Remove the valve itself using a pipe wrench
- Wrap the threads of the new valve with Teflon tape
- Install the new valve, reconnect the pipe, and restore power and water
T&P valves cost between $10 and $30 and should be replaced every 3 to 5 years even if they appear to be working fine. They’re a small investment for major protection.
Never plug or cap a T&P valve. This is dangerous. If the valve appears to be releasing too much water, the underlying issue is almost always excessive pressure in the system — not the valve itself. Call a plumber.
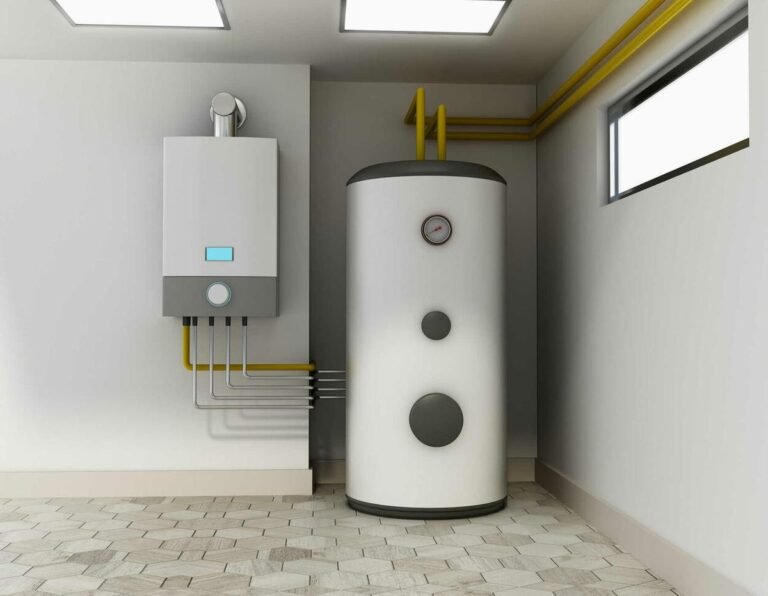
Step 4 — Clean the Burner and Check the Flue (Gas Heaters) or Descale Heating Elements (Electric Heaters)
The last step varies based on whether you have a gas or electric water heater. Both require care, but in different ways.
For Gas Water Heaters — Clean the Burner and Inspect the Flue
The burner is what heats your water. Over time, dust, debris, and even spider webs can accumulate in the burner assembly and the air intake. A dirty burner doesn’t burn cleanly. That wastes gas and can generate poisonous carbon monoxide.
How to clean the burner area:
Step 1: Ensure the gas is turned off and the unit has cooled down completely.
Step 2: Remove the access panel at the bottom of the heater to reach the burner.
Step 3: Use a soft brush or vacuum to clear away dust and debris from the burner and surrounding area. Be gentle — burner components are delicate.
Step 4: Inspect the pilot light assembly for deposits. If necessary, wipe gently with a dry cloth.
Step 5: Check the flue — the exhaust pipe that runs from the top of the heater upward. Look for rust, gaps, or blockages. A clogged flue is a carbon monoxide hazard. If you notice any damage, contact a professional.
Step 6: Replace the access panel, restore gas, and relight the pilot if needed.
For Electric Water Heaters — Descale the Heating Elements
Electric heaters have two heating elements — one at the top of the tank and one at the bottom. In hard water areas, scale (calcium carbonate deposits) builds up on these elements over time. According to the U.S. Department of Energy, scale buildup is one of the leading causes of reduced efficiency in electric water heaters. This reduces their efficiency dramatically.
How to descale heating elements:
Step 1: Turn off power at the breaker and drain the tank as described in Step 1.
Step 2: Remove the access panels on the side of the heater — typically two, upper and lower. Move the insulation aside carefully.
Step 3: Disconnect the wires from the element and use an element wrench to unscrew it.
Step 4: Inspect the element. If it’s heavily coated with white or gray scale, soak it in white vinegar for 30 to 60 minutes. Use a soft brush to scrub the deposits off.
Step 5: If the element appears damaged, cracked, or burnt, replace it. Replacement elements are inexpensive — generally $10 to $20.
Step 6: Reinstall, reconnect the wires, replace insulation and panels, refill the tank, and restore power.
For Tankless Water Heaters — Flush with Vinegar
Tankless heaters have no tank to flush, but scale builds up inside the heat exchanger all the same. This is arguably the most crucial maintenance task for tankless models.
This process runs white vinegar through the unit via a submersible pump and two hoses. Most manufacturers provide instructions in the manual, and descaling kits are widely available. Do this once a year.
Full Maintenance Schedule at a Glance
Here’s a straightforward yearly schedule to keep everything on track:
| Task | Frequency | Time Required |
|---|---|---|
| Flush sediment from tank | Once a year (every 6 months for hard water) | 45–60 minutes |
| Inspect anode rod | Every 2–3 years | 20–30 minutes |
| Test T&P valve | Once a year | 5 minutes |
| Replace T&P valve | Every 3–5 years | 20–30 minutes |
| Clean burner / descale elements | Once a year | 30–60 minutes |
| Flush tankless heat exchanger | Once a year | 45–60 minutes |
Small Habits That Add Up to a Lot
In addition to the four key steps, a handful of small habits can extend the life of your heater even longer.
Set the temperature correctly. The U.S. Department of Energy recommends 120°F (49°C). Higher temperatures accelerate sediment buildup and increase the risk of scalding. Lower temperatures can allow bacteria to grow.
Add insulation. Wrapping your tank with an insulating blanket (available at hardware stores for about $20) reduces standby heat loss by 25 to 45 percent. Insulating the first few feet of both hot and cold water pipes also helps.
Check for leaks regularly. Once a month, check the area around your heater. Any moisture, drips, or puddles should be addressed as soon as possible. Early leaks are cheap to fix. Late ones are not.
Know your unit’s age. Look up the serial number on your heater — most manufacturers embed the year of manufacture in the first few digits. If your heater is more than 10 years old, begin budgeting for a replacement even if everything appears fine. Being proactive beats being surprised.
Frequently Asked Questions
How often do I need to flush my water heater? The common recommendation is once a year. If you live with hard water, flush twice a year. Hard water has a higher mineral content, so sediment accumulates quicker.
Can I do all these steps myself, or will I need a plumber? Most homeowners with basic tools and confidence can manage all four steps. The only exception is if you discover serious problems — such as a cracked flue, serious corrosion, or a gas leak. Those always need to go to a professional.
How do I know whether my anode rod is due for replacement? Pull it out and look at it. Replace it if it’s worn down to less than half an inch in diameter or if large sections are missing. If in doubt, change it — they’re inexpensive.
My water heater makes a popping or rumbling noise. Is that normal? No. That noise is almost always a sign that you have significant sediment buildup at the bottom of the tank. Begin with a full flush (Step 1) and see if the sound disappears.
How long does a water heater last with proper maintenance? Tank-style water heaters without maintenance typically last 8 to 12 years. With regular care, many last 15 years or longer. Tankless heaters can last 20 years or more with proper maintenance.
Should I keep an old water heater or just have it replaced? Maintenance is definitely worth it for heaters that are less than 10 years old. If it’s 12 years or older and starting to have problems, maintenance costs might not justify waiting much longer for a replacement.
Can I use any type of vinegar for descaling my tankless heater? Regular white distilled vinegar does the job well. Avoid apple cider vinegar or any flavored vinegar — the sugars and additives may cause problems. Food-grade white vinegar is the one you want.
One Last Thing I Would Have Wanted to Know Sooner
Water heater maintenance isn’t complicated. It doesn’t take any special skills or costly equipment. It simply takes knowing what to do — and doing it on a schedule.
I learned this four-step process the hard way. A cold shower, an anxiety-filled morning, and a plumbing bill I wasn’t prepared for showed me what two hours of annual upkeep could have prevented.
Four simple steps: flush out the sediment, check the anode rod, test the pressure relief valve, and clean the burner or heating elements. Do them once a year. Set a reminder on your phone if you must.
Your water heater runs for you every day of the year. Spending a few hours on it each year is the least you can do in return — and it will reward you many times over with lower energy bills, cleaner water, and an appliance that lasts longer.
Don’t wait for a cold shower to learn what I had to discover through the school of hard knocks.