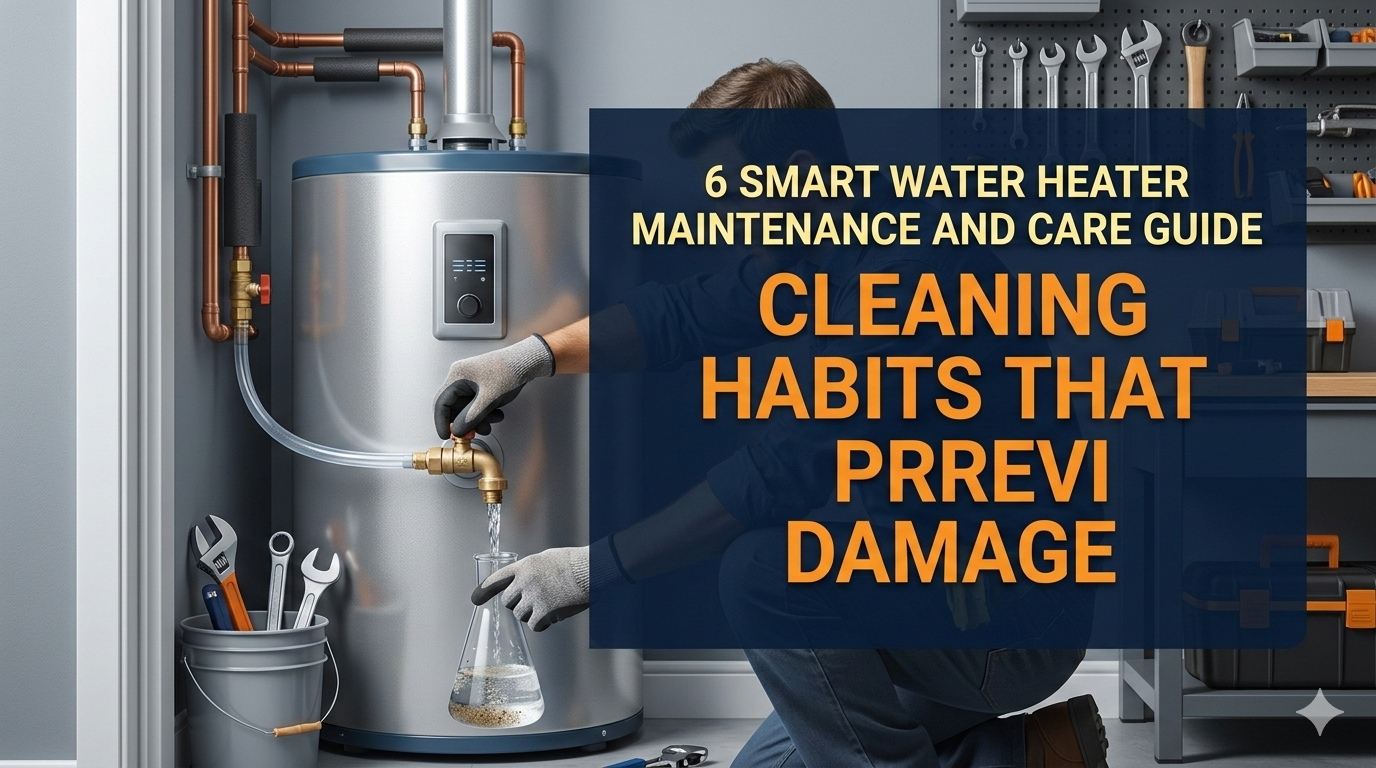
6 Smart Water Heater Maintenance and Care Guide Cleaning Habits That Prevent Damage
Meta Description: How to habits can help with water heater maintenance and care, extending your unit’s life by years. Learn 6 tips for cleaning that will protect your heater from damaging and costly repairs.
6 Prevention: Water Heater Maintenance and Care Guide Cleaning Habits
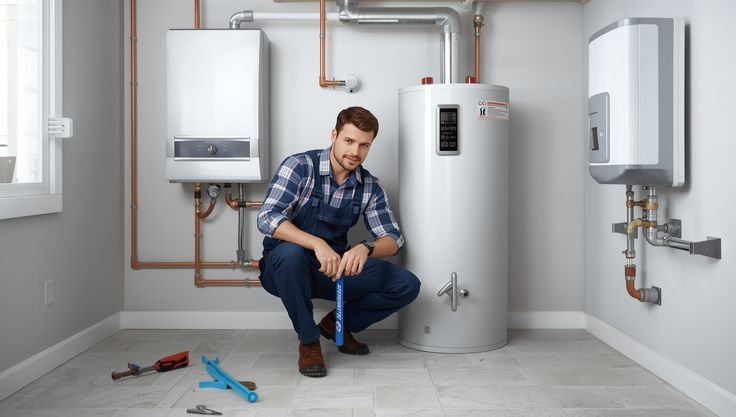
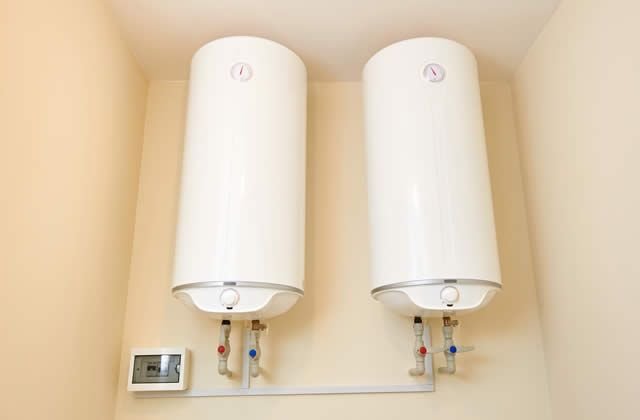
Your water heater works tirelessly, day in and day out. It heats water for your showers, dishes, laundry and more — and often without you even noticing. But like any machine, it requires regular care to keep working well.
Most homeowners don’t pay attention to their water heater once it’s installed. By then, repair work can become costly. Replacing the whole unit is necessary in some cases.
The good news? Most of that damage is preventable with a few basic cleaning and maintenance habits. In this guide, we cover 6 smart habits that will help you keep your water heater in tip-top shape for years.
Why Water Heater Maintenance Really Matters
Maintenance avoidance doesn’t merely age your heater. It also increases your energy bill. When water heaters are dirty or neglected, they work harder to heat the same amount of water.
Here’s a quick glance at what poor maintenance can set you back:
| Neglect-Caused Problem | Potential Cost |
|---|---|
| Sediment buildup | $150–$500 in repairs or efficiency reduction |
| Anode rod failure | $200–$800 for premature tank replacement |
| Pressure valve damage | $100–$300 for emergency repair |
| Corrosion and leaks | $500–$2,000+ for complete replacement |
| Gas or electric inefficiency | $10–$30 extra per month on bills |
Maintenance that is performed regularly costs little time and money. Ignoring it costs a lot more.
How Long Does a Water Heater Last?
A well-maintained water heater may last 8 to 12 years. Some tankless models last even longer — up to 20 years. But with poor care, that lifespan plummets.
The six habits that follow are your best protection against early failure.
Habit #1 — Flush the Tank to Get Rid of Sediment Buildup
What Is Sediment and Why Is It a Problem?
Over time, minerals from your water supply — particularly calcium and magnesium — settle at the bottom of your tank. This layer of sediment serves as an insulator between the water and the heating element.
Your heater then has to expend more energy to heat water through that layer. The result? Higher energy costs, slower heating, and a tank that breaks down fast.
If your heater makes popping or rumbling sounds, you may have sediment buildup. That is the sound of water bubbling through mineral deposits.
How to Flush Your Water Heater in 5 Easy Steps
Flushing your tank is simple, despite what it sounds like. Here’s a step-by-step process:
What you’ll need:
- A garden hose
- Gloves
- A bucket (optional)
Steps:
- Shut off the power supply (electric) or switch the gas to “pilot” mode.
- Shut the valve supplying cold water at the top of the tank.
- Allow the water to cool for at least an hour (hot water can burn).
- Attach a garden hose to the drain valve at the bottom of the tank.
- Run the hose outside or to a floor drain.
- Release the drain valve and allow for full drainage.
- Quickly turn the cold water back on to flush out excess sediment.
- Close the drain valve, refill the tank, and restore power or gas.
How often: Once a year at minimum. If you have hard water, once every 6 months is better.
Habit #2 — Regularly Check and Replace the Anode Rod
The Anode Rod Is Your Tank’s Best Friend
The anode rod is a long piece of metal — typically magnesium or aluminum — that sits inside your tank. Its only job is to attract corrosive minerals to attack the rod instead of the tank walls.
This process is known as sacrificial protection. It lets the rod dissolve over time instead of your tank.
When the rod runs out completely, those minerals start boring holes in your tank. This leads to rust, leaks, and complete replacement.
How to Check the Anode Rod
The anode rod is located near the top of the tank, typically underneath a plastic cover. Here’s how to check it:
- Turn off the water and power supply.
- Use a 1 1/16-inch socket wrench to unscrew the rod.
- Pull it out carefully.
- Inspect it closely.
What to look for:
| Rod Condition | What It Means |
|---|---|
| Solid and full | Still in good condition |
| Less than ½ inch thick | Replace soon |
| Coated in white calcium | Replace now |
| Bare wire showing | Replace immediately |
How often: Every 2–3 years. Replace when the rod is smaller than half its original size.
Replacement anode rods cost $20–$50. That small investment can extend the life of your tank by years.
Habit #3 — Test the Temperature and Pressure Relief Valve
This Valve May Save Your Life
The temperature and pressure relief (T&P) valve is a safety device. If the temperature or pressure inside your tank becomes excessive, this valve opens automatically to relieve it.
Without a working T&P valve, a water heater can become a serious hazard. A faulty valve — or one that has been stuck open or closed for too long — can fail when it’s most needed.
How to Test It Safely
Testing the T&P valve takes less than five minutes:
- Place a bucket under the discharge pipe connected to the valve.
- Lift the lever on the valve quickly and let it snap back.
- You should hear a rush of water and see some water pour into the bucket.
- If water doesn’t come out — or the valve continues to drip afterward — it needs replacing.
⚠️ Safety note: The water that comes out can be quite hot. Do not place your face or hands near the discharge pipe.
How often: Test the T&P valve once a year.
A new T&P valve runs $15–$30. For another $50–$100, a plumber can install it. That’s a small price for peace of mind.
Habit #4 — Clean and Clear Around Your Water Heater
Clutter and Dust Are Quiet Adversaries
This habit sounds basic — because it is. But many homeowners pile boxes, cleaning supplies, and other items directly adjacent to their water heater. That is problematic for a number of reasons.
With gas water heaters, items stacked nearby can obstruct airflow or become a fire hazard. Dust and debris can interfere with the vents and keep both gas and electric models from functioning efficiently.
Cleaning Tips for Around Your Heater
Every month:
- Sweep or vacuum the floor surrounding the heater.
- Wipe down the outside of the unit with a dry cloth.
- Clear anything stored within 2 feet of the heater.
Every 6 months:
- Remove dirt and debris from the vents on or near the unit.
- With gas heaters, ensure the pilot light area is dust-free.
- For electric heaters, ensure the access panels are clean and secured.
Check for Moisture and Pinhole Leaks
As you clean, check for any signs of moisture near the base of the tank. Even small drips may be a sign of an imminent leak.
Detecting a leak early can save you from significant water damage to your floors and walls.
Habit #5 — Adjust and Monitor the Temperature Setting
Most Heaters Are Set Too High
Most water heaters are factory-set to 140°F (60°C). That’s hotter than most homes really require.
The U.S. Department of Energy suggests keeping your water heater at 120°F (49°C) for most households. Here’s why that matters:
| Temperature Setting | Effect |
|---|---|
| 120°F (recommended) | Safe, efficient, minimal mineral buildup |
| 130°F | Possible mild scalding risk, more mineral growth |
| 140°F (factory default) | Scalding risk, faster wear, higher utility bills |
| Below 120°F | Risk of bacteria growth (Legionella) |
How to Adjust the Temperature
For electric water heaters:
- Shut off the power at the breaker.
- Remove the access panels on the side of the unit.
- Turn the thermostat knob with a flathead screwdriver.
- Replace the panels and restore power.
For gas water heaters:
- Find the dial next to the gas valve at the bottom.
- Switch it to the preferred temperature setting.
- No tools required.
Run hot water from the tap for a minute or two, then check the temperature with a kitchen thermometer.
How often: Check the temperature setting twice a year, especially when seasons change.
Habit #6 — Inspect the Pipes, Connections, and Insulation
Little Problems Can Quickly Become Big Problems
Over time, the pipes connected to your water heater can rust, leak slightly, or become loose. Detecting these issues early is cost-effective and protects against water damage.
Insulating your pipes and tank also prevents your heater from having to work as hard — especially in colder climates or unheated areas like garages and basements.
For more expert tips and guides on keeping your system running smoothly, visit Water Heater Care — a dedicated resource for homeowners who want to get the most out of their water heater.
What to Inspect
Cold and hot water supply pipes:
- Look for rust, green residue (corrosion), or moisture.
- Make sure all pipe connections are secured.
- Check for white mineral deposits around joints.
The tank itself:
- Check for rust patches or discoloration on the exterior.
- Look underneath for puddles or trails of moisture.
Pipe insulation:
- Foam pipe insulation is inexpensive and simple to install.
- Insulating the first 6 feet of hot and cold pipes prevents heat loss.
- This can save 3–4% of your water heating costs every year.
Tank Insulation Blankets
If your water heater is in an unheated space, consider adding a tank insulation blanket. These wrap around the outside of the tank and limit standby heat loss.
| Insulation Type | Estimated Savings | Cost |
|---|---|---|
| Pipe insulation (6 ft) | 3–4% per year | $5–$15 |
| Tank insulation blanket | 7–16% per year | $20–$40 |
| Both combined | Up to 20% per year | $25–$55 |
How often: Check pipes and connections every 6 months. Install or replace insulation as appropriate.
Seasonal Maintenance Checklist at a Quick Glance
Here’s a rundown of when to do each task:
| Task | Frequency |
|---|---|
| Flush the tank (remove sediment) | Once a year (every 6 months for hard water) |
| Check the anode rod | Every 2–3 years |
| Test the T&P relief valve | Once a year |
| Clean around the unit | Monthly |
| Check temperature settings | Twice a year |
| Inspect pipes and insulation | Every 6 months |
Print out this table and tape it near your water heater or water shut-off valve as a reminder.
How to Tell When You Need a Professional
Some problems require the services of a licensed plumber, even with great maintenance habits. Watch for these warning signs:
- Rusty or discolored water from your hot water tap
- Sour egg odor in your hot water (caused by bacteria or a failing anode rod)
- Loud banging, popping, or hissing noises from the tank
- Water accumulating at the base of the heater
- No hot water or inconsistent water temperature
- Age over 10 years with no prior maintenance
Don’t wait on these. A timely service call could save you from a far costlier repair — or a flooded house.
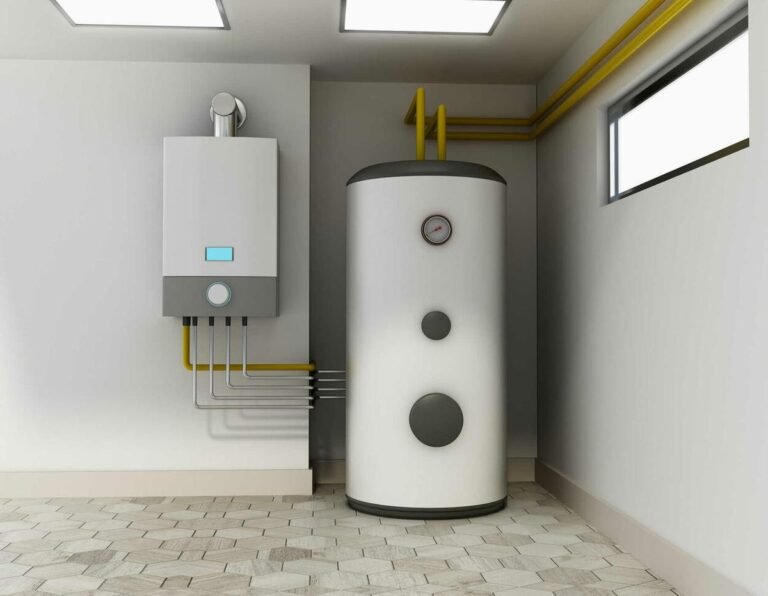
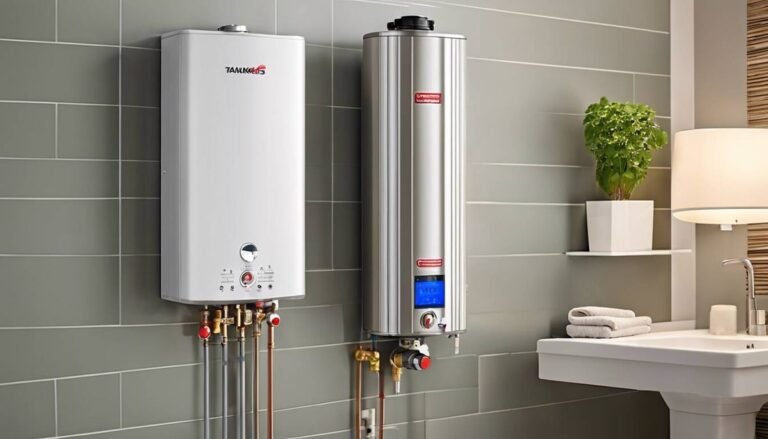
Gas vs. Electric Water Heater: Maintenance Differences
Most of the habits above apply to both gas and electric models. But there are a few differences worth knowing:
| Maintenance Task | Gas Heater | Electric Heater |
|---|---|---|
| Check pilot light / ignition | Yes | No |
| Inspect flue/venting | Yes | No |
| Check heating elements | No | Yes |
| Flush sediment | Yes | Yes |
| Test T&P valve | Yes | Yes |
| Check anode rod | Yes | Yes |
For gas heaters, also check the flue pipe — the metal vent that carries combustion gases outside your home. Ensure it’s well connected and free of rust or holes.
For electric heaters, the heating elements may go bad over time. If you notice slow heating or lukewarm water, a burned-out element is likely the cause.
According to the U.S. Department of Energy, water heating accounts for about 18% of your home’s energy use — making proper maintenance one of the most impactful things you can do to cut utility costs.
How Much Does Neglecting Maintenance Really Cost You?
Let’s put it in simple figures. Depending on the type and size, a new water heater costs $500 to $1,500 installed.
If poor maintenance causes your heater to fail at year 6 instead of year 12, you just paid for a new unit 6 years ahead of schedule. That’s potentially $1,000+ out of pocket — all from skipped maintenance.
Compare that to:
- $20–$50 for a new anode rod
- $5–$15 for pipe insulation
- A handful of hours annually from you
The math is clear. Maintenance pays for itself many times over.
FAQs About Water Heater Maintenance
Q: How often do I need to flush my water heater? Yearly is the general recommendation. If you have hard water (high mineral content) in your area, flush every 6 months for best results.
Q: What if I never replace the anode rod? When the anode rod is completely consumed, your water’s minerals begin to eat away at the steel tank walls. This causes rust, leaks, and ultimate failure. The easiest and cheapest way to get longer life out of your heater is replacing the rod every 3–5 years.
Q: Is 120°F hot enough for my water heater? Yes. Most households will find that 120°F is the ideal setting, according to the U.S. Department of Energy. It is hot enough for all daily needs while also reducing energy consumption and slowing mineral deposits.
Q: Can I do all this maintenance myself, or will I need a plumber? Most of these tasks — flushing, inspecting the anode rod, testing the T&P valve, temperature adjustment — can be performed by any careful homeowner. But when it comes to rust, leaks, or anything gas-related, always call a licensed professional.
Q: My water heater makes a popping sound. Is that normal? Not really. Popping or rumbling sounds typically indicate that sediment has accumulated at the bottom of the tank. Flushing the tank should reduce or eliminate the noise. If it persists after flushing, have a plumber check out the unit.
Q: How can I tell if my water heater needs to be replaced rather than repaired? A rule of thumb: if your heater is older than 8–10 years and requires repairs that cost more than half the price of a new unit, replacement is often the smarter move.
Q: Do tankless water heaters require maintenance as well? Yes. Tankless models still require yearly descaling (flushing with a vinegar solution), filter cleaning, and periodic inspection of burners or heating elements. They outlast tank models, but only with proper care.
Wrapping It All Up
Your water heater doesn’t ask for much. A little attention every year goes a long way.
Incorporating these 6 habits into your home maintenance routine — flushing the tank, checking the anode rod, testing the safety valve, keeping the area clean, monitoring temperature, and inspecting pipes — helps you safeguard one of the most important appliances in your home.
You also protect your wallet. Avoiding repairs and extending service life adds up to real savings over time.
This week, focus on just one habit. Check the temperature setting or arrange for a tank flush. Little steps add up quickly — and your water heater will reward you with years of dependable, efficient operation.