10 Easy Water Heater Cleaning Methods That Prevent Damage
10 easy water heater cleaning methods that prevent damage
There’s a quiet moment most people miss—the moment when a water heater begins to decline. It doesn’t announce itself loudly. There’s no dramatic breakdown at first, no flashing lights or urgent alarms. Instead, it starts subtly: water that takes a little longer to heat, a faint popping sound from inside the tank, or a slightly higher electricity or gas bill. These are the early whispers of a system asking for attention.
For many of us, water heaters sit in the background of daily life, tucked into corners, closets, or rooftops, doing their job without complaint. But like anything that works hard every day, they need care. Cleaning a water heater is not just about maintenance—it’s about prevention, longevity, and avoiding the kind of damage that can quietly grow into expensive problems.
This article isn’t just a list of instructions. It’s a collection of practical methods, observations, and lived-in lessons that make water heater cleaning feel less like a chore and more like a routine that saves money, time, and frustration in the long run.
method 1: flushing out sediment before it hardens into trouble
One of the most common issues inside a water heater is sediment buildup. Minerals like calcium and magnesium settle at the bottom of the tank over time. At first, this layer is soft and easy to remove. But if ignored, it hardens into a stubborn barrier that reduces heating efficiency and strains the tank.
Flushing the tank is one of the simplest and most effective ways to prevent damage. It involves draining water from the tank to remove accumulated sediment. What makes this method powerful is timing. When done regularly—every 6 to 12 months—it prevents the sediment from turning into a solid mass that can crack the tank lining or overwork the heating element.
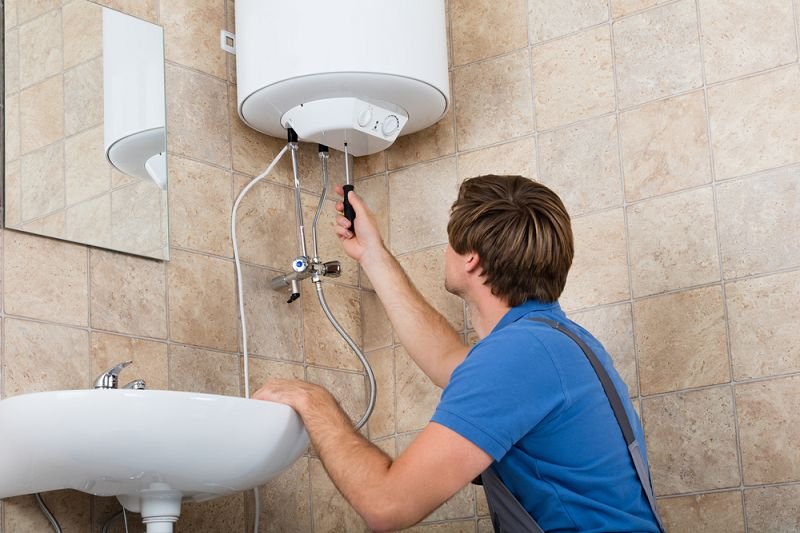
The process itself is straightforward. Turn off the power or gas supply, connect a hose to the drain valve, and let the water flow out. The first time you do this, you might be surprised by the cloudy or gritty water that comes out. That’s the buildup you’re preventing from causing long-term damage.
method 2: cleaning the heating element gently but consistently
Electric water heaters rely on heating elements submerged in water. Over time, these elements accumulate scale, which acts like insulation. The element has to work harder to heat the same amount of water, leading to inefficiency and potential burnout.
Cleaning the heating element doesn’t require advanced tools. After turning off the power and draining part of the tank, the element can be removed and soaked in a mild descaling solution, like vinegar. This dissolves mineral deposits without damaging the metal.
What matters here is gentleness. Scraping too aggressively can damage the element’s surface. A careful cleaning approach keeps it functioning efficiently and extends its lifespan significantly.
method 3: inspecting and cleaning the anode rod before corrosion spreads
The anode rod is one of the most overlooked components in a water heater, yet it plays a critical role. It attracts corrosive elements in the water, sacrificing itself to protect the tank.
Over time, the rod deteriorates. If it’s not checked, it can completely dissolve, leaving the tank vulnerable to rust. Once corrosion begins inside the tank, it’s often irreversible.
Cleaning or replacing the anode rod every couple of years is a simple way to prevent major damage. When removed, the rod may look heavily worn or coated with minerals. Cleaning it can extend its life slightly, but replacement is often the better option if it’s significantly degraded.
method 4: wiping down the exterior to prevent hidden wear
It might seem minor, but cleaning the outside of the water heater can prevent issues that go unnoticed. Dust, moisture, and even small leaks can accumulate around the base or connections.
A quick wipe-down with a dry or slightly damp cloth allows you to spot early signs of trouble—rust spots, water stains, or loose fittings. These small observations can lead to early fixes before they become costly repairs.
This method is less about deep cleaning and more about awareness. It turns a simple task into a routine inspection that keeps the system in check.
method 5: clearing the pressure relief valve for safe operation
The temperature and pressure relief valve is a safety feature designed to release excess pressure from the tank. If it becomes clogged with mineral deposits, it may fail to function properly.
Cleaning this valve involves carefully lifting and releasing the lever to ensure water flows freely. If the water appears dirty or the flow is restricted, it may need further cleaning or replacement.
This small step can prevent dangerous pressure buildup, making it one of the most important cleaning methods for safety.
method 6: descaling the tank with natural solutions
For areas with hard water, mineral buildup happens faster. In such cases, occasional descaling using natural solutions like vinegar can be highly effective.
After partially draining the tank, adding a vinegar solution and letting it sit for a few hours helps break down scale deposits. Flushing the tank afterward removes the loosened minerals.
This method is gentle, cost-effective, and avoids the need for harsh chemicals. It’s especially useful for maintaining efficiency in regions where water hardness is high.
method 7: cleaning inlet filters to maintain water flow
Some water heaters have inlet filters that prevent debris from entering the tank. Over time, these filters can become clogged, reducing water flow and putting strain on the system.
Cleaning the filter involves removing it, rinsing it under running water, and reinstalling it. It’s a quick task that can significantly improve performance.
Neglecting this step can lead to uneven heating or reduced water pressure, both of which are avoidable with regular cleaning.
method 8: checking and cleaning connections to prevent leaks
Connections—where pipes meet the heater—are common points for leaks. Mineral buildup or corrosion can weaken these joints over time.
Cleaning around connections and ensuring they are secure helps prevent slow leaks that might otherwise go unnoticed. Even a small drip can lead to water damage or increased utility bills.
This method blends cleaning with inspection, reinforcing the idea that maintenance is about noticing changes early.
method 9: removing rust buildup before it spreads
Rust is a warning sign that should never be ignored. It often starts small, appearing as a patch or discoloration. Cleaning rust early can prevent it from spreading.
Using a mild cleaning solution and a soft brush can remove surface rust. However, if rust keeps returning, it may indicate a deeper issue, such as a failing anode rod or internal corrosion.
Addressing rust promptly can extend the life of the heater and prevent structural damage.
method 10: maintaining a cleaning schedule that becomes second nature
Perhaps the simplest yet most powerful method is consistency. Cleaning a water heater once is helpful, but creating a routine is what truly prevents damage.
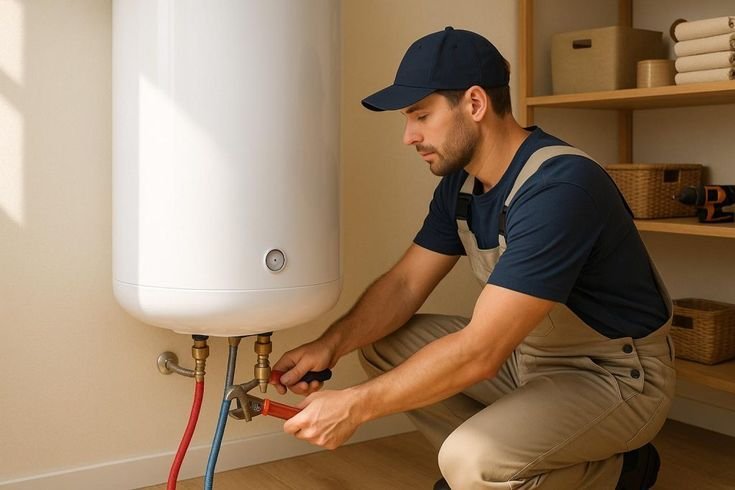
A basic schedule might include flushing the tank annually, checking the anode rod every two years, and performing quick inspections every few months. Over time, these tasks become habits rather than chores.
Consistency reduces the risk of sudden failures and spreads maintenance effort over manageable intervals.
bringing it all together
Water heater cleaning is not about perfection. It’s about small, regular actions that add up over time. Each method in this guide is simple on its own, but together they create a system of care that keeps the heater running efficiently and safely.
There’s also a certain satisfaction in knowing that a bit of attention today can prevent a major problem tomorrow. It turns maintenance into something proactive rather than reactive.
In many ways, a water heater reflects how we handle the unseen parts of our lives. When we take care of what’s hidden, everything else runs more smoothly.
frequently asked questions
- how often should i clean my water heater
Most water heaters benefit from a basic cleaning, like flushing, once a year. However, if you live in an area with hard water, doing it every six months can help prevent heavy sediment buildup. - can i clean my water heater myself or should i hire a professional
Many cleaning tasks, such as flushing the tank or wiping the exterior, can be done at home with basic tools. However, if you’re unsure or dealing with complex issues, a professional inspection is a safe choice. - what are the signs that my water heater needs cleaning
Common signs include reduced hot water supply, strange noises like popping or rumbling, cloudy water, or higher energy bills. These indicate sediment buildup or inefficiency. - is vinegar safe to use for cleaning a water heater
Yes, vinegar is a safe and effective natural solution for dissolving mineral deposits. It’s widely used for descaling without causing damage to the tank or components. - what happens if i never clean my water heater
Neglecting cleaning can lead to sediment buildup, reduced efficiency, increased energy costs, and eventually tank damage or failure. Regular maintenance prevents these issues. - how long does a well-maintained water heater last
With proper cleaning and maintenance, a water heater can last 8 to 12 years or even longer, depending on the type and usage conditions.
By treating these methods not as tasks but as habits, you create a system that quietly protects your home. And in the long run, that quiet protection is what keeps everything running smoothly.
About the Author