5 Powerful Tankless Water Heater Guide Secrets Pros Don’t Share
Okay, real talk — I almost returned my tankless water heater three weeks after installing it.
Not because it was broken. Not because I bought the wrong size. But because nobody told me the stuff that actually matters after the install. The manual was useless, the YouTube videos were all sponsored fluff, and the plumber who put it in basically said “you’re good” and walked out the door with my check.
I spent the next few months figuring things out the hard way — cold showers, weird error codes, a water bill that somehow went up before it went down. But once I cracked the code on a few key things, this unit became the best upgrade I’ve made to my home. Hands down.
So here’s what I wish someone had told me from the start. These are the secrets that pros either charge you to learn or just… don’t bother mentioning.
1. The “Cold Water Sandwich” Is Real — and It’s Not a Defect
First time it happened to me, I genuinely thought my unit was malfunctioning. You’re mid-shower, water’s perfect, then — bam — a sudden burst of cold water, then warm again. I called the installer in a mild panic.
He laughed. Not in a mean way, but in the “oh yeah, that” way.
This phenomenon is actually called the cold water sandwich effect, and it’s specific to tankless heaters. Here’s what causes it:
When you turn off the hot water briefly (like when you rinse your hair and step aside), the warm water sitting in your pipes drains out. When you turn the tap back on, that residual cold water from the pipes hits you before the heater has a chance to fire back up.
How to minimize it:
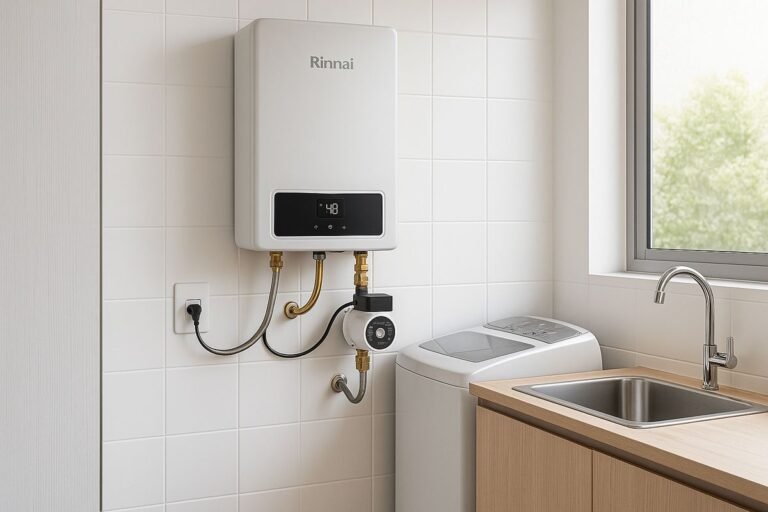
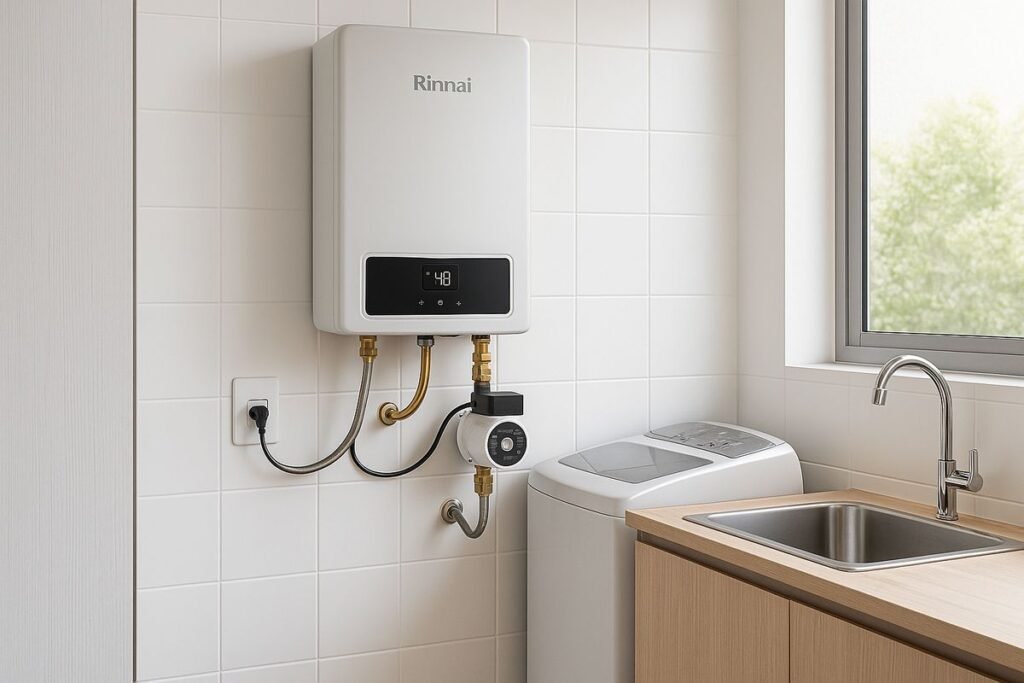
- Install a recirculation pump (some units like the Rinnai RUR199iN come with one built in)
- Enable the recirculation schedule so the pipes stay warm during peak usage hours
- Don’t toggle the tap off and on repeatedly — let it run at a low flow if you need to pause
I added an Grundfos UP10-16 recirculation pump to my setup and it made a massive difference. It’s about $150–$200 installed and absolutely worth it.
The cold water sandwich doesn’t mean your heater is broken. It’s physics. But knowing the fix saves you a lot of frustration.
2. Flow Rate Is Everything — And Most People Size Their Unit Wrong
This is the one that costs people real money.
Before I bought my unit, I looked up “how many GPM do I need” and found about a dozen calculators that gave me wildly different numbers. I ended up going with a 9 GPM unit thinking it was plenty for a three-bathroom house.
Here’s what I didn’t account for: groundwater temperature.
If you live somewhere with cold winters — think Minnesota, Michigan, upstate New York — your incoming water might be 40°F or colder in January. To heat that to 120°F, your tankless heater has to work much harder, which means it can push significantly less hot water per minute than the spec sheet suggests.
Here’s a simplified version of what that actually looks like:
| Incoming Water Temp | Rise Needed to 120°F | Effective GPM (9 GPM Unit) |
|---|---|---|
| 70°F | 50°F rise | ~8.5 GPM |
| 55°F | 65°F rise | ~6.2 GPM |
| 40°F | 80°F rise | ~4.8 GPM |
See that? In cold climates, your “9 GPM” unit can perform like a 5 GPM unit in winter. That’s why people end up with lukewarm water when two people shower simultaneously.
The fix: Always size up by at least 10–20% if you’re in a cold climate. And check your local groundwater temperature (your utility company or a quick Google for your zip code + “groundwater temperature” usually does the trick).
I ended up upgrading to an 11 GPM Rinnai RU160iN, and the difference in winter performance was immediate.
3. Scale Buildup Will Kill Your Unit — But Nobody Flushes On Schedule
This one genuinely surprised me because I thought tankless meant low maintenance. It’s lower maintenance than a tank — not zero maintenance.
If you have hard water (and if you’re in areas like Phoenix, Las Vegas, or Southern California, you almost certainly do), calcium and magnesium deposits build up inside the heat exchanger over time. It’s slow. Invisible. And absolutely devastating to efficiency.
Here’s what happens when scale builds up:
- Your unit has to run longer to heat the same amount of water
- Energy bills creep up — often 10–15% before you even notice
- Error codes start appearing more frequently
- Eventually the heat exchanger cracks or fails
The pros flush their units once a year with a descaling solution (white vinegar or a dedicated product like Rectorseal Calci-Free). Most homeowners? Never.
How to flush your tankless heater (simplified):
- Turn off the gas and the cold water supply
- Connect a small submersible pump to the service ports (most modern units have isolation valves with these built in)
- Run about 4 gallons of undiluted white vinegar through the system in a loop for 45–60 minutes
- Flush with fresh water for 10 minutes
- Done
The whole process takes under 90 minutes once you’ve done it once. I do mine every October before the heating season kicks in. You can also check out tips like the ones covered in 7 Proven Tankless Water Heater Longevity Tips — some solid reminders in there about staying consistent with this.
If flushing yourself sounds intimidating, a plumber typically charges $80–$150. Still worth doing annually.
4. The Venting Setup Matters More Than the Unit Itself
I had no idea about this until my neighbor — who’s a retired HVAC tech — walked into my utility room, looked at my venting setup, and just slowly shook his head.
“That’s restricting your output by probably 15 percent,” he said.
Turns out, the installer had used elbows where straight runs would’ve worked, added an unnecessary length of exhaust pipe, and used a slightly undersized flue. All “within code” — but all quietly killing my unit’s efficiency.
Tankless water heaters are extremely sensitive to venting because combustion efficiency depends on proper airflow. Unlike a tank heater that fires occasionally, a tankless unit fires up hard and fast every time you open a tap. Bad venting means incomplete combustion, which means:
- Wasted gas
- Slower heat-up times
- Potential safety issues (backdrafting, CO buildup)
What to check:
- Vent pipe should be as short and straight as possible
- Each 90-degree elbow = roughly 5 feet of equivalent pipe length (most manufacturers allow a max)
- Make sure the termination cap outside isn’t blocked by snow, debris, or a bird nest (yes, this happened to me)
- For direct-vent units, the intake and exhaust cannot terminate too close together
If you’re getting error codes related to ignition or combustion, check your venting before you assume there’s something wrong with the unit itself. I’d also recommend reading up on 10 Powerful Tankless Water Heater Secrets Pros Use — the venting section there gave me a better mental model for how this all connects.
5. The Temperature Setting You’re Using Is Probably Wrong
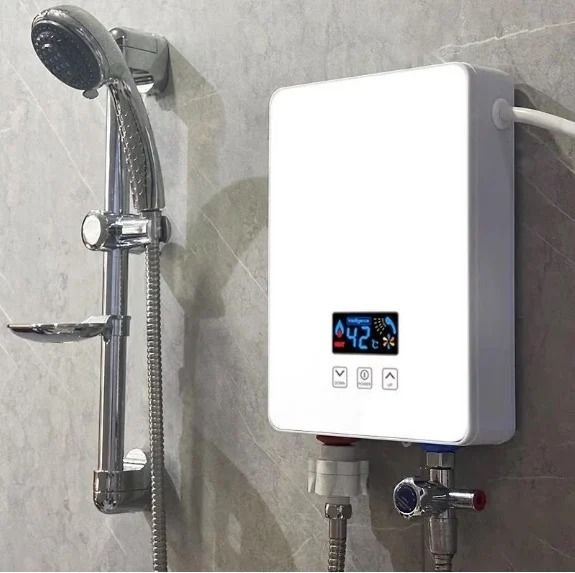
Most people set their tankless heater and forget it. The factory default is usually 120°F, which is fine — but depending on your household, it might be costing you money or creating a safety risk.
Here’s the thing pros understand that most of us don’t: the set temperature on the unit is not the temperature at your tap.
Heat loss through pipes — especially in cold climates or long pipe runs — means you might be losing 5–15 degrees by the time water reaches your shower. So some people crank the unit to 130°F or higher to compensate, which:
- Increases energy consumption significantly
- Creates a scald risk (especially for kids and elderly family members)
- Puts more stress on the heat exchanger
The smarter approach:
- Set the unit to 120°F (or your manufacturer’s recommendation)
- Measure the actual water temp at your farthest tap with a simple thermometer (I use a $12 meat thermometer — it works fine)
- If the delivery temp is too low, install a mixing valve at the unit set to 130–140°F — the mixer blends in cold water to deliver a safe, consistent temperature at the tap
- This way you get better delivery temps without scalding risk
For families with young kids, this setup is genuinely a safety upgrade worth making.
Also — if you have a recirculation system, keep in mind that the water circulating in those pipes is sitting at temperature for longer. Setting the unit too high with a recirc pump running constantly is one of the fastest ways to inflate your gas bill.
Common Mistakes I See (and Made) With Tankless Heaters
Beyond the five secrets above, here are some quick-hit mistakes that catch people off guard:
Ignoring error codes — Modern tankless units like the Navien NPE-240A2 or Rheem RTGH-95DVLN have detailed error code systems. Don’t just reset and ignore them. Look the code up. It’s usually telling you something specific.
Not checking the air filter — Some units have small inlet air filters that clog with dust and lint. A clogged filter = combustion issues. Check it every six months.
Undersizing the gas line — This is an installer issue, but it’s worth knowing. Tankless heaters demand high gas flow for short bursts. If your gas line isn’t sized correctly, the unit can’t fire at full capacity. Symptoms include lukewarm water under heavy use.
Expecting instant hot water without a recirc pump — The heater fires up fast, but the hot water still has to travel through your pipes. Without recirculation, you’re still waiting just like before — sometimes longer because tankless units have a small ignition delay.
Skipping the annual inspection — I get it, it runs fine, so why bother? But gas appliances need periodic inspection. A qualified tech can catch issues with the burner, venting, or condensate drain before they become expensive problems. It also keeps your warranty valid with most manufacturers.
You can dig deeper into safe habits with resources like 9 Essential Tankless Water Heater Maintenance Hacks — there’s some genuinely practical stuff in there that pairs well with what I’ve covered above.
Real Numbers: What Proper Maintenance Actually Saves You
I started tracking my gas usage after I got serious about maintenance. Here’s a rough comparison of my monthly gas bill (for water heating only, estimated from meter readings):
| Period | Monthly Gas Cost (Water Heating) | Notes |
|---|---|---|
| First 6 months (no maintenance) | ~$48 | Factory default settings, no flush |
| After descaling + recirc pump | ~$36 | Annual flush + pump installed |
| After venting fix + temp optimization | ~$29 | Corrected vent run, mixing valve added |
That’s roughly $228 saved per year just from proper setup and maintenance. The investments paid for themselves within the first year.
Final Thoughts
Switching to tankless was absolutely the right call — I’d never go back to a tank heater. But I went in thinking it was a plug-and-play upgrade, and it’s really not. It rewards people who take the time to understand how it works.
The cold water sandwich will mess with you. The sizing math matters more than the spec sheet. Descaling saves your investment. Venting is often overlooked. And that temperature setting is doing more work (or more damage) than you realize.
None of this is complicated once you know it. But it’s the kind of knowledge that either costs you years of inefficiency — or saves you hundreds of dollars and a lot of headaches.
If you’re just getting started or troubleshooting issues, I’d also recommend checking out 8 Secret Tankless Water Heater Care Tricks Experts Swear By — it filled in a few gaps for me that even my installer didn’t mention.
Take it one step at a time, and your tankless heater will genuinely be one of the best things in your home.
About the Author