11 Essential Tankless Water Heater Guide Hacks for Every Home
Let me tell you about the moment I realized I had no idea what I was doing with my tankless water heater.
It was a freezing January morning, my shower ran cold after about 90 seconds, and I had already spent $200 on a plumber visit that fixed nothing. The technician shrugged, said “it’s probably mineral buildup,” handed me a bill, and left. I stood there thinking — there has to be something I can do myself.
That frustration sent me down a rabbit hole of research, YouTube videos, manufacturer manuals, and a lot of trial and error. What I found out changed how I maintain my unit entirely. And honestly? Most of it is simpler than you’d think.
If you’ve recently switched from a traditional tank to a tankless water heater — or you’ve had one for years and never really maintained it — this guide is for you. These are real hacks, not fluff.
1. Understand How Your Unit Actually Works (Before Touching Anything)
Most people skip this step. I did too. But understanding the basic flow of how a tankless heater operates saves you from making dumb mistakes later.
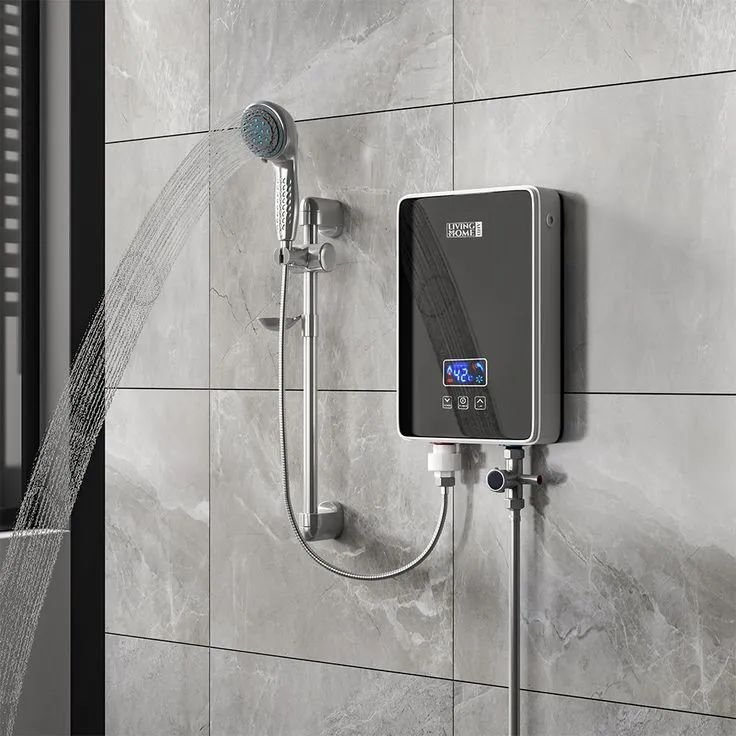
Unlike storage tank heaters that keep water hot 24/7, a tankless unit heats water on demand — only when you open a tap. Cold water flows in through the inlet, passes over a heat exchanger (powered by gas or electricity), and exits hot.
That’s also why flow rate matters so much. If you’re running two showers and a dishwasher simultaneously, a small unit will struggle. Knowing your unit’s GPM (gallons per minute) rating is step one in diagnosing 90% of complaints.
Quick reference table for GPM needs by fixture:
| Fixture | Avg. GPM Needed |
|---|---|
| Shower | 1.5 – 2.5 GPM |
| Kitchen faucet | 1.0 – 1.5 GPM |
| Dishwasher | 1.0 – 1.5 GPM |
| Washing machine | 1.5 – 3.0 GPM |
| Bathroom faucet | 0.5 – 1.5 GPM |
Add up what runs simultaneously in your home. If it exceeds your heater’s rating, you’ve found your problem — no hack will fix an undersized unit.
2. Flush and Descale Every 12 Months — No Exceptions
This is the single most impactful maintenance task, and most homeowners completely ignore it. I ignored it for two years. Big mistake.
Hard water leaves calcium and magnesium deposits inside your heat exchanger. Over time, this buildup reduces efficiency, causes overheating, and eventually kills the unit. In areas with very hard water (common in the American Southwest, Texas, and many parts of the UK), you might need to flush every 6 months.
What you need:
- White vinegar (food-grade, undiluted) or a commercial descaling solution like Camco TastePURE
- A submersible pump (the Zoeller M53 is popular, but any cheap utility pump works)
- Two washing machine hoses
- A 5-gallon bucket
Basic flushing steps:
- Turn off the cold water supply valve to the heater
- Connect one hose from the pump in the bucket to the cold water service port
- Connect the second hose from the hot water service port back into the bucket
- Fill the bucket with 4 gallons of white vinegar
- Run the pump for 45–60 minutes
- Flush with fresh water for 5–10 minutes before reconnecting
The first time I did this, the vinegar that came out was brown. Genuinely alarming. But after the flush, my unit’s flow improved noticeably and my energy bill dropped slightly the following month.
For a full breakdown of how descaling actually protects your heater long-term, this guide on 5 Powerful Water Heater Maintenance and Care Guide Descaling Tricks That Save Money explains it really well.
3. Check Your Inlet Filter Screen Monthly
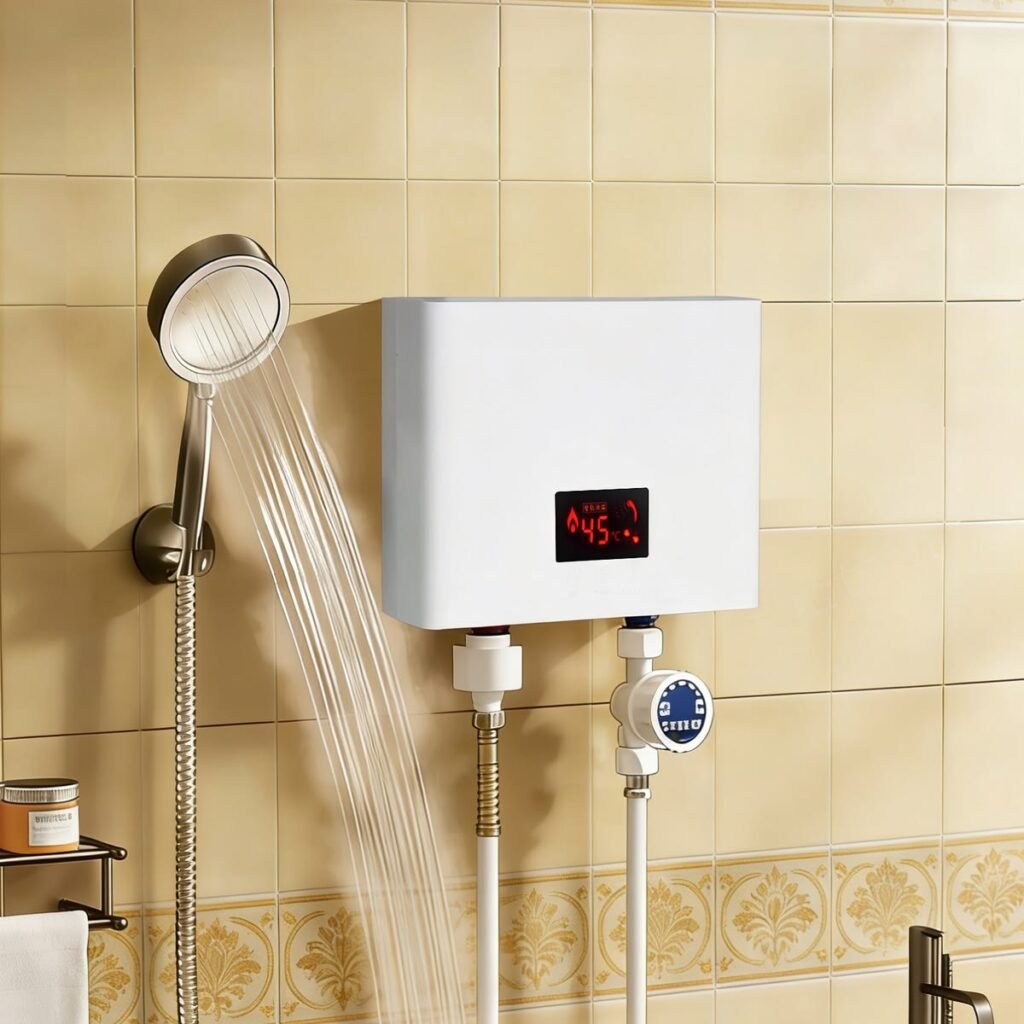
There’s a small mesh screen at the cold water inlet of your tankless heater. Most people don’t even know it exists.
This filter catches sediment before it enters the heat exchanger. In areas with older pipes or if your municipal supply has sediment issues, this screen can clog surprisingly fast.
Checking it takes two minutes:
- Turn off the cold water supply
- Unscrew the inlet fitting (usually a simple hand-turn)
- Pull out the screen
- Rinse under running water or use a soft toothbrush
- Reinstall
That’s it. I do this the first of every month when I check a few other things around the house. Takes less time than brewing a coffee.
4. Set Your Temperature the Smart Way
Most tankless units come factory-set at 140°F. That’s actually too hot for most homes — and it wastes energy.
The U.S. Department of Energy recommends 120°F as the sweet spot. It’s hot enough to kill bacteria, comfortable for showering, and saves roughly 4–22% on water heating costs compared to 140°F.
If you have young kids or elderly family members, 120°F is genuinely the safer choice. Scalding happens fast at higher temps.
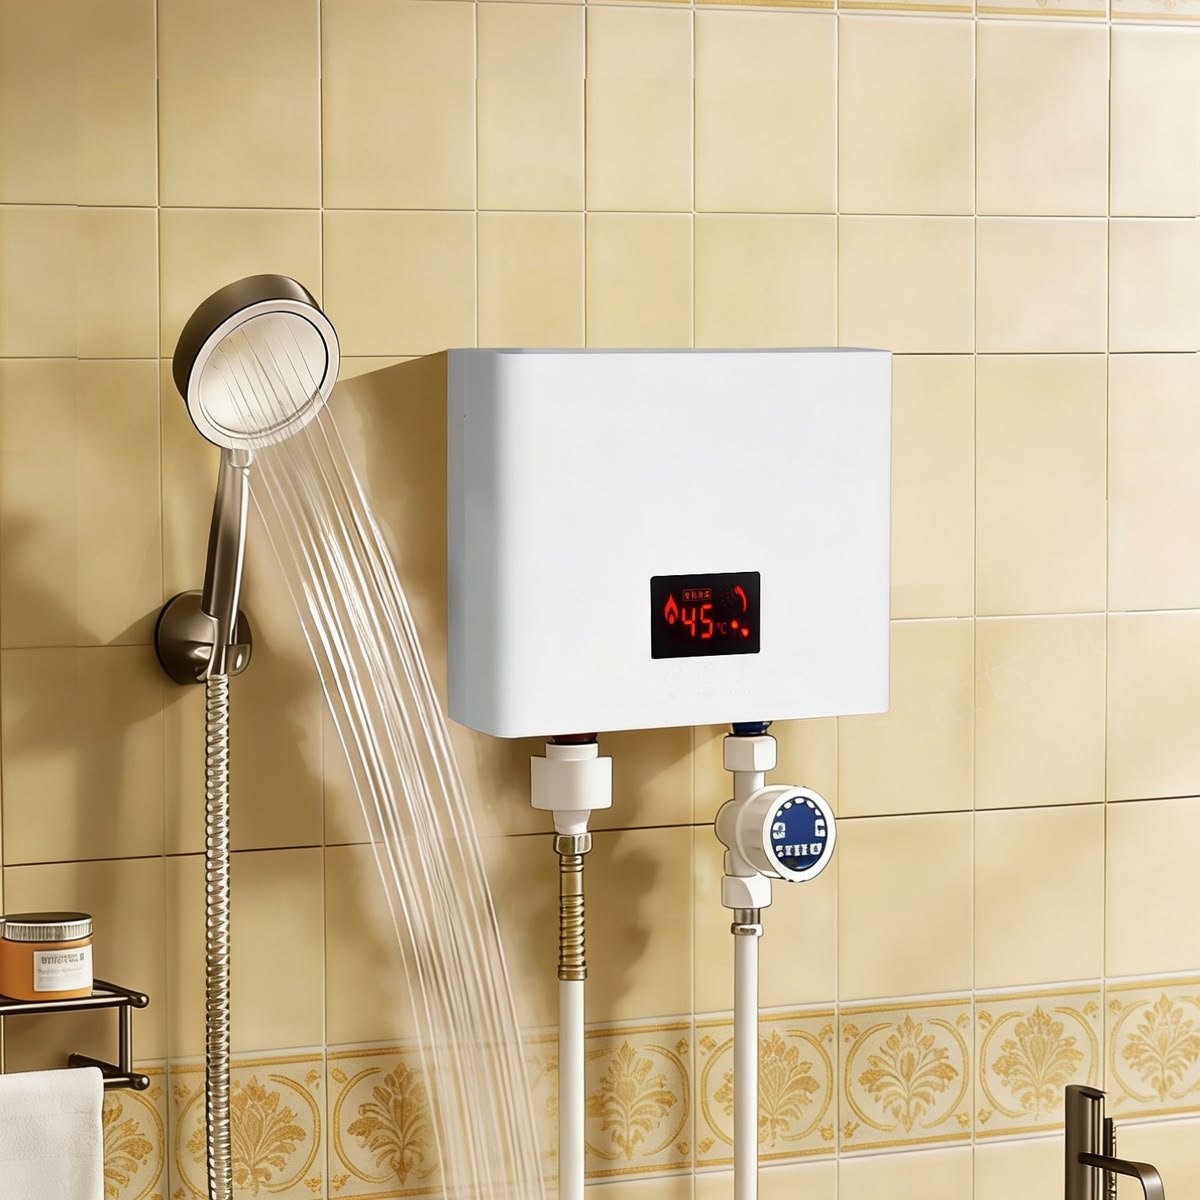
On most units, you can adjust this directly on the digital control panel. On older models, there’s usually a dial on the gas valve. Check your manual for the exact method — it varies by brand (Rinnai, Navien, Rheem, Noritz all do it slightly differently).
One thing I learned: don’t go below 120°F. Below that threshold, you risk Legionella bacteria growth in your pipes. That’s a real health concern, not just a rumor.
5. Know Your Error Codes Before You Need Them
Every modern tankless heater has a digital display that throws error codes when something goes wrong. The frustrating part? These codes are brand-specific and often cryptic.
Download or bookmark your unit’s error code manual right now — before you’re standing in a cold shower at 6am trying to Google “Navien E003.”
Common codes and what they usually mean:
| Error Code (Generic) | Likely Cause |
|---|---|
| Ignition failure | Gas supply issue or dirty igniter |
| Overheat / High temp | Scale buildup or blocked vent |
| No flow detected | Clogged filter or low pressure |
| Exhaust blockage | Bird nest or debris in vent pipe |
| Flame failure | Gas pressure fluctuation |
I now keep a printed cheat sheet taped inside my utility closet door. Old school, but it’s saved me twice from unnecessary panic calls to a plumber.
6. Insulate Your Pipes to Stop Heat Loss
Here’s something nobody tells you when you buy a tankless heater: the unit heats water fast, but if your pipes are long and uninsulated, the hot water cools down before it reaches the faucet. So you wait. And wait.
This is called standby heat loss in the pipes — and it’s why people complain about getting lukewarm water even with a brand-new tankless system.
The fix is simple: foam pipe insulation. It costs about $0.50 per linear foot at any hardware store and takes an afternoon to install on accessible pipes. You just slit it lengthwise, wrap it around the pipe, and tape the seam.
In my home, this cut my “wait for hot water” time from about 25 seconds down to roughly 8. That’s real, everyday improvement.
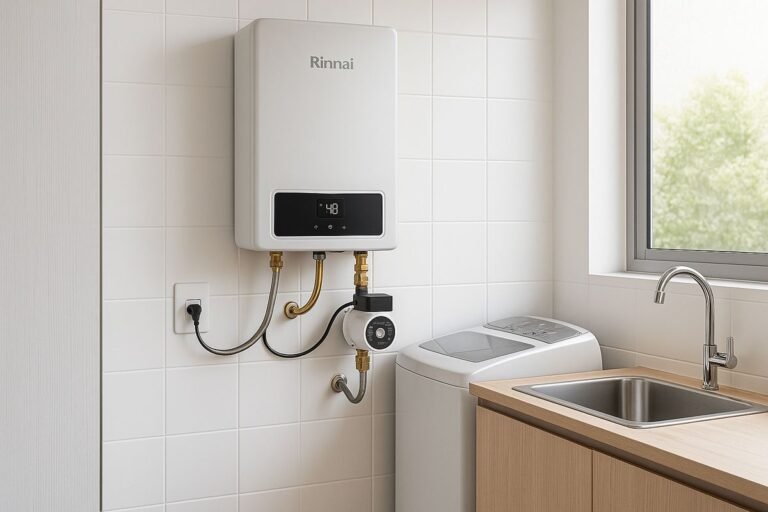
For longer pipe runs (over 50 feet), consider a recirculation pump. Brands like Grundfos and Watts make solid options in the $200–$400 range. Rinnai and Navien also offer built-in recirculation on some models.
7. Check the Venting System Twice a Year
Gas-powered tankless heaters exhaust combustion gases through a vent pipe, usually through an exterior wall or roof. This is a safety-critical component that most homeowners never look at.
Blocked vents are more common than you’d think — birds build nests in them, leaves get stuck in fall, and in winter, ice can form around the exhaust opening.
What to check:
- Exterior vent cap: clear of debris, not damaged
- Vent pipe joints: no gaps, rust, or separation
- Interior vent connections: tight and sealed
Also check for the smell of gas or combustion odors near the unit. That’s a red flag requiring immediate professional attention — not a DIY moment.
If you have a direct-vent unit (pulls combustion air from outside), check both the intake and exhaust pipes. A blocked intake causes incomplete combustion, which triggers error codes and can create carbon monoxide risk.
For a thorough walkthrough of safety checks that matter most, 7 Essential Water Heater Safety Tips for Every Home covers this in practical detail.
8. Test the Pressure Relief Valve Annually
The T&P (temperature and pressure relief) valve is a safety device that releases if your heater’s pressure or temperature exceeds safe limits. It’s your last line of defense against a dangerous overpressure situation.
Testing it once a year takes 30 seconds:
- Place a bucket under the discharge pipe
- Lift the lever on the T&P valve briefly (just 1–2 seconds)
- Water should flow out and stop cleanly when released
If no water flows, or it drips constantly afterward — replace the valve. They cost $15–$30 and are straightforward to swap out. Don’t skip this check. A faulty T&P valve is a genuine safety hazard.
9. Watch Your Water Pressure — It Affects Everything
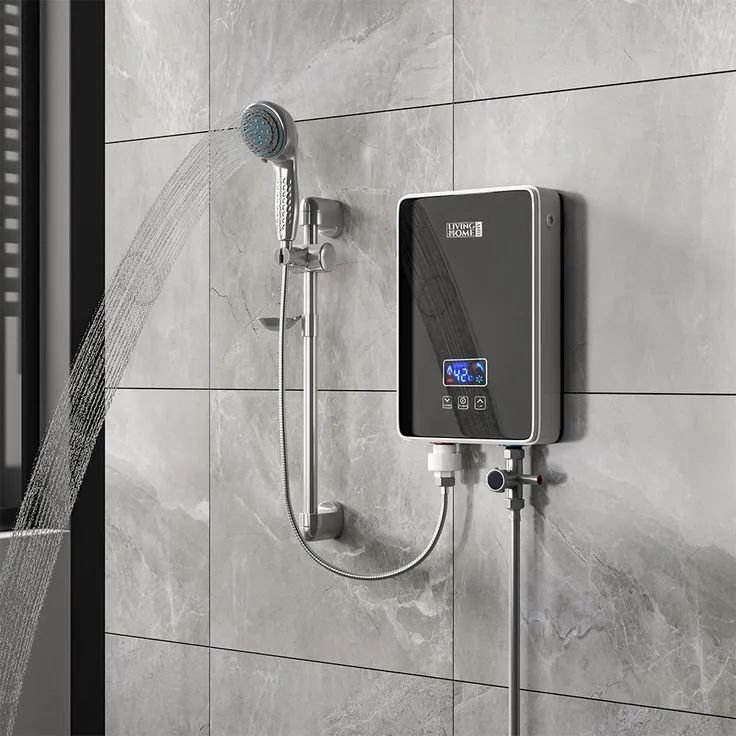
Tankless heaters have both a minimum and maximum water pressure requirement. Most need between 30–80 PSI to operate correctly. Too low and the flow sensor won’t trigger heating. Too high and you risk damaging internal components.
You can check your home’s water pressure with a simple pressure gauge that screws onto an outdoor hose bib. They cost about $10 at any hardware store. Normal residential pressure is 40–60 PSI.
If your pressure is running above 80 PSI, install a pressure reducing valve (PRV) on your main supply line. It’s a one-time fix that protects every water-using appliance in your home, not just the heater.
Low pressure is trickier — it could be a municipal issue, a partially closed shutoff valve, or a clogged inlet filter (back to hack #3).
10. Don’t Ignore Strange Noises
Tankless heaters aren’t silent, but they should sound fairly consistent — a low hum and the whoosh of the burner igniting. Anything outside that baseline is worth investigating.
What different noises usually mean:
| Sound | Likely Cause |
|---|---|
| Clicking (no ignition) | Dirty igniter or gas supply problem |
| Rumbling / gurgling | Sediment or scale buildup |
| Banging / knocking | Thermal expansion in pipes |
| Hissing | Small leak or pressure issue |
| Loud popping | Scale on heat exchanger (urgent — flush soon) |
Rumbling and popping sounds are the ones that pushed me to finally do my first descaling flush. Those sounds meant the heat exchanger was working overtime against mineral deposits — and ignoring it longer would have meant a premature replacement.
This article on 7 Smart Water Heater Maintenance and Care Guide Solutions for Strange Noises goes deeper into diagnosing specific sounds and what to do about each one.
11. Know When to Call a Pro — and When Not To
One of the most valuable skills I’ve developed is knowing the line between a DIY fix and a call-the-professional situation. Getting this wrong in either direction costs money.
You can handle yourself:
- Cleaning the inlet filter
- Flushing and descaling
- Adjusting temperature settings
- Replacing the anode rod (if your model has one)
- Insulating pipes
- Checking and clearing vent caps
Call a professional for:
- Gas line issues of any kind
- Internal component replacement (heat exchanger, igniter)
- Persistent error codes that don’t clear after basic troubleshooting
- Any sign of carbon monoxide (get out first, then call)
- Water damage around the unit base
I once made the mistake of trying to reseat a gas connection myself. I won’t go into details, but a licensed plumber ended up spending two hours fixing what I “fixed.” The lesson cost me more than just calling someone from the start.
A Note on Maintenance Frequency
Here’s a simple schedule to pin somewhere useful:
| Task | Frequency |
|---|---|
| Inlet filter cleaning | Monthly |
| Vent cap inspection | Every 6 months |
| T&P valve test | Annually |
| Full descaling flush | Annually (every 6 months in hard water areas) |
| Water pressure check | Annually |
| Error code manual review | As needed |
| Professional inspection | Every 2–3 years |
Sticking to this schedule is genuinely the difference between a tankless heater that lasts 20+ years and one that quits at 8.
Common Mistakes I See (and Made Myself)
- Ignoring hard water until the unit fails. Get a water softener or at minimum, flush more frequently.
- Never testing the T&P valve because it feels scary. It’s safer to test it annually than to never know if it works.
- Cranking the temperature to max thinking hotter = better. It doesn’t. It just wastes gas and risks scalding.
- Assuming no error code means no problem. Regular physical checks catch things sensors miss.
- Skipping the manual. I know. Nobody reads manuals. But for tankless heaters, especially for your specific brand and model, the manual is genuinely useful.
Final Thoughts
Switching to a tankless water heater was one of the better home decisions I’ve made — but only because I eventually figured out how to maintain it properly. These units are efficient and long-lasting when treated right, but they do need attention. They’re not truly “set it and forget it.”
The hacks above aren’t complicated. Most cost nothing but a bit of your time. And the payoff — consistent hot water, lower energy bills, and a unit that doesn’t die prematurely — is absolutely worth it.
Start with the descaling flush if you haven’t done one recently. That single task will tell you more about the state of your heater than anything else.
Also worth reading: If you’ve been dealing with efficiency issues beyond just the heater itself, check out 9 Powerful Tankless Water Heater Maintenance Hacks — it covers some advanced tips that pair really well with what we’ve gone through here.
About the Author